
1. Product Overview
This kit provides essential replacement components for your Charbroil Performance Series gas grill, designed to restore optimal performance. The kit typically includes burners, heat plates (heat tents), crossover tubes, and igniters.
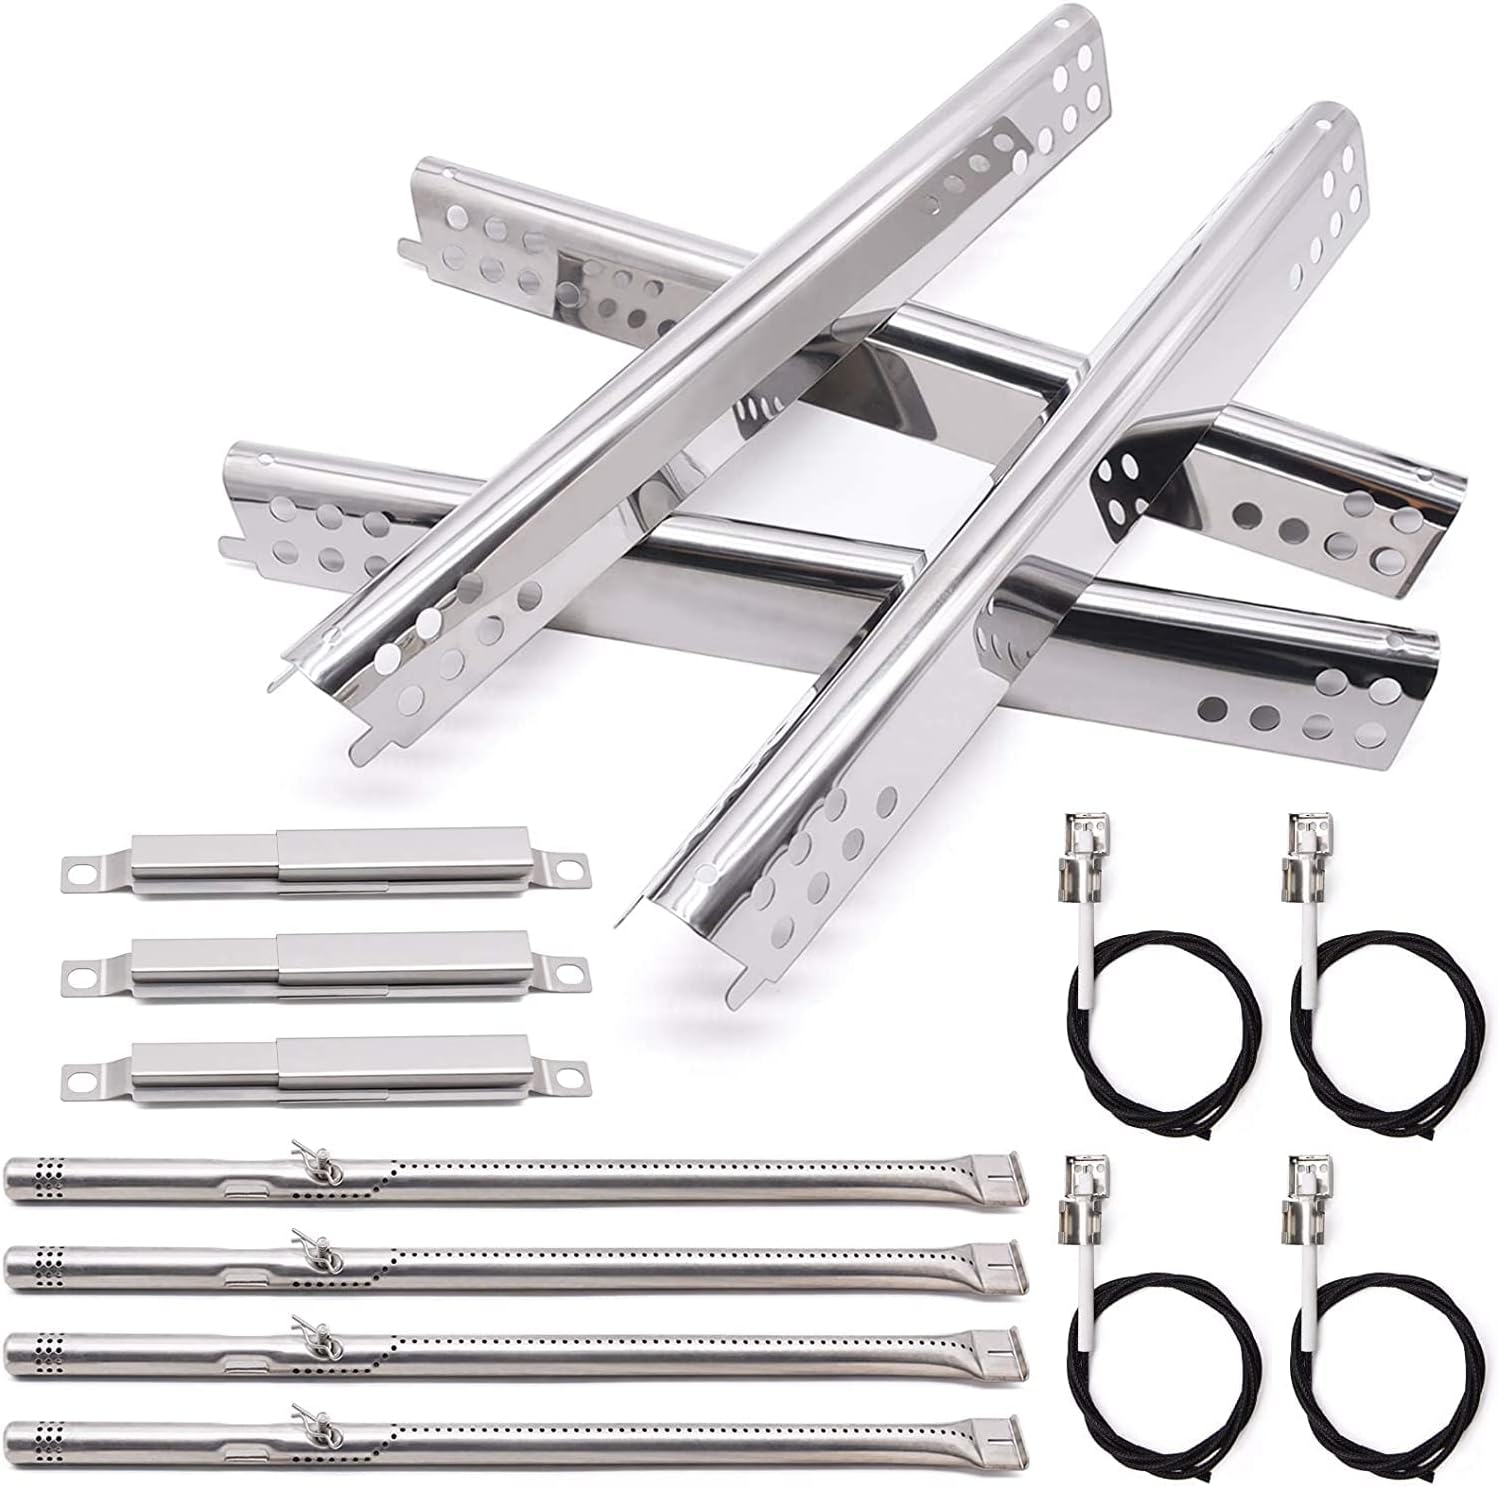
Image 1.1: Complete Adviace grill replacement parts kit, including four burners, four heat plates, three crossover tubes, and four igniters.
2. Compatibility
These replacement parts are compatible with various Charbroil Performance Series gas grill models. Please verify your grill's model number against the list below to ensure proper fitment.
2.1 Compatible Charbroil Performance 4-Burner Grill Models:
- 463342119, 463347017, 463335517, 463347418, 463376017, 463377319, 463349917, 463376217, 463332718, 463376519, 463377017, 463376319, 463375619, 463376017P1, 463376419, 463376819, 463361017, 463377117, 463377217, 463376117, 463376619, 463335519, 466342119, 466335517, 466339417, 463332719, 463375719, 466347019.
2.2 Compatible Charbroil Performance 2-Burner Grill Models:
- 463673519, 463625217, 463625219, 463673517, 463673017, 463673617, 463673019, 463673619.
2.3 Compatible Charbroil Performance 5-Burner Grill Models:
- 463347519, 463347518, 463275517, 463243518, 463373019, 463373319, 463243519, 463275717.
2.4 Compatible Charbroil Performance 6-Burner Grill Models:
- 463244819, 463276517, 463276617, 463274619, 463277918, 463238218, 463274819, 463274919, 466245917.
Note: For 5 & 6 Burner Grills, two kits (4-pack) may be required.
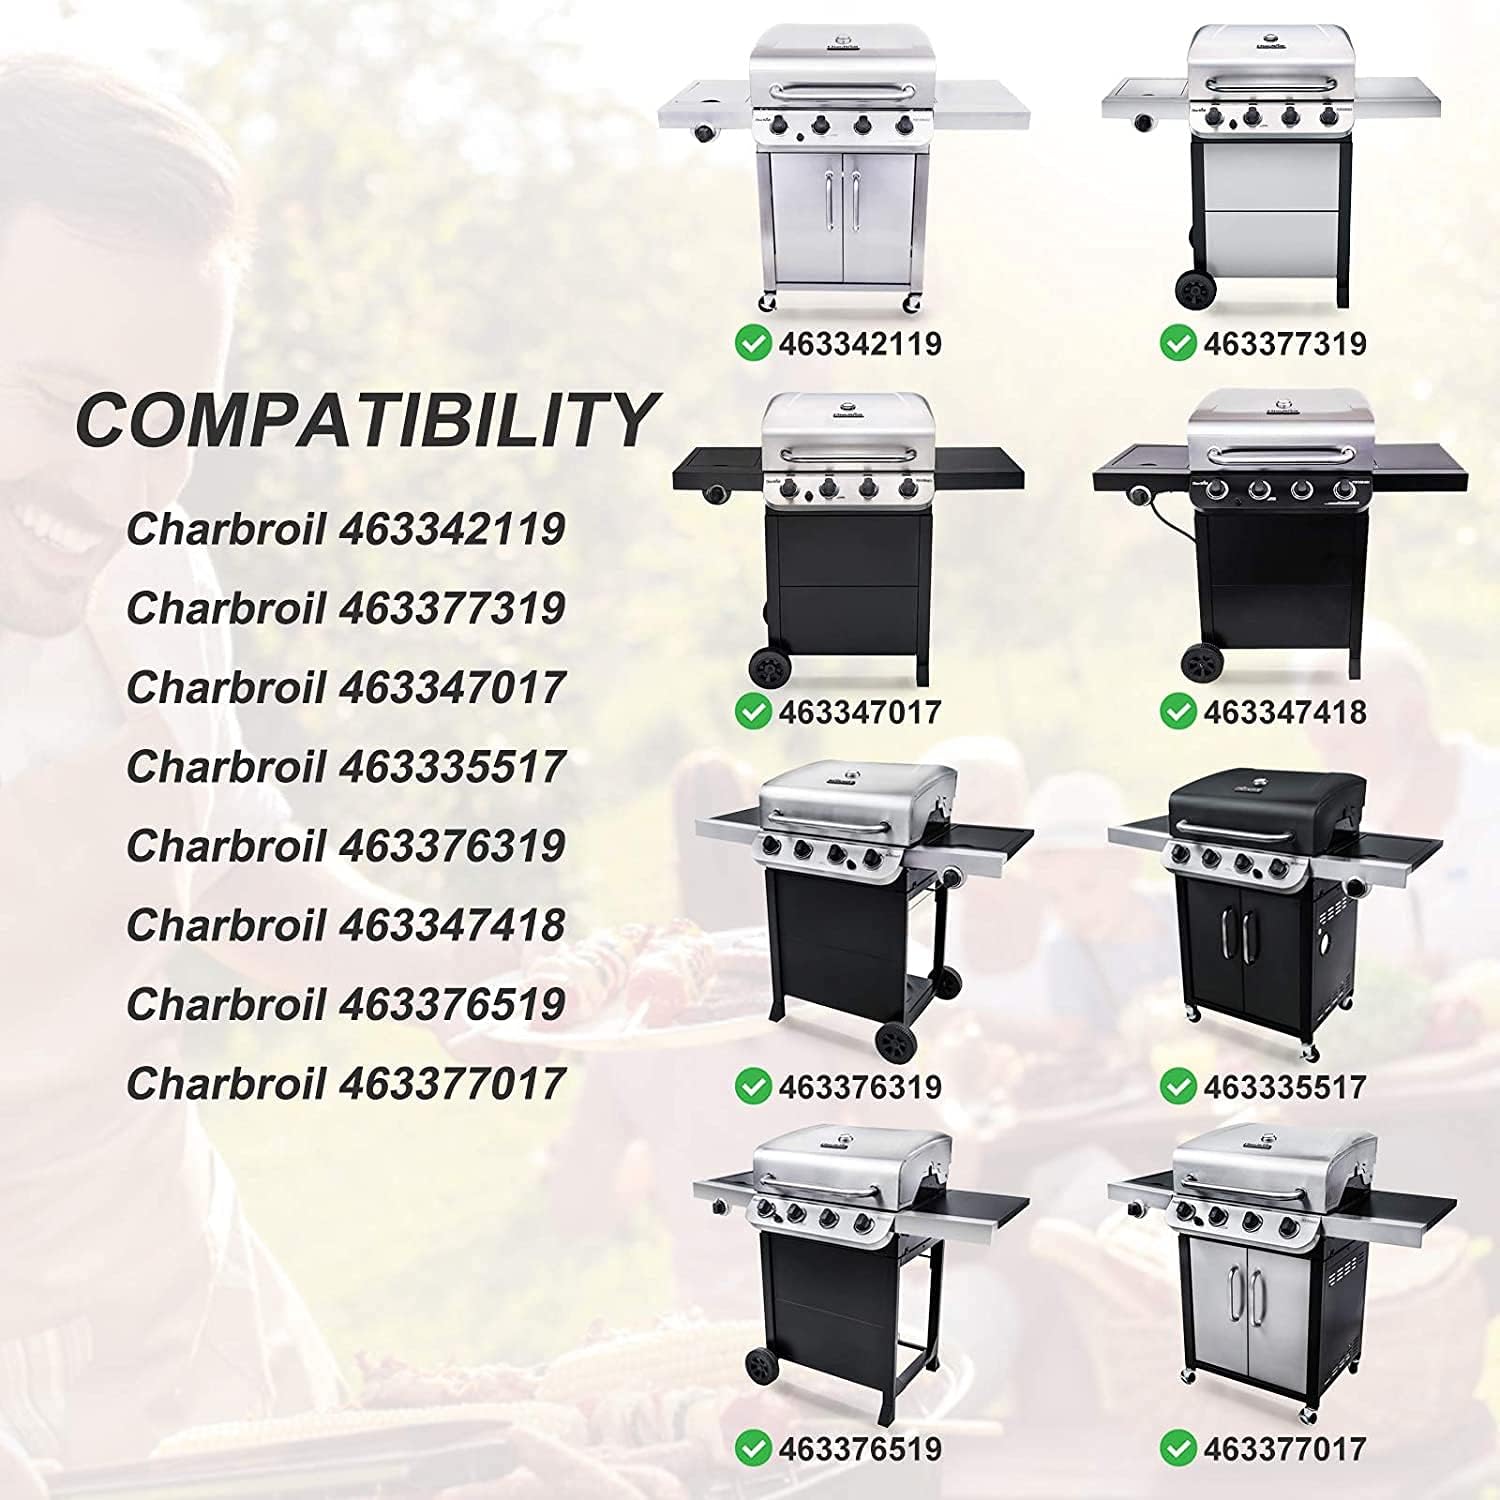
Image 2.1: Visual guide illustrating various compatible Charbroil grill models.
3. Specifications
The replacement parts are constructed from durable stainless steel, offering rustproof, anti-corrosion, and heat-resistant properties for extended lifespan and easy cleaning.
3.1 Component Dimensions:
- Burner Dimensions: 17 3/4 inches (length) x 3/5 inch (diameter). Original part number: G470-5200-W1.
- Heat Plate Dimensions: 16 15/16 inches (length) x 2 1/12 inches (width). Original part number: G470-0004-W1.
- Crossover Tube Burners Dimensions: Adjustable, extends from 5 inches to 9.5 inches.
- Igniter Wire Length: Approximately 39.5 inches.

Image 3.1: Detailed measurements for the heat plate, burner, and adjustable crossover tube.

Image 3.2: Illustration highlighting the rustproof, anti-corrosion, heat-resistant, and easy-to-clean properties of the stainless steel components.

Image 3.3: Close-up view of the burner, emphasizing its high hardness, strong rust-resistant, corrosion-resistant, and sturdy and durable stainless steel construction.
4. Setup and Installation
Before beginning installation, ensure your grill is completely cool and disconnected from its gas supply. It is recommended to wear protective gloves.
4.1 General Installation Steps:
- Remove Old Parts: Carefully remove the old burners, heat plates, and crossover tubes from your grill. Note their original positions for reference.
- Clean Grill Interior: Clean any debris, grease, or rust from the grill's firebox before installing new parts.
- Install New Burners: Place the new burners into their respective positions. Ensure they are properly seated over the gas valves.
- Install Crossover Tubes: Connect the adjustable crossover tubes between the burners. Adjust their length as needed to fit securely.
- Install Heat Plates: Position the new heat plates above the burners.
- Install Igniters: Attach the new igniters to the burners. The igniter wires are designed for easy, screw-free installation. Ensure the ceramic tip is positioned correctly to spark the gas.
- Reconnect Gas Supply: Once all parts are securely installed, reconnect the gas supply.
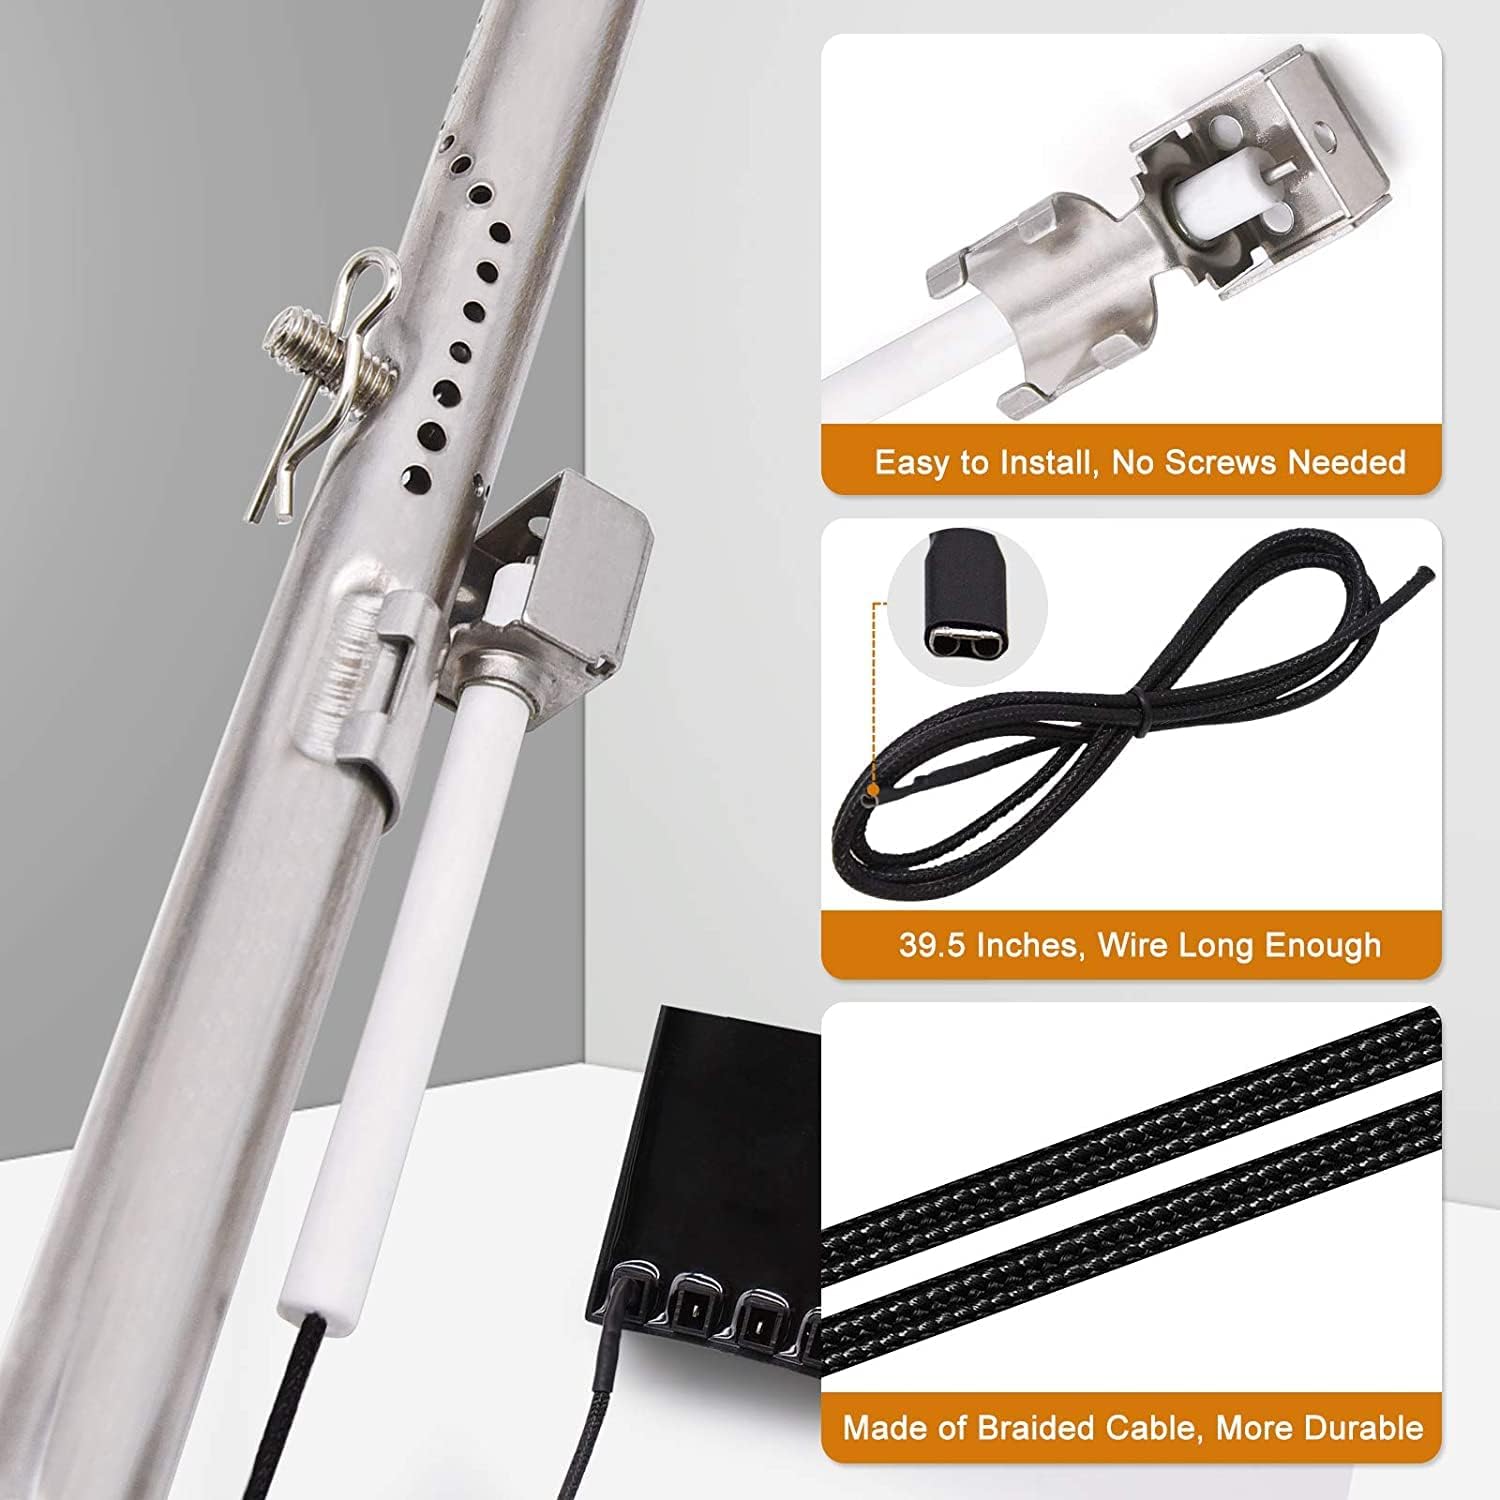
Image 4.1: Close-up view of igniter installation, showing the screw-free attachment and the 39.5-inch braided cable.

Image 4.2: Comparison showing a grill interior before and after the installation of new replacement parts, demonstrating a refreshed appearance.
5. Operating Instructions (Post-Installation)
After installing the replacement parts, perform a leak test and functional check before cooking.
5.1 Initial Checks:
- Leak Test: Apply a soapy water solution to all gas connections. Turn on the gas supply. If bubbles appear, there is a leak. Tighten connections or replace faulty components as necessary.
- Ignition Test: Open the grill lid. Turn on one burner to the 'light' position and press the igniter button. Verify that the burner ignites. Repeat for all burners.
- Flame Pattern: Observe the flame. It should be primarily blue with yellow tips, indicating proper gas flow and combustion. Uneven or excessively yellow flames may indicate an issue with burner placement or gas flow.
6. Maintenance
Regular maintenance of your new grill parts will ensure longevity and consistent performance.
6.1 Cleaning and Care:
- Burners: Periodically remove burners and clean any clogged ports with a wire brush or stiff wire. Ensure all gas ports are clear for even flame distribution.
- Heat Plates: Scrape off any accumulated grease or food residue from the heat plates. They can be washed with warm soapy water and rinsed thoroughly.
- Igniters: Keep the ceramic tip of the igniter clean and free from grease to ensure reliable sparking.
- General Cleaning: Clean the interior of the grill regularly to prevent grease buildup, which can lead to flare-ups and corrosion.
7. Troubleshooting
If you encounter issues after installing the replacement parts, refer to the following common troubleshooting steps.
7.1 Common Issues:
- Burner Not Lighting:
- Check if the gas supply is open.
- Ensure the igniter wire is securely connected and the ceramic tip is clean and positioned correctly near the burner port.
- Verify that the burner is properly seated over the gas valve.
- Uneven Flame or Low Heat:
- Inspect burner ports for clogs and clean if necessary.
- Ensure the burners are correctly aligned and seated.
- Check for any obstructions in the gas lines.
- Gas Smell:
- Immediately turn off the gas supply.
- Perform a leak test as described in Section 5.1. Do not operate the grill if a gas leak is detected.
8. Warranty and Support
For specific warranty information regarding your Adviace replacement parts, please refer to the product packaging or contact the seller directly. If you require technical assistance or have questions not covered in this manual, please reach out to the Adviace customer support team or your retailer.