
1. Introduction
Thank you for purchasing the Enjoyedled DJ Disco Party Lights. This device is designed to create dynamic lighting effects for various indoor and outdoor events. It features multiple operating modes, including automatic, sound-activated, and various laser and LED patterns, all controllable via a remote. This manual provides essential information for safe and effective use of your device.
2. Safety Information
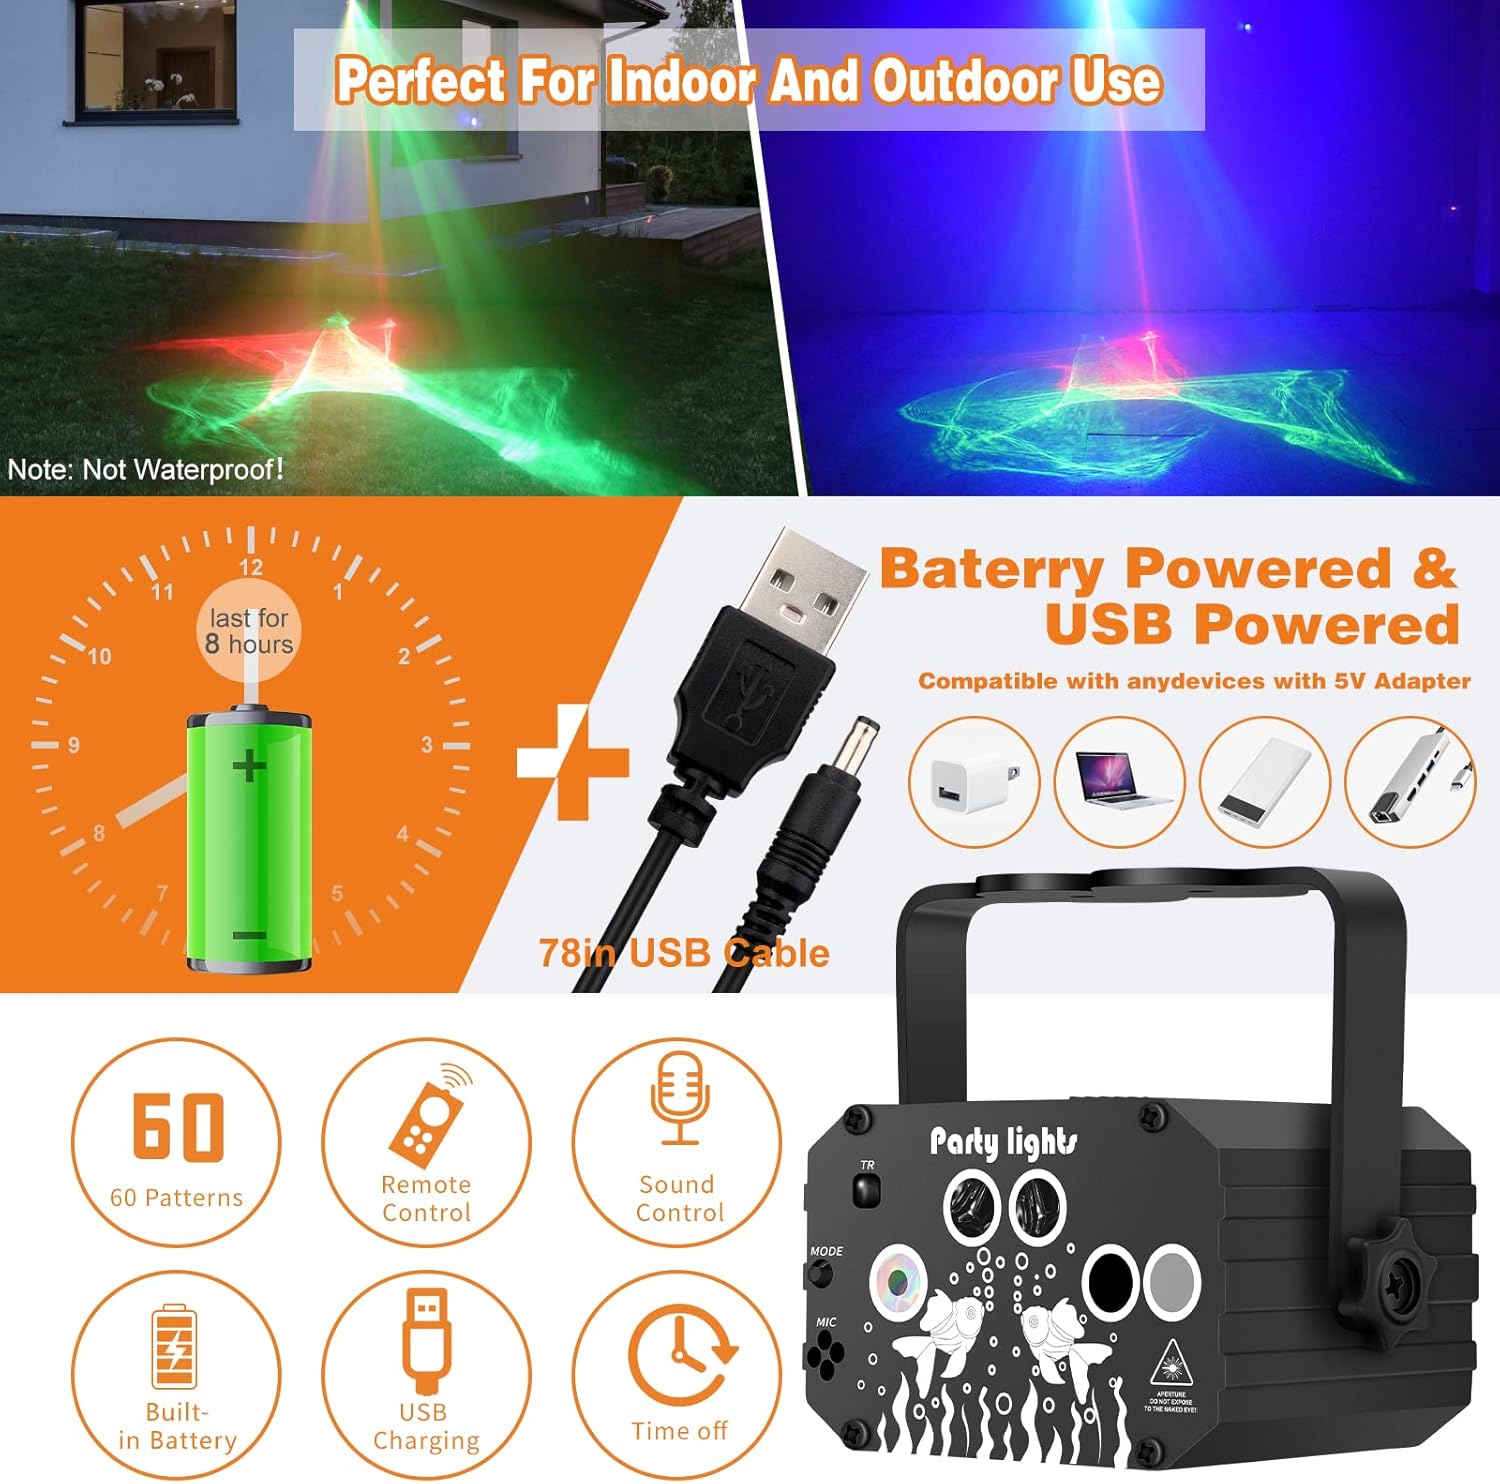
- This product is not waterproof. Avoid exposure to water or moisture.
- Do not look directly into the laser light source. Direct exposure can cause eye damage.
- Keep the device away from children.
- Ensure proper ventilation to prevent overheating. The device has a built-in cooling fan.
- Use only the provided USB cable for power.
- Do not attempt to disassemble or modify the device. This will void the warranty and may cause damage or injury.
- Ensure the power switch is in the correct position (AUTO/SOUND) for operation.
3. Package Contents
Verify that all items are present in the package:
- 1x Enjoyedled DJ Disco Party Light Unit
- 1x Remote Control
- 1x USB Power Cable (78 inches)
- 1x Handle Holder (Mounting Bracket)
- 1x Instruction Manual
- Mounting Screws (for handle holder)

For a visual guide on unpacking and installation, please refer to the video below:
4. Setup
- Attach the Handle Holder: Secure the handle holder (mounting bracket) to the sides of the party light unit using the provided screws. This allows for flexible positioning.
- Power Connection: Connect the USB power cable to the DC 5V port on the back of the unit. Plug the other end into a compatible USB power source (e.g., computer, laptop, power bank, USB charger).
- Initial Power Check: Before operating, ensure the power switch on the back of the unit is set to either 'SOUND' or 'AUTO' mode. If the unit does not power on, check if the transparent insulation label at the bottom of the remote control is removed and if the unit's battery is charged. If the battery is low, charge it via the USB cable first.
- Positioning: Place the light unit on a flat surface or mount it using the handle holder to project effects onto walls, ceilings, or floors.

5. Operating Instructions
The party light is controlled using the included remote control. Ensure the remote's battery insulation tab is removed before first use.

5.1. Remote Control Functions
- ON/OFF: Powers the unit on or off.
- MOTOR STOP START: Stops or starts the motor for static or dynamic patterns.
- AUTO 1/2/3: Activates automatic modes with different light color changes and laser patterns.
- DJ SOUND: Sound-activated mode where laser and LED patterns change rapidly with music rhythm.
- Lyric Sound Actived: Sound-activated mode where laser and LED patterns change slowly with music rhythm.
- Clouds Laser R/G/B: Activates Northern Lights (nebula) laser effects in red, green, or combined colors.
- Pattern AUTO/R/G: Cycles through various laser patterns automatically or displays only red or green patterns.
- JUMP R/G/B: Cycles through solid red, green, and blue LED colors.
- LED Gradient R/G/B: Activates breathing effects for red, green, or blue LED lights.
- LED Gradient R/G/B combinations: Activates breathing effects for combined LED colors (e.g., R&G, R&B, G&B, R&G&B).
5.2. Power Modes
- Battery Powered: The unit has a built-in battery for wireless operation.
- USB Powered: Can be continuously powered via the USB cable.
5.3. Timing Function
The remote control includes time setting options (1h, 3h, 6h, 8h) to automatically turn off the light after a set duration.
6. Features and Effects
The Enjoyedled DJ Disco Party Light offers a variety of visual effects:
- 3-in-1 Effects: Combines Nebula, Laser, and LED lighting.
- 90 Image Combinations: Produces a wide range of dynamic patterns.
- 7 LED Background Colors: Red, Green, Blue, Red & Green, Red & Blue, Blue & Green, Red & Blue & Green.
- 2 Beam Laser Combinations: Green and Red.
- Sound Activated Modes: Lights react to the rhythm of music.

7. Maintenance
- Cleaning: Use a soft, dry cloth to clean the exterior of the device. Do not use abrasive cleaners or solvents.
- Storage: Store the device in a cool, dry place when not in use.
- Battery Care: If the device will not be used for an extended period, ensure the battery is partially charged (around 50%) before storage. Recharge periodically to maintain battery health.
- Remote Control Battery: The remote control uses 2 Lithium Metal batteries (CR2025/2032). Replace them when the remote's functionality diminishes. The remote has a main battery and a spare battery location.

8. Troubleshooting
- Device not turning on:
- Ensure the power switch on the back of the unit is set to 'SOUND' or 'AUTO', not 'OFF'.
- Check if the USB power cable is securely connected to both the device and the power source.
- If operating on battery, ensure the battery is charged. Connect the USB cable to charge. - Remote control not working:
- Verify that the transparent insulation label at the bottom of the remote control has been removed.
- Replace the remote control batteries (2 Lithium Metal batteries required). - Lights appear dim or patterns are unclear:
- Ensure the room is sufficiently dark for optimal projection.
- Clean the lens of the party light with a soft, dry cloth. - Patterns are static when they should be moving:
- Press the 'MOTOR STOP START' button on the remote control to activate motor movement.
9. Specifications
| Feature | Specification |
|---|---|
| Model Number | DQ-R90L |
| Color | Dark Gray |
| Dimensions (L x W x H) | 3.14" x 3.14" x 3.9" |
| Item Weight | 2.65 Pounds |
| Power Source | Corded Electric, Battery Powered (USB) |
| Light Source Type | Light Emitting Diode (LED) |
| Number of Light Sources | 3 |
| Maximum Compatible Light Source Wattage | 10 Watts |
| Material | Plastic, Aluminum Alloy Shell |
| Mounting Type | Table Mount |
| Remote Control Batteries | 2 Lithium Metal batteries (CR2025/2032) required (not included with unit) |
10. Warranty and Support
For warranty information or technical support, please refer to the product's purchase documentation or contact Enjoyedled customer service. Keep your purchase receipt as proof of purchase.

