Introduction
Thank you for choosing the Revell RV05167 German Submarine Type IX C/40 (U190) model kit. This kit allows you to construct a detailed 1:144 scale replica of the historic Type IX C/40 submarine. Please read these instructions carefully before beginning assembly to ensure a smooth and enjoyable building experience.
Safety Warning:
- This model kit contains small parts and is not suitable for children under 36 months due to choking hazards.
- Adult supervision is recommended for younger builders.
- Use model glues and paints in a well-ventilated area. Refer to the specific product safety instructions for these materials.
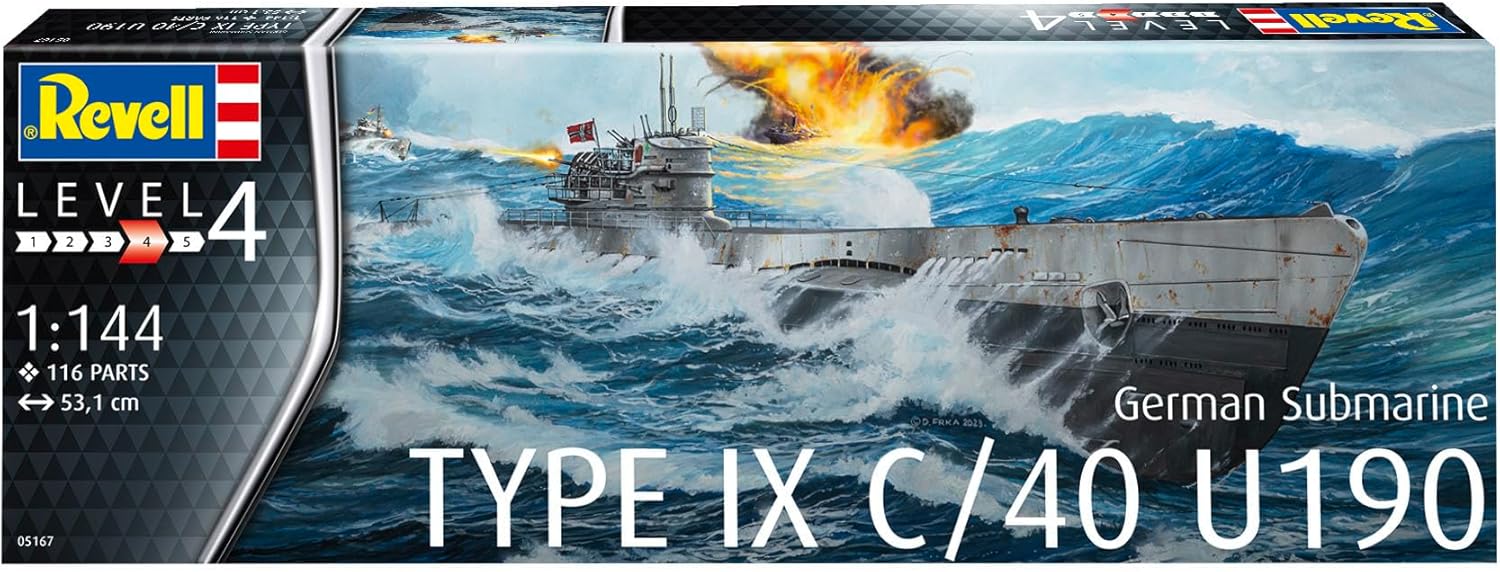
Figure 1: Packaging for the Revell RV05167 German Submarine Type IX C/40 (U190) model kit, showing the completed model on the box art.
Setup and Assembly
Before starting, ensure you have a clean, well-lit workspace. Gather the necessary tools, which typically include:
- Model nippers or a sharp hobby knife for removing parts from sprues.
- Fine-grit sandpaper or a sanding stick for cleaning mold lines.
- Plastic model cement (glue).
- Tweezers for handling small parts.
- Paints and brushes (optional, for finishing).
The kit contains 115 plastic parts on several sprues. Carefully identify each part before assembly. Refer to the included diagram for part numbering.

Figure 2: Unpainted plastic parts (sprues) included in the Revell RV05167 model kit, ready for assembly.
Assembly Steps:
- Part Preparation: Carefully remove parts from the sprues using nippers or a hobby knife. Clean any excess plastic (flash) or mold lines with sandpaper.
- Hull Assembly: Begin by assembling the main hull sections. Ensure a tight fit before applying glue. Allow sufficient drying time.
- Deck and Superstructure: Attach the deck sections and then proceed with the conning tower (wintergarten) and other superstructure components.
- Detail Parts: Add smaller details such as railings, periscopes, and weaponry. Use tweezers for precision.
- Propellers and Rudders: Assemble and attach the stern components, including propellers and rudders.
- Display Stand: Assemble the provided display stand and ensure the model fits securely.
Note: Always test-fit parts before applying glue. Use a minimal amount of glue to avoid damaging the plastic or obscuring details.
Finishing and Display
Once the model is fully assembled, you may choose to paint and decal it for a realistic finish. Refer to historical references or the box art for color schemes.
Painting Tips:
- Clean the model thoroughly to remove any dust or grease before painting.
- Apply thin, even coats of paint. Multiple thin coats are better than one thick coat.
- Allow each coat to dry completely before applying the next.
- Use masking tape for sharp lines between different colors.
Decal Application:
- Cut out each decal carefully.
- Dip the decal in warm water for a few seconds until it slides freely from the backing paper.
- Slide the decal onto the desired position on the model.
- Gently blot away excess water with a soft cloth or cotton swab.
- Use decal setting solutions for better adhesion and to conform to irregular surfaces.

Figure 3: A detailed view of the conning tower and deck gun, showcasing the intricate details achievable with careful assembly and painting.

Figure 4: A close-up of the bow section, highlighting the torpedo tube details and hull plating.

Figure 5: The stern section of the model, showing the propellers and rudder assembly.
Maintenance
To preserve the appearance of your finished model, follow these simple maintenance guidelines:
- Cleaning: Dust the model regularly with a soft, dry brush or a can of compressed air. Avoid using harsh chemicals or abrasive materials, which can damage paint and plastic.
- Storage: Store the model in a cool, dry place away from direct sunlight to prevent fading and warping. A display case can protect it from dust and accidental damage.
- Handling: Always handle the model by its base or sturdy sections to avoid breaking delicate parts.
Troubleshooting Common Issues
- Parts not fitting:
Ensure you have the correct parts for the step. Check for excess plastic (flash) on the edges of the parts and carefully trim it away. Light sanding may also help achieve a better fit.
- Glue marks:
Use glue sparingly. If excess glue appears, try to wipe it away immediately with a cotton swab dipped in a small amount of model glue thinner (test on a scrap piece first). For dried glue, careful scraping with a hobby knife or sanding may be necessary before painting.
- Paint issues (e.g., brush strokes, uneven coverage):
Ensure paint is properly thinned. Apply multiple thin coats instead of one thick coat. Allow adequate drying time between coats. For brush strokes, try using a softer brush or switching to spray paint for larger areas.
- Decals not adhering or bubbling:
Ensure the surface is clean and smooth. Use decal setting solution to help decals conform to irregular surfaces and eliminate air bubbles. Gently press down on the decal with a soft cloth or cotton swab to remove trapped air.
Specifications
| Feature | Detail |
|---|---|
| Brand | Revell |
| Model Number | RV05167 |
| Scale | 1:144 |
| Model Name | German Submarine Type IX C/40 (U190) |
| Material | Plastic |
| Number of Parts | 115 |
| Dimensions (L x W x H) | 20.91 x 1.85 x 4.41 inches (approx. 53.1 x 4.7 x 11.2 cm) |
| Weight | 12.3 ounces (approx. 0.35 kg) |
| Recommended Age | 3 years and up (with adult supervision due to small parts) |
| Special Features | Detailed features including snorkel and deck structure. |
Warranty Information
Revell products are manufactured to high-quality standards. For specific warranty details regarding manufacturing defects or missing parts, please refer to the information provided with your purchase or visit the official Revell website. Keep your proof of purchase for any warranty claims.
Customer Support
Should you require assistance with your Revell model kit, including questions about assembly, missing parts, or general inquiries, please contact Revell customer support. You can typically find contact information on the product packaging or by visiting the official Revell website:


