
Introduction
The AUTOOL CT400 is a professional fuel injector cleaner and tester machine designed for comprehensive maintenance of fuel injection systems. It supports cleaning and testing of GDI, EFI, and FSI injectors across various petrol vehicles. This manual provides detailed instructions for safe and effective operation of the device.
Safety Information
- Use only professional test liquid and cleaning liquid. Avoid flammable and harmful solvents.
- Do not add cleaning liquid to the glass tube.
- Ensure proper ventilation when operating the machine to prevent accumulation of fumes.
- Always wear appropriate personal protective equipment (PPE) such as safety glasses and gloves during operation.
- The machine's housing is made of sturdy sheet metal; consumable parts can be replaced quickly.
- The test liquid can be recycled, reducing operational costs.
Product Overview and Components
The AUTOOL CT400 features an integrated design for both ultrasonic cleaning and injector testing. It is capable of handling up to 6 injectors simultaneously.

Image: The AUTOOL CT400 machine shown with its various adapters, cables, and accessories. The main unit is yellow and black, featuring a control panel, test tubes, and an ultrasonic cleaning bath.
Key components include:
- Main Unit with Control Panel
- Ultrasonic Cleaning Bath
- Test Tubes (140ml capacity each)
- Fuel Tank (2000ml capacity)
- Pressure Gauge
- Various Adapters for different injector types
- Power Cable and Signal Cables
- Portable Drawer for accessory storage

Image: Labeled diagram of the AUTOOL CT400 showing components such as Filling Inlet, Oil Separator, Fixing Bolts, Glass Tube, Drain Switch, Power Switch, Power Socket, Portable Drawer, Control Panel, Pulse Signal Cable, Ultrasonic Cleaning Bath, Pressure Gauge, and Level Gauge.
Setup
- Unpacking: Carefully remove all components from the packaging. Verify that all items listed in the "What's in the Box" section are present.
- Placement: Place the machine on a stable, level surface in a well-ventilated area, away from direct sunlight or heat sources.
- Power Connection: Connect the power cable to the machine's power socket and then to a compatible 110V/220V AC power outlet.
- Fluid Filling:
- Open the filling inlet and carefully pour the recommended test liquid into the fuel tank. Ensure the liquid level is within the specified range on the level gauge.
- For ultrasonic cleaning, add appropriate cleaning liquid to the ultrasonic bath.
- Injector Installation: Select the correct adapters for your injectors. Install the injectors into the test bench, ensuring a secure fit to prevent leaks.
- Signal Cable Connection: Connect the pulse signal cables from the machine to each injector.
Operating Instructions
Ultrasonic Injector Cleaning
The ultrasonic cleaning function effectively removes carbon deposits and blockages from injectors.
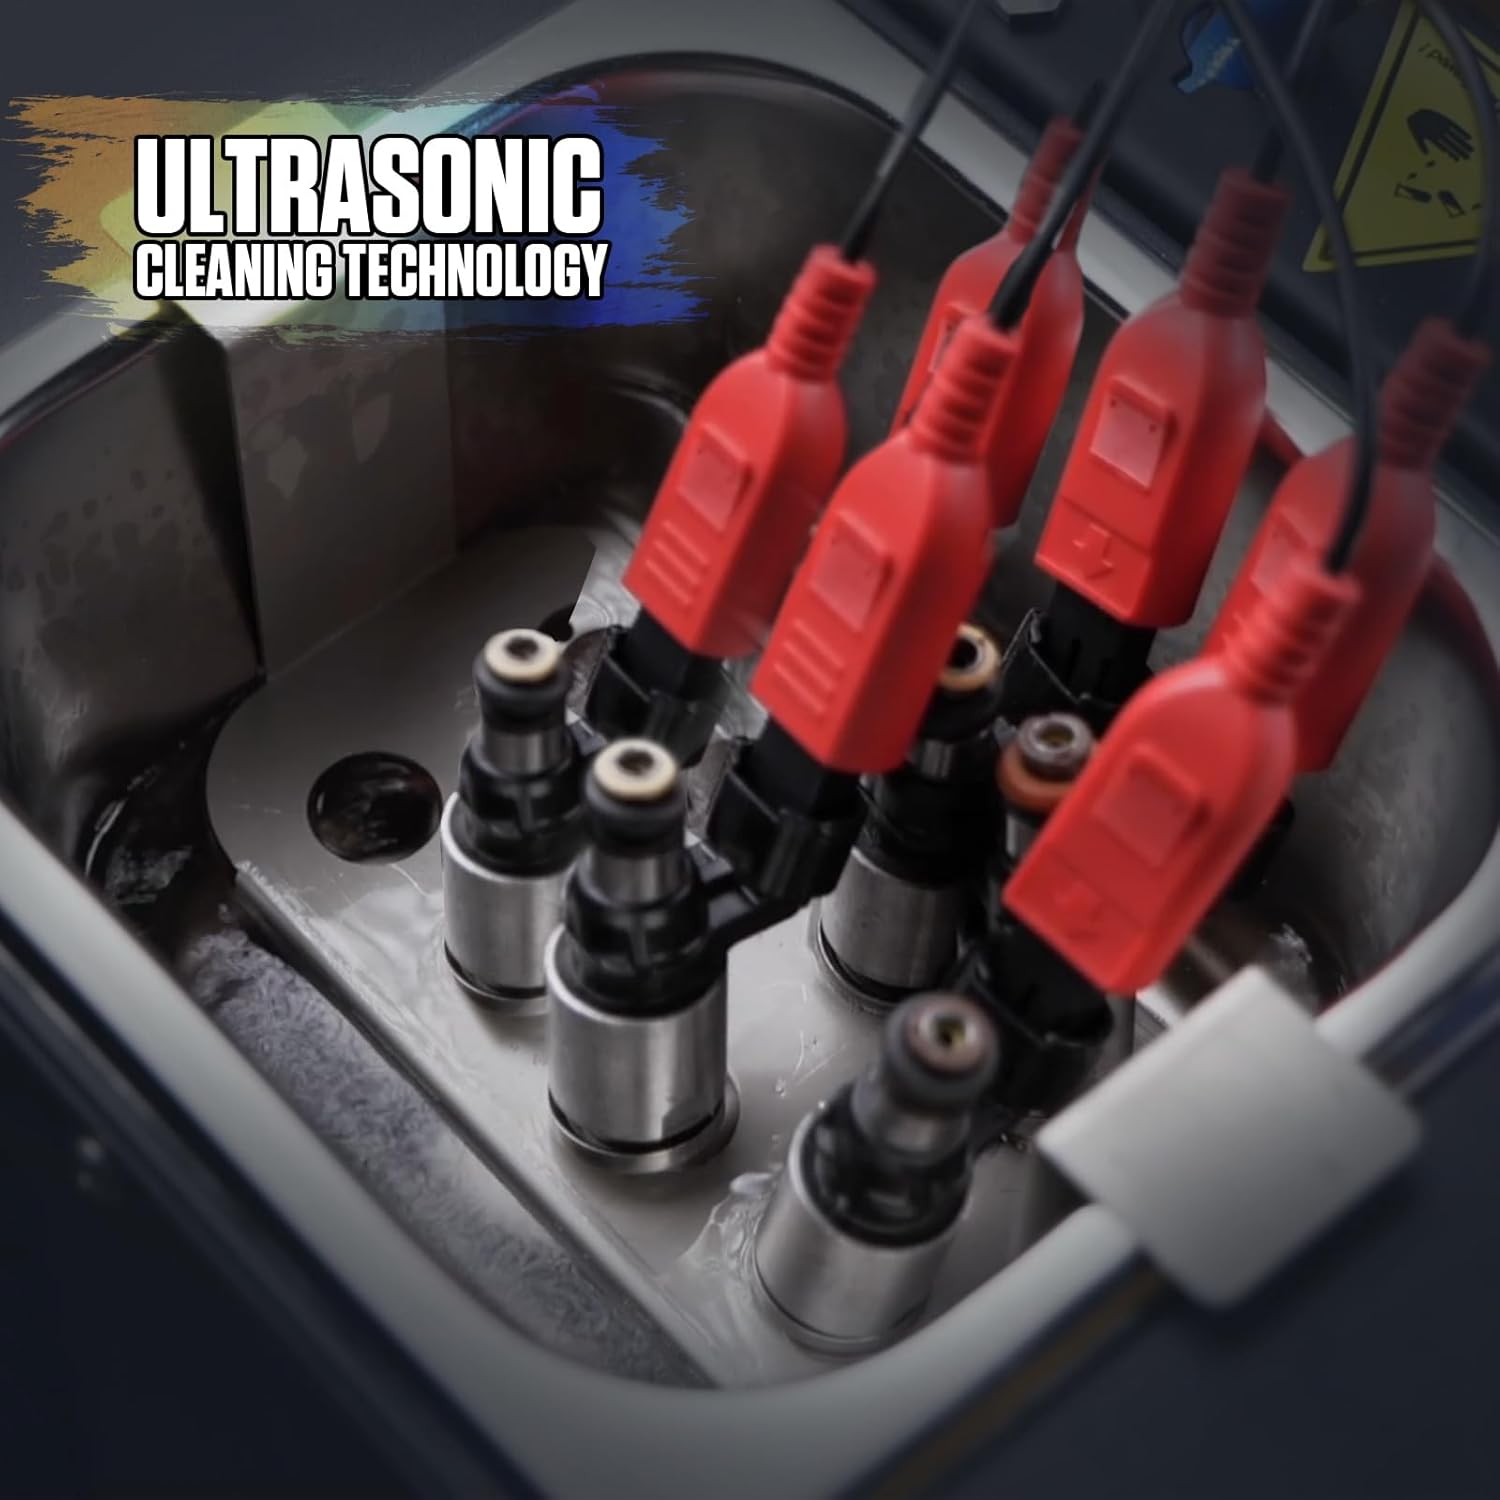
Image: Multiple fuel injectors submerged in the ultrasonic cleaning bath, connected by red wires, indicating the ultrasonic cleaning process.
- Place the injectors into the ultrasonic cleaning bath.
- Ensure the cleaning liquid covers the injector nozzles.
- Select the "Ultrasonic Cleaning" function from the control panel.
- Set the desired cleaning time (adjustable from 0-10 minutes).
- Press "START" to begin the cleaning process.
- For reverse flushing, install the injectors in the opposite direction after initial cleaning and repeat the process.
- Note: Only 12V injectors are supported for ultrasonic cleaning. 70V and 120V injectors are not supported for this specific function.
Injector Testing Modes
The CT400 offers 10 testing modes to simulate various driving conditions and diagnose injector performance, including uniformity, atomization, sealing, and injection angle.

Image: The control panel of the AUTOOL CT400 displaying various testing modes and digital readouts for pulse width and injection times.
Available test modes:
- Idle Test (0-20 ms): Simulates engine idling conditions.
- Medium-Speed Test (0-7.5 ms): Simulates moderate engine speeds.
- High-Speed Test (0-4 ms): Simulates high engine speeds.
- Accelerating Test: Simulates rapid acceleration.
- Shifting Speed Test: Simulates gear changes.
- Leak Checking Test: Checks for fuel leaks from the injectors.
- Idling Spray Value Test: Evaluates spray pattern and volume at idle.
- Medium Speed Spray Value Test: Evaluates spray pattern and volume at medium speed.
- High Speed Spray Value Test: Evaluates spray pattern and volume at high speed.
- No-Disassembly Cleaning: Requires connection to C100 special parts for cleaning the combustion chamber or throttle (external accessory).
To perform a test:
- Select the desired test mode from the "FUNCTIONS MENU" on the control panel.
- Adjust "FUNCTIONS/PULSE WIDTH ADJUSTMENT" and "WORKING TIME / INJECTING TIMES" as needed using the up/down buttons.
- Press "START" to begin the test.
- Observe the spray pattern, atomization, and volume in the test tubes.
- Press "STOP" to end the test.
GDI, EFI, FSI & Multi-voltage Options
The CT400 is compatible with various injector types and offers multiple voltage outputs to drive different injectors.

Image: A close-up of the AUTOOL CT400 control panel showing the GDI and voltage selection options (12V, 70V, 120V).
- The machine supports standard injectors, GDI (Gasoline Direct Injection), EFI (Electronic Fuel Injection), and FSI (Fuel Stratified Injection) systems.
- Use the voltage selection buttons (12V, 70V, 120V) to match the voltage requirements of the injectors being tested.
- This compatibility extends to vehicles from Mercedes-Benz, BMW, Audi, Porsche, Ford, and other direct injection engines.
Maintenance
- Fluid Management: Regularly check the level and condition of the test and cleaning liquids. Replace or recycle test liquid as per local environmental regulations.
- Cleaning: After each use, clean the test tubes and ultrasonic bath to prevent residue buildup. Use a soft cloth and appropriate cleaning agents.
- Component Inspection: Periodically inspect all hoses, adapters, and electrical connections for wear, cracks, or damage. Replace consumable parts such as O-rings and seals as needed.
- Storage: Store the machine in a clean, dry environment when not in use. Utilize the portable drawer for organized storage of accessories to prevent loss or damage.
Troubleshooting
This section addresses common operational issues. For problems not listed, contact AUTOOL customer support for assistance.
Machine Does Not Power On
- Check the power cable connection to both the machine and the power outlet.
- Verify the power switch is in the "ON" position.
- Inspect the fuse. If blown, replace it with a fuse of the same rating.
Injectors Not Firing During Test
- Ensure pulse signal cables are securely connected to both the machine and the injectors.
- Verify the correct injector voltage (12V, 70V, 120V) is selected on the control panel for the specific injector type.
- Check if the selected test mode is appropriate for the injector type and condition.
Leaks During Testing
- Confirm that injectors are properly seated and secured with the correct adapters.
- Inspect O-rings and seals for damage and replace if necessary.
- Ensure all connections are tightened appropriately.
Inconsistent Spray Pattern or Volume
- Perform ultrasonic cleaning to remove any blockages within the injectors.
- Ensure the test liquid is clean and free of contaminants.
- Verify the pressure setting is correct for the test being performed.
Specifications
| Feature | Value |
|---|---|
| Power Supply | 110V/220V |
| Frequency | 50-60HZ ±0.5 |
| Relative Humidity | <85% |
| Ambient Temperature | 0°C ~ 40°C |
| External Magnetic Field Strength | <400A/m |
| Fuel Tank Capacity | 2000ml |
| Test Tube Amount | 140ml |
| RPM Range | 0 ~ 7500r/min |
| Time Range | 0 ~ 9900 times |
| PWM Pulse Width | 0 ~ 20.0ms |
| System Pressure | 0 ~ 0.55Mpa (adjustable) |
| Timing | 0 ~ 10min (adjustable) |
| Ultrasonic Cleaning Power | 60W (Intermittent work) |
| Ultrasonic Cleaning Frequency | 28KHZ ±0.5KHZ |
| Main Unit Dimensions | 335*325*350mm |
| Package Dimensions | 390x410x430mm |
| Weight | 16.6KG |
Note: Specifications are subject to change without prior notice.
What's in the Box
The AUTOOL CT400 package typically includes the following items:
- AUTOOL CT400 Main Unit
- Fuel Injector Cleaner Kit (various adapters and accessories)
- Power Cable
- Pulse Signal Cables
- Funnel
- Ultrasonic Bath Cover
- O-rings and Seals
- User Manual (this document)

Image: A visual representation of the AUTOOL CT400 package contents, including the main unit, various adapters, cables, and other accessories.
Warranty and Support
AUTOOL provides a comprehensive warranty and support for the CT400 Fuel Injector Cleaner and Tester Machine:
- Three-Year Warranty: AUTOOL offers a three-year warranty against any quality problems from the date of purchase.
- Replacement/Solutions: If any defect is found, AUTOOL will provide a new replacement or suitable solutions to ensure customer satisfaction without delay.
- Lifetime Technical Support: Lifetime technical support is provided for the product, ensuring long-term usability and assistance.
- Customer Service: For any support needs or inquiries, please contact AUTOOL customer service. Responses are typically provided within 24 hours.
For further assistance, please visit the official AUTOOL website or contact their customer support team through the provided channels.


