
1. Important Safety Information
Please read all instructions carefully before using the appliance. Keep this manual for future reference.
- Electrical Safety: Ensure the oven is correctly earthed and connected to a suitable power supply. Do not use adapters or extension cords.
- Gas Safety: Installation and servicing must be carried out by a qualified gas engineer in accordance with local regulations. Check for gas leaks after installation.
- Hot Surfaces: The oven and its accessories become very hot during use. Always use oven mitts when handling hot items. Keep children and pets away from the appliance.
- Ventilation: Ensure adequate ventilation in the kitchen during oven operation, especially when using gas functions.
- Cleaning: Always switch off and disconnect the oven from the power supply before cleaning. Allow it to cool completely.
- Flammable Materials: Do not store flammable materials in or near the oven.
2. Product Overview
The FRANKE FMXO 52 G XS is a 90 cm built-in gas oven with a stainless steel finish and gas grill function. It features a Smooth2close system for gentle door operation and a programmable timer.
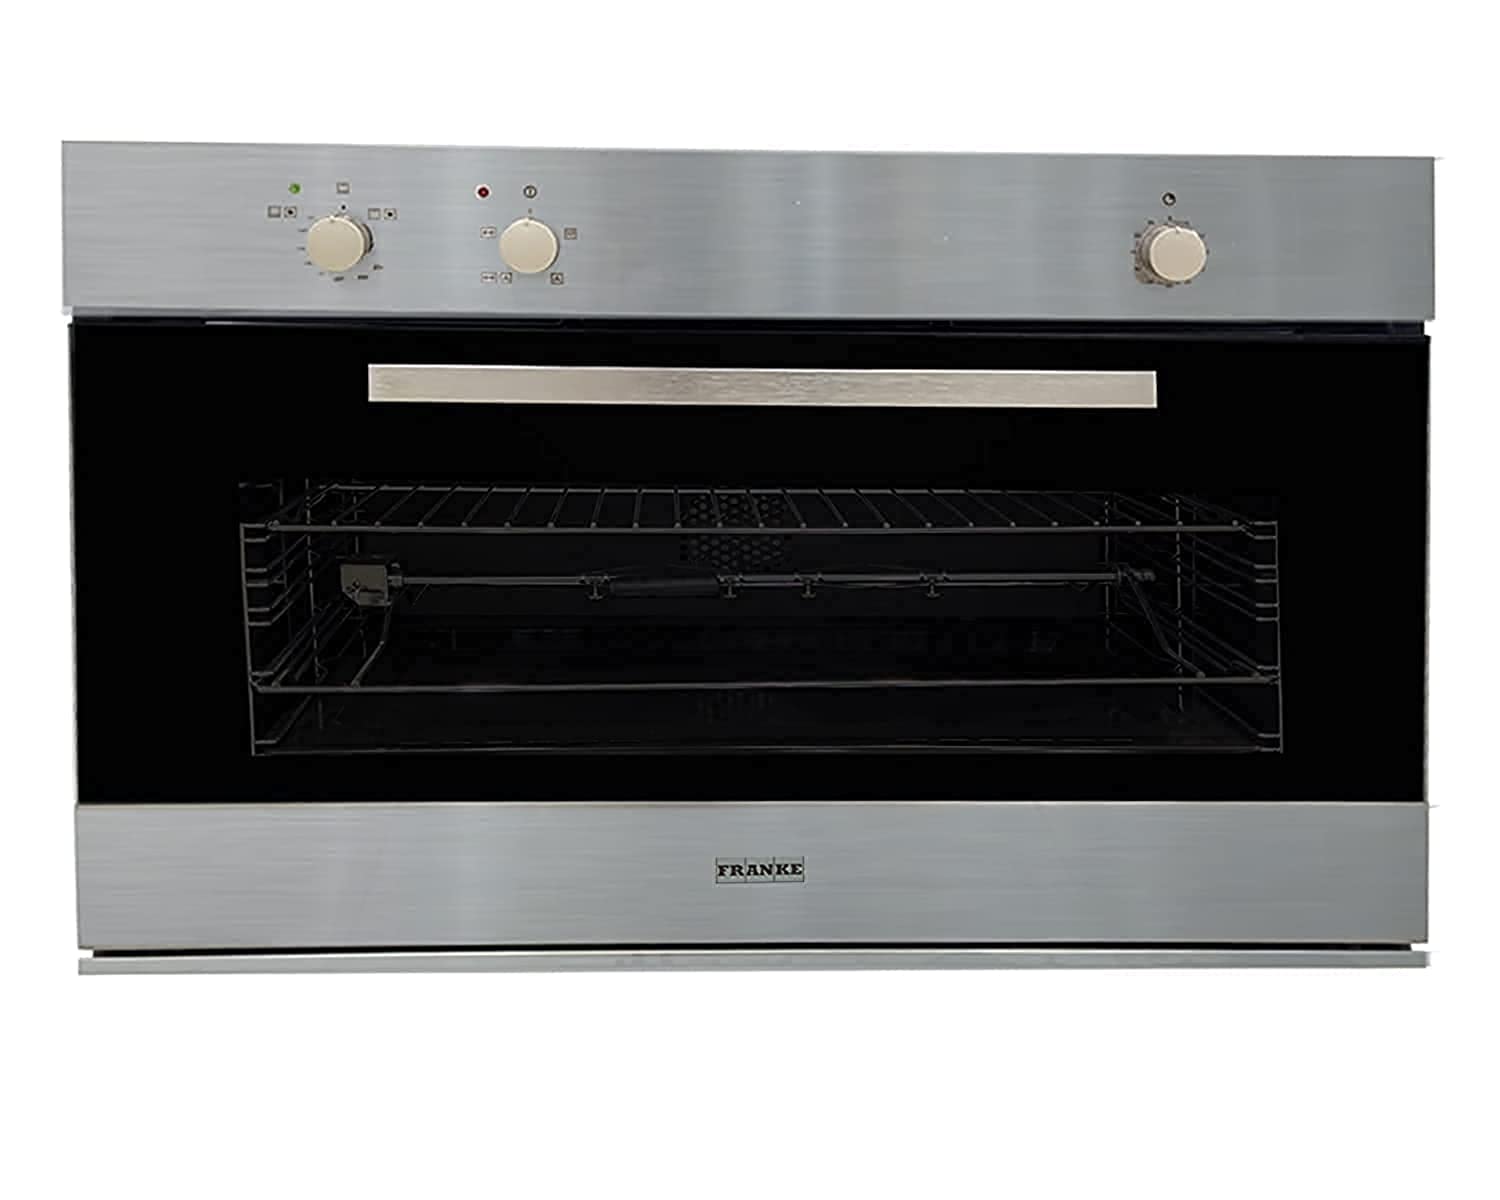
This image displays the front of the FRANKE FMXO 52 G XS Built-In Gas Oven. It features a brushed stainless steel finish on the control panel and lower trim. The control panel includes three rotary knobs for function selection, temperature, and timer settings. The oven door is made of black glass, providing a clear view into the oven cavity, which contains two wire racks. The bottom trim prominently displays the 'FRANKE' logo.
Key Components:
- Control Panel: Rotary knobs for function, temperature, and timer.
- Oven Door: Black glass door with Smooth2close system.
- Oven Cavity: Interior space for cooking, equipped with wire racks.
- Gas Burner: Located at the bottom for oven heating.
- Gas Grill: Located at the top for grilling functions.
3. Installation Instructions
This appliance is designed for built-in installation. Installation must be performed by a qualified technician in compliance with all local and national regulations.
- Cabinet Preparation: Ensure the cabinet opening dimensions are appropriate for a 90 cm built-in oven (approximately 90 cm width, 60 cm height, 60 cm depth). The cabinet material must be heat-resistant.
- Ventilation Requirements: Provide adequate ventilation around the oven to prevent overheating. Follow the manufacturer's guidelines for minimum clearances.
- Gas Connection: Connect the oven to the natural gas supply using approved flexible or rigid piping. Ensure all connections are tight and test for leaks using a soapy water solution.
- Electrical Connection: Connect the oven to a dedicated, earthed electrical outlet. Verify that the voltage and frequency match the appliance specifications.
- Securing the Oven: Slide the oven into the cabinet opening. Secure it in place using the provided screws through the designated mounting holes in the oven frame.
- Final Checks: Before first use, ensure all packaging materials are removed from the oven cavity. Verify that the oven door opens and closes smoothly.
4. Operating Instructions
4.1. First Use
- Before cooking food, heat the empty oven at maximum temperature for approximately 30 minutes to burn off any manufacturing residues. Ensure good ventilation during this process.
4.2. Using the Gas Oven
- Open the Oven Door: Slightly open the oven door before igniting the gas burner.
- Select Function: Turn the function knob to the desired oven setting (e.g., conventional gas oven).
- Set Temperature: Turn the temperature knob to the desired cooking temperature.
- Ignite Burner: Press and hold the temperature knob while turning it to the ignition position. Hold for a few seconds until the flame is stable. Release the knob.
- Preheating: Allow the oven to preheat to the set temperature. The indicator light will turn off when the temperature is reached.
- Cooking: Place food inside the oven. Close the door gently using the Smooth2close system.
4.3. Using the Gas Grill
- Open the Oven Door: The grill function typically requires the oven door to be slightly ajar to prevent overheating. Refer to specific markings on the appliance.
- Select Function: Turn the function knob to the grill setting.
- Set Temperature: Turn the temperature knob to the desired grill intensity.
- Ignite Grill: Press and hold the temperature knob while turning it to the ignition position. Hold for a few seconds until the flame is stable. Release the knob.
- Grilling: Place food on the top rack. Monitor food closely to prevent burning.
4.4. Using the Programmable Timer
- Consult the specific timer knob or digital display instructions on your appliance. Typically, the timer can be set for cooking duration or to switch off the oven at a specific time.
- To set the timer, rotate the timer knob to the desired duration. The oven will switch off automatically once the time elapses.
5. Maintenance and Cleaning
Regular cleaning and maintenance will ensure the longevity and optimal performance of your oven.
- General Cleaning: Always ensure the oven is cool and disconnected from the power supply before cleaning.
- Stainless Steel Surfaces: Clean stainless steel surfaces with a soft cloth and a non-abrasive stainless steel cleaner. Wipe in the direction of the grain to avoid streaks.
- Oven Interior: For light soiling, wipe the interior with a damp cloth and mild detergent. For stubborn stains, use a specialized oven cleaner, following the product instructions carefully. Avoid abrasive scourers.
- Glass Door: Clean the glass door with a soft cloth and glass cleaner. Do not use harsh abrasive cleaners or sharp metal scrapers as they can scratch the surface.
- Removable Parts: Oven racks and trays can be removed and washed in warm soapy water.
- Gas Burners: Ensure gas burners are clean and free from food debris to maintain efficient operation.
6. Troubleshooting
Before contacting customer service, please check the following common issues and solutions:
| Problem | Possible Cause | Solution |
|---|---|---|
| Oven not heating | No gas supply; burner not ignited; power outage. | Check gas valve; re-ignite burner; check circuit breaker. |
| Grill not working | Incorrect function selected; gas supply issue. | Ensure grill function is selected; check gas supply. |
| Uneven cooking | Incorrect rack position; overloaded oven; door not fully closed. | Use recommended rack positions; avoid overcrowding; ensure door is closed. |
| Gas smell | Gas leak. | Immediately turn off gas supply, open windows, do not operate electrical switches, and contact a qualified gas engineer. |
7. Technical Specifications
| Feature | Specification |
|---|---|
| Brand | FRANKE |
| Model Info | 116.0634.156 |
| Installation Type | Built-In |
| Fuel Type | Natural Gas |
| Oven Cooking Mode | Radiant |
| Special Features | Smooth2close system |
| Timer Function | Available (Programmable) |
| Material Type | Stainless Steel |
| Finish Type | Polished |
| Package Dimensions | 90 x 60 x 60 cm |
| Item Weight | 22 kg (48.5 Pounds) |
| Door Hinges / Orientation | Front |
| Defrost Function | Yes |
8. Warranty and Support
This FRANKE appliance comes with a manufacturer's warranty. Please refer to the warranty card included with your product for specific terms and conditions, including warranty period and coverage details.
For technical assistance, spare parts, or to schedule a service appointment, please contact FRANKE customer support. Have your model number (116.0634.156) and purchase date ready when you call.
You can find contact information for FRANKE customer service on the official FRANKE website or in the documentation provided with your oven.
