Introduction
This manual provides essential information for the proper setup, operation, and maintenance of your Smart Tech 24HN10T2 HD LED TV. Please read this manual thoroughly before using the television and retain it for future reference.
Safety Information
- Ensure proper ventilation around the TV.
- Do not expose the TV to rain or moisture.
- Avoid placing the TV near heat sources or in direct sunlight.
- Use only the power cord supplied with the TV.
- Do not open the TV casing; refer all servicing to qualified personnel.
- Keep batteries out of reach of children.
Package Contents
Before proceeding with the setup, please verify that all items are present in the package:
- Smart Tech 24HN10T2 HD LED TV
- Remote Control (with 2 AAA batteries)
- TV Stand (2 pieces)
- Screws for Stand Assembly
- Power Cord
- User Manual (this document)
Setup
1. Attaching the TV Stand
- Carefully place the TV face-down on a soft, clean surface to prevent screen damage.
- Align each stand piece with the corresponding slots on the bottom of the TV.
- Secure the stands using the provided screws. Ensure they are firmly attached.
- Carefully lift the TV and place it on a stable, level surface.
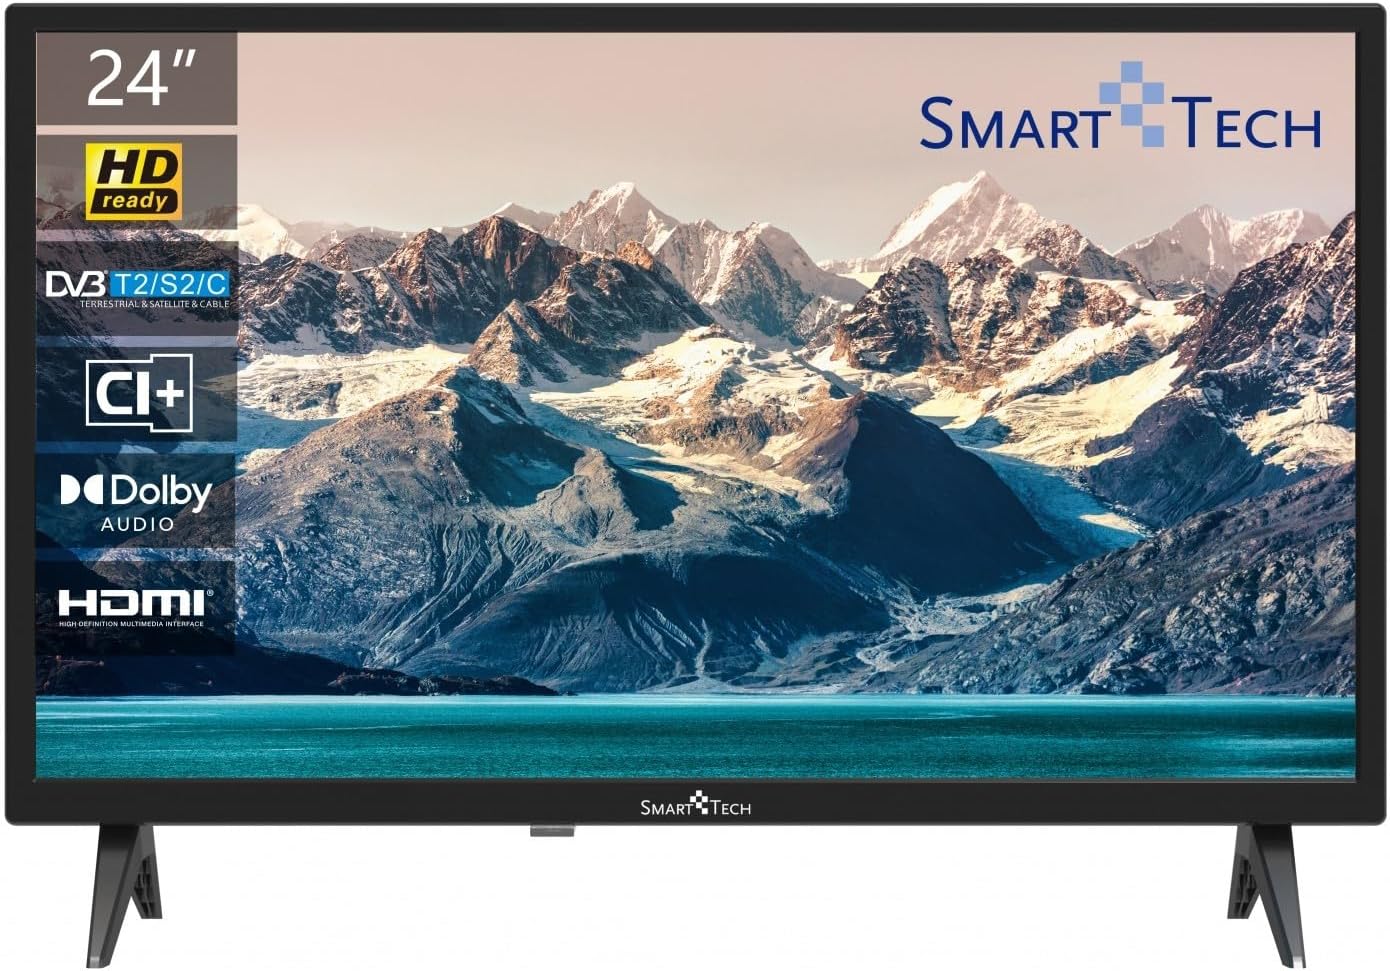
Image: Front view of the Smart Tech 24HN10T2 HD LED TV with its attached side stands. The screen displays a scenic mountain and lake landscape. The TV features a slim bezel and the Smart Tech logo at the bottom center.
2. Connecting Cables
- Power: Connect the power cord to the TV's power input and then to a wall outlet.
- Antenna/Cable: Connect your antenna or cable TV signal to the "ANT IN" port.
- HDMI Devices: Connect external devices like a Blu-ray player, game console, or set-top box to one of the 3 HDMI ports.
- USB Devices: Insert USB drives for media playback into one of the 2 USB ports.
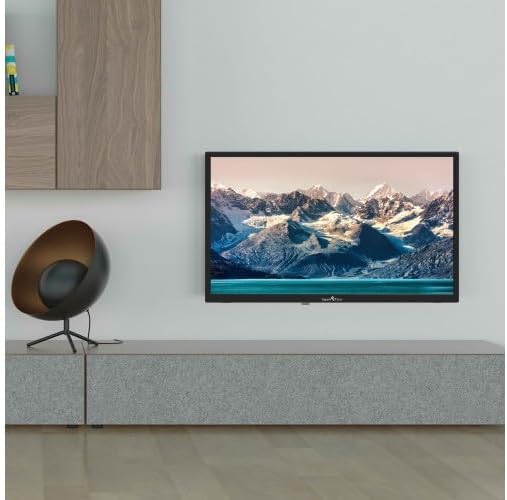
Image: The Smart Tech 24HN10T2 HD LED TV mounted on a wall above a media console, demonstrating its compatibility with VESA 100x100 wall mounts. A decorative chair is visible to the left.
3. Initial Power-On
After connecting all necessary cables, plug the TV into a power outlet. Press the power button on the remote control or on the TV itself to turn it on. The initial setup wizard will guide you through language selection, country, and channel scanning.
Operating the TV
Remote Control Overview

Image: A diagram illustrating the dimensions of the Smart Tech 24HN10T2 HD LED TV (551mm width, 377mm height with stand, 180mm depth with stand) and an image of the included remote control, showing its various buttons for navigation, volume, channel, and input selection.
Familiarize yourself with the remote control buttons:
- Power Button: Turns the TV on or off.
- Input/Source Button: Selects the input source (HDMI1, HDMI2, HDMI3, TV, USB).
- Volume Up/Down: Adjusts the sound level.
- Channel Up/Down: Changes TV channels.
- Navigation Buttons (Arrows & OK): Used to navigate menus and confirm selections.
- Menu Button: Accesses the main settings menu.
- Exit Button: Exits the current menu or function.
- Media Playback Controls: Play, Pause, Stop, Fast Forward, Rewind for USB media.
Input Source Selection
To switch between connected devices (e.g., a game console on HDMI1 or a Blu-ray player on HDMI2), press the Input or Source button on your remote control. Use the arrow keys to select the desired input and press OK.
Menu Navigation and Settings
Press the Menu button to access TV settings. You can adjust picture settings (brightness, contrast, color), sound settings (Dolby Audio, equalizer), channel settings, and system settings (time, language, software update).
- Picture Settings: Adjust modes like Standard, Dynamic, Movie, or customize settings manually.
- Sound Settings: Select sound modes (Standard, Music, Movie, User) and adjust bass/treble. The TV supports Dolby Audio for enhanced sound experience.
- Channel Scan: If you haven't done so during initial setup, perform an auto-scan to find available channels via the Triple Tuner (DVB-T2/S2/C).
USB Media Playback
Insert a USB flash drive into one of the TV's USB ports. The TV will typically prompt you to open the media browser. If not, select the USB input source. You can play various media formats including videos (H.265 supported), photos, and music.
Maintenance
Cleaning the TV
- Always unplug the TV before cleaning.
- Use a soft, dry, lint-free cloth to wipe the screen and cabinet.
- For stubborn marks on the screen, lightly dampen the cloth with water or a specialized screen cleaner (do not spray directly onto the screen).
- Avoid using abrasive cleaners, waxes, or solvents.
Storage
If storing the TV for an extended period, disconnect it from power, remove batteries from the remote, and store it in a cool, dry place, preferably in its original packaging.
Troubleshooting
| Problem | Possible Cause / Solution |
|---|---|
| No power | Check if the power cord is securely plugged into the TV and the wall outlet. Ensure the outlet has power. Try pressing the power button on the TV itself. |
| No picture / No sound | Verify the correct input source is selected. Check cable connections (HDMI, antenna). For TV channels, perform a channel scan. |
| Poor picture quality | Check antenna connection or signal strength. Adjust picture settings (brightness, contrast, sharpness) in the menu. Ensure the source device is outputting a high-quality signal. |
| Remote control not working | Check and replace batteries (2 AAA). Ensure there are no obstructions between the remote and the TV's IR sensor. |
| USB media not playing | Ensure the USB drive is formatted correctly (FAT32 recommended). Check if the media file format is supported by the TV. Try a different USB port. |
Specifications
| Feature | Detail |
|---|---|
| Brand | Smart Tech |
| Model Number | 24HN10T2 |
| Screen Size | 24 Inches (60 cm) |
| Display Technology | LED |
| Resolution | HD (1366 x 768) |
| Refresh Rate | 60 Hz |
| Special Features | Triple Tuner (DVB-T2/S2/C), HEVC Advance, Dolby Audio |
| Connectivity | 3 x HDMI, 2 x USB |
| Aspect Ratio | 16:9 |
| Product Dimensions (with stand) | 10D x 60W x 37H cm (approx.) |
| Power Source | AC Power |
Warranty and Support
This product is covered by a standard manufacturer's warranty. For specific warranty terms and conditions, please refer to the warranty card included with your purchase or contact your retailer. For technical support or service inquiries, please contact Smart Tech customer service through their official website or the contact information provided with your product documentation.
Please note that information regarding spare parts availability and guaranteed software updates is not available at this time.


