
1. Product Overview
The Progress Lighting Delayne pendant light (Model P500358-109) features a sophisticated design with a softly curved metal framework encasing an opal glass globe. This fixture provides diffused light, creating an ambient glow suitable for various indoor settings.
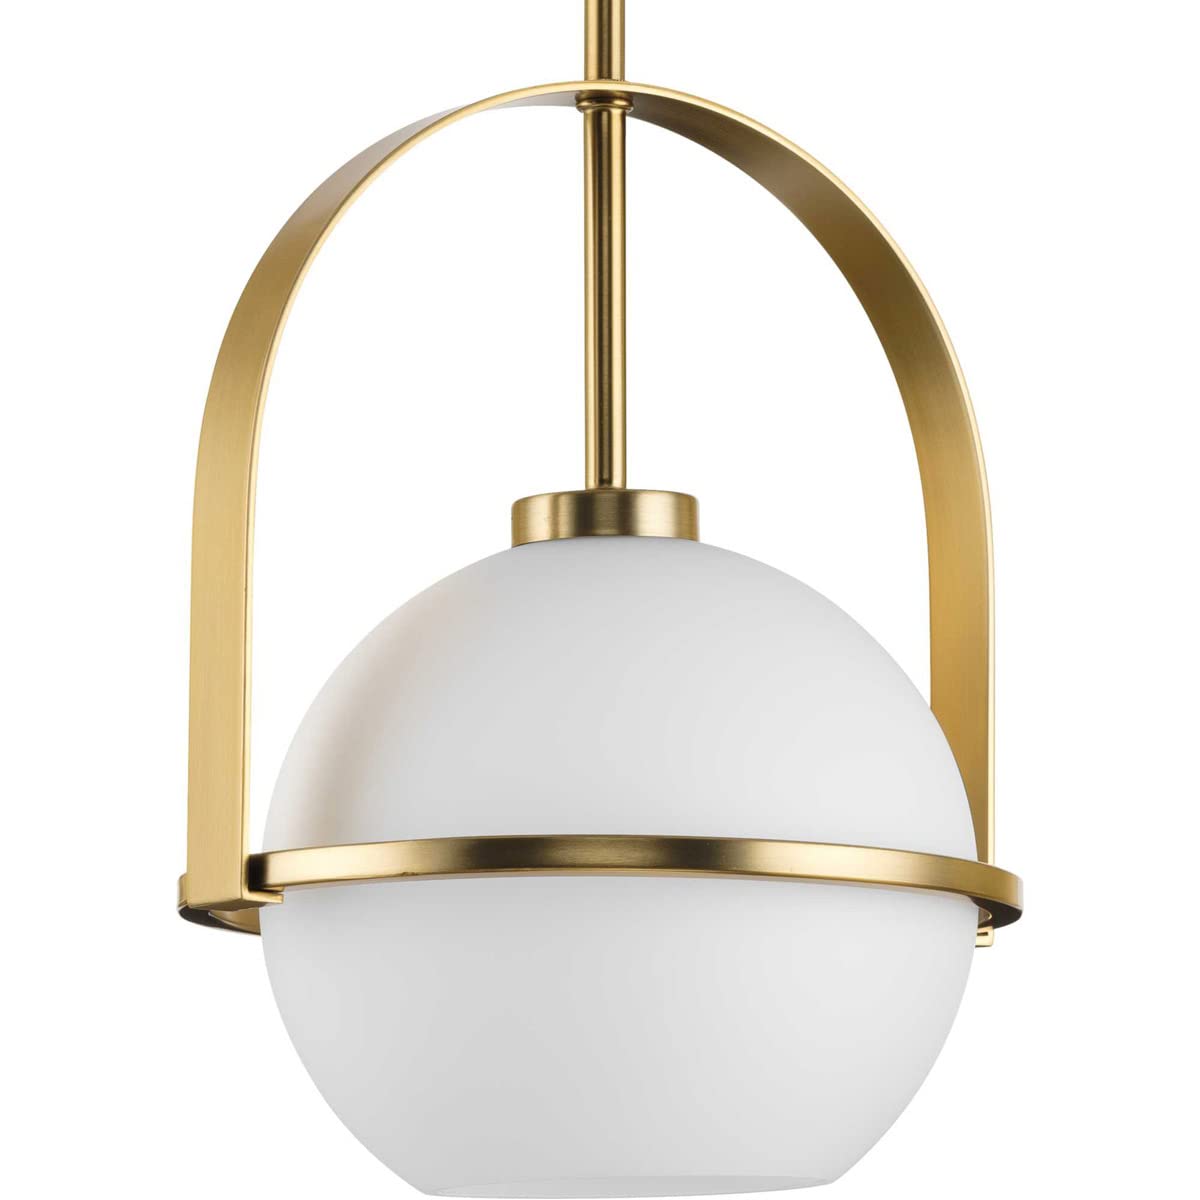
Image 1: Progress Lighting Delayne Pendant Light, Medium Gold finish.
2. Safety Information
Please read and understand all instructions before beginning installation. Failure to do so may result in electric shock, fire, or other injuries that could be fatal or cause property damage.
- Always disconnect power at the main circuit breaker before installation or maintenance.
- Consult a qualified electrician if you are unsure about the installation process.
- Use only the recommended bulb type and wattage to avoid overheating.
- Do not modify the fixture in any way.
- Keep combustible materials away from the light fixture.
3. Package Contents
Verify that all components are present before proceeding with installation:
- Pendant Light Fixture (Model P500358-109)
- Mounting Canopy
- Down Rods (one 6-inch, four 12-inch)
- Chain (9 inches, with 6 links for sloped ceilings)
- Etched Opal Glass Globe
- Mounting Hardware Kit (screws, wire nuts, etc.)
- Installation Sheet

Image 2: Included stems and chain for adjustable hanging height and sloped ceiling installation.
4. Specifications
| Feature | Detail |
|---|---|
| Brand | Progress Lighting |
| Model Number | P500358-109 |
| Dimensions (L x W x H) | 9.37" x 9.37" x 12.37" |
| Item Weight | 4.9 pounds |
| Material | Alloy Steel, Glass |
| Finish Type | Brushed Bronze (Gold) |
| Shade Material | Etched Opal Glass |
| Light Source | Incandescent (compatible with LED) |
| Number of Light Sources | 1 |
| Bulb Base | E26 (Medium Base) |
| Max Wattage | 100 watts |
| Voltage | 120 volts |
| Mounting Type | Ceiling Mount (Semi Flush Mount) |
| Indoor/Outdoor Usage | Indoor |
| Warranty | 1-year limited warranty |

Image 3: Product dimensions of the Delayne pendant light.
5. Setup and Installation
5.1 Before You Begin
- Turn off electrical power at the main fuse box or circuit breaker.
- Gather necessary tools: screwdriver, wire strippers, electrical tape, safety glasses.
- Unpack all components and inspect for damage.
5.2 Mounting the Fixture
- Attach the mounting bracket to the junction box in the ceiling using the provided screws.
- Determine the desired hanging height. Assemble the appropriate combination of 6-inch and 12-inch down rods. For sloped ceilings, use the chain links as needed to ensure the fixture hangs straight.
- Thread the fixture wires through the assembled down rods and canopy.
5.3 Wiring Instructions
- Connect the fixture's black wire to the house's black (hot) wire using a wire nut.
- Connect the fixture's white wire to the house's white (neutral) wire using a wire nut.
- Connect the fixture's ground wire to the house's ground wire (or bare copper) and the mounting bracket's ground screw.
- Carefully tuck all wires into the junction box.
5.4 Securing the Canopy and Glass Globe
- Secure the canopy to the mounting bracket with the provided screws.
- Carefully attach the etched opal glass globe to the fixture according to the detailed instructions in the included installation sheet.
5.5 Bulb Installation
This fixture requires one E26 (Medium Base) bulb, with a maximum wattage of 100W. LED or incandescent bulbs can be used. A frosted A19 light bulb is recommended for optimal light diffusion.

Image 4: Bulb information (E26 base, A19 shape) and dimming compatibility.
- Ensure power is off before installing the bulb.
- Screw the E26 base bulb into the socket until snug. Do not overtighten.
5.6 Pendant Spacing and Hanging Tips (Video)
Video 1: This video from Progress Lighting provides general tips for pendant light spacing and hanging, which can be helpful during installation.
6. Operating Instructions
Once installed, restore power at the main circuit breaker. The pendant light can be operated using a standard wall switch. This fixture is dimmable when used with a compatible wall dimmer and dimmable light bulbs.
7. Maintenance
7.1 Cleaning
- Ensure power is off and the fixture is cool before cleaning.
- Wipe the metal parts with a soft, dry cloth.
- Clean the glass globe with a soft cloth dampened with a mild glass cleaner. Avoid abrasive cleaners.
7.2 Bulb Replacement
- Turn off power at the circuit breaker.
- Allow the bulb to cool completely before touching.
- Carefully unscrew the old bulb and replace it with a new E26 (Medium Base) bulb, not exceeding 100W.
8. Troubleshooting
| Problem | Possible Cause | Solution |
|---|---|---|
| Light does not turn on | No power to fixture, loose wiring, faulty bulb, tripped circuit breaker. | Check circuit breaker, ensure all wire connections are secure, replace bulb, verify power supply. |
| Light flickers | Loose bulb, incompatible dimmer, loose wiring. | Tighten bulb, ensure dimmer is compatible with bulb type, check wire connections. |
| Bulb burns out quickly | Incorrect wattage bulb, poor ventilation, voltage fluctuations. | Use correct wattage bulb (max 100W), ensure proper air circulation around fixture. |
9. Warranty Information
This Progress Lighting fixture is covered by a 1-year limited warranty from the date of purchase. This warranty covers defects in materials and workmanship under normal use. For warranty claims or further details, please contact Progress Lighting customer service.
10. Support
For technical assistance, missing parts, or customer service inquiries, please visit the official Progress Lighting website or contact their customer support line. Refer to the contact information provided on the product packaging or the Progress Lighting website.


