
1. Introduction
This manual provides detailed instructions for the safe and effective use of your Acekool Cordless Electric Nail Drill PE1. Please read this manual thoroughly before operation and retain it for future reference.
2. Safety Information
Important Safety Precautions:
- Always wear safety glasses when using the nail drill to protect against flying debris.
- Be cautious of the rotating bit, as it can cause burns if held in one spot for too long or used with excessive pressure.
- Allow the drill to rest for 20-30 minutes after continuous use to prevent overheating and prolong product life.
- Do not use the device while it is charging.
- Keep out of reach of children.
- Do not immerse the device in water or other liquids.
- Ensure the drill bit is securely inserted before operation.
- If the device malfunctions or shows signs of damage, discontinue use immediately and contact customer support.
3. Product Overview
The Acekool Cordless Electric Nail Drill PE1 is a portable and rechargeable nail file machine designed for both home and salon use. It features a powerful motor, adjustable speed, and reversible direction for versatile nail care.
Key Features:
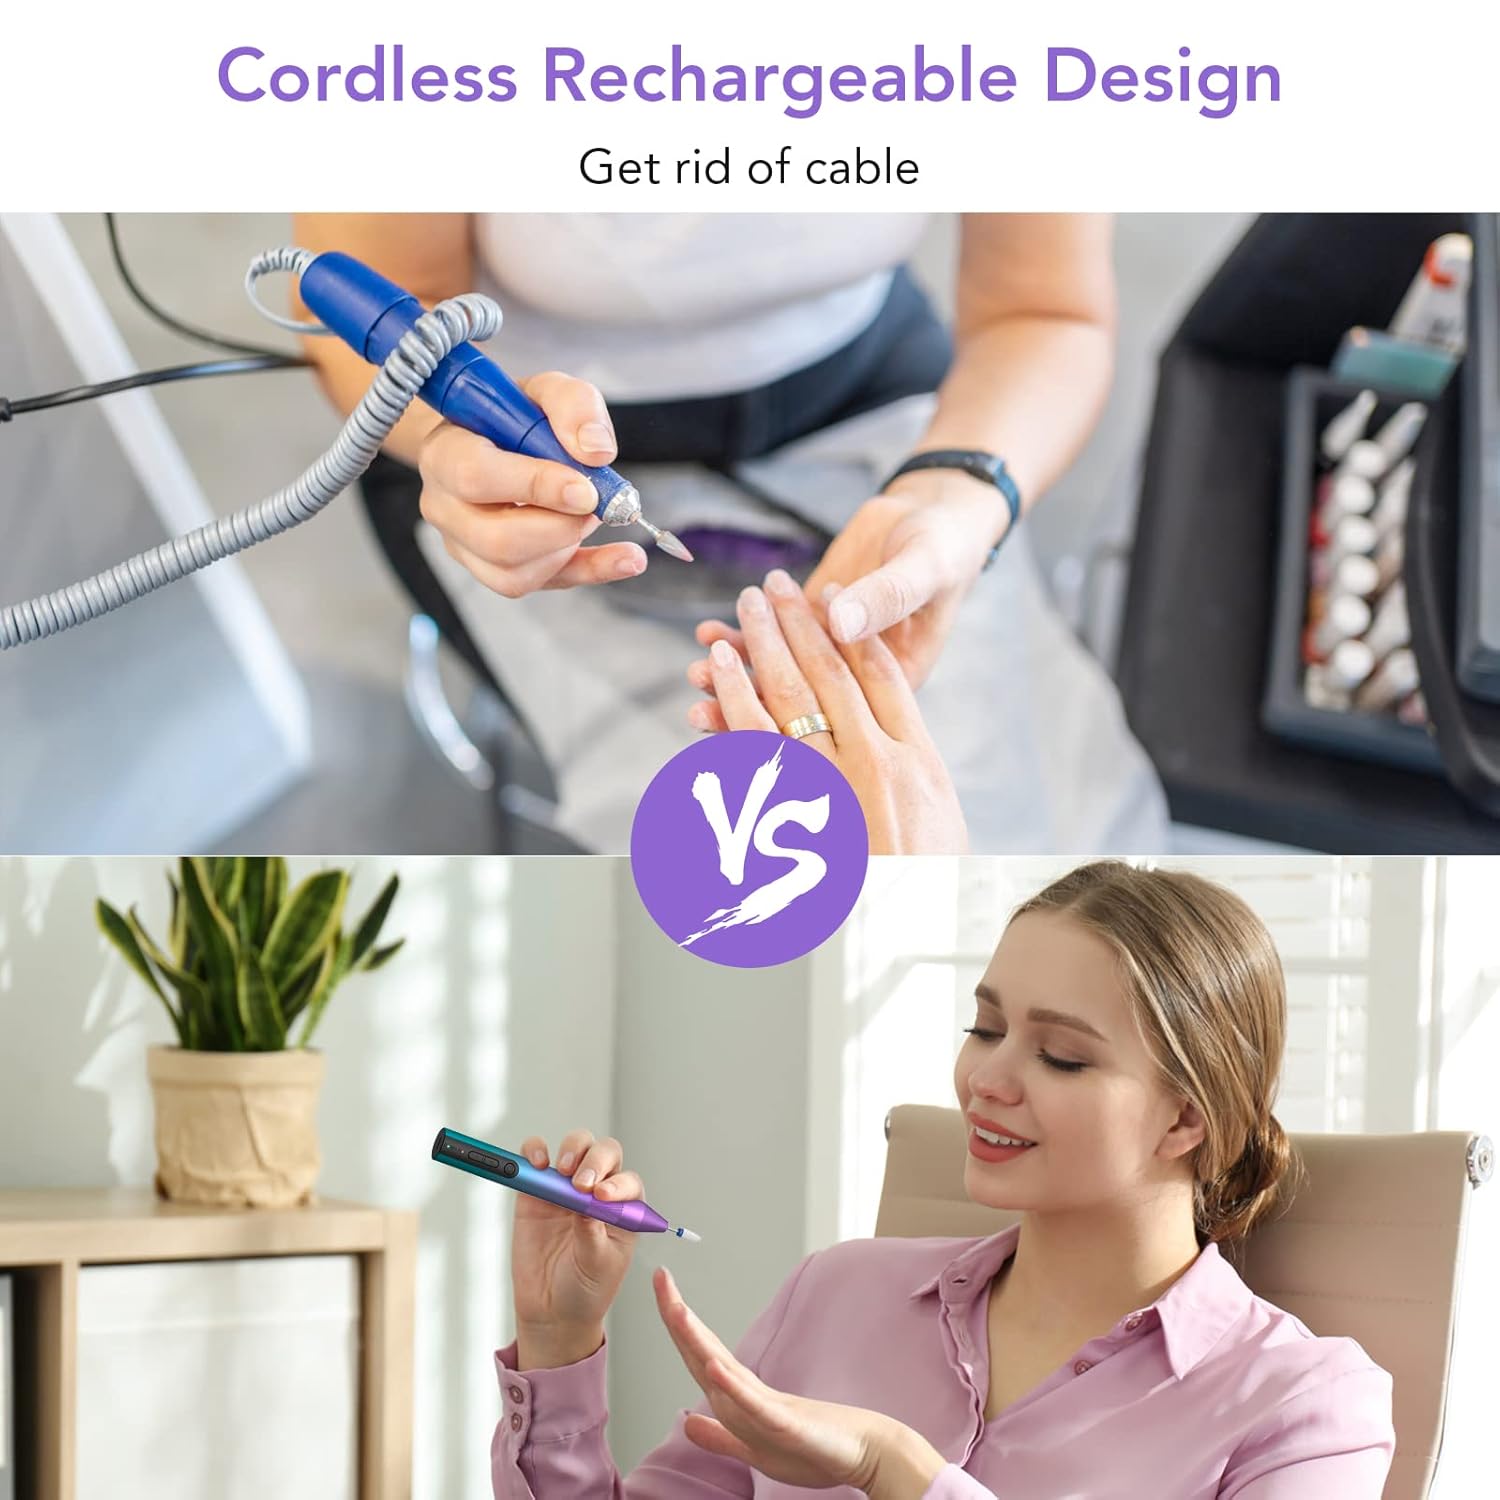
- Cordless & Portable Design: Equipped with a 650mAh rechargeable battery, providing 2.5-3.5 hours of operation without a power cord.
- Low Noise & Low Heat: Features sophisticated shock-absorbing bearings, powerful motors, and cooling aluminum casings for quiet and cool operation.
- Powerful Motor: Offers a speed range of 0-20000 RPM for efficient nail filing.
- Adjustable Speed & Direction: Allows for precise speed control and F/R directional control, suitable for both left and right-handed users.
- Multifunctional Kit: Includes various drill bits for grinding, engraving, cutting, polishing, and removing acrylic nails, poly gel nails, nail polish gel, and dead skin.

This image displays the main unit of the Acekool Cordless Electric Nail Drill PE1, showcasing its gradient purple and teal design. Alongside the drill, various interchangeable bits and a USB charging cable are visible, highlighting the comprehensive nature of the kit.
4. Package Contents
Upon opening your Acekool Cordless Electric Nail Drill PE1 package, you should find the following items:
- 1 x Acekool Cordless Electric Nail Drill PE1 Unit
- 5 x Advanced Nail Drill Bits
- 1 x Ceramic Bit
- 1 x Nail Art Brush
- 1 x USB Charging Cable
- 1 x User Manual (this document)
This image displays the complete contents of the Acekool Nail Drill kit, including the main drill unit, various drill bits in protective cases, a USB charging cable, and a user manual, all neatly arranged on a table.
5. Setup
5.1 Charging the Device
Before first use, fully charge the nail drill. Connect the USB charging cable to the charging port on the device and to a compatible USB power source (e.g., computer, wall adapter). The indicator lights will show charging status. Do not operate the device while charging.
5.2 Inserting/Replacing Drill Bits
To insert a drill bit:
- Ensure the device is powered off.
- Gently push the desired drill bit into the grinding hole at the tip of the device until it is securely seated. Do not force the bit.
- To remove, simply pull the bit out. Always remove bits carefully to prevent injury.
This video shows a user inserting a drill bit into the Acekool Electric Cordless Nail Drill and then demonstrating how to power it on and adjust the speed and direction. It provides a visual guide for initial setup and use.
6. Operating Instructions
6.1 Power On/Off
- To power on, press and hold the power button (usually the circular button) for a few seconds until the indicator lights illuminate.
- To power off, press and hold the power button again.
6.2 Adjusting Speed
Use the '+' and '-' buttons to increase or decrease the rotation speed of the drill bit. The indicator lights will typically show the current speed level (e.g., 7000 RPM, 12000 RPM, 20000 RPM).
6.3 Changing Direction (F/R)
The device supports both forward (F) and reverse (R) rotation. Press the F/R button (often located near the speed controls) to switch the rotation direction. This feature is useful for left-handed users or for specific nail filing techniques.

This image provides a detailed view of the Acekool Nail Drill's control panel, highlighting the power button, speed adjustment buttons (+/-), and the forward/reverse direction control. Indicator lights for speed and battery status are also visible.
7. Drill Bit Functions
The Acekool Nail Drill kit includes a variety of bits, each designed for specific nail care tasks:
- Ceramic Bit: Ideal for removing gel polish and cuticles.
- Coarse Disc Bit: Used for grinding nails and exfoliation.
- Felted Wool Bit: For polishing and cleaning nail surface debris.
- Barrel Bit: Provides smooth and polished nail surfaces.
- Umbrella Top Bit: Designed to reach tight areas such as sidewalls and cuticles.
- Cone Bit: Specifically for removing cuticles.
- Nail Art Brush: For cleaning up nail fragments and dust after filing.

This image illustrates the different types of drill bits included with the Acekool Nail Drill, such as ceramic, coarse disc, felted wool, barrel, umbrella top, and cone bits, along with a nail art brush. Each bit is labeled with its primary function, demonstrating the versatility of the kit for various nail care needs.
8. Maintenance
8.1 Cleaning
- After each use, remove the drill bit and use the included nail art brush to clean any dust or debris from the drill head and the bit itself.
- Wipe the main unit with a soft, dry cloth. Do not use harsh chemicals or abrasive cleaners.
- Ensure the device is completely dry before storing.
8.2 Storage
Store the Acekool Nail Drill and its accessories in a cool, dry place, away from direct sunlight and moisture. Keep all bits in their protective cases to prevent damage and maintain hygiene.
9. Troubleshooting
| Problem | Possible Cause | Solution |
|---|---|---|
| Drill not turning on. | Low battery or device not charged. | Charge the device fully using the provided USB cable. |
| Drill bit not rotating smoothly or stopping. | Drill bit not inserted correctly or debris obstructing rotation. | Ensure the drill bit is fully and correctly inserted. Clean the drill head and bit. |
| Device overheating during use. | Continuous use for extended periods. | Allow the device to rest for 20-30 minutes after 20-30 minutes of continuous use. |
| Reduced performance or weak rotation. | Low battery or worn-out drill bit. | Recharge the device. Replace the drill bit if it appears dull or damaged. |
10. Specifications
- Model Name: PE1
- Brand: Acekool
- Material: Aluminum
- Power Source: Battery Powered (1 Lithium Ion battery required)
- Battery Capacity: 650mAh (approx. 2.5-3.5 hours operation)
- Voltage: 5 Volts
- Speed Range: 0-20000 RPM
- Package Dimensions: 7.68 x 2.52 x 1.85 inches
- Item Weight: 7.05 ounces
- UPC/GTIN: 196336002013
11. Warranty and Support
Acekool is committed to customer satisfaction. If you encounter any questions or issues with your Cordless Electric Nail Drill PE1, please do not hesitate to contact our customer support team. We aim to respond to all inquiries within 24 hours.
For support, please visit the official Acekool website or refer to the contact information provided in your product packaging.
