1. Introduction
Thank you for choosing the DEKCO 2K Solar Security Camera. This wireless outdoor camera provides comprehensive surveillance with its 2K resolution, 360° pan and tilt capabilities, and solar-powered design. Equipped with advanced features like motion detection, two-way audio, and enhanced night vision, it offers reliable home security. This manual provides detailed instructions for installation, operation, and maintenance to ensure optimal performance of your device.
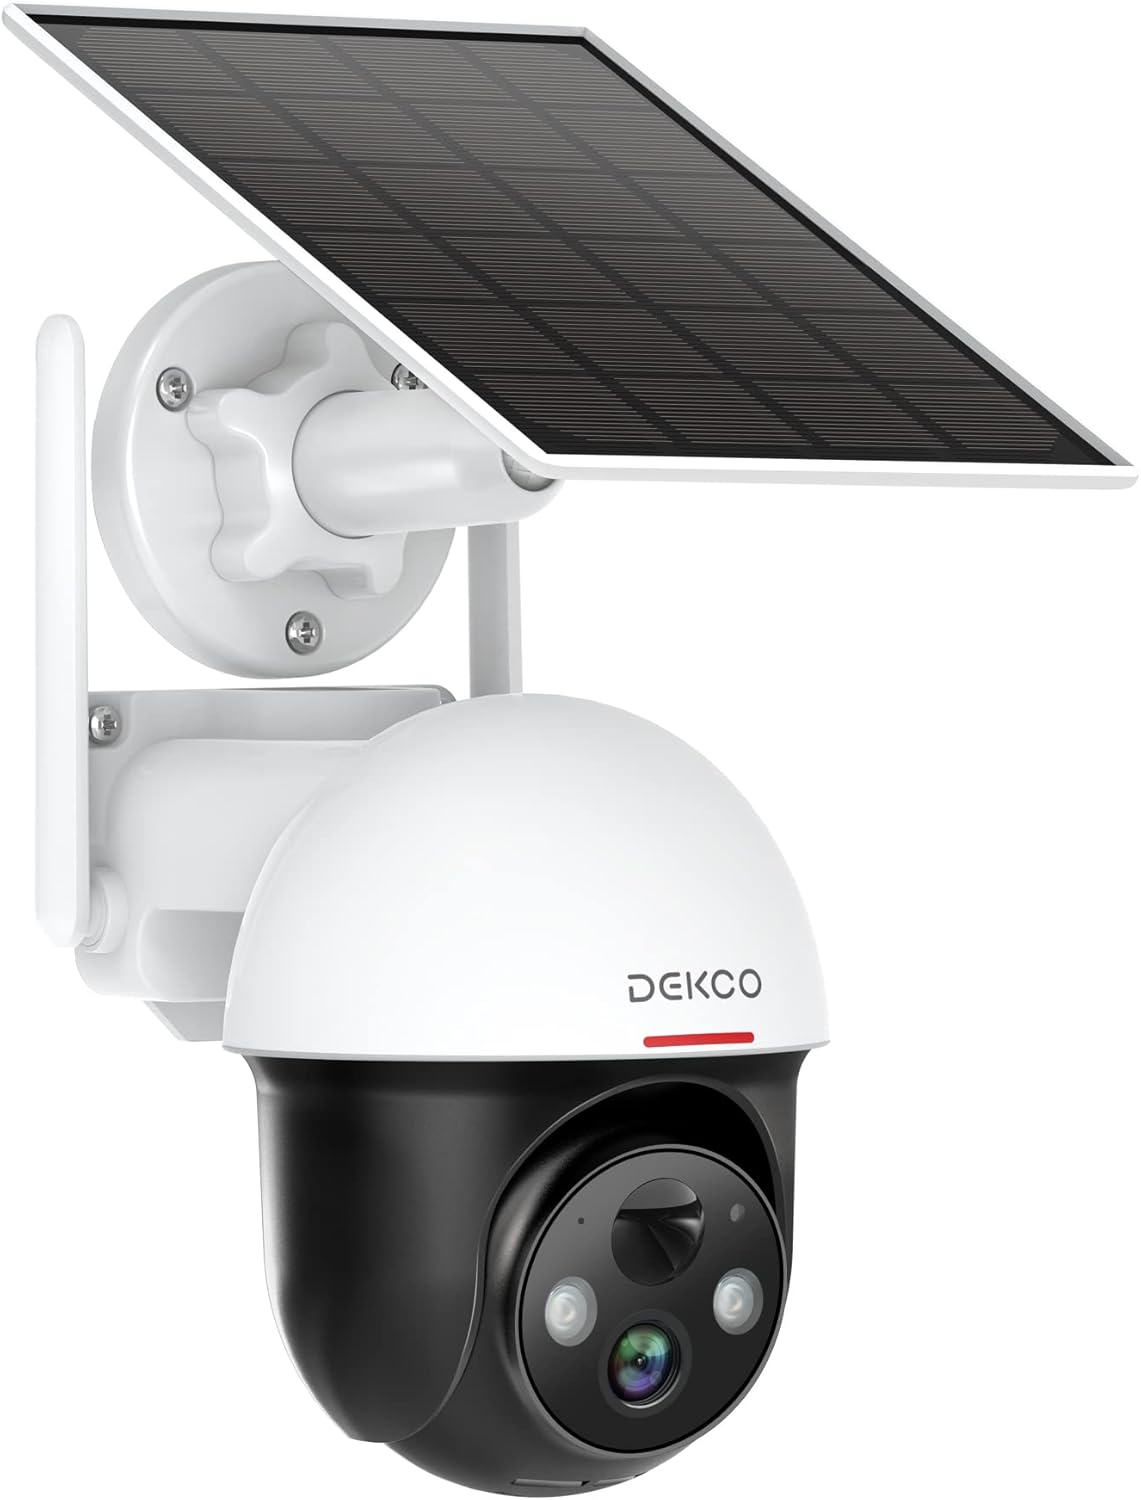
Figure 1.1: DEKCO 2K Solar Security Camera with integrated solar panel.
2. Package Contents
Please check the package contents upon opening to ensure all components are present and undamaged. If any items are missing or damaged, please contact DEKCO customer support.

Figure 2.1: Included items in the product package.
- DEKCO 2K Solar Security Camera
- Solar Panel (pre-attached or separate, depending on model variant)
- Mounting Bracket
- USB Charging Cable
- Mounting Screws and Wall Anchors
- User Manual
- Quick Start Guide
3. Product Overview
Familiarize yourself with the main components of your DEKCO solar security camera.

Figure 3.1: Key features of the DEKCO Solar Security Camera.
Camera Components:
- Camera Lens: Captures video footage.
- Infrared LEDs: Provide enhanced night vision.
- Spotlight: Illuminates the area for color night vision and acts as a deterrent.
- Microphone: Captures audio for two-way communication.
- Speaker: Outputs audio for two-way communication and siren.
- PIR Motion Sensor: Detects heat signatures for accurate motion detection.
- Antennas: For stable 2.4GHz Wi-Fi connectivity.
- Solar Panel: Charges the internal battery using sunlight.
- Reset Button: Used to reset the camera to factory settings.
- Micro SD Card Slot: For local video storage (supports 8-128GB, not included).
4. Setup
4.1 Initial Charging
Before first use, fully charge the camera's internal battery using the provided USB cable and a 5V/2A power adapter (not included). The charging indicator light will turn solid blue when fully charged.
4.2 App Download and Registration
- Scan the QR code below or search for "CloudEdge" in your mobile app store (App Store for iOS, Google Play for Android).
- Download and install the CloudEdge app.
- Open the app and register for a new account using your email address. Follow the on-screen instructions to complete registration.

Figure 4.1: The CloudEdge app is compatible with both Android and iOS devices.
4.3 Wi-Fi Connection
Ensure your Wi-Fi network is 2.4GHz. This camera does not support 5GHz Wi-Fi.
- Power on the camera. The indicator light will flash red, indicating it's ready for pairing.
- In the CloudEdge app, tap the "+" icon to add a new device.
- Select "Battery Camera" and follow the prompts.
- Enter your 2.4GHz Wi-Fi network name (SSID) and password.
- Place the QR code generated by the app in front of the camera lens (approx. 15-20 cm / 6-8 inches away) until you hear a prompt sound from the camera.
- Once connected, the indicator light will turn solid blue.
4.4 Mounting the Camera
Choose a location with strong 2.4GHz Wi-Fi signal and direct sunlight exposure for the solar panel.
- Mark the drilling positions using the mounting bracket as a template.
- Drill holes and insert wall anchors if mounting on masonry or concrete.
- Secure the mounting bracket to the wall with screws.
- Attach the camera to the mounting bracket.
- Adjust the camera angle and solar panel orientation to maximize sunlight exposure.

Figure 4.2: The camera is designed for wire-free installation, powered by its solar panel.
5. Operating Instructions
5.1 Live View
Open the CloudEdge app and select your camera to view the live feed. You can pinch to zoom in on the live view.
5.2 Pan & Tilt Control
From the live view screen, use the directional controls to remotely pan (horizontal rotation up to 360°) and tilt (vertical rotation up to 90°) the camera lens to monitor different areas.

Figure 5.1: The camera offers a 360° all-around field of view with pan and tilt functions.
5.3 Two-Way Audio
Tap the microphone icon in the app to speak through the camera's speaker. Tap again to end. This allows for real-time communication with visitors or to deter intruders.

Figure 5.2: Premium 2-Way Audio allows clear communication.
5.4 Motion Detection & Alerts
The camera uses advanced PIR motion detection to identify human shapes, reducing false alarms. When motion is detected, you will receive instant notifications on your phone.
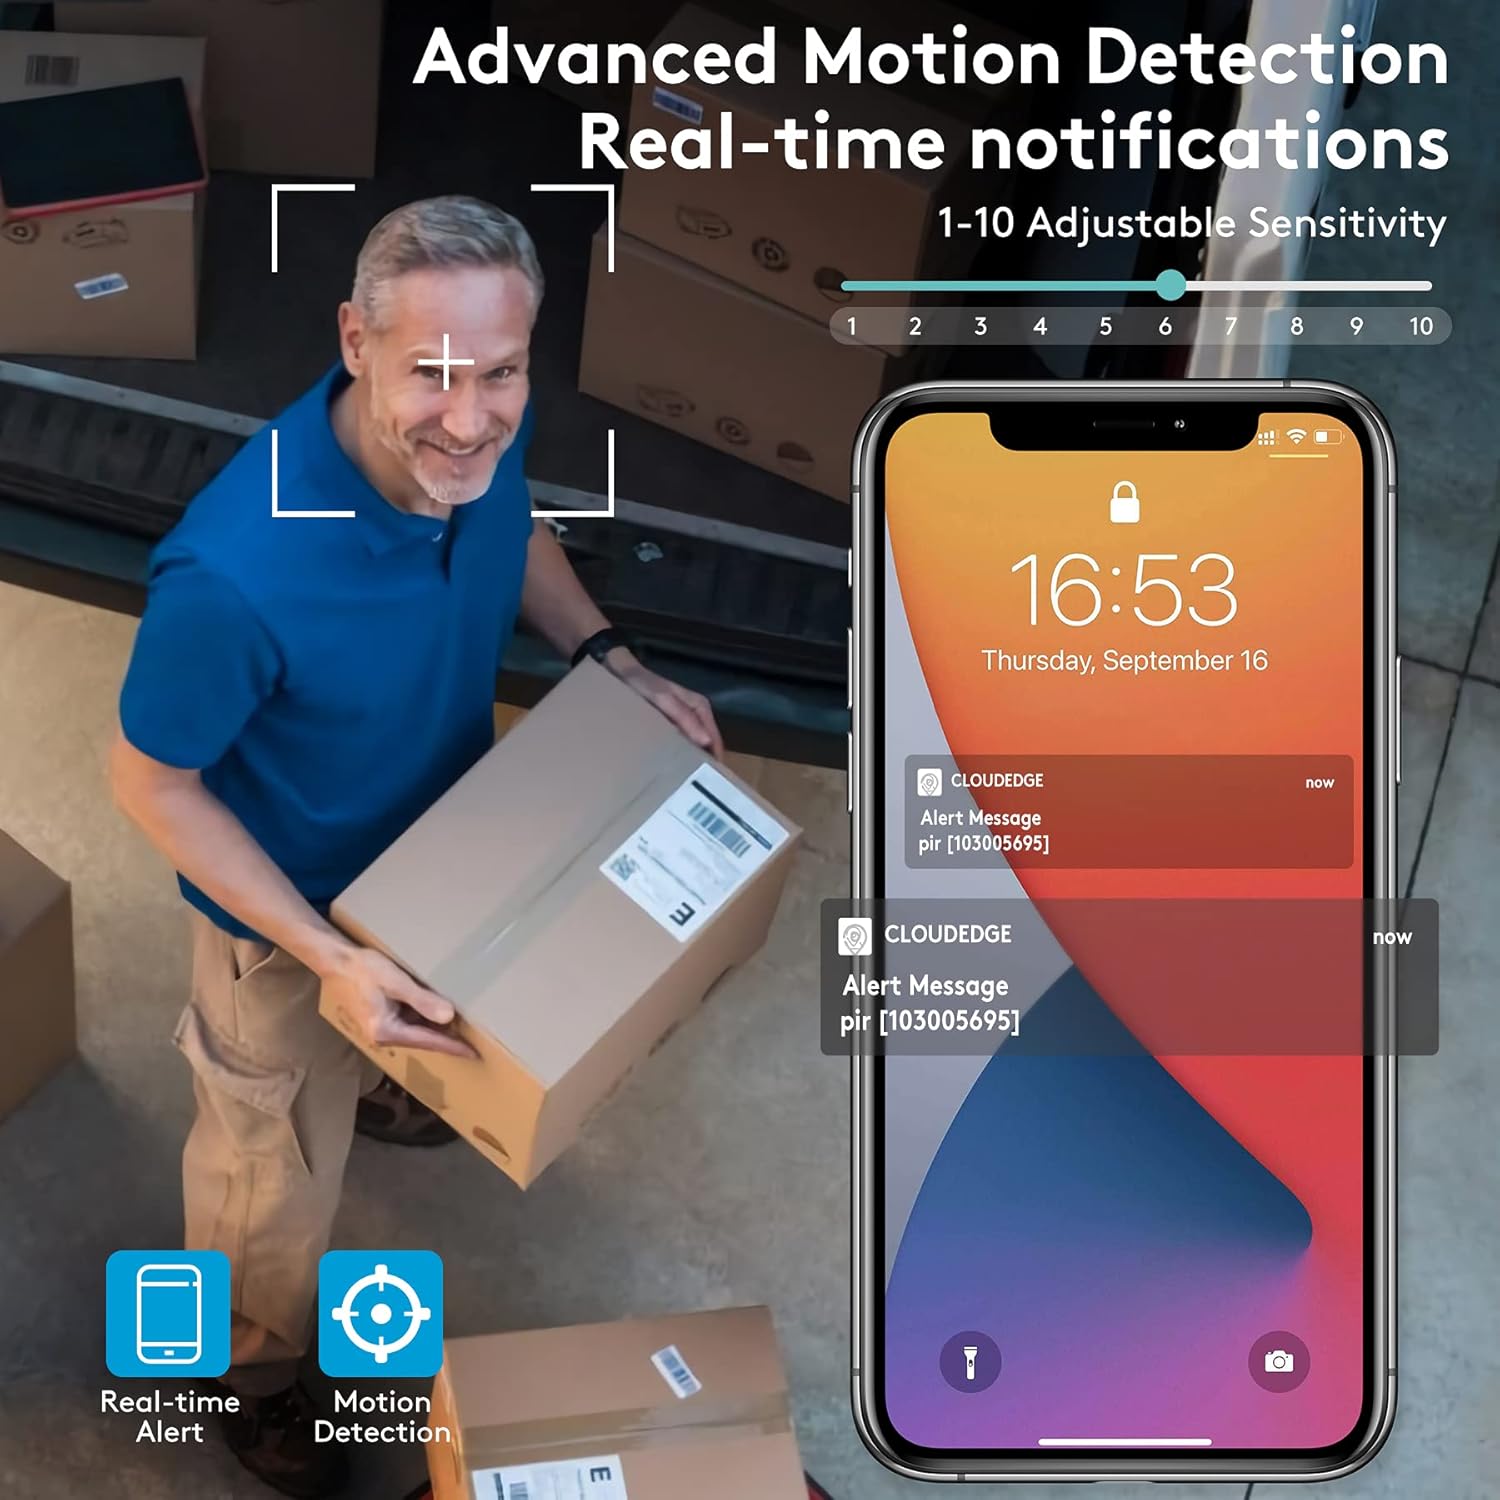
Figure 5.3: Advanced Motion Detection provides real-time notifications with adjustable sensitivity.
- Sensitivity: Adjust motion detection sensitivity (1-10) in the app settings.
- Activity Zones: Define specific areas for motion detection to focus on.
- Siren/Spotlight: Configure the camera to activate its siren and/or spotlight upon motion detection for deterrence.

Figure 5.4: The camera can ward off intruders with a motion-activated alarm, including a flashing light and siren.
5.5 Recording and Playback
The camera records events triggered by motion detection. You can access these recordings via the CloudEdge app.
- Cloud Storage: Enjoy a free 7-day trial for cloud storage. Subscription plans are available for extended storage.
- Micro SD Card: Insert a Micro SD card (up to 128GB, not included) for local storage. Recordings will loop once the card is full.

Figure 5.5: The camera supports both cloud and local Micro SD card storage.
5.6 Night Vision
The camera features upgraded infrared LEDs for clear night vision up to 66ft. When sufficient ambient light is present, it can provide full-color night vision.

Figure 5.6: 2K HD quality with enhanced night vision capabilities.
6. Maintenance
6.1 Cleaning
- Regularly wipe the camera lens and solar panel with a soft, damp cloth to remove dust and debris. Avoid abrasive cleaners.
- Ensure the solar panel is clean for optimal charging efficiency.
6.2 Battery Care
- The camera is designed for continuous power via solar charging. In areas with limited sunlight, occasional manual charging via USB may be required.
- Avoid exposing the camera to extreme temperatures outside its operating range to preserve battery life.
6.3 Firmware Updates
Periodically check the CloudEdge app for available firmware updates. Keeping your camera's firmware updated ensures optimal performance, new features, and security enhancements.
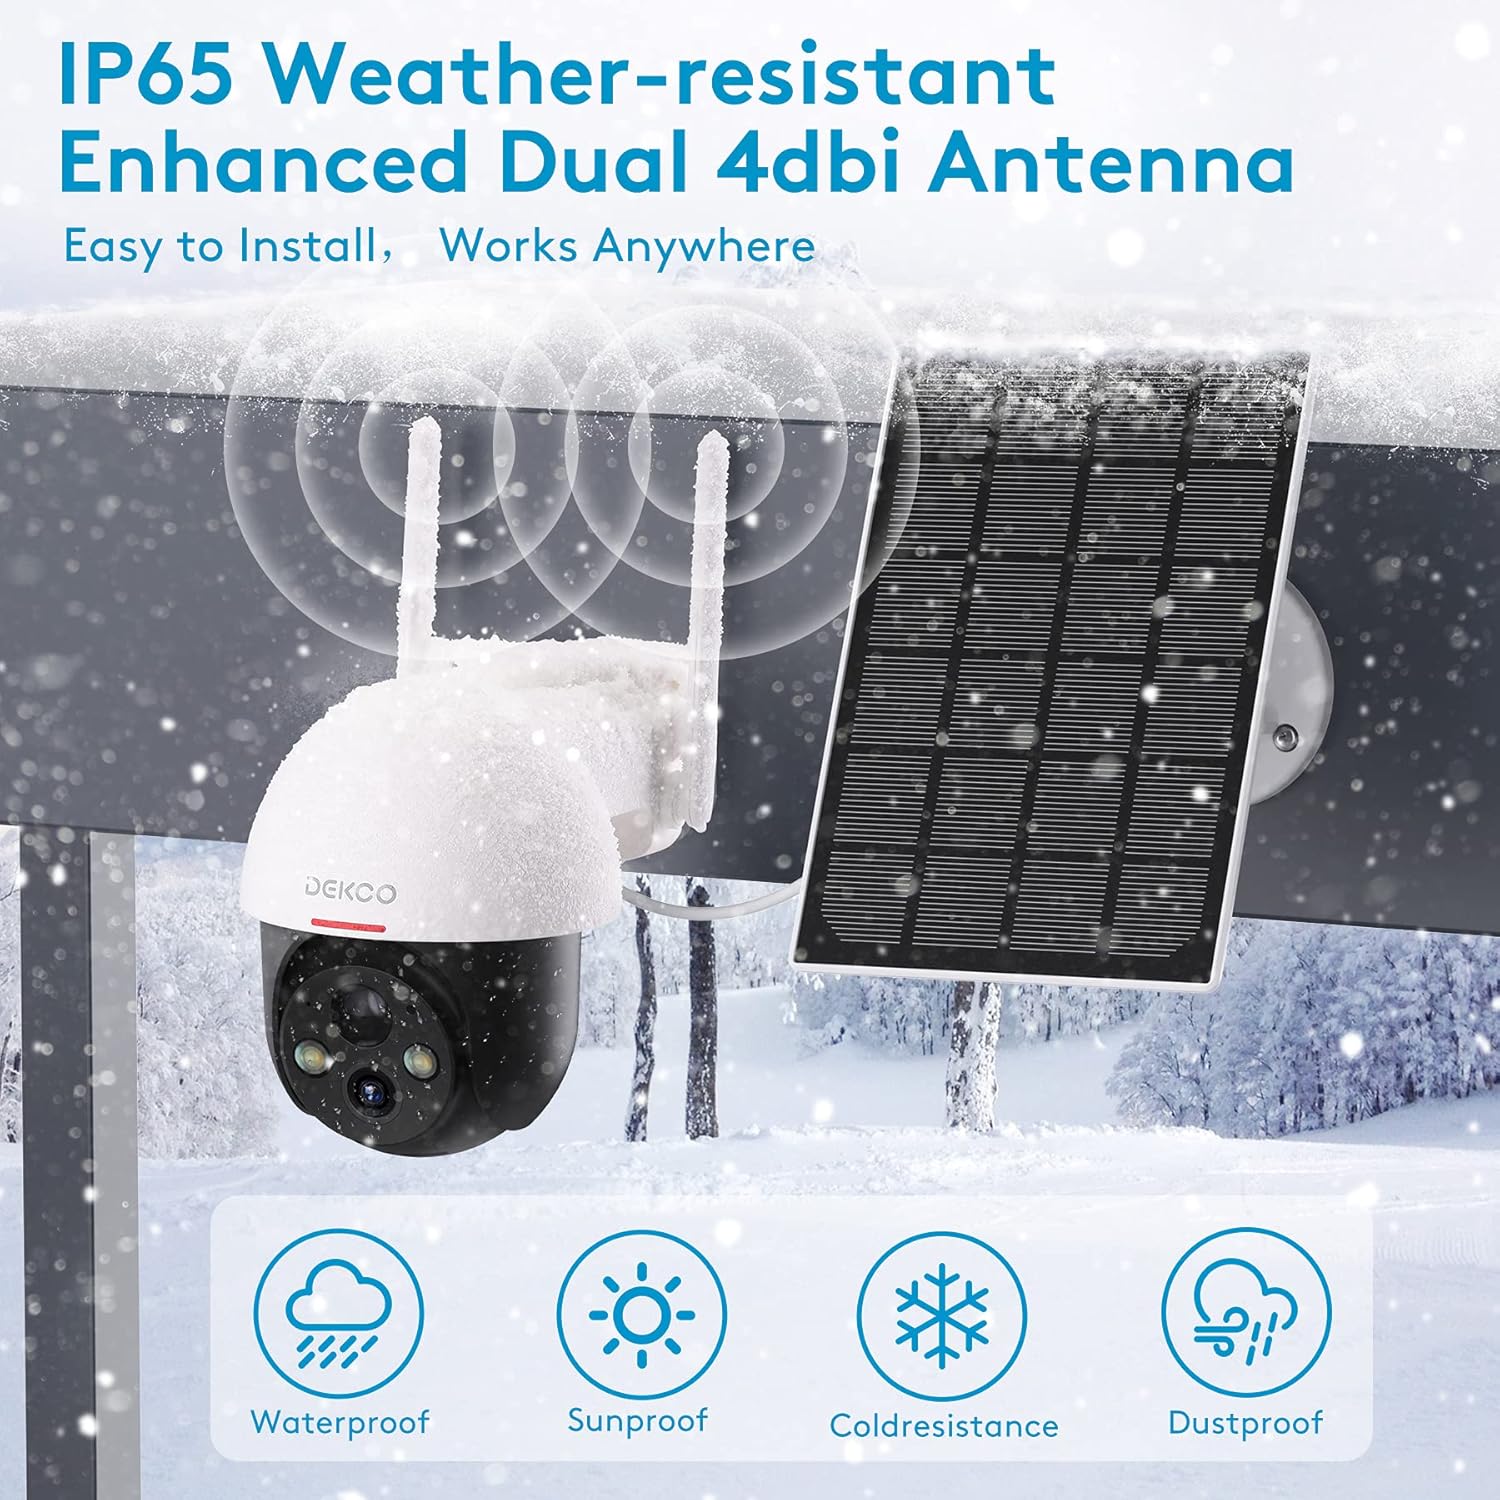
Figure 6.1: The camera is IP65 weather-resistant, designed to withstand various outdoor conditions.
7. Troubleshooting
| Problem | Possible Cause | Solution |
|---|---|---|
| Camera not powering on | Low battery; Power button off | Charge the camera fully; Ensure power button is in ON position. |
| Cannot connect to Wi-Fi | Incorrect Wi-Fi password; 5GHz Wi-Fi network; Weak signal | Verify password; Ensure 2.4GHz network; Move camera closer to router or use a Wi-Fi extender. |
| Motion detection not working | PIR sensitivity too low; Incorrect activity zone settings; Obstructions | Increase PIR sensitivity in app; Adjust activity zones; Clear any obstructions in the camera's view. |
| Poor image quality | Dirty lens; Poor lighting; Network bandwidth issues | Clean the lens; Ensure adequate lighting; Check network speed. |
| Two-way audio issues | Microphone/speaker blocked; App permissions | Ensure microphone/speaker are clear; Grant microphone permissions to the app. |
| Camera offline frequently | Weak Wi-Fi signal; Router issues | Relocate camera or router; Restart router. |
8. Specifications
| Feature | Detail |
|---|---|
| Model | 5059648201190 |
| Video Capture Resolution | 3 MP (2K QHD) |
| Connectivity Technology | Wireless (Wi-Fi) |
| Wireless Communication | 2.4GHz Wi-Fi |
| Power Source | Solar Powered, Battery Powered |
| Battery Type | Lithium Ion (included) |
| Battery Average Life | Approx. 5 months (without solar charging) |
| Night Vision Range | Up to 66 Feet |
| Special Features | Battery Powered, Motion Sensor, Night Vision, Solar Powered, Spotlights, Two-Way Audio |
| Indoor/Outdoor Usage | Outdoor (IP65 Weather-resistant) |
| Compatible Devices | Smartphone, Tablet (Android, iOS) |
| Storage Options | Micro SD Card (8-128GB, not included), Cloud Storage |
| Pan/Tilt Range | 360° Pan, 90° Tilt |
| Material | Metal |
9. Warranty and Support
DEKCO products are designed for reliability and performance. This product comes with a standard manufacturer's warranty. For specific warranty terms and conditions, please refer to the warranty card included in your package or visit the official DEKCO website.
If you encounter any issues or have questions regarding your DEKCO 2K Solar Security Camera, please contact our customer support team:
- Email: Refer to your product packaging or the CloudEdge app for support contact information.
- Online Support: Visit the DEKCO official website for FAQs, troubleshooting guides, and contact forms.
Please have your model number (5059648201190) and purchase information ready when contacting support.


