
BONSEN L3104+50Pack
BONSEN Laminator Machine User Manual
Model: L3104+50Pack
1. Introduction
Thank you for choosing the BONSEN Laminator Machine. This 4-in-1 laminator is designed for efficient and high-quality lamination, suitable for home, school, and office use. Featuring a 0-second warm-up time, thermal and cold lamination modes, an ABS anti-jam function, and included accessories like a paper trimmer and corner rounder, this machine provides a versatile solution for preserving your documents and photos.
2. Package Contents
Please check the package contents upon unboxing to ensure all items are present:
- 1 x BONSEN Laminator Machine (9-inch)
- 50 x Laminating Pouches (A4 size)
- 1 x Paper Trimmer
- 1 x Corner Rounder
- 1 x User Manual

Image: The BONSEN Laminator Machine shown with its included accessories: laminating pouches, paper trimmer, and corner rounder.
3. Product Features
3.1. 0-Second Fast Warm-Up
The BONSEN laminator utilizes a four-roll heating system, allowing for immediate use without any warm-up time. This feature significantly saves time and helps prevent common lamination issues such as wrinkling, blistering, and curling.

Image: A visual comparison highlighting the BONSEN laminator's 0-second warm-up time against traditional laminators requiring 3-5 minutes of preheating.
3.2. ABS Anti-Jam Function
Equipped with a quick-release 'ABS' button, this feature allows you to easily release pinched pouches or papers in case of a paper jam. Simply press the ABS button to quickly and safely remove the jammed item.

Image: A close-up view of the laminator showing the 'ABS' button, indicating its function for releasing jammed documents.
3.3. Thermal & Cold Lamination Modes
The laminator supports both thermal and cold lamination. The thermal mode has two settings for 3mil and 5mil pouch thicknesses, ideal for general documents. The cold lamination mode requires no preheating and is suitable for heat-sensitive materials or documents with specific ink types.

Image: The laminator displaying its hot and cold lamination mode indicators, emphasizing its versatility for different document types.
3.4. Integrated Paper Trimmer & Corner Rounder
The included paper trimmer allows for neat and precise cuts, while the corner rounder helps trim sharp edges, enhancing safety and providing a professional finish to your laminated items.
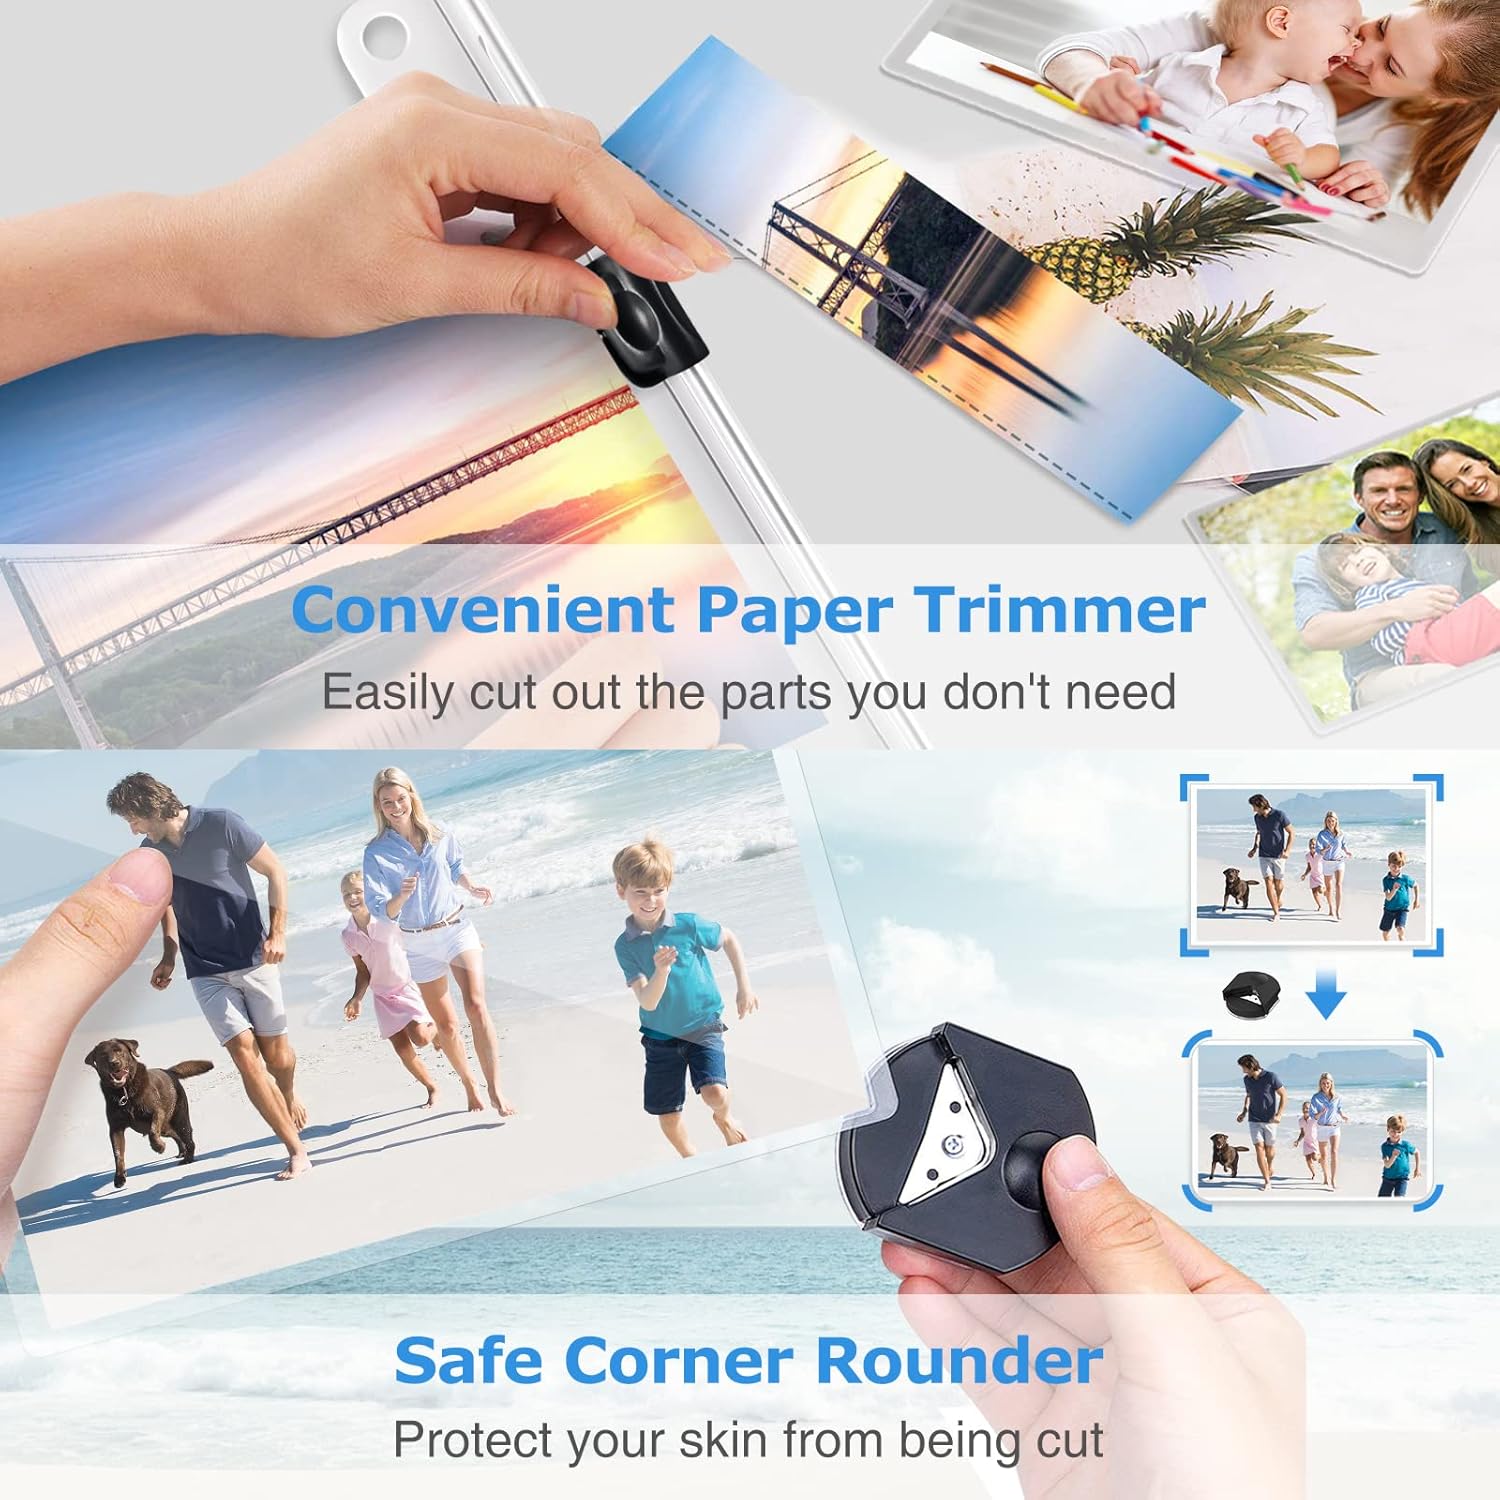
Image: Demonstrations of the convenient paper trimmer making a clean cut and the safe corner rounder smoothing sharp edges of a laminated document.
3.5. 9-inch Laminating Width
This personal laminator accommodates documents up to 9 inches (230mm) wide, making it suitable for various sizes including A4, A5, A6, letter, legal, and business cards. An outlet tray ensures laminated files remain flat.

Image: The laminator illustrating its 9-inch (230mm) laminating width and the function of the outlet tray to keep laminated documents flat.
4. Safety Instructions
- Read all instructions before use.
- Do not operate the laminator with a damaged power cord or plug.
- Keep hands and loose clothing away from the feed opening.
- Do not laminate items thicker than the recommended pouch thickness.
- Ensure the laminator is placed on a stable, flat surface.
- Unplug the machine when not in use or before cleaning.
- Keep out of reach of children.
5. Setup
- Unpack the laminator and all accessories from the box.
- Place the laminator on a flat, stable, and heat-resistant surface. Ensure there is enough space behind the machine for laminated documents to exit freely.
- Plug the power cord into a standard electrical outlet.
- The laminator is ready for use immediately due to its 0-second warm-up feature.
6. Operating Instructions
6.1. Thermal Lamination
- Select the appropriate pouch thickness (3mil or 5mil) using the 'Function' button on the control panel. The corresponding indicator light will illuminate.
- Place your document inside a laminating pouch, ensuring it is centered and there is an even border around the document.
- Insert the sealed edge of the pouch into the laminator's feed opening. The machine will automatically pull the pouch through.
- Allow the laminated document to exit completely into the outlet tray. It may be warm; handle with care.
6.2. Cold Lamination
- Press the 'Function' button until the 'COLD' indicator light illuminates.
- Use self-adhesive cold laminating pouches. Place your document inside the cold laminating pouch.
- Insert the sealed edge of the pouch into the laminator's feed opening.
- Retrieve the laminated document from the outlet tray.
6.3. Using the ABS Anti-Jam Button
If a laminating pouch becomes jammed or misaligned during operation, immediately press and hold the 'ABS' button located on the side of the laminator. This will release the pressure on the rollers, allowing you to gently pull the pouch out from the feed opening. Once the pouch is removed, release the button.
6.4. Using the Paper Trimmer
- Place the document or laminated item onto the trimmer's base, aligning the edge you wish to cut with the cutting guide.
- Hold the paper firmly in place.
- Slide the cutting blade along the guide to make a clean cut.
- Exercise caution when handling the blade.
6.5. Using the Corner Rounder
- Insert a corner of your laminated document into the corner rounder's slot.
- Press down firmly to cut and round the corner.
- Repeat for all desired corners.
7. Maintenance
- Always unplug the laminator before cleaning.
- Wipe the exterior of the machine with a soft, dry cloth. Do not use abrasive cleaners or solvents.
- To clean the rollers, run a folded piece of paper through the laminator to pick up any adhesive residue.
- Store the laminator in a cool, dry place when not in use.
8. Troubleshooting
| Problem | Possible Cause | Solution |
|---|---|---|
| Pouch is jammed. | Pouch inserted incorrectly or misaligned. | Press the 'ABS' button to release the pouch and gently pull it out. Reinsert correctly. |
| Poor lamination quality (bubbles, wrinkles). | Incorrect temperature setting (for thermal), old pouches, or uneven insertion. | Ensure correct pouch thickness setting. Use fresh pouches. Insert pouch straight and centered. |
| Laminator not turning on. | No power. | Check power cord connection and wall outlet. |
9. Specifications
| Specification | Detail |
|---|---|
| Brand | BONSEN |
| Model Number | L3104+50Pack |
| Item Weight | 4.55 pounds |
| Package Dimensions | 15.86 x 8.11 x 4.09 inches |
| Laminating Width | 9 inches (230mm) |
| Pouch Thickness | 3mil, 5mil (Thermal); Cold Lamination |
| Warm-up Time | 0-Second |
| First Available Date | December 14, 2021 |
10. Warranty and Support
For warranty information and customer support, please refer to the warranty card included with your product or visit the official BONSEN website. You may also contact BONSEN customer service directly for assistance with product inquiries, troubleshooting, or replacement parts.
Related documentsL3104+50Pack


Ask a question about this manual
Ask about setup, troubleshooting, compatibility, parts, safety, or missing instructions. Manuals+ will review the question and use this page’s manual context to help answer it.