1. Introduction
This user manual provides comprehensive instructions for the NineLeaf Bicycle Anti-theft Alarm. Designed to protect your bicycle, motorcycle, electric bike, electric scooter, or even doors and windows, this alarm system offers robust security features. Please read this manual carefully before using the product to ensure proper operation and maximize its effectiveness.

Image 1.1: The NineLeaf Bicycle Anti-theft Alarm unit, its remote control, and the included USB-C charging cable.
2. Safety Information
- Ensure the alarm is securely mounted to prevent accidental detachment during use.
- Keep the remote control away from water and extreme temperatures.
- Do not attempt to disassemble or modify the alarm unit or remote control, as this may void the warranty and cause malfunction.
- The alarm emits a loud sound (up to 110 dB). Avoid prolonged exposure to the sound at close range to prevent hearing damage.
- Use only the original USB cable for charging to prevent damage to the battery and device.
3. Product Overview
Key Features:
- Multi-functional Anti-theft Alarm: Suitable for bicycles, motorcycles, electric bikes, electric scooters, and can also be used for doors and windows.
- Adjustable Sensitivity: 7 levels of sensitivity, from gentle touch to strong impact, adjustable via remote control.
- Adjustable Volume: 3 levels of volume, with a maximum alarm sound of 110 dB to deter potential thieves.
- IP54 Waterproof: Designed for outdoor use and suitable for various weather conditions.
- Powerful Wireless Control: Remote control range up to 20 meters.
- USB-C Rechargeable: Built-in 4.2V 700mAh rechargeable battery, providing 1-3 months of battery life on a full charge.
- Vehicle Search Function: Easily locate your vehicle using the remote control.
- Multiple Installation Methods: Can be installed using double-sided adhesive, zip ties, or a bracket.
Components:
- Alarm Unit
- Remote Control
- USB-C Charging Cable
- Mounting Bracket
- Double-sided Adhesive Pad
- Zip Ties (or similar binding material)
4. Setup
4.1 Initial Charging:
Before first use, fully charge the alarm unit using the provided USB-C cable. Connect the USB-C end to the alarm unit and the USB-A end to a standard USB power adapter (not included) or a computer USB port. A full charge typically takes a few hours.
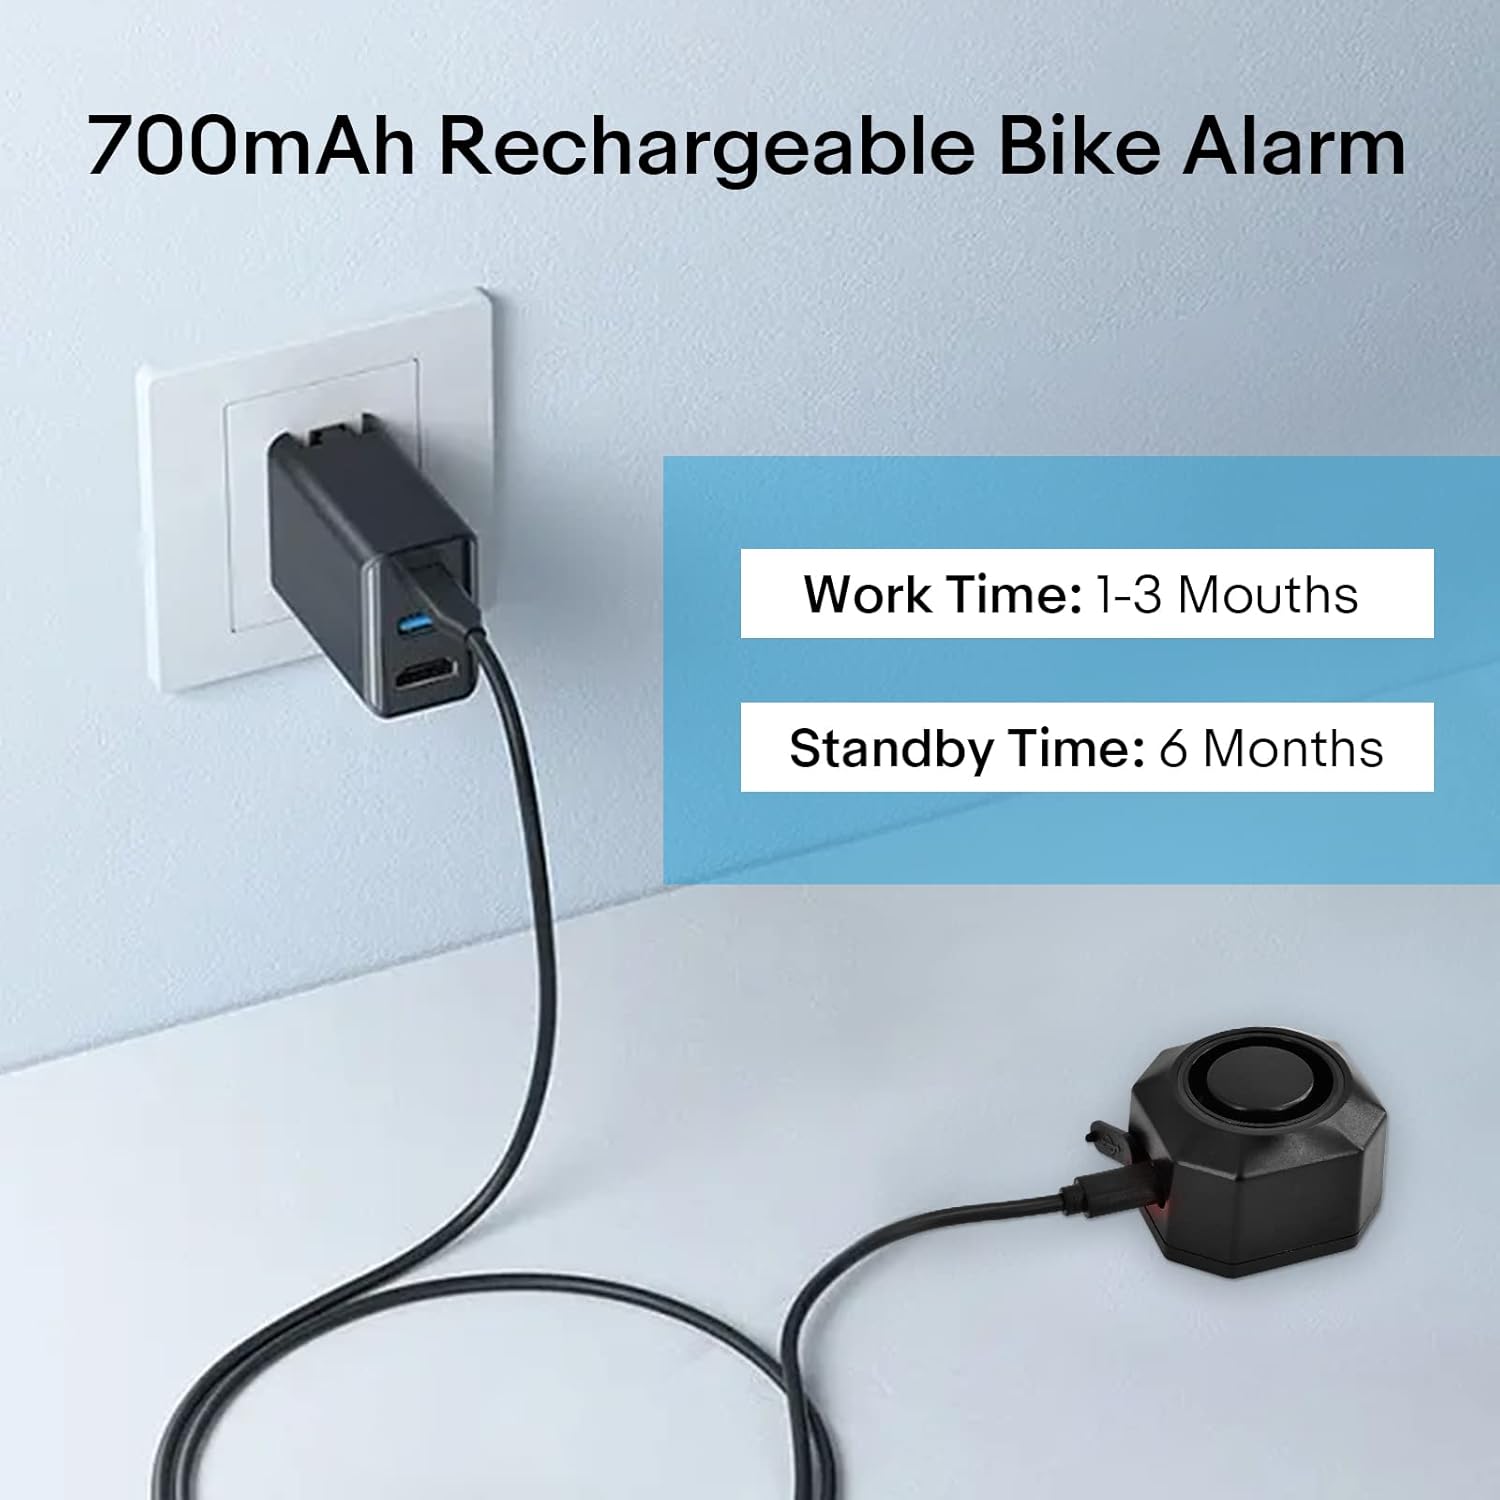
Image 4.1: The alarm unit connected to a power source for charging. A full charge can last 1-3 months of work time or 6 months standby time.
4.2 Installation Methods:
The alarm unit offers three primary installation methods:
- Bracket Installation: Use the included mounting bracket to attach the alarm to a bicycle seat post or handlebar. Secure the bracket firmly with the provided screws.
- Zip Ties Installation: For a quick and flexible attachment, use zip ties to secure the alarm unit to various parts of your vehicle or other objects.
- Double-sided Tape Installation: Apply the double-sided adhesive pad to the back of the alarm unit and firmly press it onto a clean, flat surface. This method is ideal for discreet placement or for securing to non-cylindrical surfaces like doors or windows.

Image 4.2: Visual representation of the three installation methods: zip ties, bracket, and double-sided tape.
Choose the method that best suits your application and ensures the alarm is securely attached and discreetly placed if desired.
5. Operating Instructions
5.1 Remote Control Functions:
The remote control allows for easy management of the alarm system. Its effective wireless range is up to 20 meters.
- Arm Button (Locked Padlock Icon): Press this button to arm the alarm. The alarm will emit a confirmation sound, and any significant vibration or movement will trigger the alarm.
- Disarm Button (Unlocked Padlock Icon): Press this button to disarm the alarm. The alarm will emit a confirmation sound, and it will no longer be sensitive to vibrations.
- Change Tone Button (Bell Icon): Press this button to cycle through different alarm tones or to change the arm/disarm confirmation sound.
- Search Function Button (Lightning Bolt Icon): Press this button to activate a loud sound from the alarm unit, helping you locate your vehicle in a crowded area.

Image 5.1: The remote control with its labeled buttons and an illustration of its effective range for locating a bicycle.
5.2 Adjusting Sensitivity:
The alarm features 7 levels of adjustable sensitivity, allowing you to customize how easily it triggers. This helps prevent false alarms while ensuring effective theft deterrence. To adjust sensitivity:
- Ensure the alarm is disarmed.
- Press and hold the "Change Tone" button on the remote control until you hear a specific tone indicating sensitivity adjustment mode.
- Press the "Arm" button to increase sensitivity or the "Disarm" button to decrease sensitivity. Each press will cycle through the 7 levels.
- Once the desired sensitivity level is set, press the "Change Tone" button again to confirm and exit the adjustment mode.

Image 5.2: Visual representation of the 7 sensitivity levels, ranging from very sensitive (triggered by gentle touch) to less sensitive (requiring a push or beat).
5.3 Adjusting Volume:
The alarm volume can be set to 3 different levels, with a maximum output of 110 dB. This ensures the alarm is loud enough to attract attention and deter thieves.
- Ensure the alarm is disarmed.
- Press and hold the "Search Function" button on the remote control until you hear a specific tone indicating volume adjustment mode.
- Press the "Arm" button to increase volume or the "Disarm" button to decrease volume. Each press will cycle through the 3 levels.
- Once the desired volume level is set, press the "Search Function" button again to confirm and exit the adjustment mode.

Image 5.3: The alarm unit emitting a loud 110dB sound, effectively deterring bicycle theft.
6. Maintenance
6.1 Battery Charging:
The alarm unit is equipped with a 4.2V 700mAh rechargeable battery. When the battery is low, the alarm may indicate this with a specific sound or light pattern. Recharge the unit using the provided USB-C cable as described in Section 4.1. A full charge can provide 1 to 3 months of operational life, or up to 6 months in standby mode, depending on usage frequency and environmental conditions.
6.2 Waterproofing:
The alarm unit has an IP54 waterproof rating, meaning it is protected from dust ingress and splashing water from any direction. While it is designed for outdoor use and can withstand rain, it should not be submerged in water.

Image 6.1: The alarm unit with water droplets, demonstrating its IP54 waterproof capability for outdoor use.
6.3 Cleaning:
Wipe the alarm unit and remote control with a soft, dry cloth. Do not use abrasive cleaners or solvents.
7. Troubleshooting
| Problem | Possible Cause | Solution |
|---|---|---|
| Alarm not responding to remote. | Low battery in alarm unit or remote control. Out of range. Interference. | Charge the alarm unit. Replace remote control battery if applicable (not specified if remote is rechargeable). Move closer to the alarm unit. Avoid areas with strong electromagnetic interference. |
| Alarm triggers too easily (false alarms). | Sensitivity set too high. | Adjust sensitivity to a lower level (refer to Section 5.2). |
| Alarm not loud enough. | Volume set too low. | Adjust volume to a higher level (refer to Section 5.3). |
| Alarm not charging. | Faulty cable or power adapter. Damaged charging port. | Try a different USB-C cable and power adapter. Contact customer support if the issue persists. |
8. Specifications
| Feature | Detail |
|---|---|
| Model Number | KS-SF32R (NLD-DE01-SF32R-1PC) |
| Dimensions (L x W x H) | 4.5 x 4.5 x 3.2 cm |
| Weight | 180 grams |
| Material | Plastic |
| Power Source | AC (via USB-C rechargeable battery) |
| Battery Type | 4.2V 700mAh Rechargeable Lithium Battery |
| Battery Life | 1-3 months (operational), 6 months (standby) |
| Alarm Volume | Up to 110 dB (3 adjustable levels) |
| Sensitivity Levels | 7 adjustable levels |
| Waterproof Rating | IP54 |
| Wireless Range | Up to 20 meters (remote control) |
| Included Components | Alarm unit, Remote control, USB cable |
| Manufacturer | NineLeaf Tech |
| Country of Origin | China |
9. Warranty and Support
Information regarding product warranty and availability of spare parts is not provided within this manual. For warranty claims, technical support, or inquiries about spare parts, please refer to the product packaging or contact the seller/manufacturer directly through their official channels.
Manufacturer: NineLeaf Tech


