
MEER YG300Pro-WIFI
MEER 5G WiFi Mini Projector
Model: YG300 Pro-WIFI User Manual
1. Introduction
Thank you for choosing the MEER 5G WiFi Mini Projector. This portable device is designed to provide a high-quality viewing experience for movies, games, and presentations, both indoors and outdoors. Featuring advanced 5G Wi-Fi connectivity, enhanced resolution, and a compact design, it offers versatile entertainment options. This manual provides detailed instructions for setup, operation, maintenance, and troubleshooting to ensure optimal performance and longevity of your projector.
2. Safety Information
- Power Supply: Use only the provided power adapter. Ensure the power source matches the voltage requirements specified on the adapter.
- Ventilation: Do not block the ventilation openings. Ensure adequate airflow around the projector to prevent overheating.
- Water and Moisture: Keep the projector away from water, rain, and excessive humidity. Do not operate with wet hands.
- Eye Protection: Do not look directly into the projector lens when the lamp is on. The bright light can cause eye strain or damage.
- Cleaning: Disconnect the power before cleaning. Use a soft, dry cloth. Avoid liquid cleaners or abrasive materials.
- Handling: Handle the projector with care. Avoid dropping or subjecting it to strong impacts.
3. Package Contents
Please check the package for the following items:
- MEER YG300 Pro-WIFI Mini Projector
- Power Adapter
- Remote Controller
- HDMI Cable
- AV Cable
- User Manual

Image: The MEER YG300 Pro-WIFI Mini Projector with its power adapter, remote controller, HDMI cable, and AV cable.
4. Product Overview
Familiarize yourself with the various parts and interfaces of your MEER Mini Projector.
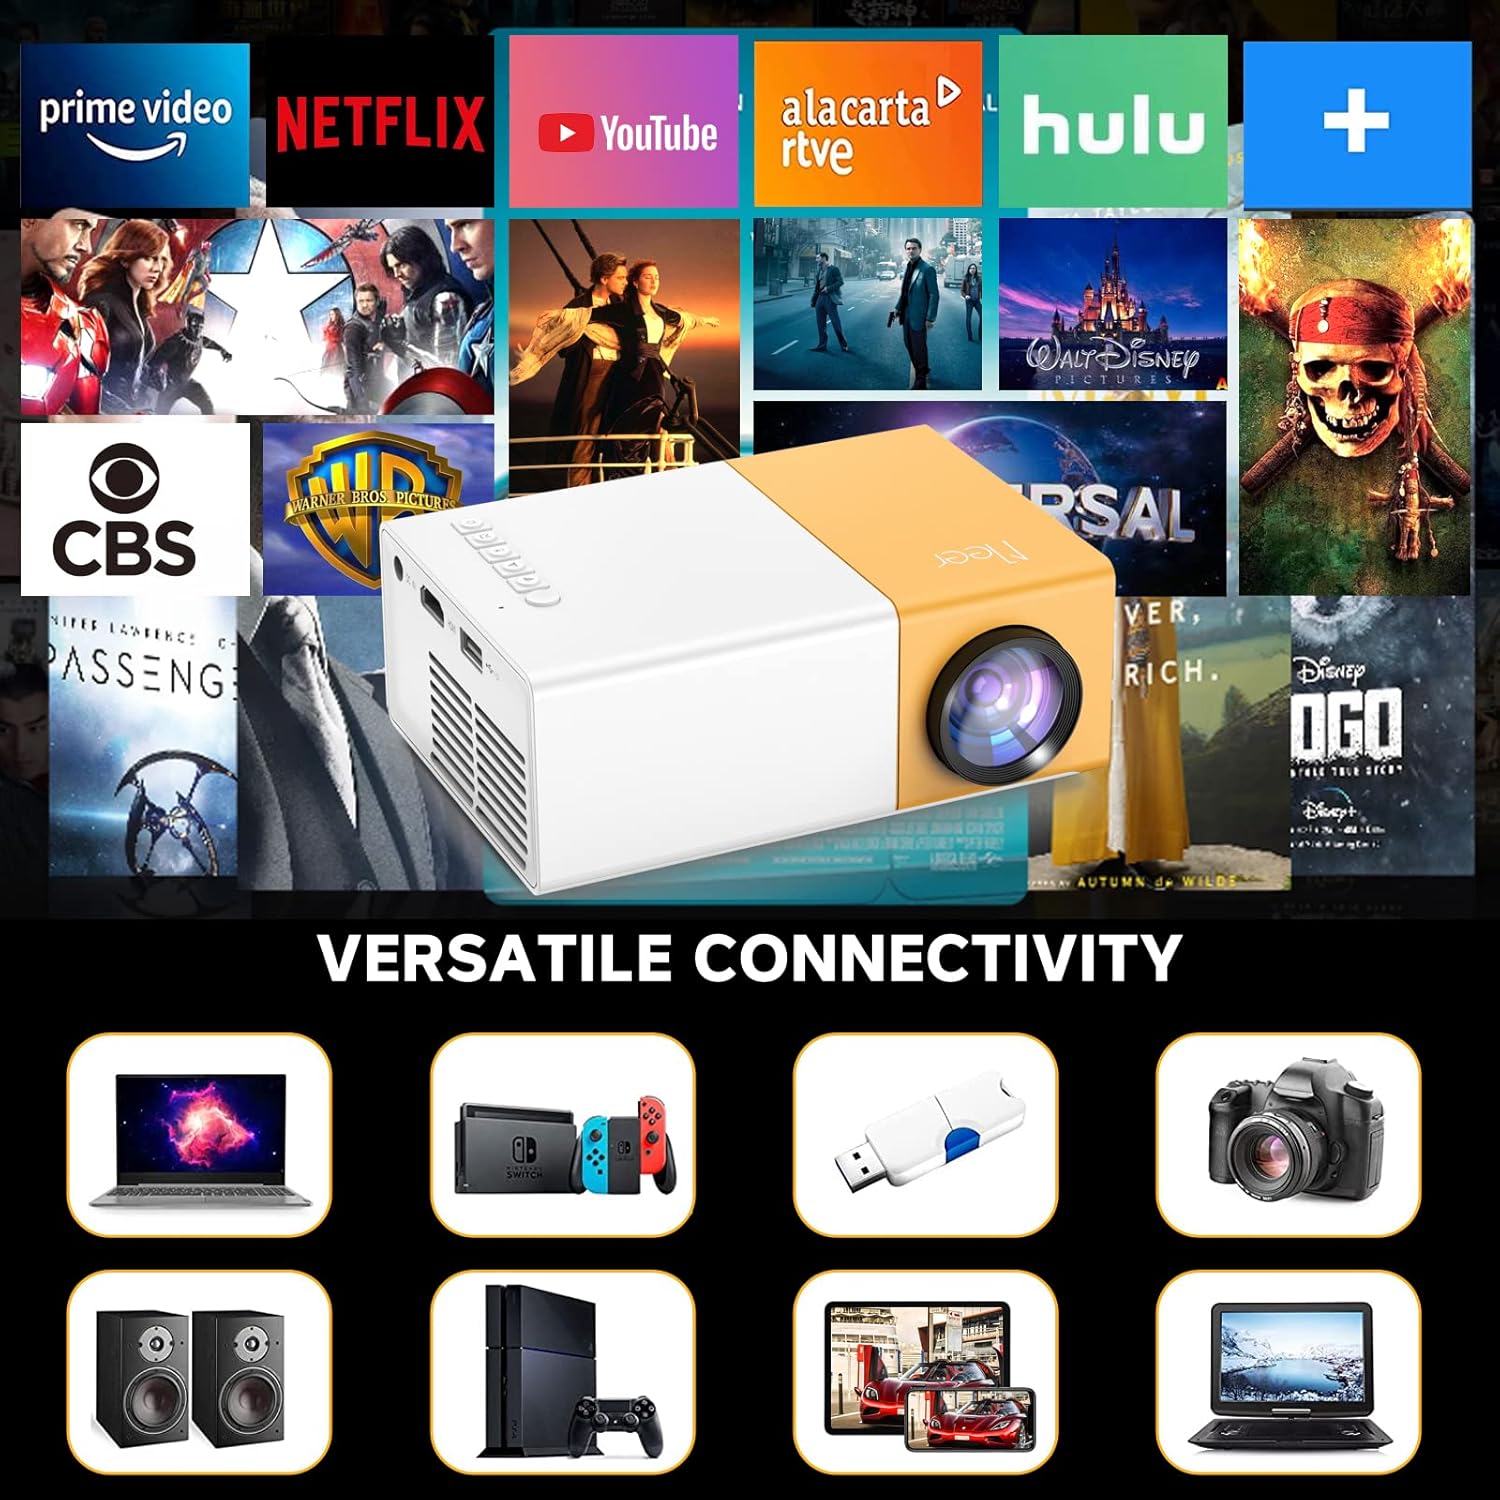
Image: The projector showcasing its versatile connectivity ports, including HDMI, USB, and audio output.
- Lens: Projects the image onto the screen.
- Focus Wheel: Adjusts the clarity of the projected image.
- Control Panel: Buttons for navigation and settings on the top of the projector.
- DC IN Port: Connects to the power adapter.
- HDMI Port: Connects to devices like laptops, gaming consoles, and TV sticks.
- USB Port: Connects to USB drives for media playback.
- Micro SD Card Slot: For playing media directly from a Micro SD card.
- AV Port: Connects to older devices using the included AV cable.
- Audio Out (3.5mm) Port: Connects to external speakers or headphones.
- Built-in Speaker: Provides audio output directly from the projector.
5. Setup
- Power Connection: Connect the power adapter to the DC IN port on the projector and then plug it into a power outlet. The power indicator light will illuminate.
- Placement: Place the projector on a stable, flat surface. For optimal viewing, position it directly in front of the projection surface (wall or screen).
- Power On: Press the power button on the projector or the remote control to turn on the device.
- Focus Adjustment: Rotate the focus wheel near the lens until the projected image appears clear and sharp.
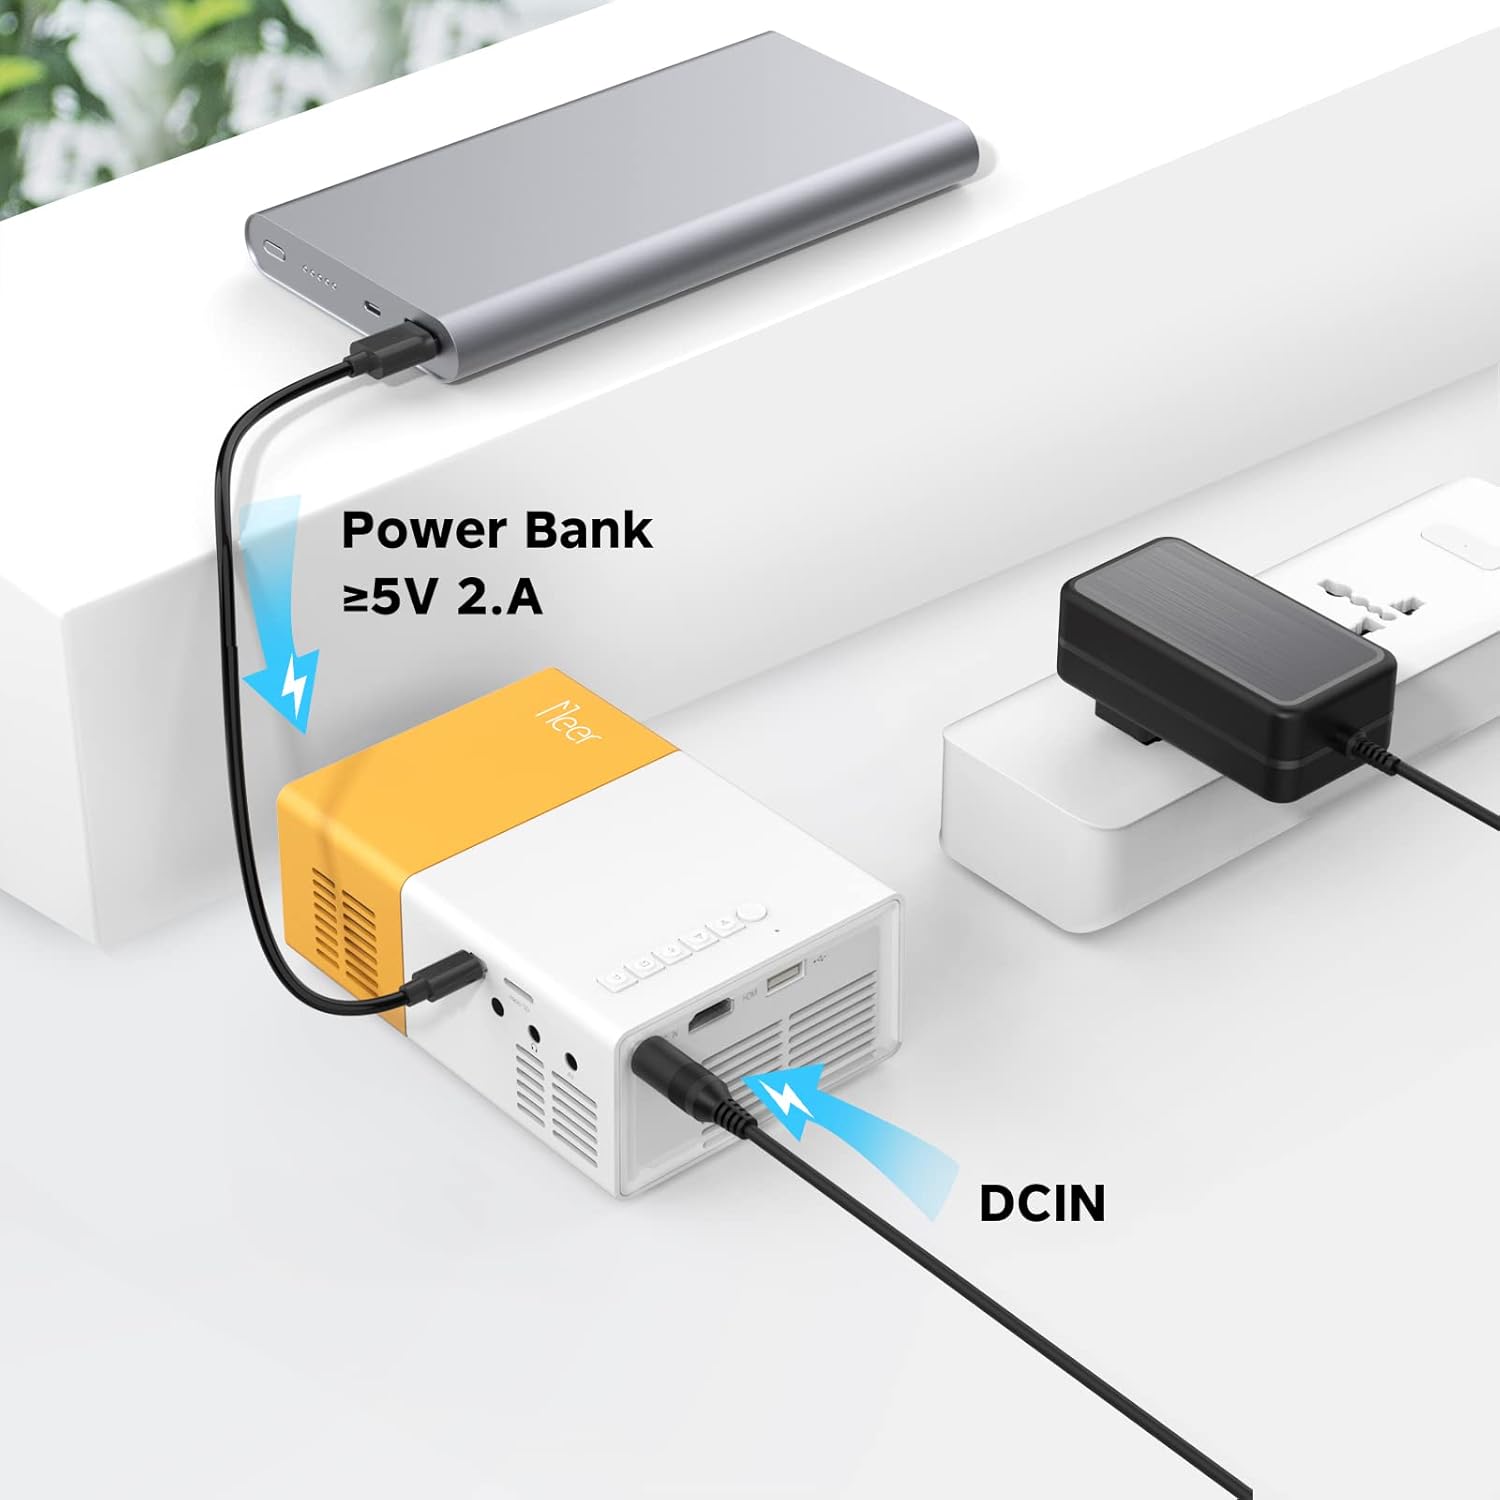
Image: The projector can be powered by a power bank (5V 2A minimum) for portable use.
6. Operating
6.1 Wi-Fi Connection
To enable wireless screen mirroring or casting, connect your projector to a Wi-Fi network:
- From the main menu, navigate to the 'Settings' or 'Wi-Fi' option.
- Select your desired Wi-Fi network from the list.
- Enter the Wi-Fi password using the on-screen keyboard and confirm.
- Once connected, ensure your mobile device is on the same Wi-Fi network.
6.2 Screen Mirroring & Screen Cast
The projector supports wireless screen mirroring for iOS and Android devices.
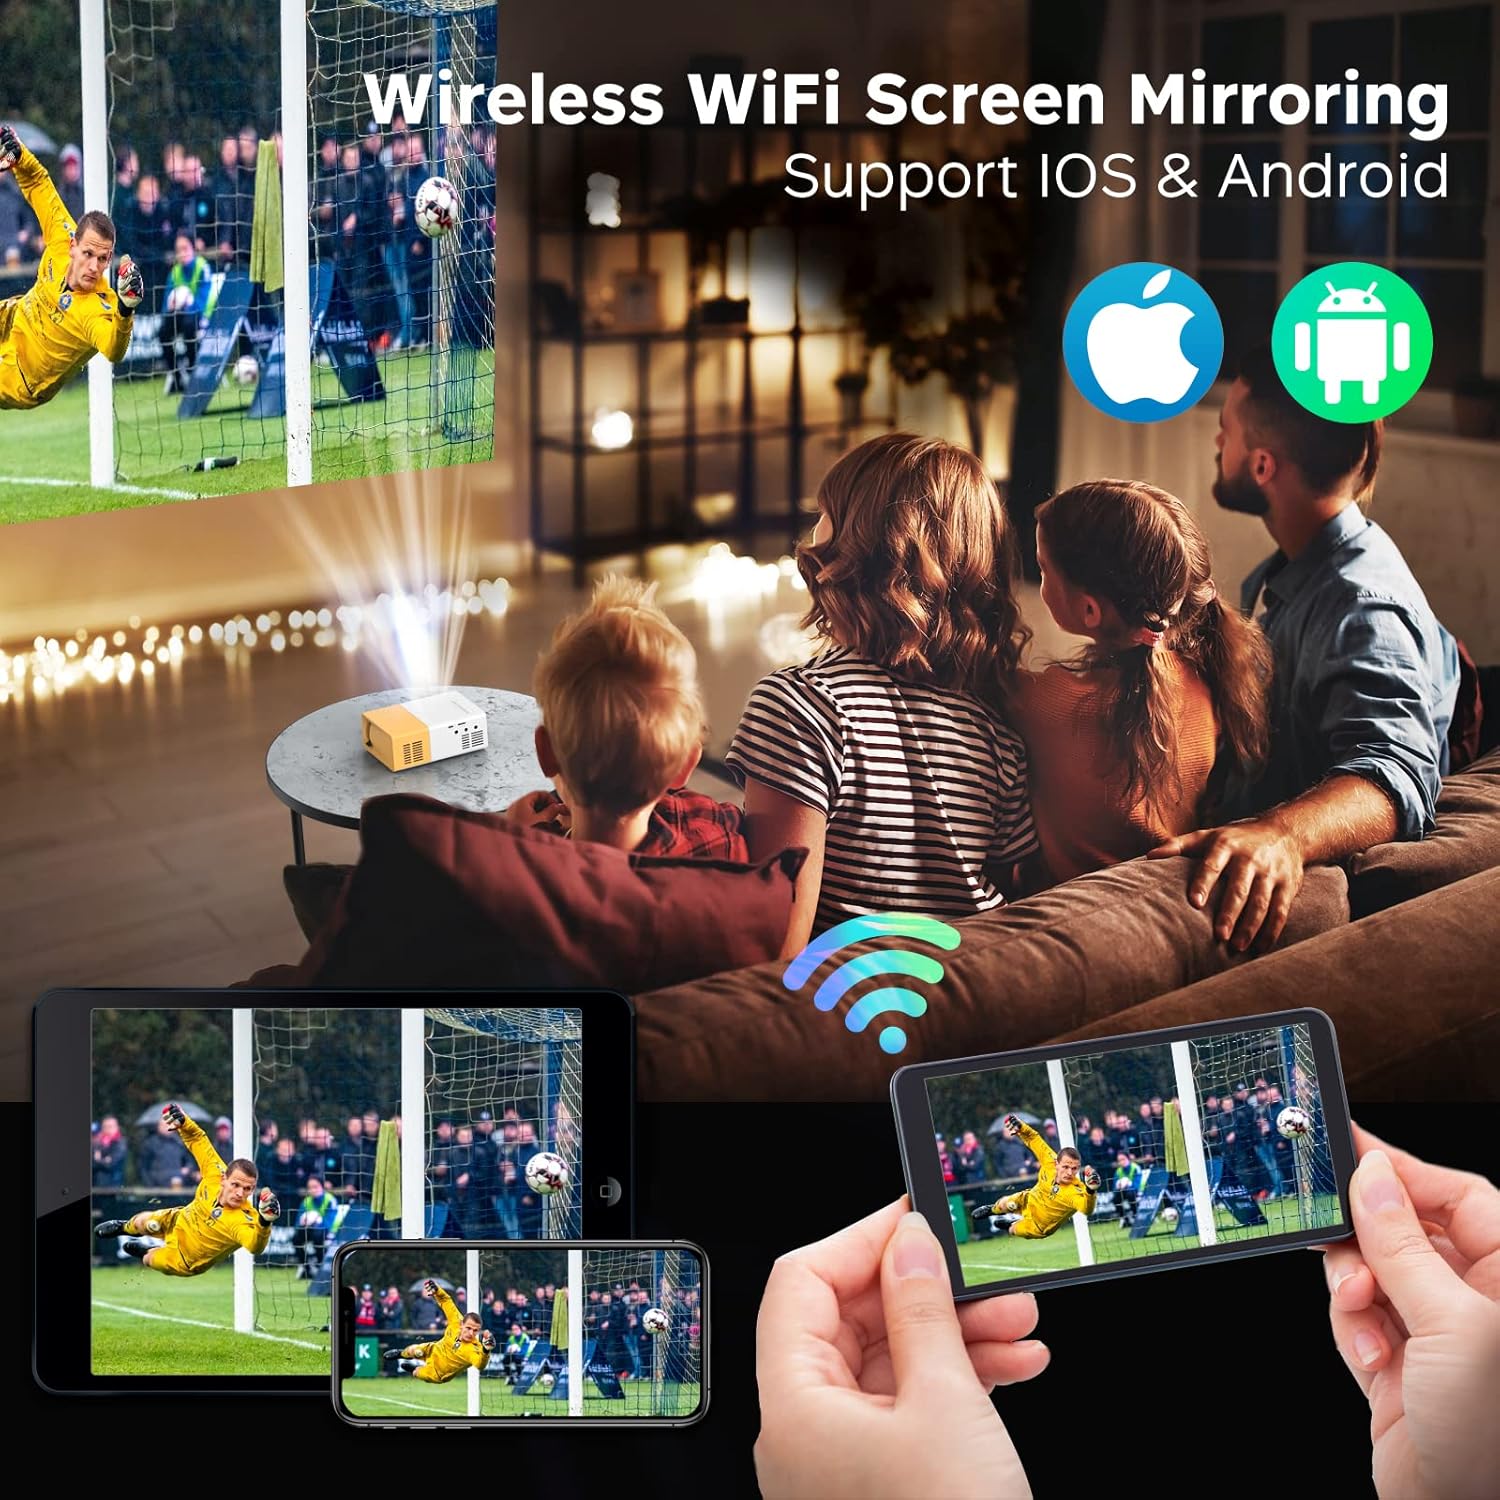
Image: The projector displaying content wirelessly from a smartphone and tablet, illustrating the screen mirroring capability.

Image: Comparison of Screen DLNA (watching video while using phone for other tasks) and Screen Cast (mirroring phone screen directly).
- For iOS Devices:
- Ensure both projector and iPhone/iPad are connected to the same Wi-Fi network.
- On the projector, select the 'iOS Cast' or 'Screen Mirroring' option.
- On your iOS device, open Control Center and tap 'Screen Mirroring' or 'AirPlay Mirroring'.
- Select the projector's name from the list to begin mirroring.
- For Android Devices:
- Ensure both projector and Android device are connected to the same Wi-Fi network.
- On the projector, select the 'Android Cast' or 'Screen Mirroring' option.
- On your Android device, enable 'Wireless Display', 'Screen Cast', 'Smart View', or similar function (name varies by device).
- Select the projector's name from the list to begin mirroring.
6.3 Connecting External Devices
The projector offers multiple ports for connecting various devices:

Image: The projector's HDMI port and examples of devices that can be connected, such as laptops, game consoles, and streaming sticks.
- HDMI: Connect your laptop, gaming console (PS4, PS5, Switch), TV stick (Firestick, Roku), or Blu-ray player using an HDMI cable. Select 'HDMI' as the input source from the projector's menu.
- USB: Insert a USB flash drive into the USB port. The projector will automatically detect the drive, allowing you to browse and play media files (videos, photos, music).
- AV: Use the included AV cable to connect to older devices like DVD players or VCRs. Select 'AV' as the input source.
- Micro SD: Insert a Micro SD card into the dedicated slot. Navigate to the 'Media' or 'SD Card' option in the menu to access files.
6.4 Audio Output
The projector has a built-in 3W HiFi stereo speaker for direct audio playback.
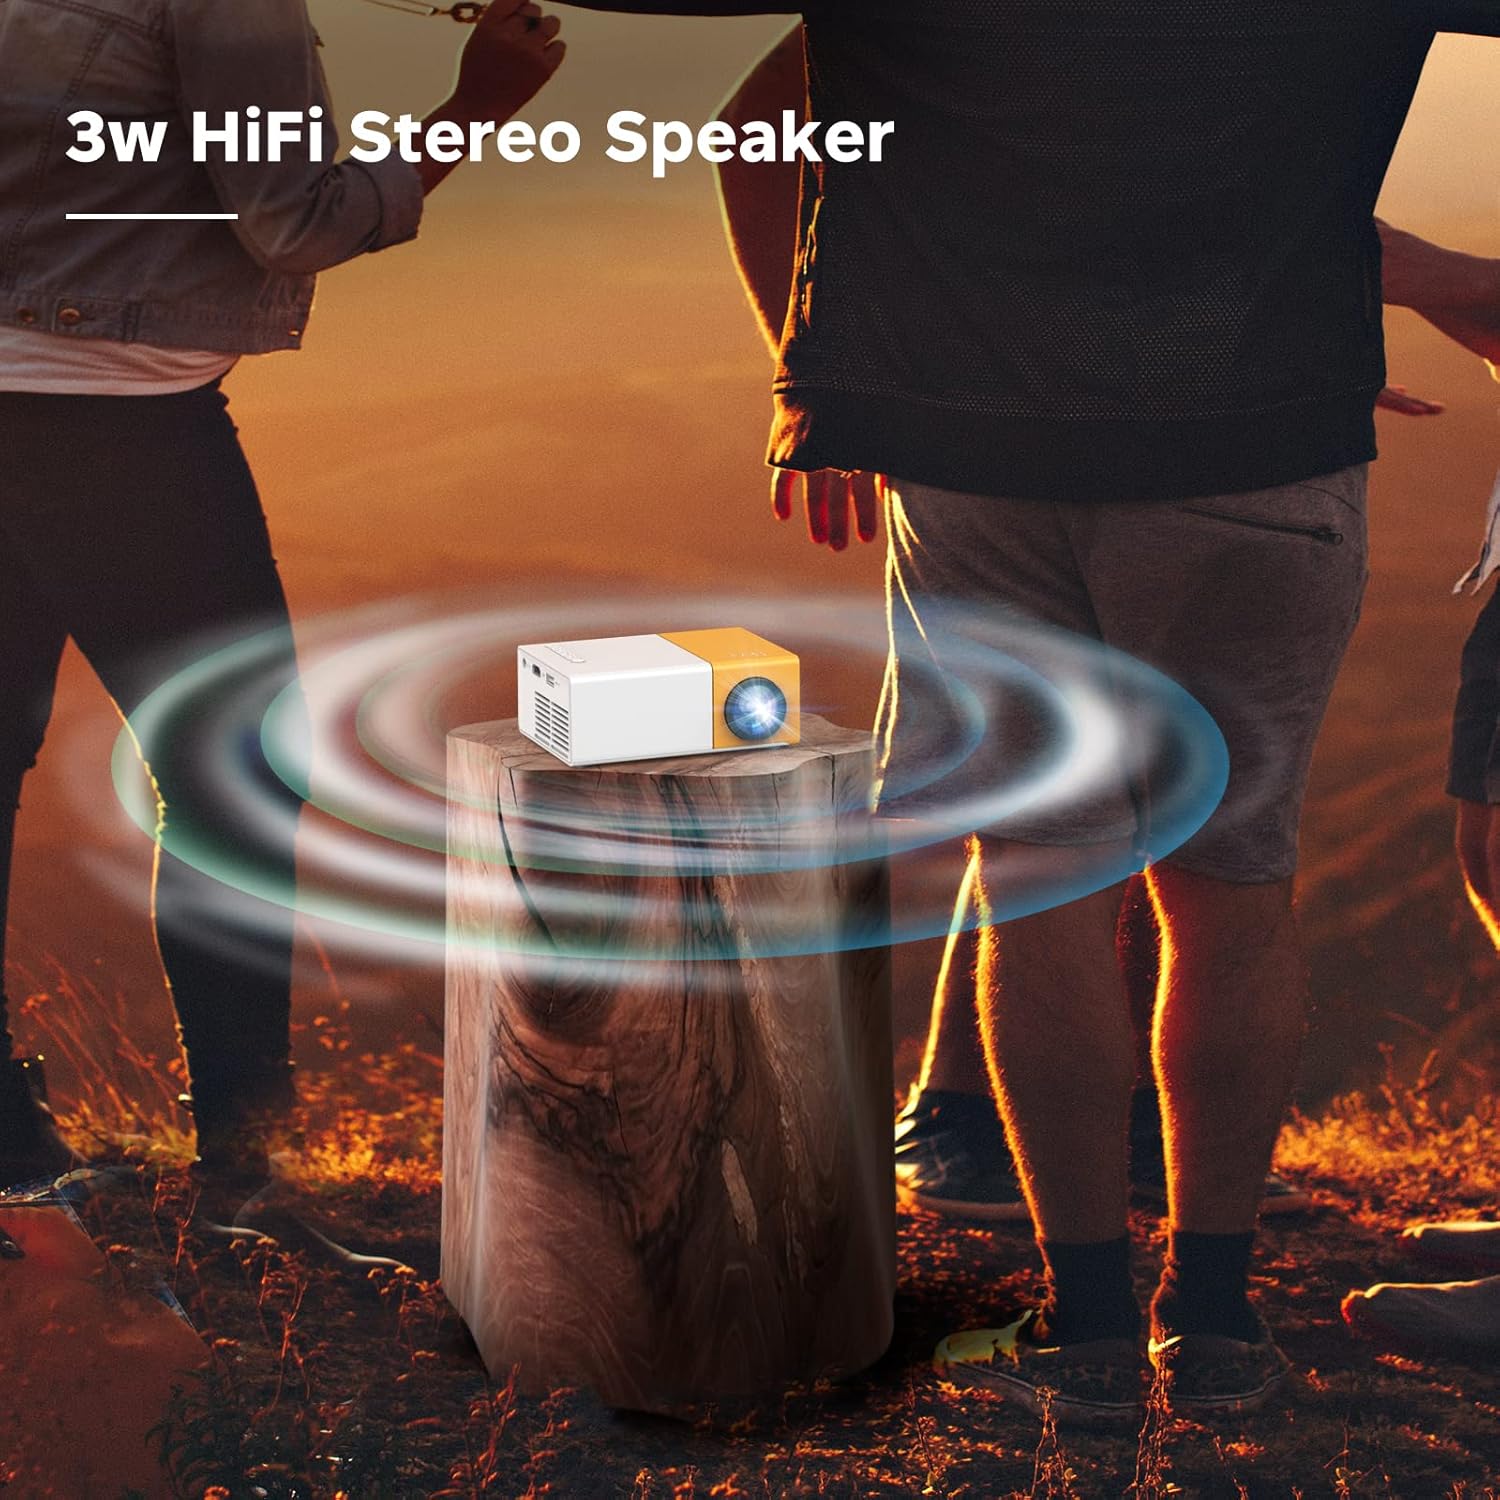
Image: The projector emitting sound waves, highlighting its built-in 3W HiFi stereo speaker.
For a more immersive audio experience or private listening, you can connect external audio devices:
- Headphones: Plug 3.5mm headphones into the Audio Out port.
- External Speakers: Connect external speakers via the 3.5mm Audio Out port.
6.5 Usage Scenarios
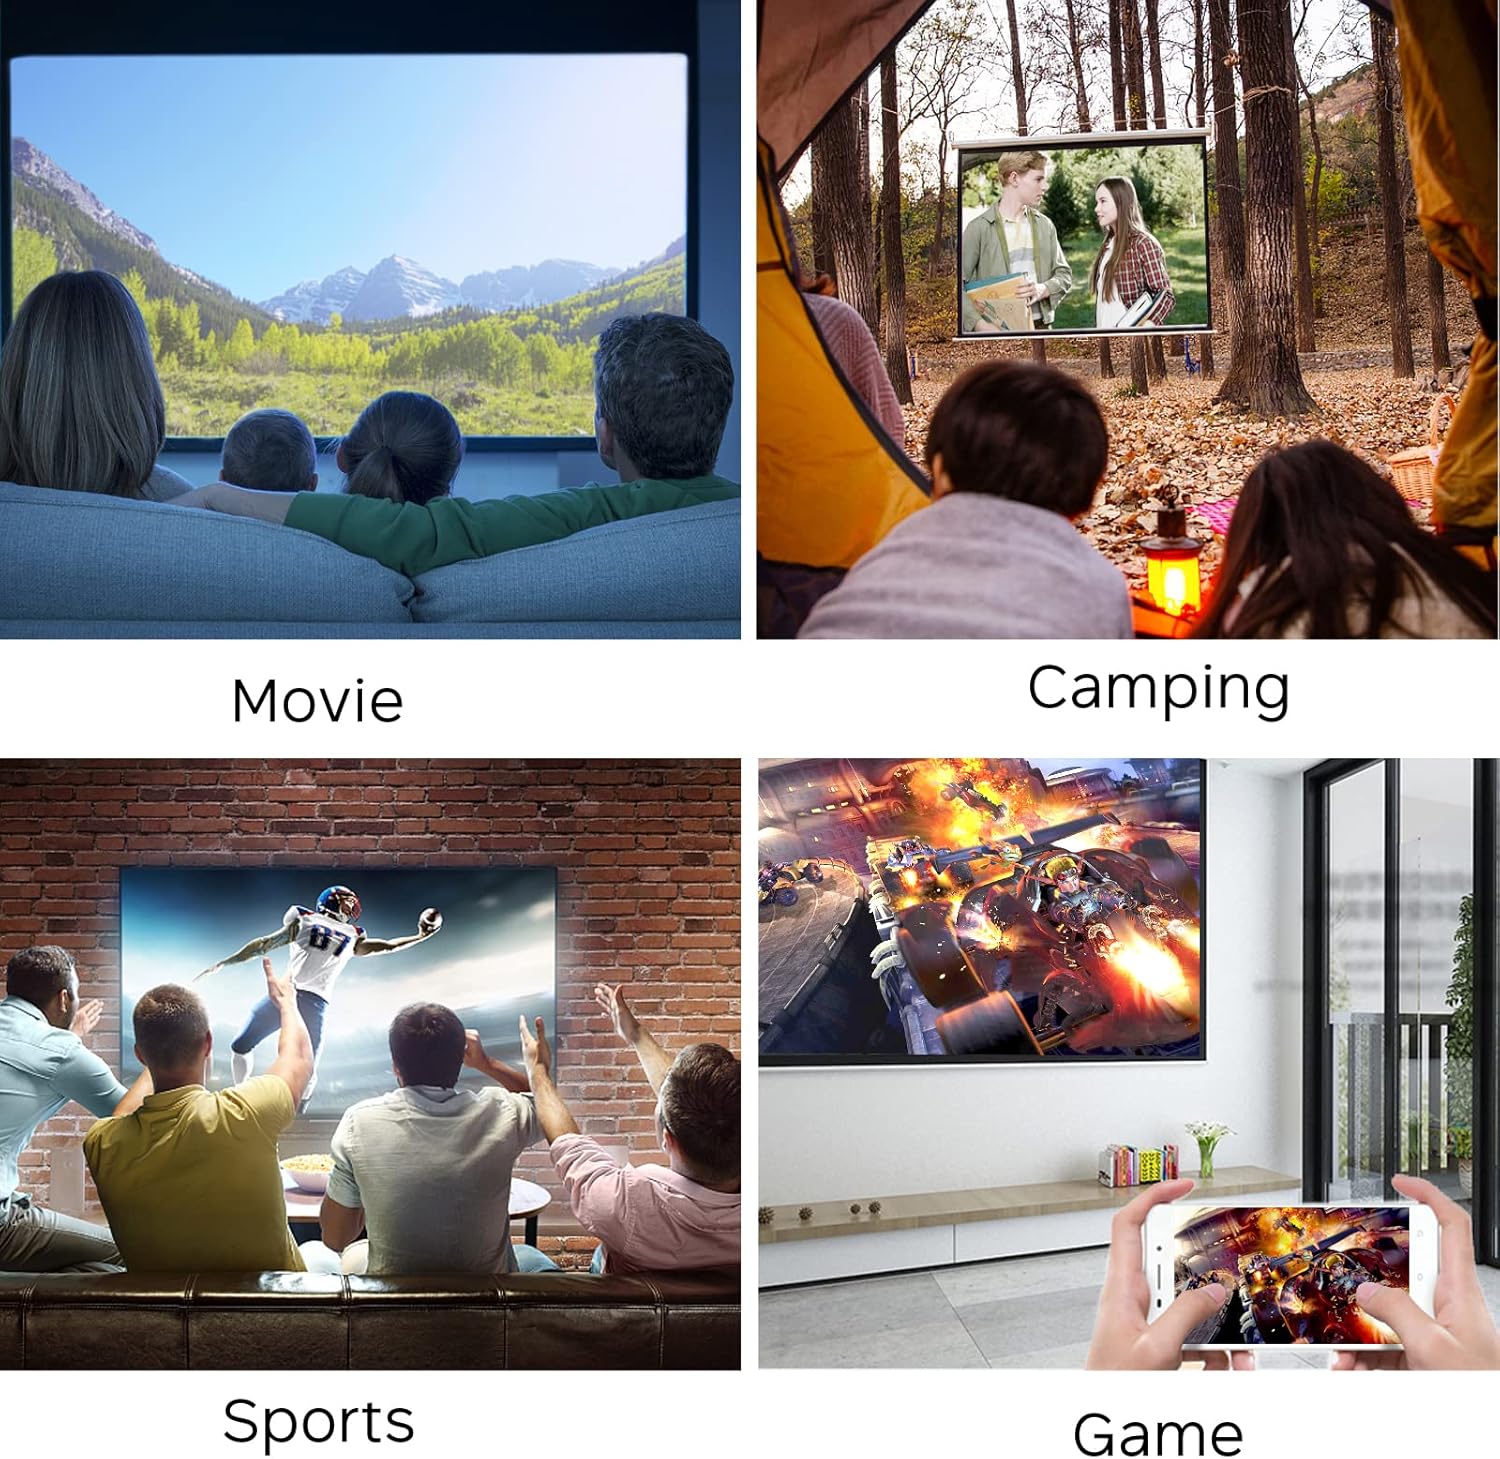
Image: Collage showing the projector being used for watching movies, camping, sports, and gaming.

Image: Further examples of projector use, including watching movies, friends party, playing games, sports livestreaming, and outdoor camping.
7. Maintenance
- Lens Cleaning: Use a soft, lint-free cloth specifically designed for optical lenses to gently wipe the projector lens. Do not use abrasive cleaners or excessive force.
- Vent Cleaning: Regularly check and clean the ventilation openings to prevent dust buildup, which can affect performance and lead to overheating. Use a soft brush or compressed air.
- Storage: When not in use, store the projector in a cool, dry place, away from direct sunlight and extreme temperatures. Use the original packaging or a protective case if available.
8. Troubleshooting
| Problem | Possible Cause | Solution |
|---|---|---|
| No image projected | Power not connected; Input source incorrect; Device not powered on. | Check power connection; Select correct input source (HDMI, USB, AV); Ensure connected device is on. |
| Image is blurry | Focus not adjusted; Projector too far/close to screen. | Adjust the focus wheel; Reposition the projector within optimal distance. |
| No sound | Volume too low; Muted; External audio device not connected properly. | Increase volume; Unmute; Check external speaker/headphone connection. |
| Wi-Fi connection issues | Incorrect password; Out of range; Network issues. | Re-enter password; Move closer to router; Restart router and projector. |
| Screen mirroring not working | Not on same Wi-Fi network; Device compatibility. | Ensure both devices are on the same Wi-Fi; Check device's mirroring function. |
9. Specifications
| Feature | Detail |
|---|---|
| Brand | MEER |
| Model Number | YG300Pro-WIFI |
| Item Weight | 10 ounces |
| Product Dimensions | 4.69 x 3.39 x 1.89 inches |
| Special Features | Speakers |
| Speaker Type | Stereo |
| Recommended Uses | Indoor/Outdoor |
| Connectivity Technology | HDMI, USB, AV, Micro SD, Wi-Fi |
| Display Resolution | 1280 x 720 |
| Lamp Life | More than 50,000 hours |

Image: Visual representation of key features including HiFi Stereo Speaker, Eye Protection, Sleep Timer Shutdown, and 50,000 Hours Lamp Life.

Image: Illustrates the projector's ability to project up to 120 inches and various placement options (front, tripod, ceiling).
10. Warranty and Support
The MEER YG300 Pro-WIFI Mini Projector comes with a standard manufacturer's warranty. Please refer to the warranty card included in your package for specific terms and conditions.
For technical support, troubleshooting assistance, or warranty claims, please contact MEER customer service through the retailer's platform or the official MEER website. Have your product model number and purchase details ready when contacting support.
Related documentsYG300Pro-WIFI


Ask a question about this manual
Ask about setup, troubleshooting, compatibility, parts, safety, or missing instructions. Manuals+ will review the question and use this page’s manual context to help answer it.