
CROSOFMI B09MLDN75N
CROSOFMI Sprinkler Timer User Manual
Model: B09MLDN75N
Brand: CROSOFMI
Introduction
This manual provides comprehensive instructions for the installation, operation, and maintenance of your CROSOFMI Sprinkler Timer. This digital programmable water timer is designed for garden, lawn, and hose faucet irrigation systems, offering features such as child lock, auto/manual modes, and rain delay. Please read this manual thoroughly before use to ensure proper function and longevity of your device.
What's Included
Upon opening the package, verify that all components are present and undamaged.

Image: The CROSOFMI Sprinkler Timer shown with its packaging, indicating the product and its box.
- 1 x CROSOFMI Sprinkler Timer
- 1 x 3mm O-Ring (for secure connection)
- 1 x User Manual (this document)
Setup and Installation
Follow these steps for quick and secure installation of your sprinkler timer. No special tools are required.

Image: Diagram illustrating the connection of the sprinkler timer to both 3/4" NH Standard/USA/CA-Type hose faucets and 1/2" BS Standard/EU Type hose faucets using an adapter and O-ring.
- Insert Batteries: Open the battery compartment on the back of the timer. Insert two 1.5V AA Alkaline batteries (not included), ensuring correct polarity. Close the compartment securely.
- Insert O-Ring: If necessary, place the provided 3mm O-ring into the connector at the top of the timer. This ensures a watertight seal.
- Connect to Faucet: Screw the timer onto your outdoor hose faucet. The top connector is made of reinforced nylon fiber for durability. Hand-tighten only. Do not overtighten.
- Important: Horizontal or inverted installation is prohibited.
- Important: Hand tighten only.
- Important: Rotate in the direction of the thread.
- Connect Hose: Attach your garden hose to the bottom outlet of the sprinkler timer. Ensure a secure connection to prevent leaks.
Installation Video Guide
Video: A detailed guide on how to install and set up the CROSOFMI Water Timer. This video covers unboxing, connecting the timer to a faucet, and initial programming steps.
Operating Instructions
The CROSOFMI Sprinkler Timer features a large LCD screen and intuitive controls for easy programming.

Image: A detailed diagram of the sprinkler timer's LCD display and buttons, labeling Real Time, Battery Indicator, Watering Icon, Start Time, How Long, How Often, Next Time, Increase/Decrease buttons, Start Setting/Confirm, Manual Watering, and Exit Current Setting.
1. Setting Current Time
- Press the '⚙️/OK' button to enter programming mode.
- Use the '-' and '+' buttons to adjust the current time.
- Press '⚙️/OK' to save changes and move to the next setting.
2. Setting Start Time
- After setting the current time, the 'Start Time' will flash.
- Use the '-' and '+' buttons to set your desired watering start time.
- Press '⚙️/OK' to confirm.
3. Setting Watering Duration ('How Long')
The watering duration ranges from 1 second to 99 minutes.
- The 'How Long' setting will flash.
- Use the '-' and '+' buttons to set the duration of each watering cycle.
- Press '⚙️/OK' to confirm.
4. Setting Watering Frequency ('How Often')
The irrigation interval can be set from 1 hour to 15 days.
- The 'How Often' setting will flash.
- Use the '-' and '+' buttons to set the frequency between watering cycles.
- Press '⚙️/OK' to save all program settings.
Programming Video Guide
Video: An overview of setting up intelligent sprinkler programs with the CROSOFMI Water Timer, demonstrating how to customize watering duration and frequency.
Manual Watering Mode
This mode allows for instant watering without interrupting your set irrigation program.
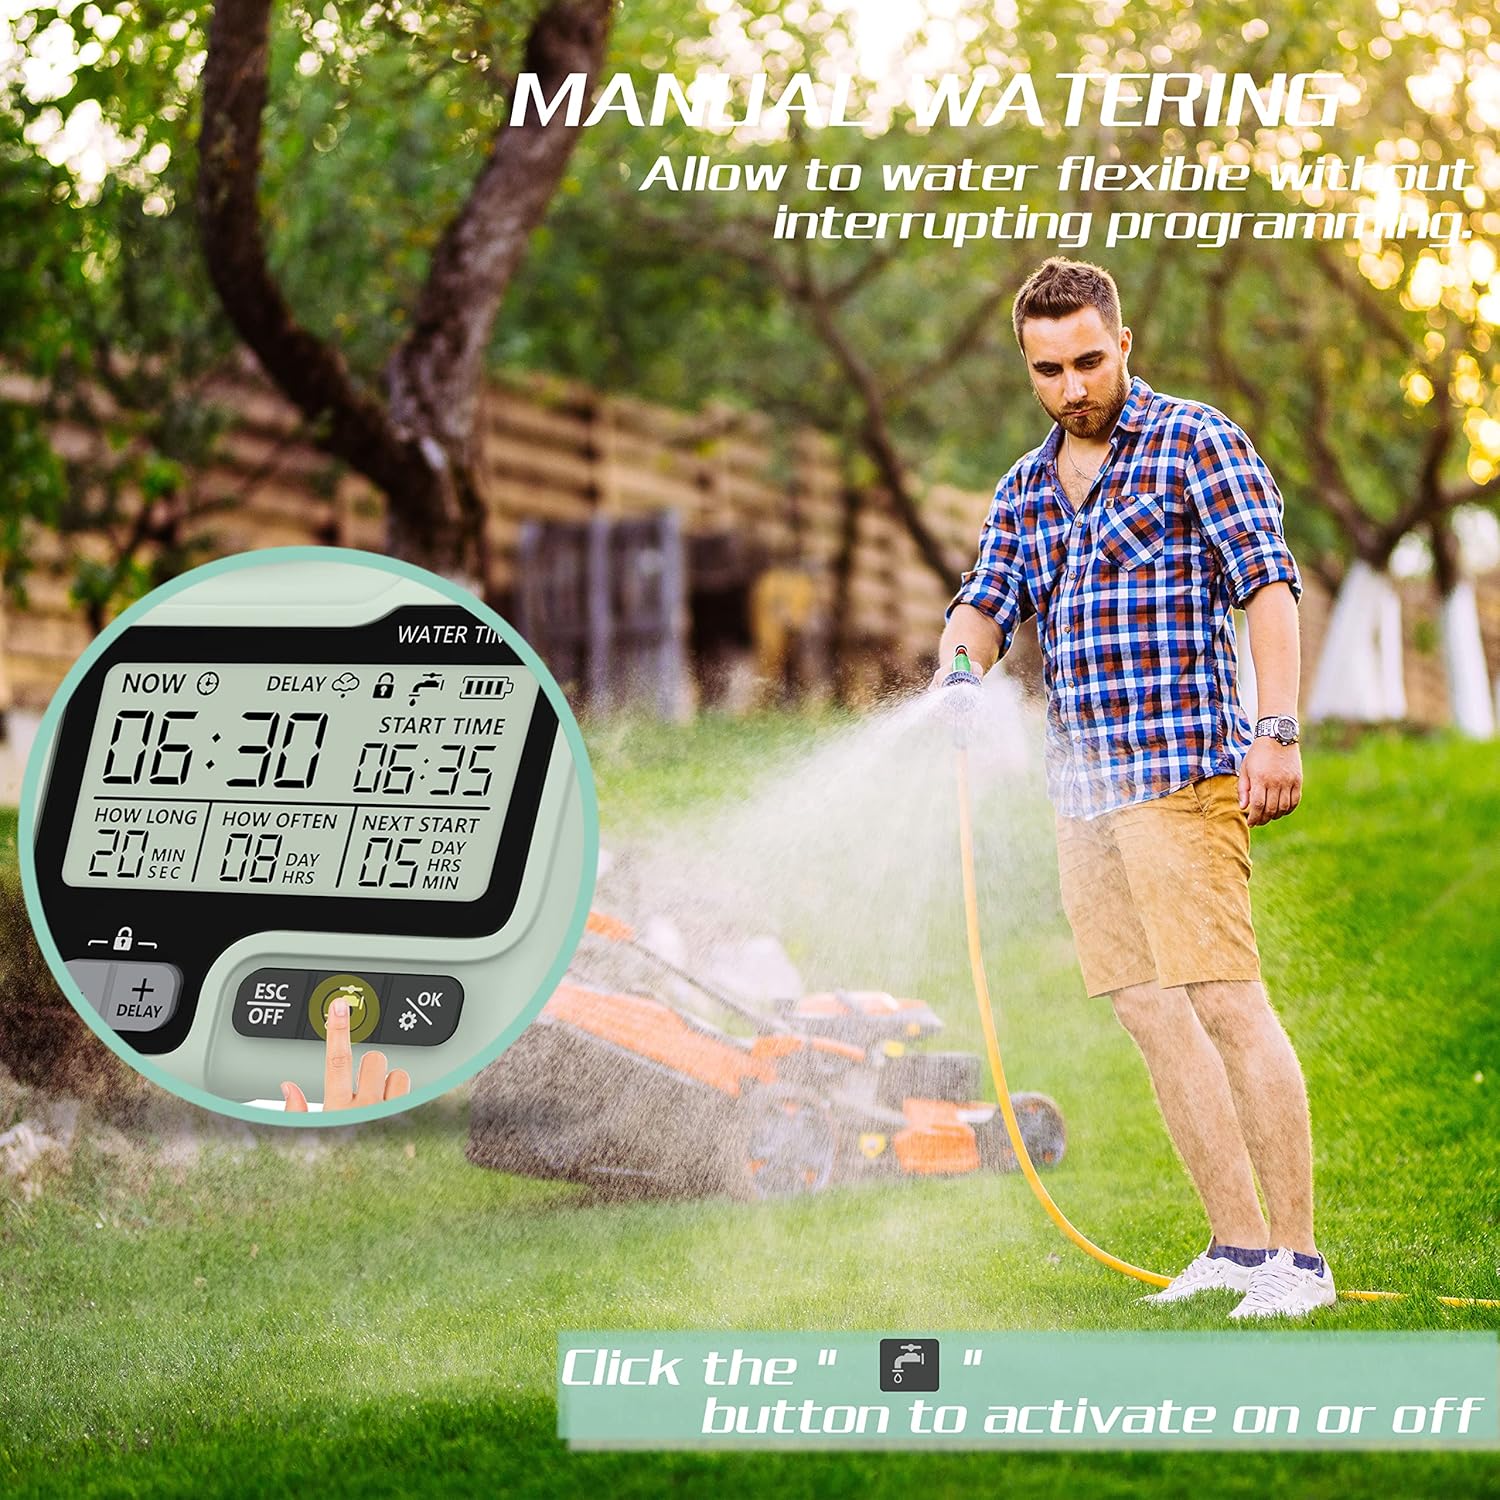
Image: A person manually watering a lawn with the sprinkler timer attached, highlighting the flexibility of the manual mode.
- Press the '💧' button to activate manual watering.
- Use the '-' and '+' buttons to set the desired manual watering duration.
- Press '⚙️/OK' to start watering. The timer will automatically stop after the set duration.
- To stop manual watering early, press the '💧' button again.
Rain Delay Mode
The Rain Delay mode pauses your program for a set interval to avoid overwatering and conserve water during rainy periods.
- Hold the '+/DELAY' button for 3 seconds to activate the rain delay function.
- Use the '-' and '+' buttons to select the delay duration (e.g., 24h, 48h, 72h).
- Press '⚙️/OK' to confirm the rain delay. The timer will resume its schedule after the delay period.
- To cancel rain delay, hold the '+/DELAY' button for 3 seconds again.
Child Lock Mode
The Child Lock mode prevents unintended changes to your programming by children or pets.
- To activate Child Lock, hold the '-' and '+' buttons simultaneously for 3 seconds. A lock icon will appear on the screen.
- To deactivate Child Lock, hold the '-' and '+' buttons simultaneously for 3 seconds again. The lock icon will disappear.
OFF Mode
To completely turn off the timer and stop all watering programs.
- Hold the 'ESC/OFF' button for 3 seconds. The display will show "OFF".
- To reactivate the timer, hold the 'ESC/OFF' button for 3 seconds again. The display will return to the current time.
Key Features
- Simple and Flexible Programming: Watering duration from 1 second to 99 minutes, and irrigation interval from 1 hour to 15 days. Fully customizable schedules for various watering needs (drip irrigation, sprinkler, pool filling, mist systems).

Image: Visual representation of the wide range of customizable run times and intervals for the timer.
- All-in-One Large Screen & Extended Working Time: 3-inch extra-large HD screen for clear visibility. Screen automatically goes to sleep after 30 seconds of inactivity to save power. Powerful chip detects low power and shuts off before battery dies. Requires 2x1.5V AA Alkaline batteries (not included).

Image: Icons representing key features: Timed Watering, Manual Watering, LCD Display, Rain Delay, Child Lock, and IPX5 Waterproof.
- Intelligent Power & Multi-Function: Smart display shows remaining power. Manual mode for instant watering. Rain Delay mode to pause programs. Child Lock mode for safety. Accurate timing display in manual mode.
- Waterproof & Durable: IP65 waterproof rating, tested with 10kg water pressure. New pneumatic sealed components prevent leaking. Top connector made of reinforced nylon fiber for impact and wear resistance. Waterproof battery case with internal rubber ring.

Image: Icons highlighting the timer's corrosion resistance, ultraviolet-proof design, and waterproof capabilities, ideal for outdoor use.
- Stable Operation, Accurate Timing: Utilizes a smart chip with frequency tolerance ≤0.00002s for independent, safe, stable, energy-saving, and reliable timing.

Image: Close-up of the internal smart chip, emphasizing stable operation and accurate timing.
Troubleshooting
If you encounter issues with your CROSOFMI Sprinkler Timer, refer to the following common problems and solutions:
| Problem | Possible Cause | Solution |
|---|---|---|
| Timer not watering / No water flow |
|
|
| Water leakage from connections |
|
|
| Display is blank or dim |
|
|
| Timer not responding to buttons |
|
|
Specifications
| Specification | Value |
|---|---|
| Model | B09MLDN75N |
| Brand | CROSOFMI |
| Product Dimensions | 4.72 x 2.17 x 6.3 inches (12 x 5.5 x 16 cm) |
| Item Weight | 12.6 ounces (357.2 grams) |
| Material | Nylon (reinforced) |
| Color | Green |
| Watering Duration | 1 second to 99 minutes |
| Irrigation Interval | 1 hour to 15 days |
| Waterproof Rating | IP65 |
| Power Source | 2 x 1.5V AA Alkaline batteries (not included) |
| Hose Tap Connection | 3/4" Internal Thread |
| Water Outlet | 3/4" Internal Thread |
Maintenance
- Battery Replacement: Replace batteries when the low power indicator appears on the screen to ensure continuous operation. Always use new 1.5V AA Alkaline batteries.
- Cleaning: Periodically check the filter screen at the water inlet for any debris or sediment. Clean it gently under running water if clogged.
- Winter Storage: Before freezing temperatures, disconnect the timer from the faucet and hose. Drain any remaining water from the unit and store it indoors in a dry, frost-free location. Remove batteries if storing for an extended period.
- Avoid Chemicals: Do not use abrasive cleaners or solvents on the timer, as they may damage the plastic components or electronic display. Wipe with a soft, damp cloth if cleaning is needed.
Warranty and Support
CROSOFMI is committed to product quality and customer satisfaction. For any questions, concerns, or warranty claims, please contact CROSOFMI customer service. We offer 24-hour friendly customer service.
Refer to your purchase documentation or the official CROSOFMI website for the most up-to-date warranty information and contact details.
Ask a question about this manual
Ask about setup, troubleshooting, compatibility, parts, safety, or missing instructions. Manuals+ will review the question and use this page’s manual context to help answer it.