
1. Product Overview
The RYOBI ONE 18V Cordless 3 in. Variable Speed Detail Polisher/Sander (Model PBF102B) is a versatile tool designed for both polishing and sanding tasks. It features a compact design, variable speed control, and is part of the RYOBI ONE+ System, utilizing the same 18V battery platform.
Key Features:
- Cordless Operation: Provides freedom of movement without the need for power cords or compressors.
- Variable Speed Switch: Offers two distinct speed settings optimized for polishing (0-2,800 RPM) and sanding (0-7,800 RPM).
- Spindle Lock: Facilitates quick and tool-free accessory changes.
- Removable Auxiliary Handle: Enhances control and user comfort during operation.
- On-board LED Work Light: Illuminates the work surface for improved visibility.
- Durable Construction: Features a die-cast front housing for increased longevity.
Included Components:
- RYOBI 18V Cordless 3 in. Variable Speed Detail Polisher/Sander (Tool Only)
- 3 in. Hook and Loop Backer Pad for Polishing
- 3 in. Foam Hook and Loop Finishing Pad
- 3 in. Foam Hook and Loop Correcting Pad
- 3 in. Wool Hook and Loop Pad
- 2 in. Twist and Lock Backer Pad for Sanding
- 2 in. 60 Grit Twist and Lock Sanding Disc
- 2 in. 80 Grit Twist and Lock Sanding Disc
- 2 in. 120 Grit Twist and Lock Sanding Disc
- Auxiliary Handle
- Operator’s Manual
Note: Battery and charger are sold separately.
2. Safety Information
Always observe basic safety precautions when using power tools to reduce the risk of fire, electric shock, and personal injury. Read and understand all instructions before operating this tool.
- Wear Eye Protection: Always wear safety goggles or safety glasses with side shields.
- Wear Hearing Protection: Prolonged exposure to noise from power tools can cause hearing damage.
- Secure Workpiece: Always clamp or otherwise secure the workpiece to prevent movement during operation.
- Maintain a Firm Grip: Hold the tool firmly with both hands to maintain control.
- Keep Work Area Clean: Cluttered areas invite accidents.
- Avoid Accidental Starting: Ensure the switch is in the off position before inserting the battery pack.
- Use Correct Accessories: Only use accessories specifically designed for this tool.
- Do Not Overreach: Maintain proper footing and balance at all times.
- Disconnect Battery: Always remove the battery pack before making any adjustments, changing accessories, or storing the tool.
3. Setup
3.1 Battery Installation
This tool operates on an 18V ONE+ battery (sold separately). To install, align the battery pack with the tool's battery port and slide it in until it clicks securely into place. To remove, press the release latch and slide the battery out.

Image: Reminder that battery and charger are sold separately.
3.2 Auxiliary Handle Attachment
The auxiliary handle can be attached to either side of the tool for enhanced control and comfort. Thread the handle into the designated opening on the tool's housing and tighten it securely by hand.

Image: RYOBI Polisher/Sander with the auxiliary handle installed.
3.3 Accessory Pad Installation
This tool uses hook and loop (Velcro-style) pads for polishing and twist-and-lock discs for sanding. Ensure the tool is off and the battery is removed before changing accessories.
For Polishing Pads:
- Press and hold the spindle lock button.
- Thread the 3 in. hook and loop backer pad onto the spindle until secure.
- Attach the desired 3 in. foam or wool polishing pad to the hook and loop backer pad, ensuring it is centered.
For Sanding Discs:
- Press and hold the spindle lock button.
- Thread the 2 in. twist and lock backer pad onto the spindle until secure.
- Twist and lock the desired 2 in. sanding disc onto the backer pad.

Image: The polisher/sander shown with its included assortment of polishing pads and sanding discs.
4. Operating Instructions
4.1 Powering On/Off
To turn the tool ON, depress the trigger switch. To turn the tool OFF, release the trigger switch.
4.2 Speed Selection
The tool features a 2-speed switch located on the top of the tool. Select the appropriate speed setting for your task:
- Low Speed (0-2,800 RPM): Ideal for polishing applications.
- High Speed (0-7,800 RPM): Recommended for sanding applications.
4.3 Polishing Techniques
For best results when polishing, ensure the surface is clean and free of debris. Apply a small amount of polishing compound directly to the pad or the work surface. Start the tool on low speed and move it in a consistent, overlapping pattern. Avoid applying excessive pressure, allowing the tool and compound to do the work.
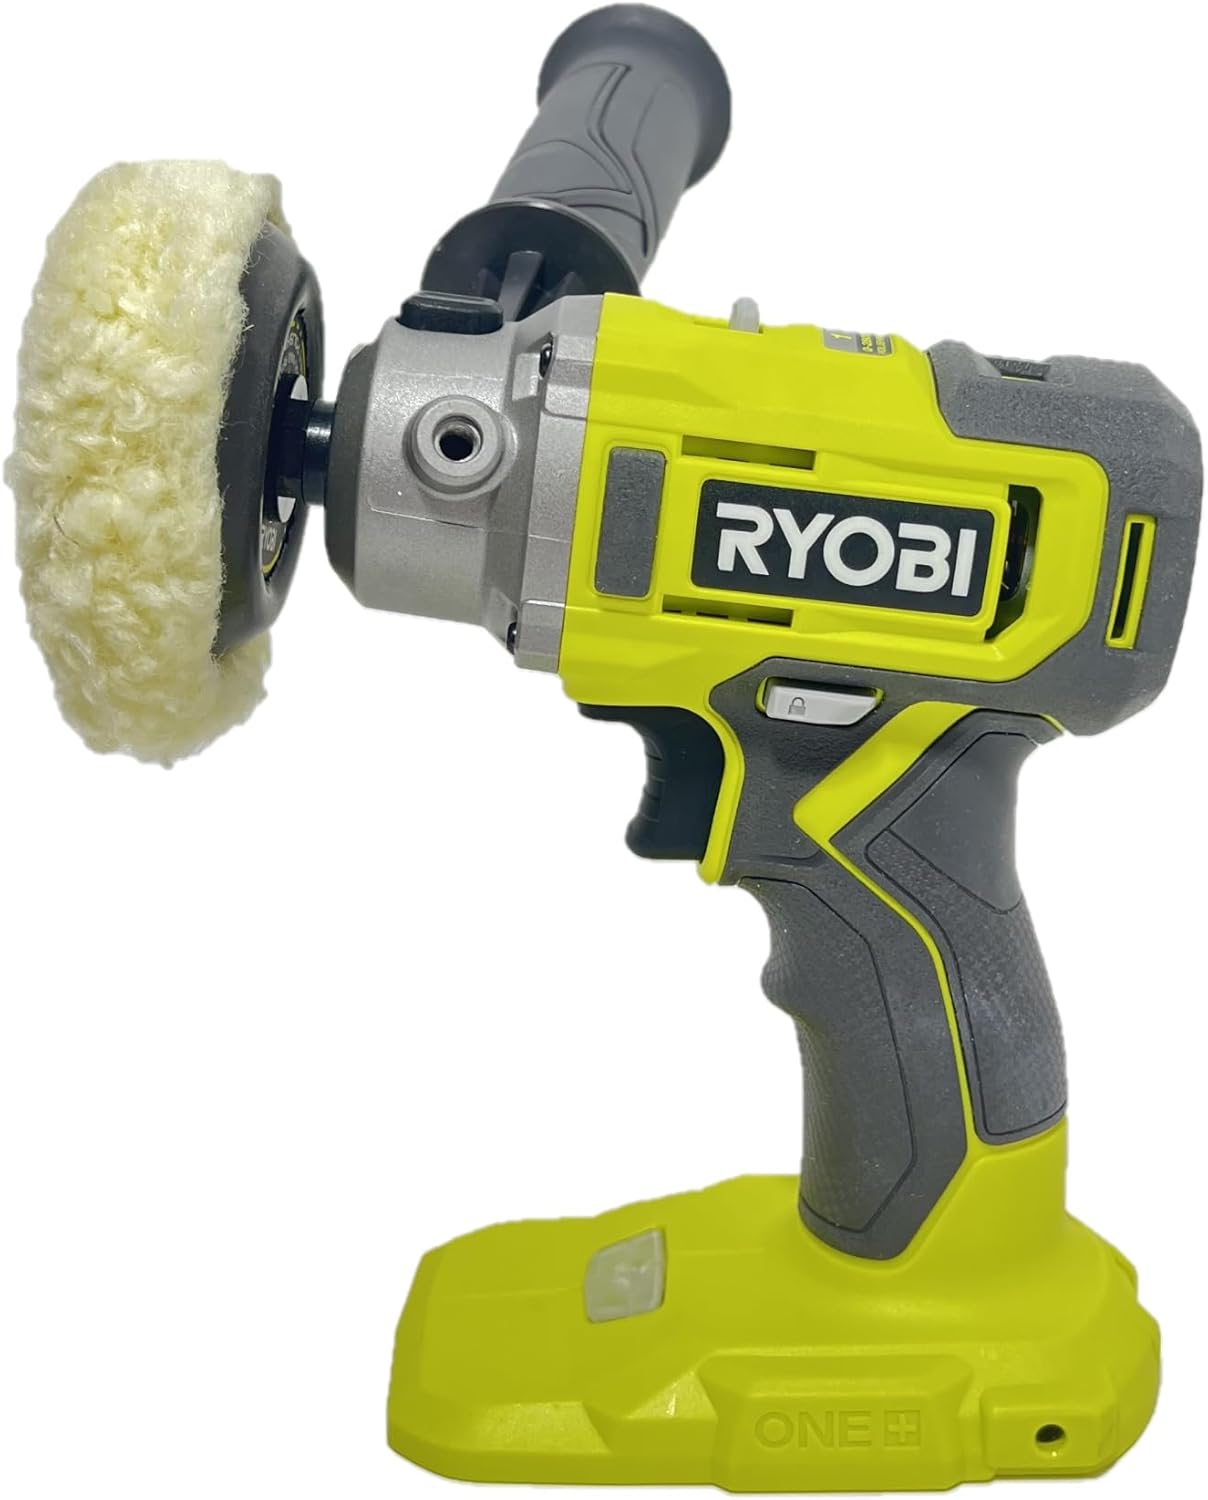
Image: The polisher/sander equipped with a wool polishing pad, ready for use.
4.4 Sanding Techniques
When sanding, select the high-speed setting. Use appropriate grit sanding discs for your task, starting with a coarser grit for material removal and progressing to finer grits for a smoother finish. Apply light, even pressure and move the tool in a controlled manner across the surface. Avoid dwelling in one spot to prevent gouging or uneven sanding.
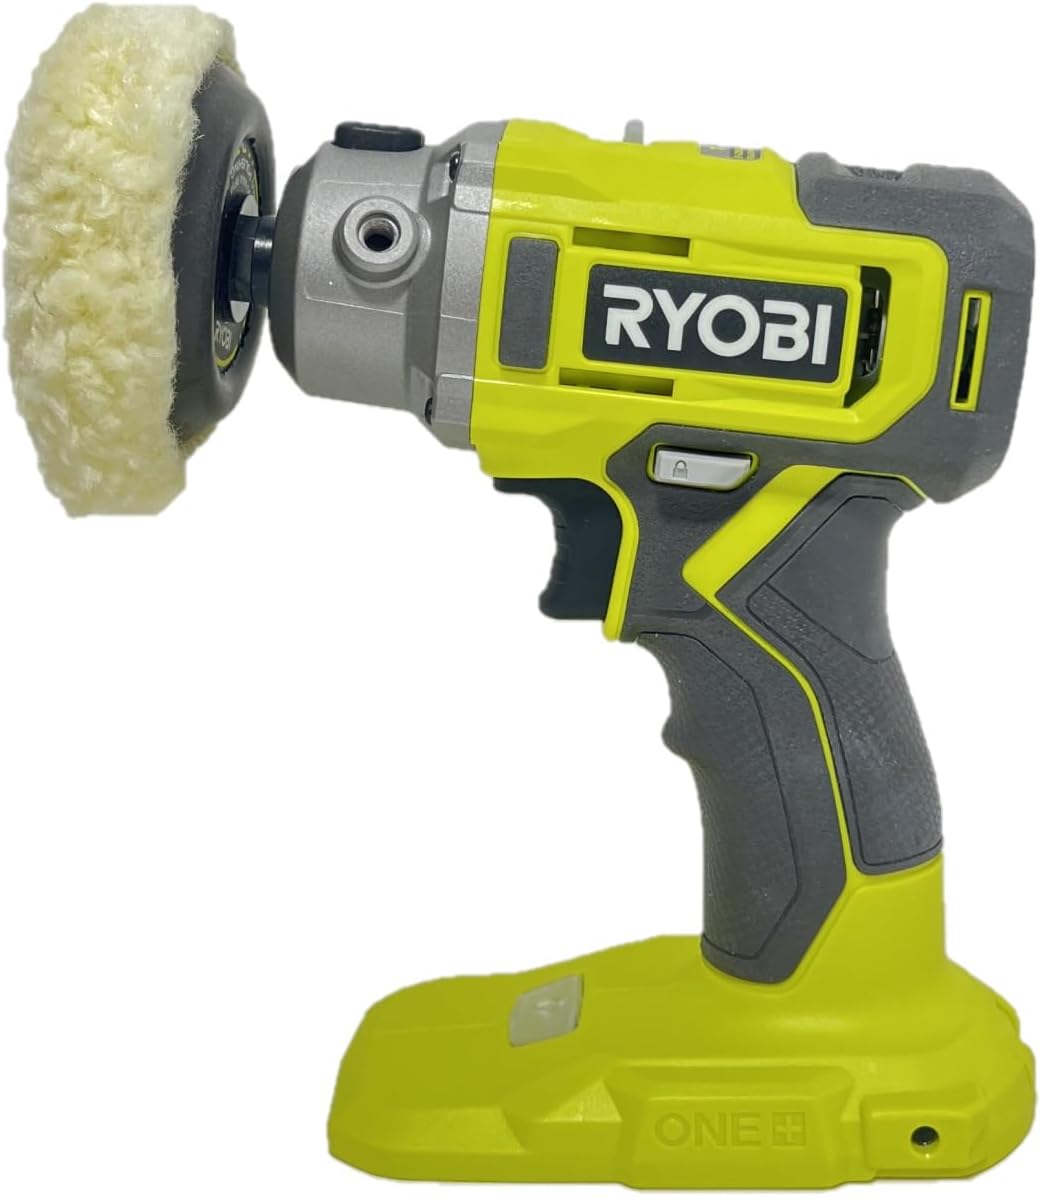
Image: The polisher/sander with a sanding disc attached, demonstrating its sanding capability.
5. Maintenance
5.1 Cleaning
Regularly clean the tool's exterior with a soft, damp cloth. Do not use harsh chemicals or abrasive cleaners. Keep the ventilation openings clear of dust and debris to prevent overheating.
5.2 Accessory Care
Clean polishing pads after each use to remove compound residue. Hand wash foam and wool pads with mild soap and water, then allow them to air dry completely. Do not machine wash or tumble dry, as this can damage the hook and loop backing. Replace sanding discs when they become worn or lose their abrasive quality.
5.3 Storage
Store the tool in a dry, secure location out of reach of children. Remove the battery pack before storing for extended periods. Protect the tool from direct sunlight and extreme temperatures.
6. Troubleshooting
If you encounter issues with your RYOBI PBF102B, refer to the following common problems and solutions:
| Problem | Possible Cause | Solution |
|---|---|---|
| Tool does not start | Battery not charged or improperly installed; Faulty switch | Ensure battery is fully charged and correctly inserted. If issue persists, contact customer support. |
| Tool overheats during use | Excessive continuous use; Blocked ventilation; Overloading the tool | Allow tool to cool down. Clear any debris from ventilation openings. Reduce pressure and avoid prolonged continuous operation. |
| Poor polishing/sanding results | Worn accessory pad/disc; Incorrect speed setting; Improper technique | Replace worn pads/discs. Verify correct speed setting for the task. Review operating instructions for proper technique. |
7. Technical Specifications
| Specification | Value |
|---|---|
| Model Number | PBF102B |
| Voltage | 18 Volts |
| Polishing Speed (RPM) | 0 - 2,800 RPM |
| Sanding Speed (RPM) | 0 - 7,800 RPM |
| Item Weight | 2.88 pounds (1.31 Kilograms) |
| Package Dimensions | 14.41 x 7.72 x 3.35 inches |
| Power Source | Battery Powered |
| Specific Uses | Automotive |
| Material | Metal |
| Color | Orange |
8. Warranty and Support
8.1 Warranty Information
This RYOBI tool is backed by a 3-Year Manufacturer's Warranty. This warranty covers defects in material and workmanship from the date of purchase. Please retain your proof of purchase for warranty claims. For full warranty details and conditions, refer to the official RYOBI website or contact customer service.
8.2 Customer Support
For technical assistance, replacement parts, or warranty service, please contact RYOBI customer support. Contact information can typically be found on the official RYOBI website or in the packaging materials that came with your product.


