1. Introduction
The OnLyee CR1018i Vibrating Alarm Clock is designed to provide a reliable wake-up experience for heavy sleepers and individuals with hearing impairment. It combines a powerful bed shaker with a loud audible alarm and customizable display settings. This manual provides detailed instructions for setup, operation, and maintenance of your new alarm clock.
2. What's in the Box
- OnLyee CR1018i Vibrating Alarm Clock
- Bed Shaker (1.8m cable)
- 1.5m USB Power Cable + DC Plug
- User Manual (this document)
- 1 CR2032 battery (for backup, may not be pre-installed)

Image: Contents of the OnLyee CR1018i package, including the alarm clock, bed shaker, and cables.
3. Product Overview
3.1 Front Display
The front of the alarm clock features an 8.7-inch HD LED mirror display, showing the time clearly. The mirrored surface can also be used as a functional mirror when the display is off or dimmed.
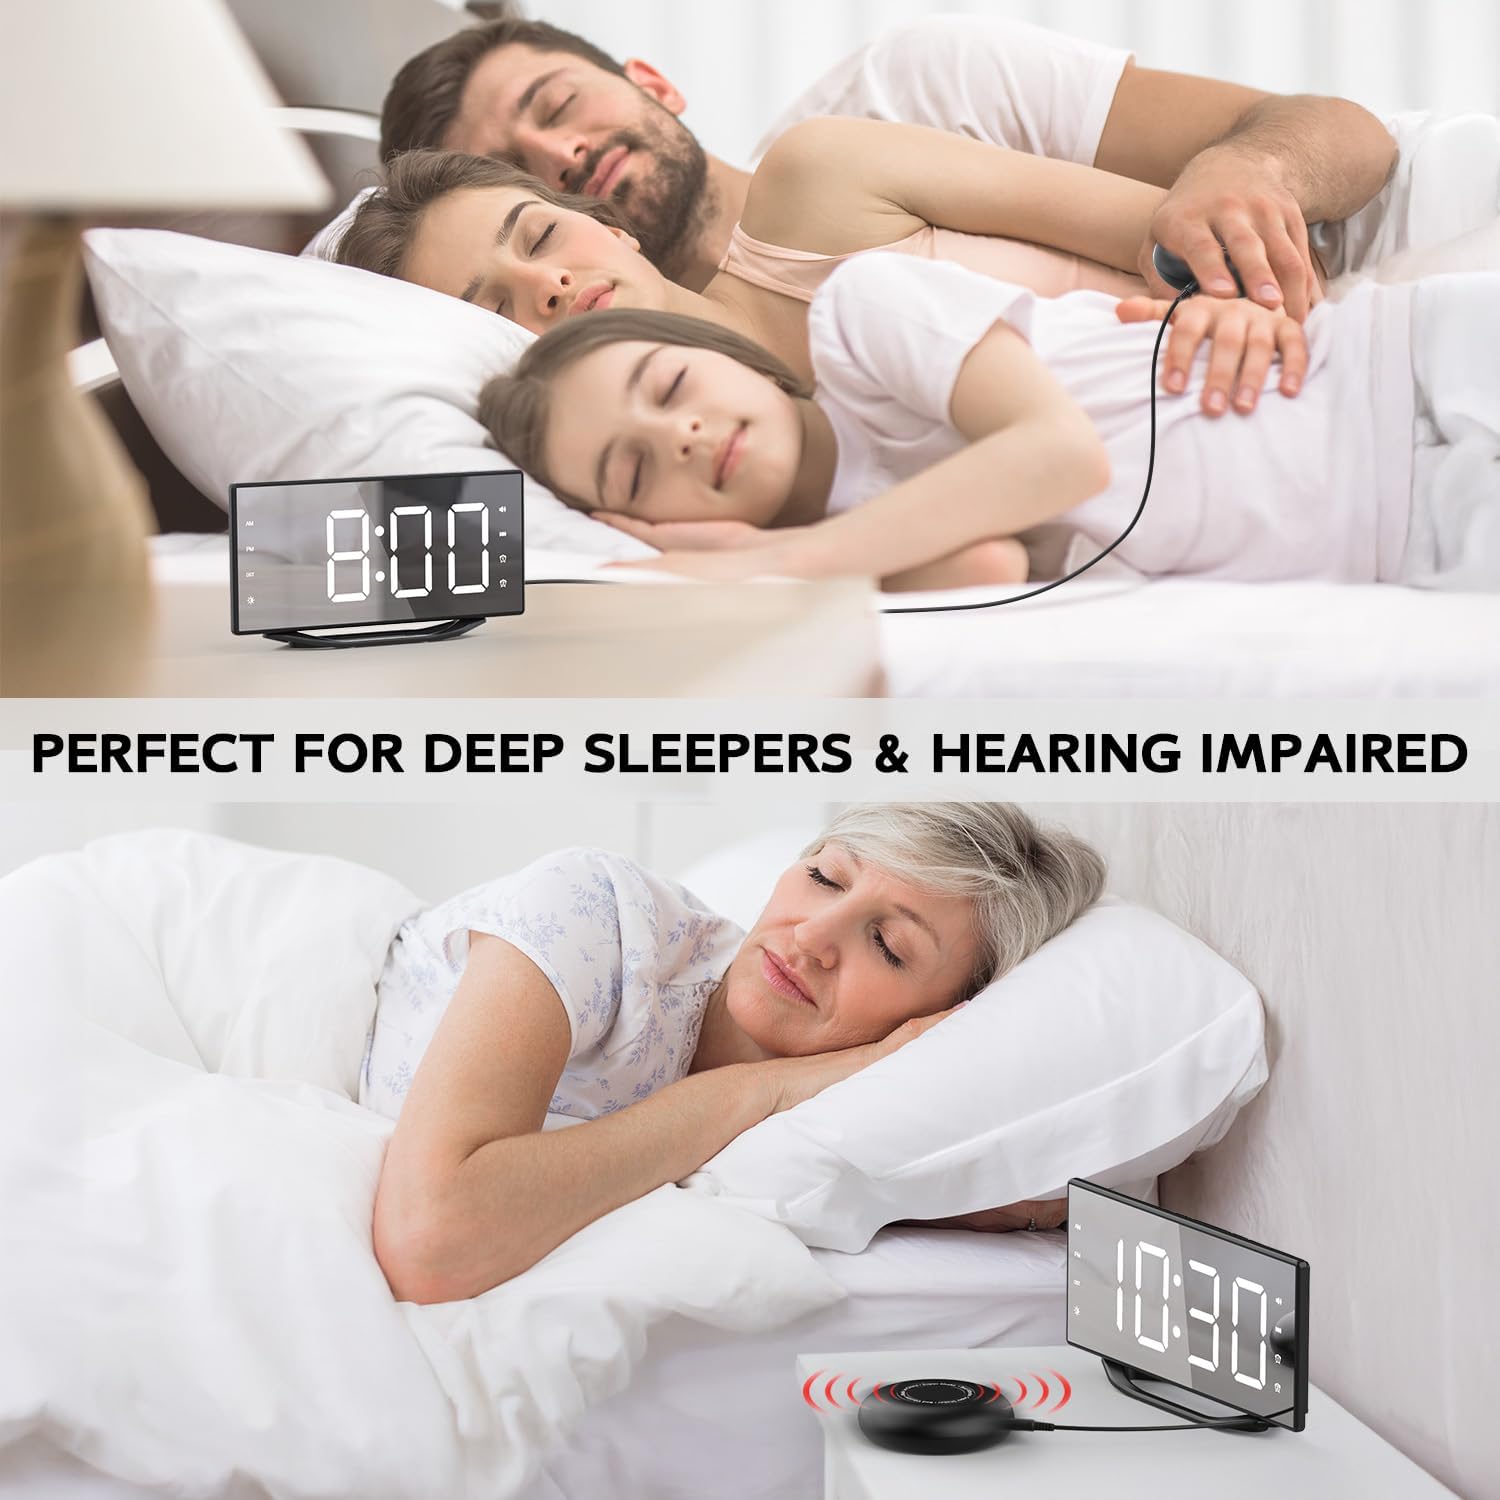
Image: The 8.7-inch LED mirror display showing the time.
3.2 Top Buttons
Control buttons are located on the top of the alarm clock for easy access to settings such as dimmer, hour, minute, time format, snooze, alarm settings, volume, and alarm off.
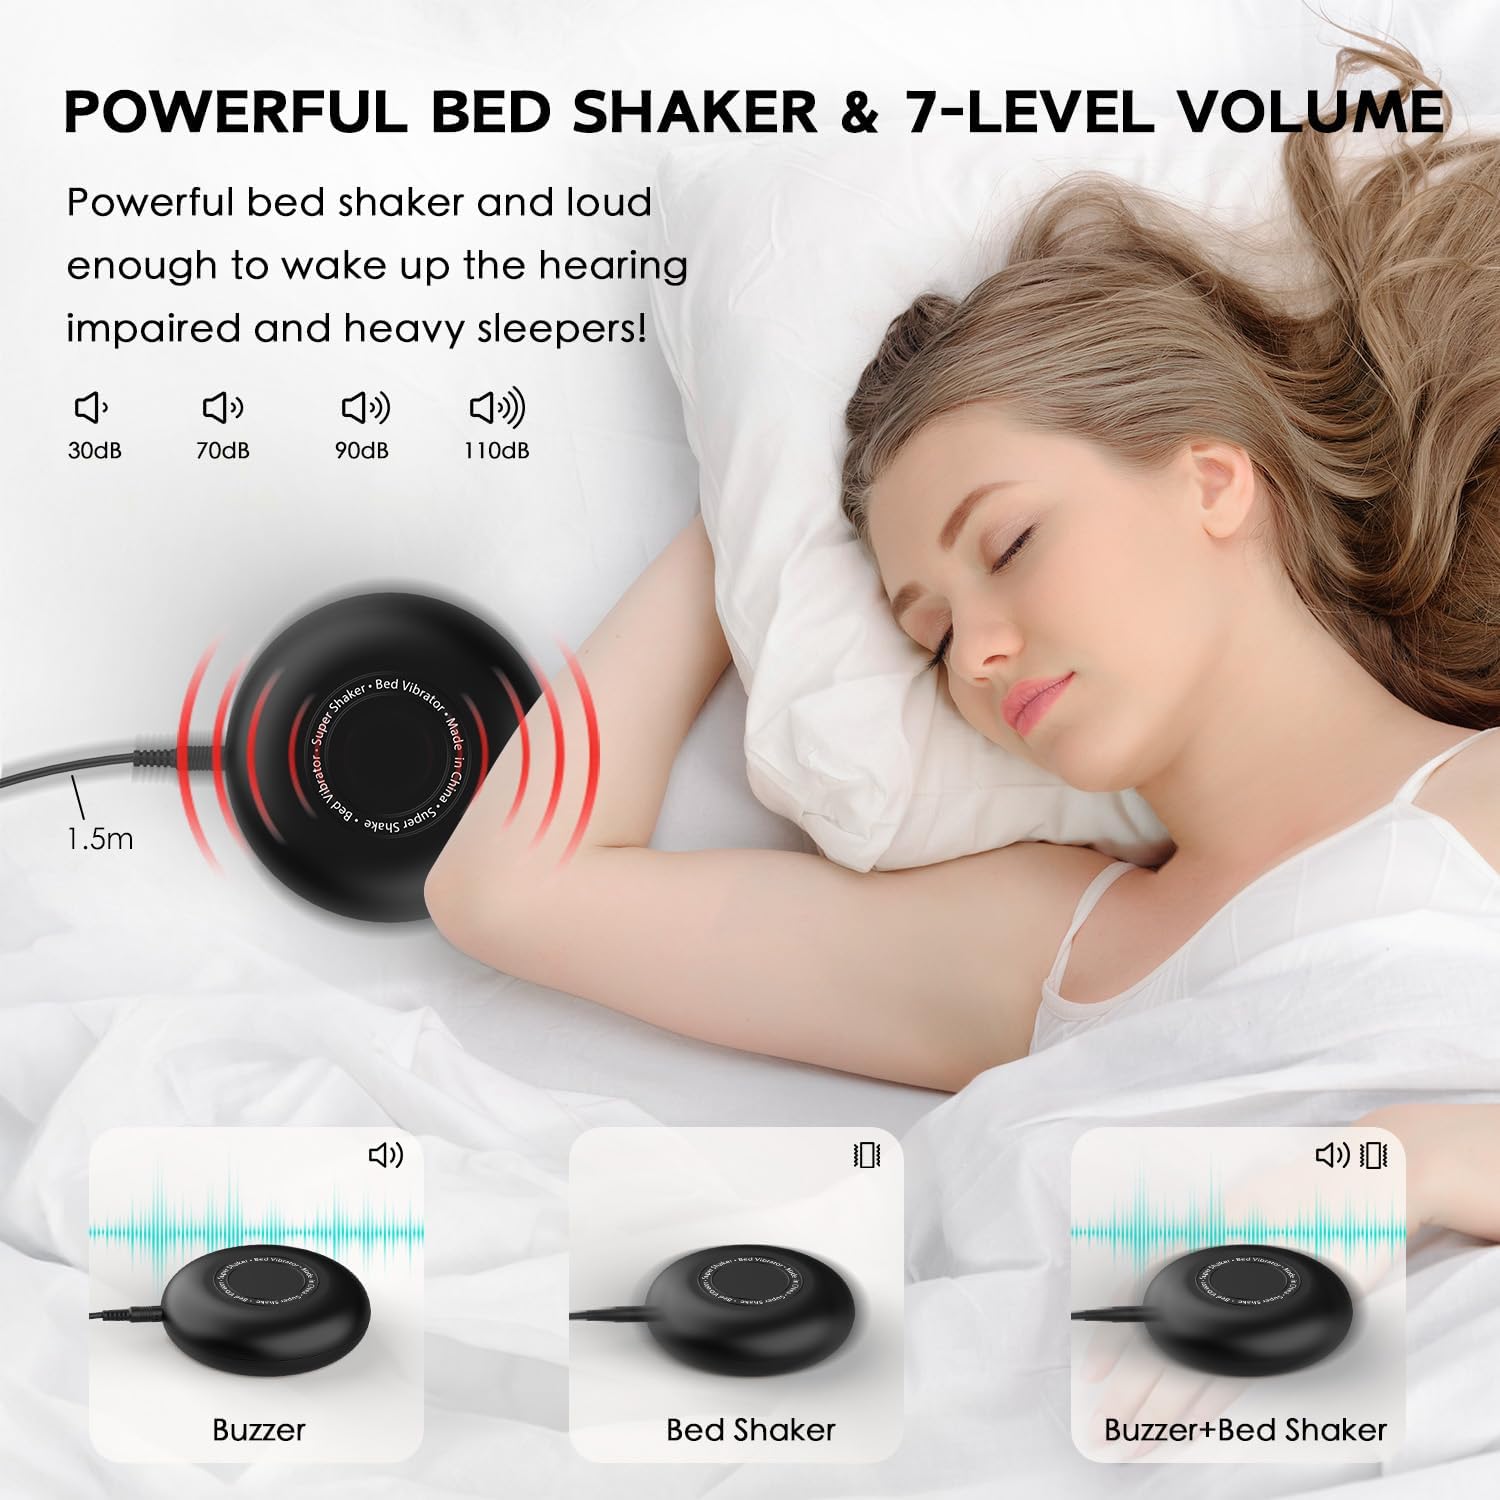
Image: Overview of the control buttons on the top of the alarm clock.
3.3 Rear Ports and Switches
The rear of the unit includes the DC power input, a 5V/1A USB-A charging port, a vibrator port for the bed shaker, and a switch to select alarm modes (Buzz, Buzz/Vib, Vib).
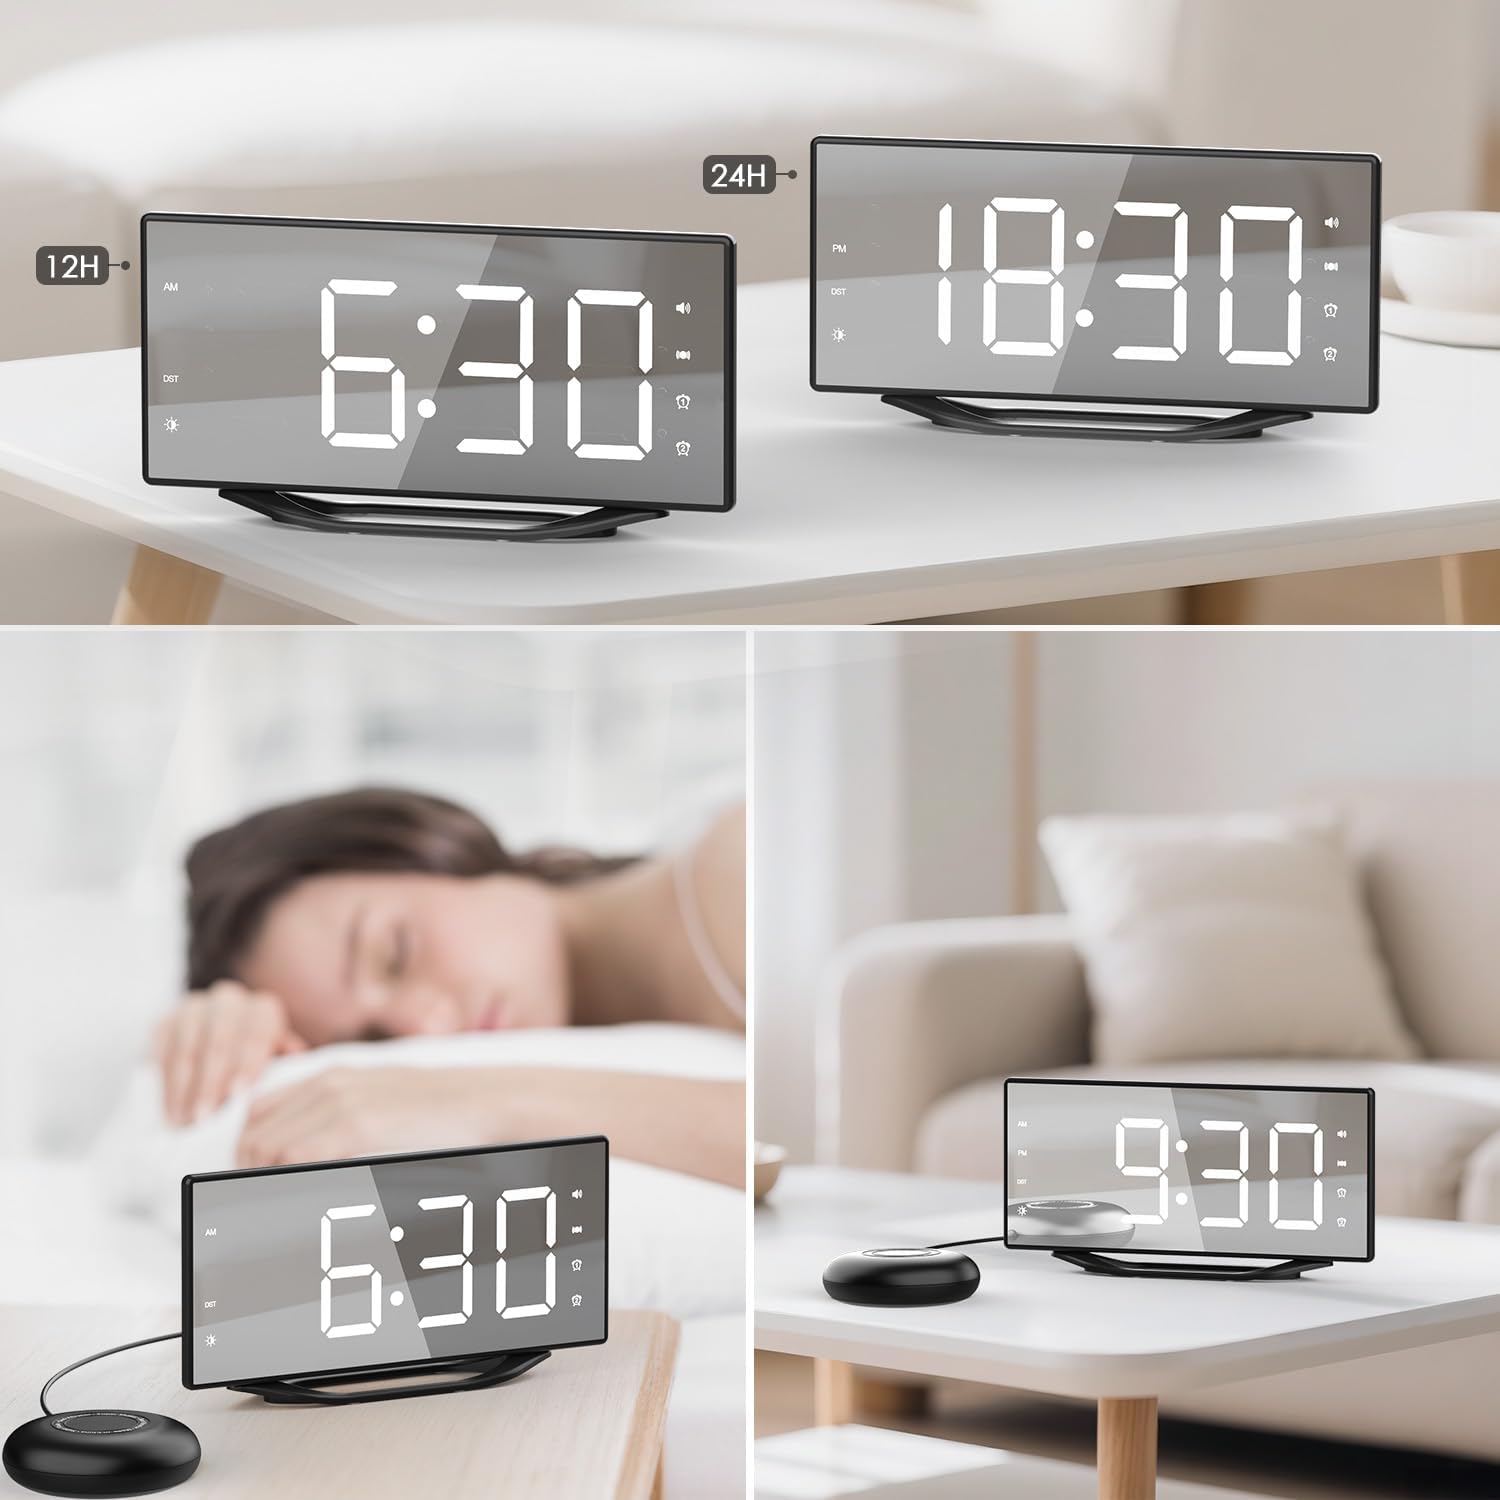
Image: The back panel of the alarm clock with power input, USB charging port, vibrator port, and alarm mode switch.
4. Setup
- Power Connection: Connect the 1.5m USB power cable to the DC 5V input port on the back of the alarm clock. Plug the DC plug into a standard wall outlet. The display will light up.
- Battery Backup (Optional): If not already installed, insert 1 CR2032 battery into the battery compartment on the back of the clock. This battery provides backup for time and alarm settings during power outages, but does not power the display.
- Connect Bed Shaker: Plug the bed shaker's 1.8m cable into the "VIBRATOR PORT" on the back of the alarm clock.
- Position Bed Shaker: Place the bed shaker under your pillow or mattress for optimal vibration.

Image: The alarm clock and bed shaker set up on a nightstand, with a phone charging via the USB port.
5. Operating Instructions
5.1 Setting Time
- Press and hold the TIME 12H/24H button to enter time setting mode. The hour digits will flash.
- Press the HOUR button to adjust the hour.
- Press the MINUTE button to adjust the minute.
- Press the TIME 12H/24H button again to confirm and exit time setting, or wait a few seconds for it to automatically save.
- To switch between 12-hour and 24-hour format, short press the TIME 12H/24H button.
5.2 Setting Alarms (Alarm 1 & Alarm 2)
The clock supports two independent alarms.
- Press and hold ALARM 1 or ALARM 2 button to enter alarm setting mode. The hour digits will flash.
- Press the HOUR button to adjust the alarm hour.
- Press the MINUTE button to adjust the alarm minute.
- Press the respective ALARM button again to confirm and exit alarm setting. The alarm icon will appear on the display, indicating it is active.
- To deactivate an alarm, short press the corresponding ALARM button until its icon disappears from the display.
5.3 Snooze Function
When an alarm sounds, press the large SNOOZE button on top to temporarily silence the alarm for 9 minutes. The alarm will sound again after 9 minutes. To turn off the alarm completely, press the ALARM OFF button.
5.4 Adjusting Display Brightness
The display has 8 levels of brightness. Press the DIMMER button repeatedly to cycle through the brightness levels (L7 being brightest, L0 being off). Select the desired brightness for your environment.

Image: Visual representation of the 8 brightness levels for the LED display.
5.5 Alarm Modes (Buzz, Buzz/Vib, Vib)
Use the switch on the back of the alarm clock to select your preferred wake-up mode:
- BUZZ: Only the audible alarm will sound.
- BUZZ/VIB: Both the audible alarm and the bed shaker will activate.
- VIB: Only the bed shaker will activate, providing silent vibration.

Image: Illustration of the three available alarm modes: audible buzz, bed shaker, and a combination of both.
Video: Official product video demonstrating the OnLyee Vibrating Alarm Clock for Heavy Sleepers, highlighting its features and wake-up methods.
5.6 USB Charging Port
The alarm clock includes a built-in 5V/1A USB-A charging port on the back. You can use this port to charge your smartphone or other USB-powered devices overnight, eliminating the need for an additional wall adapter.
6. Maintenance
- Clean the alarm clock and bed shaker with a soft, dry cloth.
- Do not use abrasive cleaners or solvents.
- Keep the device away from water and excessive moisture.
- Ensure proper ventilation around the unit.
7. Troubleshooting
| Problem | Solution |
|---|---|
| Display is off or dim. | Check power connection. Press the DIMMER button to adjust brightness. |
| Alarm does not sound/vibrate. | Ensure the alarm is activated (icon visible). Check the alarm mode switch on the back. Verify bed shaker is properly connected. |
| Time/Alarm settings lost after power outage. | Ensure the CR2032 backup battery is correctly installed and not depleted. Replace if necessary. |
| USB charging port not working. | Ensure the alarm clock is powered on. Check the USB cable and the device being charged. The port provides 5V/1A output. |
8. Specifications
- Brand: OnLyee
- Model Number: CR1018i
- Display Type: Digital LED Mirror
- Screen Size: 8.7 Inches
- Brightness Levels: 8 (Adjustable)
- Alarm Modes: Vibration, Sound+Vibration, Sound
- Alarm Volume: Up to 120dB
- Alarms: Dual Independent Alarms
- Snooze Duration: 9 Minutes
- Time Format: 12H/24H Switchable
- USB Charging Port: 5V/1A USB-A Output
- Power Source: Corded Electric (DC 5V)
- Backup Battery: 1 CR2032 (for time/alarm settings memory)
- Product Dimensions: 8"W x 8"H (Note: This dimension may refer to packaging or a specific aspect; actual clock dimensions are typically rectangular.)
- Item Weight: 13.8 ounces
- Material: Acrylonitrile Butadiene Styrene
9. Warranty & Support
For warranty information or technical support, please refer to the contact details provided with your purchase or visit the official OnLyee website. Keep your purchase receipt for warranty claims.


