
OlideSmart Electric Strike Lock kit
OlideSmart 2.4GHz WiFi Access Control Electric Strike Lock System User Manual
Model: Electric Strike Lock kit
1. Introduction
This user manual provides comprehensive instructions for the installation, operation, and maintenance of your OlideSmart 2.4GHz WiFi Access Control Electric Strike Lock System. Please read this manual thoroughly before installation and use to ensure proper function and safety.
2. Safety Information
- Ensure all power is disconnected before installation or maintenance.
- This system operates on 12V DC. Use only the provided power adapter or a compatible UL-certified power supply.
- Do not attempt to modify or repair the system components yourself. Contact qualified personnel for service.
- Keep the system components away from water and extreme temperatures.
- Ensure proper wiring connections to prevent electrical hazards.
3. Package Contents
Verify that all items listed below are included in your package:
- Electric Strike Lock
- OS210WN Receiver (WiFi Controller)
- Wireless Slim Push Switch
- Remote Control (x2)
- Power Adapter (UL listed, 12V)
- Adapter Extension Wire (40 inches)
- Wire (approx. 80 inches)
- Slotted Screwdriver
- Adhesive Tape

The video below provides a visual overview of the components included in the kit.
Video 1: Unboxing and overview of the OlideSmart Electric Strike Lock Kit components. This video shows each item being removed from the packaging and laid out for inspection.
4. Product Overview
4.1 OS210WN Receiver (WiFi Controller)
The OS210WN receiver is the central control unit for the system, enabling WiFi connectivity and managing access control signals.

4.2 Electric Strike Lock
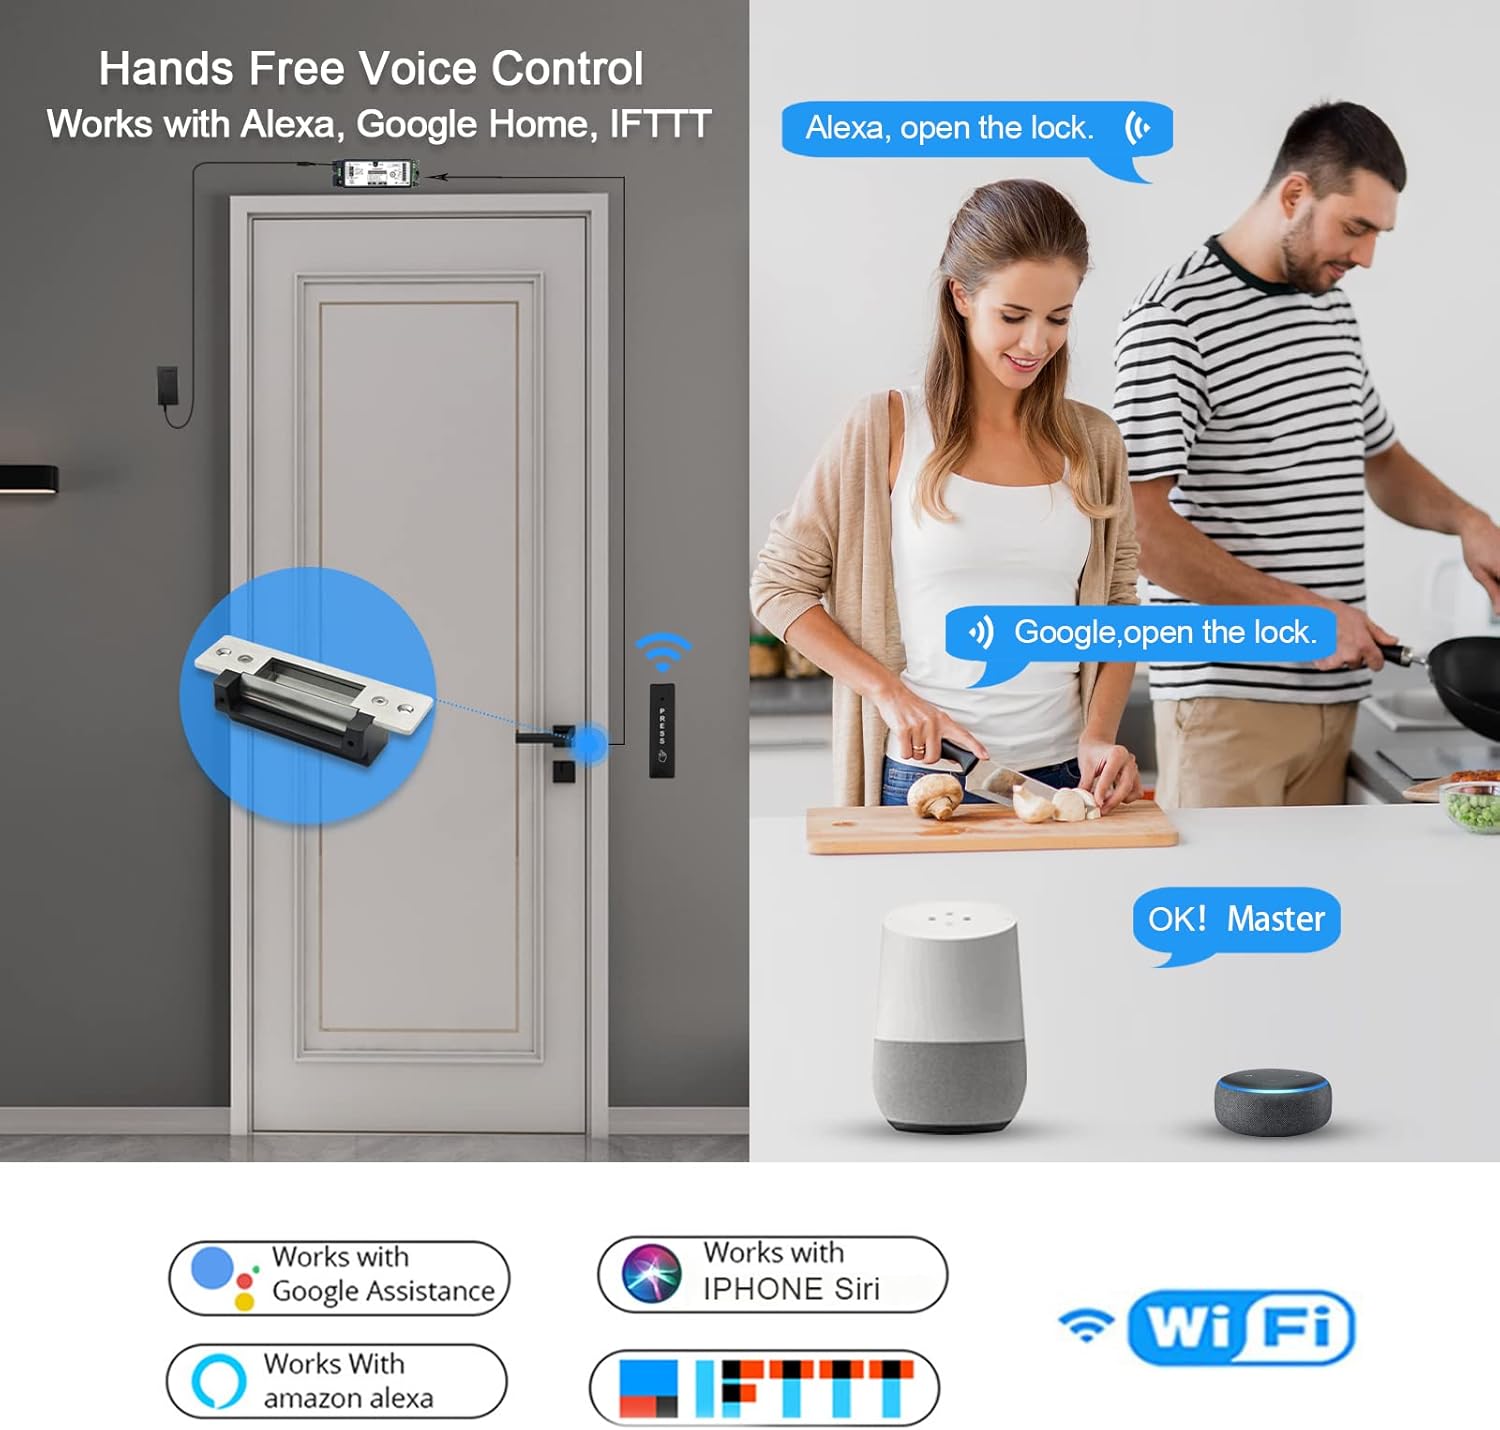
The electric strike lock is designed for secure door access, compatible with various door types. It features a robust metal construction.

4.3 Wireless Slim Push Switch
The wireless push switch provides a convenient way to open the door from the inside. It features a slim design and adhesive backing for easy installation.
5. Specifications
| Feature | Specification |
|---|---|
| Brand | OlideSmart |
| Model | Electric Strike Lock kit |
| Lock Type | Electric Strike |
| Material | Metal |
| Power Source | Corded Electric |
| Voltage | 12 Volts |
| Connectivity Protocol | Wi-Fi (2.4GHz) |
| Control Method | App, Remote, Push Button |
| Compatibility | Tuya Smart App, Amazon Alexa, Google Home |
| Installation Method | Self-Adhesive (for push switch) |
| Certification | UL (Power Adapter) |
6. Setup and Installation
6.1 Wiring Diagram
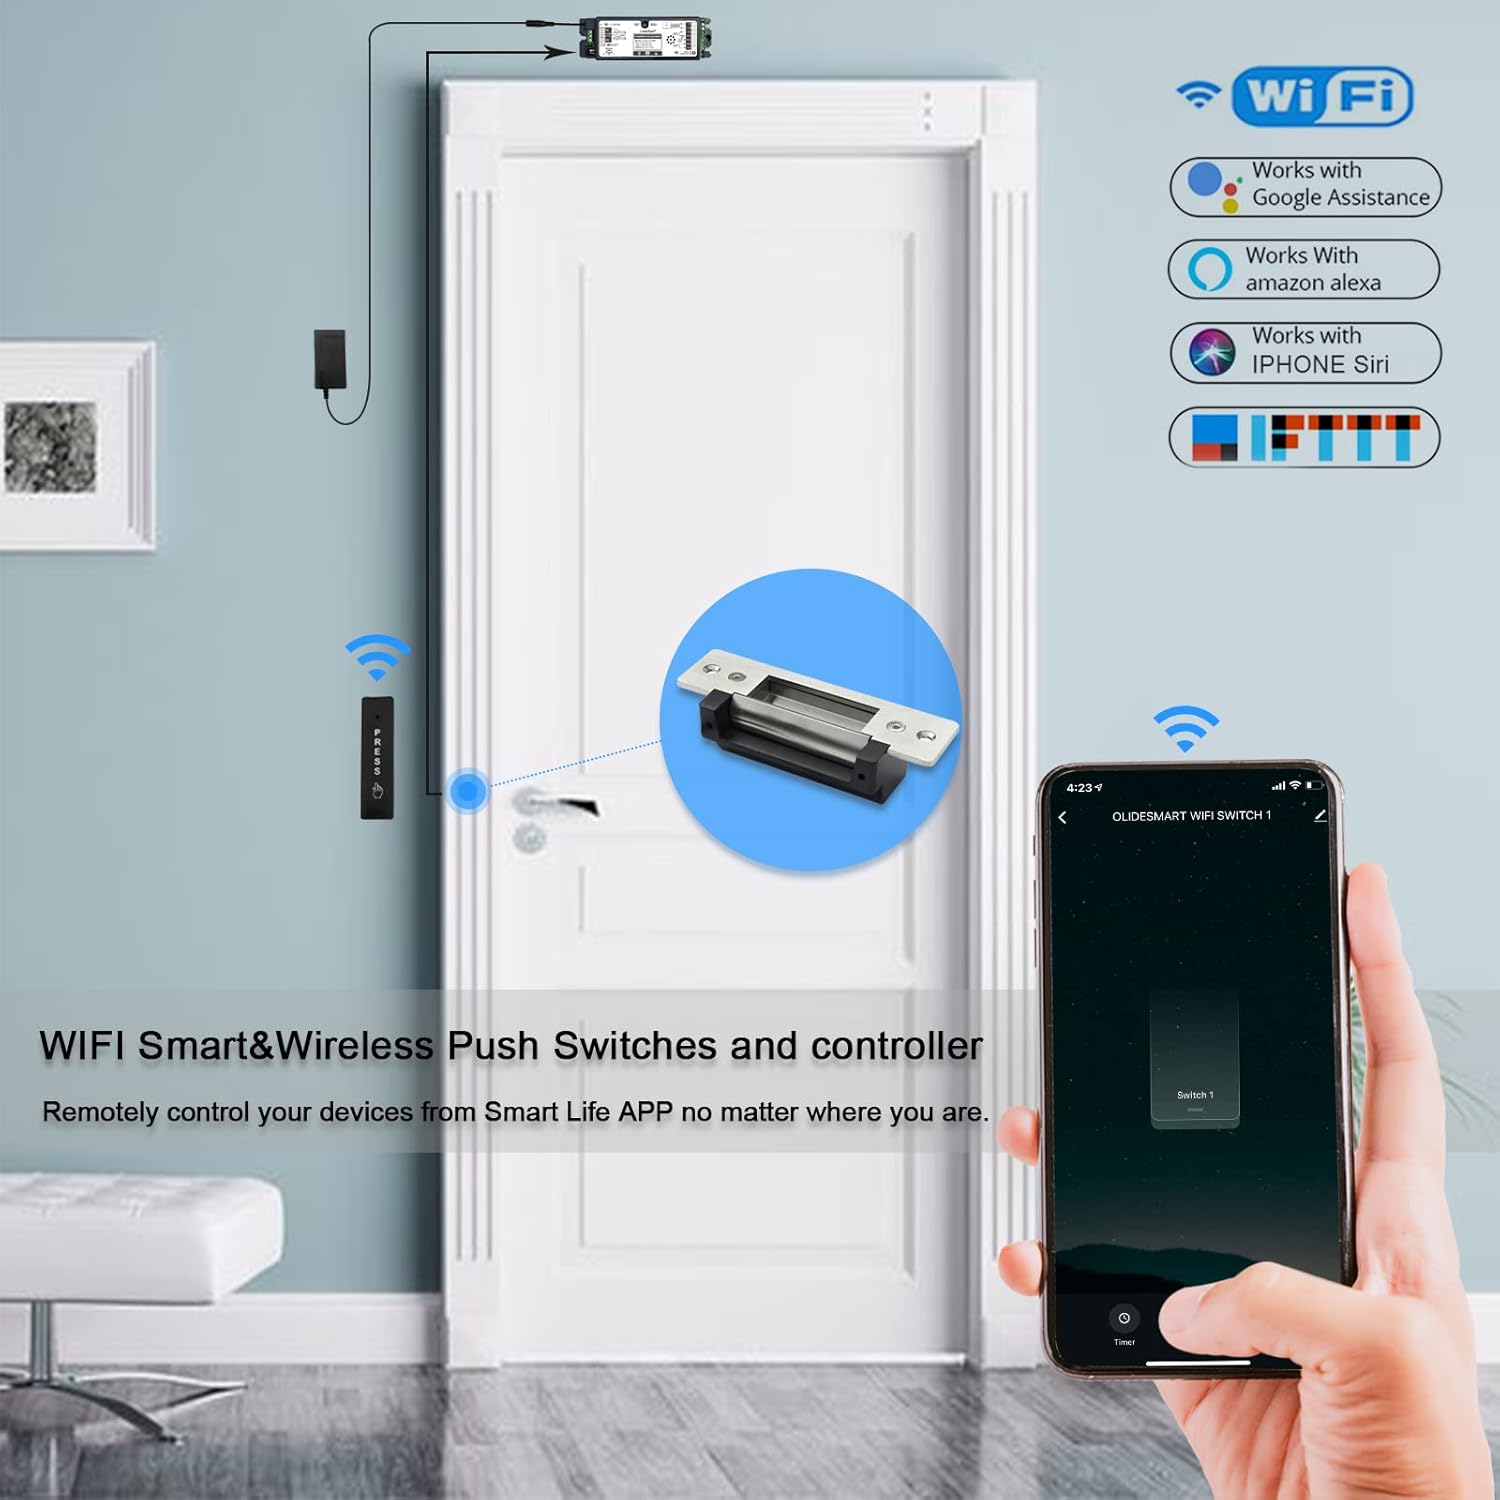
Refer to the following diagram for proper wiring connections of the system components.

6.2 Wireless Push Switch Learning Procedure
To pair the wireless push switch with the receiver:
- Ensure the system is powered on.
- Press the learning button on the OS210WN receiver for 1 second. The indicator light will change from red to green, indicating learning mode.
- Press the wireless push switch. The green light on the receiver will flash twice, confirming successful learning.
Video 2: Instructions for learning the code of the wireless push switch. This video demonstrates pressing the learning button on the receiver and then activating the push switch to establish a connection.
6.3 Remote Control Learning Procedure
To pair the remote control with the receiver:
- Ensure the system is powered on.
- Press the learning button on the OS210WN receiver for 1 second. The indicator light will change from red to green, indicating learning mode.
- Press the desired button on the remote control. The green light on the receiver will flash twice, confirming successful learning.
Video 3: Instructions for learning the code of the remote control. This video shows the process of putting the receiver into learning mode and then pressing a button on the remote to pair it.
6.4 Clearing Remote Control Codes
To clear all learned remote control codes from the receiver:
- Ensure the system is powered on.
- Press and hold the learning button on the OS210WN receiver for 5 seconds.
- The green light will flash quickly, indicating that all codes have been deleted.
Video 4: Instructions for clearing remote control codes. This video demonstrates holding the learning button on the receiver to delete all previously paired remote controls.
7. Operating Instructions
7.1 Smartphone App Control (Tuya Smart App)
The system can be controlled remotely using the Tuya Smart App, compatible with Alexa and Google Home.
- Download and install the Tuya Smart App on your smartphone.
- Open the Tuya App, tap on the "+" icon in the upper right corner to add a device.
- Find "Switch" group and select "Switch (Wi-Fi)".
- Select your 2.4GHz Wi-Fi network and enter your password, then click "Next".
- Press and hold the WiFi learning button on the controller for 10 seconds. The WiFi blue indicator will flash rapidly. Confirm this in the app and click "Next".
- Wait for the connection to complete. Once added, click "Done". You can now control the lock via the app.
Video 5: Demonstrating how to control the lock using the Tuya Smart App. This video guides through the app pairing process and shows remote unlocking.

7.2 Remote Control Operation
Once paired, press the button on the remote control to unlock the door.
7.3 Wireless Push Switch Operation
Once paired, press the "PRESS" button on the wireless switch to unlock the door.
8. Maintenance
- Regularly check all wiring connections for security and integrity.
- Keep the electric strike lock and other components clean and free from debris.
- Test the system periodically to ensure all functions (app, remote, push switch) are working correctly.
- Replace batteries in remote controls and push switches as needed.
9. Troubleshooting
| Problem | Possible Cause | Solution |
|---|---|---|
| Lock does not respond to remote/push switch. | Not paired, low battery, out of range. | Re-pair the device (refer to Section 6.2/6.3). Replace batteries. Ensure device is within range (max 30 meters for push switch). |
| App control not working. | No Wi-Fi connection, incorrect password, device not paired with app. | Check Wi-Fi connection (2.4GHz only). Verify Wi-Fi password. Re-pair device with Tuya Smart App (refer to Section 7.1). |
| Electric strike lock not engaging/disengaging. | Incorrect wiring, power issue, mechanical obstruction. | Check all wiring connections (refer to Figure 5). Ensure power adapter is functioning. Inspect for any physical obstructions. |
| Indicator lights on receiver not functioning. | No power, faulty unit. | Verify power supply. If power is present and lights are still off, contact support. |
10. Warranty and Support
For warranty information or technical support, please contact OlideSmart customer service through the retailer where the product was purchased or visit the official OlideSmart website. Please have your product model and purchase date available when contacting support.
Ask a question about this manual
Ask about setup, troubleshooting, compatibility, parts, safety, or missing instructions. Manuals+ will review the question and use this page’s manual context to help answer it.