
Deco Gear VM284K
Deco Gear 28-inch 4K IPS Monitor (Model VM284K) User Manual
Model: VM284K
1. Introduction
This manual provides detailed instructions for the installation, operation, and maintenance of your Deco Gear 28-inch 4K IPS Monitor (Model VM284K). Please read this manual thoroughly before using the product to ensure proper setup and functionality. Keep this manual for future reference.
The Deco Gear VM284K monitor features a 28-inch IPS panel with a 3840x2160 4K resolution, 60Hz refresh rate, and 4ms response time. It supports over 1 billion colors with 100% sRGB and 90% DCI-P3 color accuracy, making it suitable for various applications from professional work to entertainment.
2. Safety Information
Observe the following safety precautions to prevent damage to the monitor and ensure user safety:
- Do not expose the monitor to rain or moisture to prevent fire or electric shock.
- Do not open the monitor casing. There are no user-serviceable parts inside. Refer all servicing to qualified service personnel.
- Place the monitor on a stable, flat surface to prevent it from falling.
- Ensure proper ventilation around the monitor. Do not block ventilation openings.
- Use only the power adapter supplied with the monitor.
- Disconnect the power plug from the outlet if the monitor will not be used for an extended period.
- Avoid placing heavy objects on the power cord.
3. Package Contents
Verify that all items are present in the package:
- Deco Gear 28-inch 4K IPS Monitor (VM284K)
- Monitor Stand (Base and Neck)
- Power Adapter
- HDMI 2.0 Cable
- User Manual (this document)
4. Setup
4.1 Assembling the Stand
- Carefully remove the monitor from its packaging, keeping it protected on a soft surface.
- Attach the stand neck to the monitor's rear panel. Ensure it clicks securely into place or is fastened with screws if provided.
- Attach the stand base to the stand neck. Tighten the screw at the bottom of the base to secure it.

Figure 1: Illustration of the monitor stand assembly and adjustable features. The image shows the monitor from the front and side, highlighting its 28-inch screen size, 14.75-inch height, and adjustable angle. The stand allows for 5.5 inches of height adjustment and 30 degrees of rotation left or right. A close-up of the rear ports indicates DC 12V power input, 1 USB port, 2 HDMI ports, 1 DisplayPort, and an Audio Out port.
4.2 Connecting to a Computer
The monitor supports HDMI and DisplayPort connections.
- Ensure both the monitor and your computer are powered off.
- Connect one end of the HDMI cable (included) or a DisplayPort cable (not included) to the corresponding port on the monitor.
- Connect the other end of the cable to the HDMI or DisplayPort output on your computer's graphics card.
- Connect the power adapter to the monitor's DC 12V input port, then plug the adapter into a power outlet.
- Power on your computer, then power on the monitor.
Figure 2: Close-up view of the monitor's rear input ports. This image details the available connections: DC 12V power input, one USB port, two HDMI ports (HDMI1, HDMI2), one DisplayPort (DP), and an Audio Out port. These ports allow for versatile connectivity with various devices.
4.3 VESA Mounting (Optional)
The monitor is VESA mount compatible. To mount the monitor on a wall or an alternative stand:
- Remove the pre-assembled stand by pressing the release button or unscrewing the attachment screws.
- Attach your VESA-compatible mount to the four screw holes on the back of the monitor using appropriate screws (typically M4 x 10mm, consult your VESA mount instructions).
5. Operating Instructions
5.1 Power On/Off
Press the power button located on the bottom right side of the monitor to turn it on or off. The power indicator light will illuminate when the monitor is on.
5.2 On-Screen Display (OSD) Menu
The OSD menu allows you to adjust various monitor settings. Use the control buttons (usually located on the bottom right or rear of the monitor) to navigate and select options.
Common OSD Menu Options:
- Brightness/Contrast: Adjust the display's luminance and contrast levels.
- Color Settings: Modify color temperature, gamma, and individual RGB levels.
- Input Select: Manually switch between HDMI1, HDMI2, and DisplayPort inputs.
- Picture Mode: Select preset display modes (e.g., Standard, Game, Movie, Text).
- Audio: Adjust volume for the built-in speakers or connected headphones.
- Advanced Settings: Enable/disable features like FreeSync/Adaptive Sync, Overdrive, Low Blue Light.
5.3 Adjusting Display Settings on Your Computer
After connecting the monitor, you may need to adjust display settings in your operating system:
- Resolution: Set the display resolution to 3840x2160 for optimal 4K clarity.
- Refresh Rate: Ensure the refresh rate is set to 60Hz.
- Scaling: For comfortable viewing of text and icons at 4K resolution, you may need to adjust display scaling (e.g., 150% or 200%) in your operating system settings.
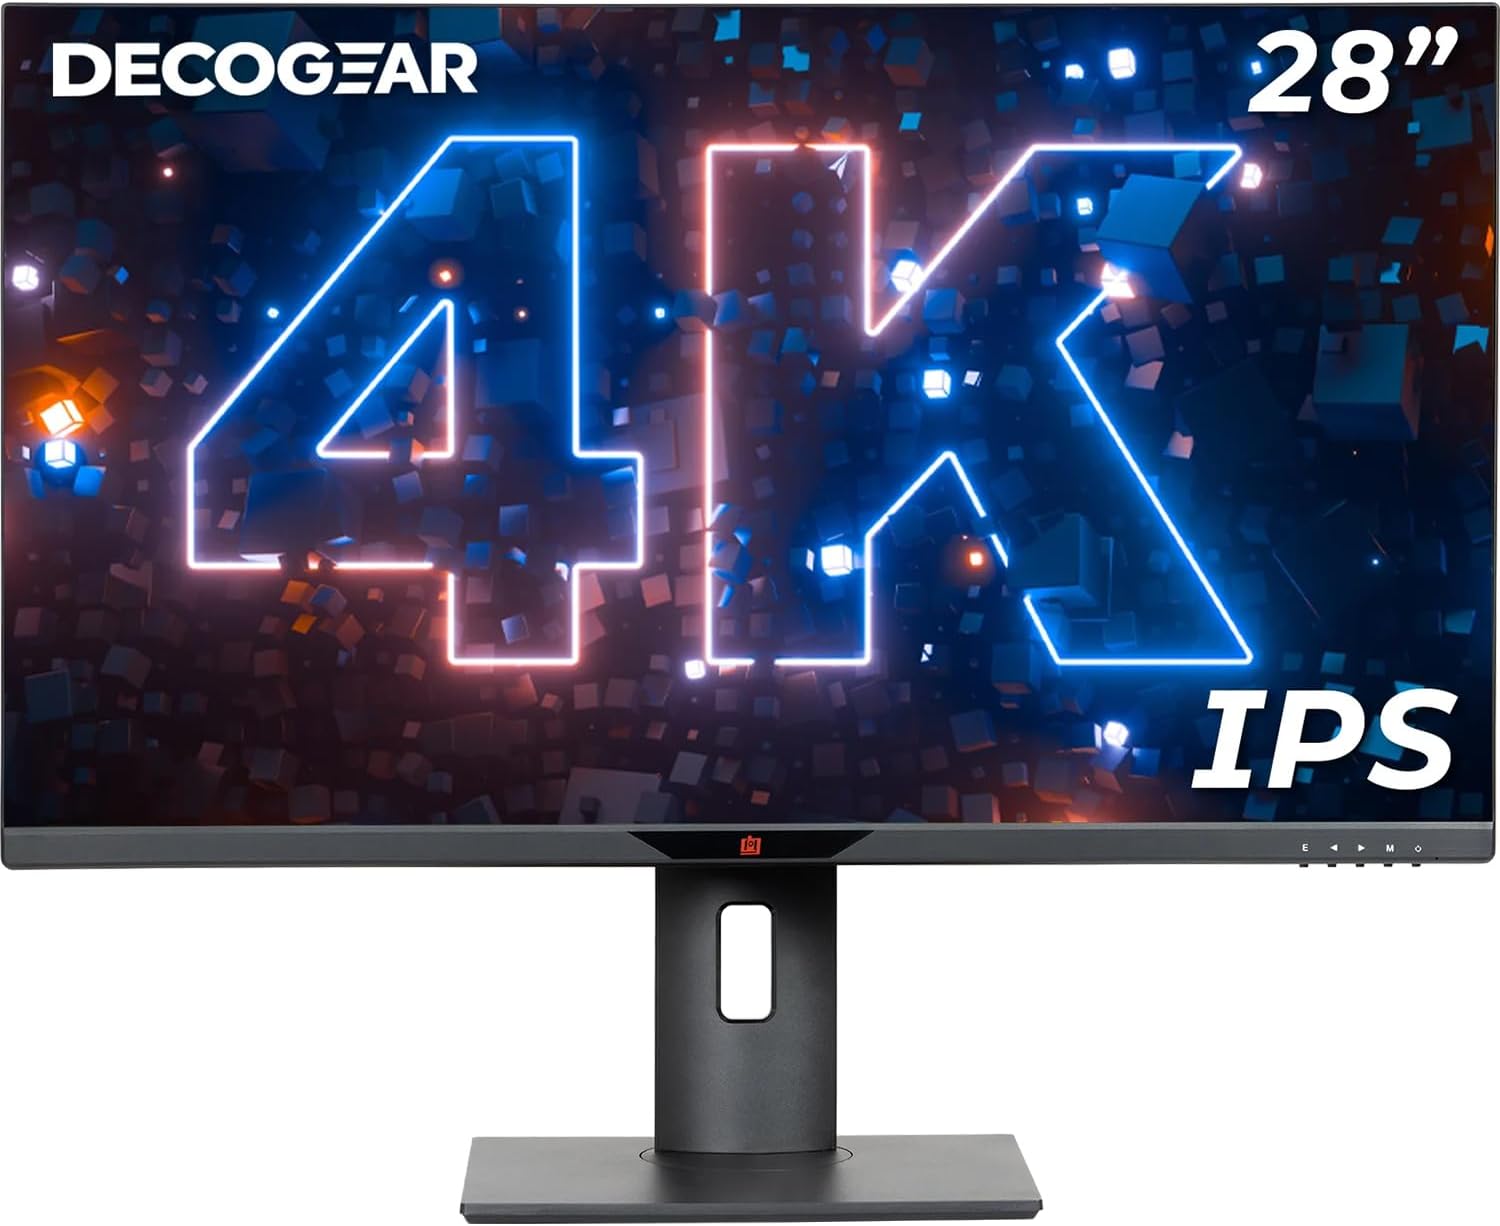
Figure 3: Front view of the Deco Gear 28-inch 4K IPS Monitor. The display shows a vibrant 4K image with "DECOGEAR" and "28" 4K IPS" branding visible. This image illustrates the monitor's sleek design and high-resolution display capabilities.

Figure 4: Rear view of the Deco Gear 28-inch 4K IPS Monitor, showcasing its integrated RGB backlighting. The image highlights the monitor's clean design from the back, with the stand attached and the colorful ambient lighting feature active around the VESA mount area.
6. Maintenance
6.1 Cleaning the Monitor
- Always unplug the monitor from the power outlet before cleaning.
- Use a soft, lint-free cloth lightly dampened with water or a non-abrasive screen cleaner.
- Do not spray cleaner directly onto the screen. Apply it to the cloth first.
- Avoid using benzene, thinner, ammonia-based cleaners, or abrasive cleaning agents, as these can damage the screen or casing.
6.2 Storage
If storing the monitor for an extended period, disconnect all cables and store it in a cool, dry place, preferably in its original packaging to protect it from dust and physical damage.
7. Troubleshooting
| Problem | Possible Cause | Solution |
|---|---|---|
| No image on screen | Monitor not powered on; Incorrect input selected; Video cable loose or faulty. | Ensure power cable is connected and monitor is on. Press the input select button to cycle through inputs. Check video cable connections. |
| Image too dark/bright or colors incorrect | Brightness/contrast settings incorrect; Color settings incorrect. | Adjust brightness and contrast via the OSD menu. Reset color settings to default or adjust manually. |
| Flickering or unstable image | Refresh rate mismatch; Faulty cable; Graphics card issue. | Ensure refresh rate is set to 60Hz in computer display settings. Try a different video cable. Update graphics card drivers. |
| No audio | Volume too low; Incorrect audio output selected on computer; Audio cable (if used) loose. | Increase monitor volume via OSD. Select monitor as audio output device in computer settings. Check audio cable if external speakers/headphones are used. |
8. Specifications
| Feature | Detail |
|---|---|
| Model | VM284K |
| Screen Size | 28 Inches |
| Panel Type | IPS |
| Resolution | 3840 x 2160 (4K UHD) |
| Aspect Ratio | 16:9 |
| Refresh Rate | 60Hz |
| Response Time | 4ms (with OD) |
| Color Accuracy | 100% sRGB, 90% DCI-P3, 1.06 Billion Colors (10-bit) |
| Brightness | 350 cd/m² |
| Viewing Angle | 178° (H/V) |
| Connectivity | 2x HDMI 2.0, 1x DisplayPort, 1x USB, 1x Audio Out |
| VESA Compatibility | Yes |
| Product Dimensions (with stand) | 25.1 x 7.3 x 18.2 inches |
| Item Weight | 13.9 pounds |
| Power Input | 12 Volts |
9. Warranty and Support
Deco Gear provides a Full 1 Year Manufacturer’s Limited Protection Plan for this product. For warranty claims or technical support, please contact Deco Gear customer service.
For more information and support resources, visit the official Deco Gear website or their Amazon store:
Related documentsVM284K


Ask a question about this manual
Ask about setup, troubleshooting, compatibility, parts, safety, or missing instructions. Manuals+ will review the question and use this page’s manual context to help answer it.