
iZEEKER GD850
iZEEKER 4K Dual Dash Cam User Manual
Model: GD850
1. Introduction
The iZEEKER GD850 4K Dual Dash Cam is designed to provide comprehensive vehicle recording with advanced features for enhanced safety and convenience. This manual provides detailed instructions for setting up, operating, maintaining, and troubleshooting your dash cam.
Key Features:
- 4K Front & 1080P Rear Recording: Captures clear, high-resolution video from both front and rear perspectives.
- 3'' IPS Touch Screen: Offers intuitive and responsive control for easy navigation.
- Sony Starvis Sensor & WDR: Ensures superior night vision and balanced exposure in various lighting conditions.
- Built-in WiFi & GPS: Allows for easy video management via mobile app and accurate location/speed tracking.
- Loop Recording & G-Sensor: Automatically overwrites old footage and locks important video segments upon impact.
- Parking Monitor: Provides surveillance when the vehicle is parked (requires hardwire kit).

Figure 1.1: iZEEKER GD850 4K Dual Dash Cam and Rear Camera.
This image displays the primary components of the iZEEKER GD850 dash cam system, including the main front camera unit with its large display and the compact rear camera.
2. Product Components
Before installation, please verify that all components are present in the package:
- Main Dash Cam Unit (Front Camera)
- Rear Camera
- Power Cable with Integrated GPS Module
- Rear Camera Connection Cable
- Mounting Options (Suction Cup Mount, Adhesive Mount)
- USB Card Reader
- User Manual
- Wiring Tools (e.g., pry tool)

Figure 2.1: Included Components of the GD850 Dash Cam System.
This image illustrates the various items included in the product package, such as the main dash cam, rear camera, GPS module, and a 64GB memory card with a USB card reader.
3. Setup and Installation
3.1 Inserting the Micro SD Card
Insert a high-speed (Class 10 or higher) Micro SD card (up to 256GB, not included) into the designated slot on the dash cam. Ensure the card is inserted correctly until it clicks into place.
3.2 Mounting the Front Dash Cam
Choose a suitable location on your windshield, preferably behind the rearview mirror, to avoid obstructing your view. Clean the area thoroughly before applying the mount.
- Suction Cup Mount: Press the suction cup firmly against the windshield and flip the lever to secure it.
- Adhesive Mount: Peel off the protective film from the adhesive pad and firmly press the mount onto the windshield for at least 30 seconds.

Figure 3.1: Strap-on Installation Method for the Dash Cam.
This image demonstrates the easy strap-on installation method, allowing the dash cam to be securely attached to the vehicle's rearview mirror.
3.3 Installing the Rear Camera
Mount the rear camera on the rear windshield or license plate area. Connect the rear camera to the main dash cam unit using the provided rear camera cable. Ensure the cable is routed neatly and securely.

Figure 3.2: Rear Camera with Guide Function and Waterproof Design.
This image highlights the rear camera's design, featuring a guide function for parking assistance and a waterproof construction for reliable performance in various weather conditions.
3.4 Power Connection
Connect the power cable (with integrated GPS module) to the dash cam and plug the other end into your vehicle's 12V power outlet (cigarette lighter socket). Route the cable along the windshield trim to keep it tidy and out of the way.
4. Operating Instructions
4.1 Basic Operation
- Power On/Off: The dash cam will automatically power on and begin recording when your vehicle starts. It will power off when the vehicle is turned off.
- Touch Screen Control: Use the 3-inch IPS touch screen to navigate menus, adjust settings, and review footage.
- Recording Indicator: A white light under the screen indicates that the camera is recording.
4.2 Recording Features
- Loop Recording: The dash cam records video in continuous loops (e.g., 1, 3, or 5-minute segments). When the memory card is full, the oldest unlocked footage will be overwritten.
- Emergency Recording (G-Sensor): In the event of a sudden impact or collision, the built-in G-sensor will automatically detect the event and lock the current video segment, preventing it from being overwritten.
- Manual Emergency Recording: Touch the triangle icon on the touchscreen to manually lock the current recording.

Figure 4.1: Front 4K Ultra HD and Rear 1080P Full HD Recording.
This image illustrates the high-definition recording capabilities of the dash cam, with the front camera capturing in 4K Ultra HD and the rear camera in 1080P Full HD.

Figure 4.2: 64GB TF Card and Loop Recording Feature.
This image explains the loop recording functionality, showing how the dash cam continuously records and manages storage using a 64GB TF card and an included card reader for easy file transfer.
4.3 Advanced Features
- WiFi Connectivity: Download the "Lucky Cam" or "OK cam" app on your smartphone (Android/iOS). Connect your phone to the dash cam's WiFi network to view live footage, playback recordings, and download files directly to your device.
- GPS Functionality: The integrated GPS module records your driving route, speed, and coordinates, which can be viewed using dedicated player software on a computer.
- Parking Monitor: When enabled (requires a hardwire kit, sold separately), the dash cam will automatically power on and record a short video if a collision is detected while your vehicle is parked.
- Traffic Signal Detection: Supports recognition of traffic signals to enhance driving awareness.

Figure 4.3: Parking Monitor, Traffic Signal Detection, and GPS Features.
This image visually represents the advanced functionalities of the dash cam, including the parking monitor (requiring a hardwire kit), traffic signal detection for improved safety, and reliable GPS for location tracking.
4.4 Type-C Fast Charging
The dash cam utilizes a Type-C port for power, offering stable and efficient charging. This modern connection is reversible, preventing incorrect insertion.
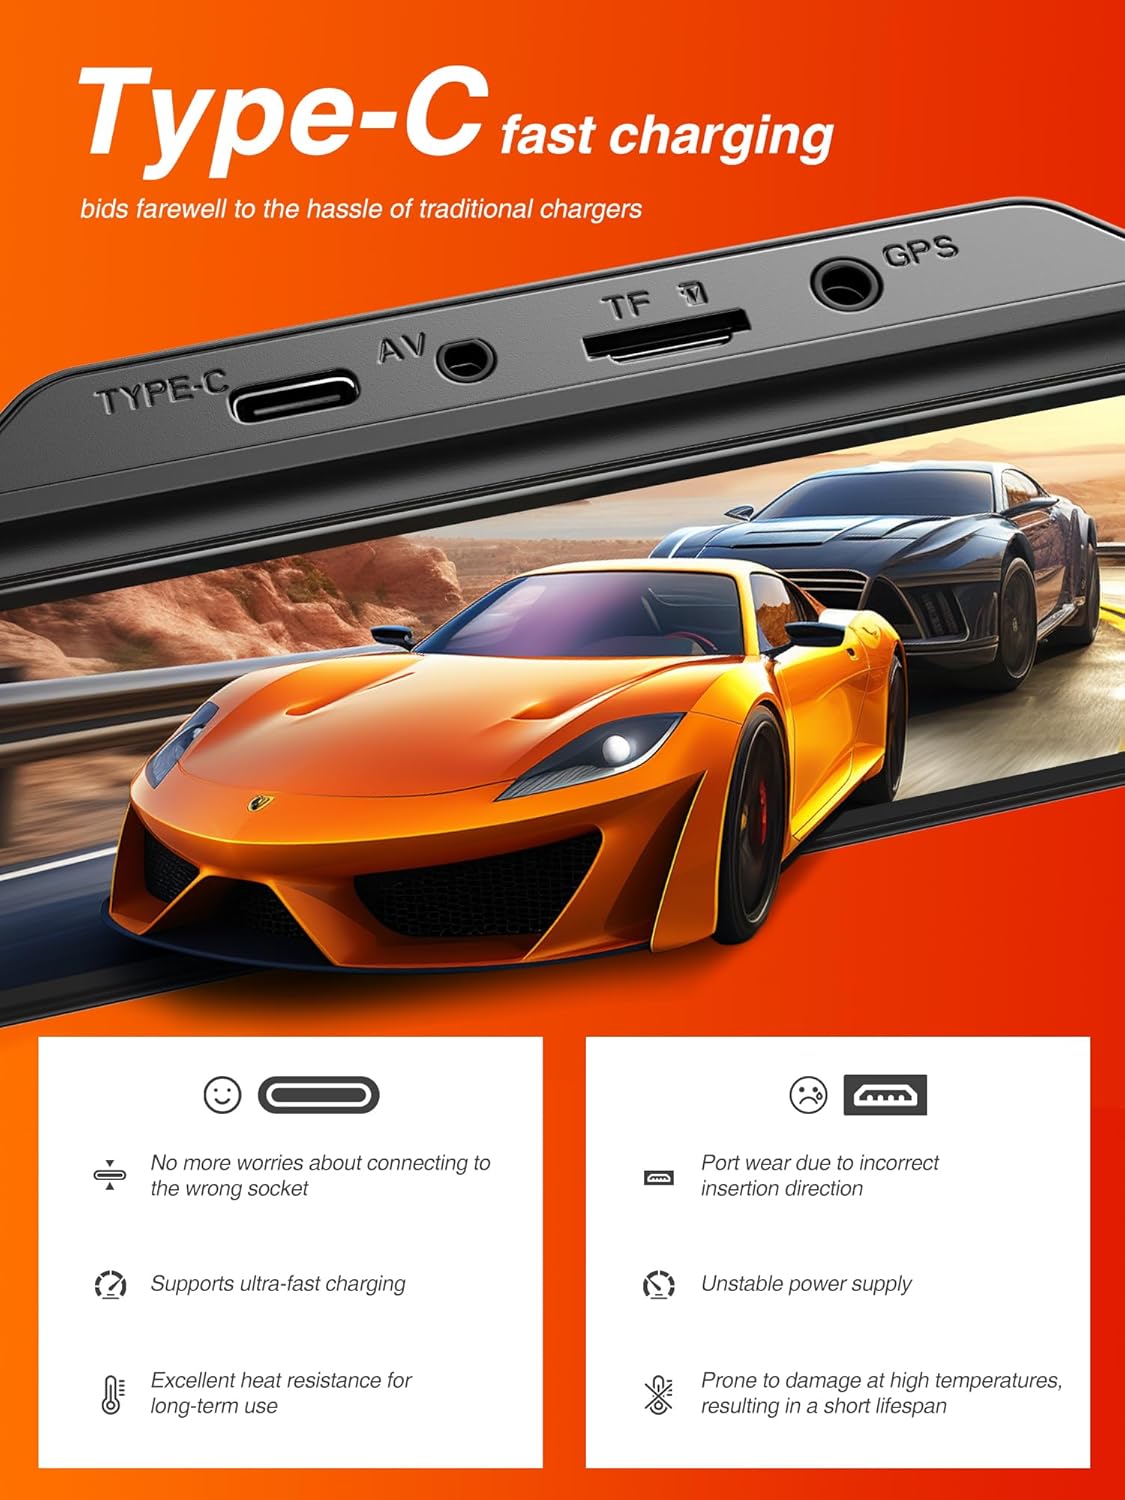
Figure 4.4: Type-C Fast Charging Port.
This image highlights the Type-C charging port on the dash cam, emphasizing its benefits such as ease of connection and support for ultra-fast charging.
5. Maintenance
5.1 Formatting the Micro SD Card
It is recommended to format the Micro SD card regularly (e.g., once a month) to ensure optimal performance and prevent data corruption. This can typically be done through the dash cam's settings menu.
5.2 Cleaning the Device
Use a soft, dry cloth to clean the dash cam's screen and lenses. Avoid using abrasive cleaners or solvents that could damage the device.
5.3 Firmware Updates
Check the iZEEKER official website periodically for any available firmware updates. Updating the firmware can improve performance, add new features, or fix bugs.
6. Troubleshooting
If you encounter issues with your iZEEKER GD850 dash cam, refer to the following common problems and solutions:
| Problem | Possible Cause / Solution |
|---|---|
| Dash cam turns on/off randomly. |
|
| G-Sensor is too sensitive or not sensitive enough. |
|
| "SD Card Full" error or not recording. |
|
| WiFi connection issues. |
|
| Videos not saving or missing segments. |
|
If the problem persists after trying these solutions, please contact iZEEKER customer support for further assistance.
7. Specifications
| Feature | Detail |
|---|---|
| Brand | iZEEKER |
| Model Name | iZEEKER GD850 |
| Product Dimensions | 3.53 x 2.54 x 1.31 inches |
| Item Weight | 4.2 ounces |
| Video Capture Resolution | Front: 4K, Rear: 1080P |
| Display | 3'' IPS Touch Screen |
| Connectivity Technology | Wi-Fi |
| Special Features | Loop Recording, Emergency Recording, GPS, Parking Monitor, Night Vision (Sony Starvis Sensor, WDR) |
| Mounting Type | Adhesive Mount, Suction Mount |
| Max SD Card Support | 256GB |
| Power Source | 1 Lithium Ion battery required (internal), Vehicle 12V power outlet (external) |
| Color | Black |
8. Warranty and Support
8.1 Warranty Information
The iZEEKER GD850 Dash Cam comes with a 24-month warranty from the date of purchase. This warranty covers manufacturing defects and ensures the product's quality and performance under normal use. Please retain your proof of purchase for warranty claims.
8.2 Customer Support
For technical assistance, troubleshooting, or warranty inquiries, please contact iZEEKER customer support:
- Email: support@izeeker.co
- Manufacturer: iZEEKER (Accion Innovations LLC)
- Address: 17928 Rowland St, City of Industry, CA 91748, USA

Figure 8.1: Warranty and Support Contact Details.
This image provides information regarding the 24-month warranty and the official contact email for customer support, along with the manufacturer's address.
Related documentsGD850


Ask a question about this manual
Ask about setup, troubleshooting, compatibility, parts, safety, or missing instructions. Manuals+ will review the question and use this page’s manual context to help answer it.