
Remco SK U151
Remco U150 U151 U250E Automatic Transmission Shift Kit Instruction Manual
Brand: Remco | Model: SK U151
1. Product Overview
This Remco shift kit is designed to enhance the performance and durability of U150, U151, and U250E automatic transmissions. It modifies the transmission's hydraulic system to provide firmer, more positive shifts, reducing slippage and wear on internal components. This can lead to improved transmission longevity and a more responsive driving experience.
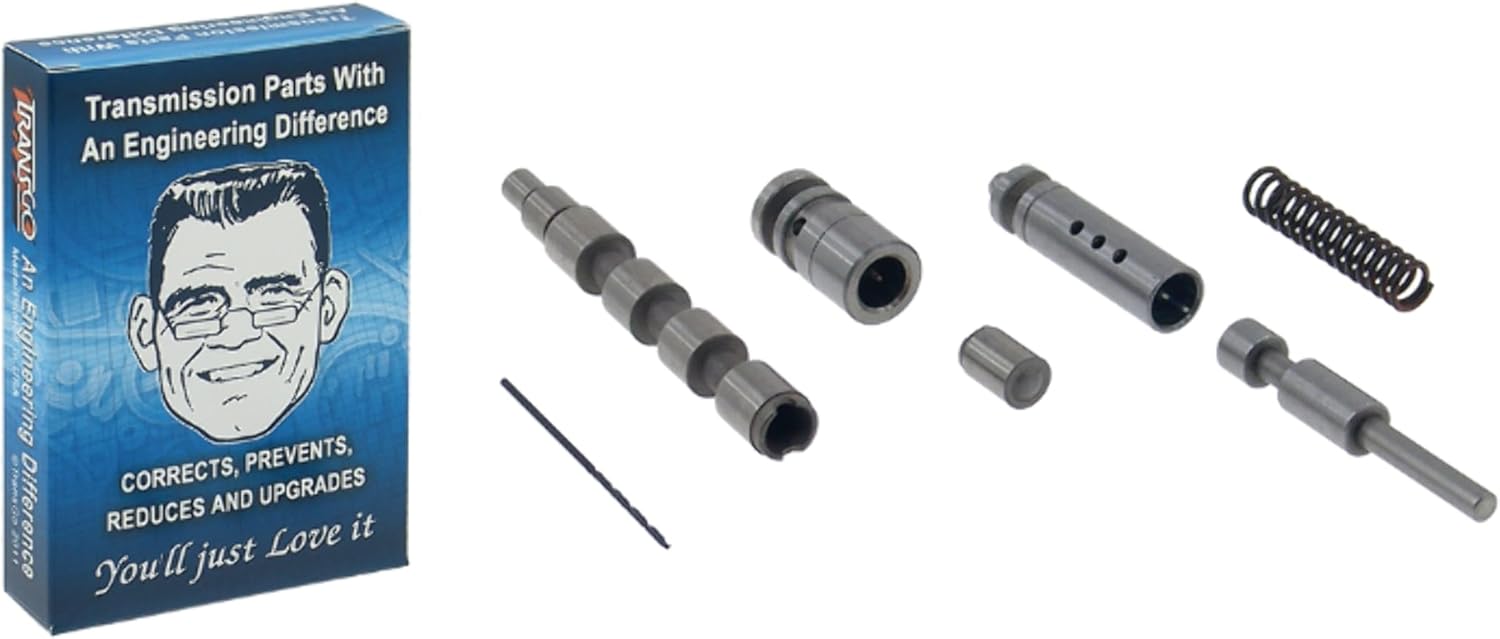
Image 1: The Remco U150 U151 U250E Automatic Transmission Shift Kit, showing the various precision-engineered components and its packaging.
2. Installation (Setup)
Installation of this shift kit requires specialized knowledge and tools. It is highly recommended that installation be performed by a certified automotive technician or a transmission specialist.
2.1. Safety Precautions
- Ensure the vehicle is securely lifted and supported on jack stands or a lift.
- Disconnect the vehicle's battery to prevent accidental electrical activation.
- Allow the transmission to cool down before beginning work.
- Wear appropriate personal protective equipment, including safety glasses and gloves.
- Have a suitable container ready to collect drained transmission fluid.
2.2. General Installation Steps (Consult Service Manual)
The following is a general outline. Always refer to the specific service manual for your vehicle and transmission model (U150, U151, or U250E) for detailed, step-by-step instructions and torque specifications.
- Drain the transmission fluid and remove the transmission pan.
- Carefully remove the valve body assembly from the transmission.
- Disassemble the valve body according to the kit's specific instructions and the transmission service manual.
- Replace specified components with the parts provided in the Remco shift kit. Pay close attention to spring and valve orientations.
- Reassemble the valve body, ensuring all bolts are torqued to manufacturer specifications.
- Reinstall the valve body into the transmission.
- Install a new transmission filter and gasket, then reattach the transmission pan.
- Refill the transmission with the correct type and amount of new transmission fluid.
- Perform a fluid level check and adjust as necessary after the transmission reaches operating temperature.
- Conduct a test drive to verify proper operation and shifting characteristics.
3. Operating Characteristics
After installation, you should notice a change in your transmission's shifting behavior. The kit is designed to provide:
- Firmer Shifts: Shifts will feel more distinct and less
Ask a question about this manual
Ask about setup, troubleshooting, compatibility, parts, safety, or missing instructions. Manuals+ will review the question and use this page’s manual context to help answer it.