
GoolRC WLtoys 284131
GoolRC WLtoys 284131 1:28 Scale 2.4GHz RC Race Car Instruction Manual
Model: WLtoys 284131
1. Introduction
This manual provides essential information for the safe and effective operation, setup, and maintenance of your GoolRC WLtoys 284131 1:28 Scale 2.4GHz RC Race Car. Please read this manual thoroughly before using the product to ensure proper function and longevity.

Image 1.1: The GoolRC WLtoys 284131 RC Race Car and its accompanying 2.4GHz remote control.
2. Safety Guidelines
- Always operate the RC car in open areas, away from people, pets, and obstacles.
- Do not operate near public roads, water, or high-voltage power lines.
- Keep fingers, hair, and loose clothing away from moving parts.
- Ensure the battery is fully charged before each use and disconnect it when not in use.
- Adult supervision is recommended for younger users.
- Do not modify the product or its components, as this may void the warranty and create safety hazards.
3. Package Contents
Verify that all items listed below are included in your package:
- GoolRC WLtoys 284131 RC Race Car
- 2.4GHz Remote Control Transmitter
- 7.4V 400mAh Lithium Battery
- USB Charging Cable
- Spare Gears (various sizes)
- Small Tools (e.g., screwdriver, wrench)
- Instruction Manual

Image 3.1: Illustration of the GoolRC WLtoys 284131 RC Race Car, remote control, battery, charger, and spare parts included in the package.
4. Product Overview
The GoolRC WLtoys 284131 is a 1:28 scale 4WD electric RC race car designed for high-speed performance and drift capabilities. It features a full simulation structure, independent suspension, and a powerful 130 brush motor.
4.1 Key Features
- High Speed: Achieves speeds up to 30KM/H.
- 4-Wheel Drive (4WD): Provides enhanced traction and control.
- Independent Suspension: Ensures smooth handling and stability over various terrains.
- LED Lighting: Equipped with front LED headlights and roof lights for visibility and aesthetic appeal.
- Durable Construction: Features an all-metal chassis and alloy gears for improved durability.
- All-Terrain Rubber Tires: Offers strong grip and resistance on different surfaces.

Image 4.1: The RC car in motion, emphasizing its high speed and scale.

Image 4.2: Detailed view of the functional LED headlights and roof lights.

Image 4.3: Illustration of the internal alloy gears and the robust all-metal chassis.
5. Remote Control Overview
The 2.4GHz remote control transmitter provides precise and interference-free operation up to 100 meters.
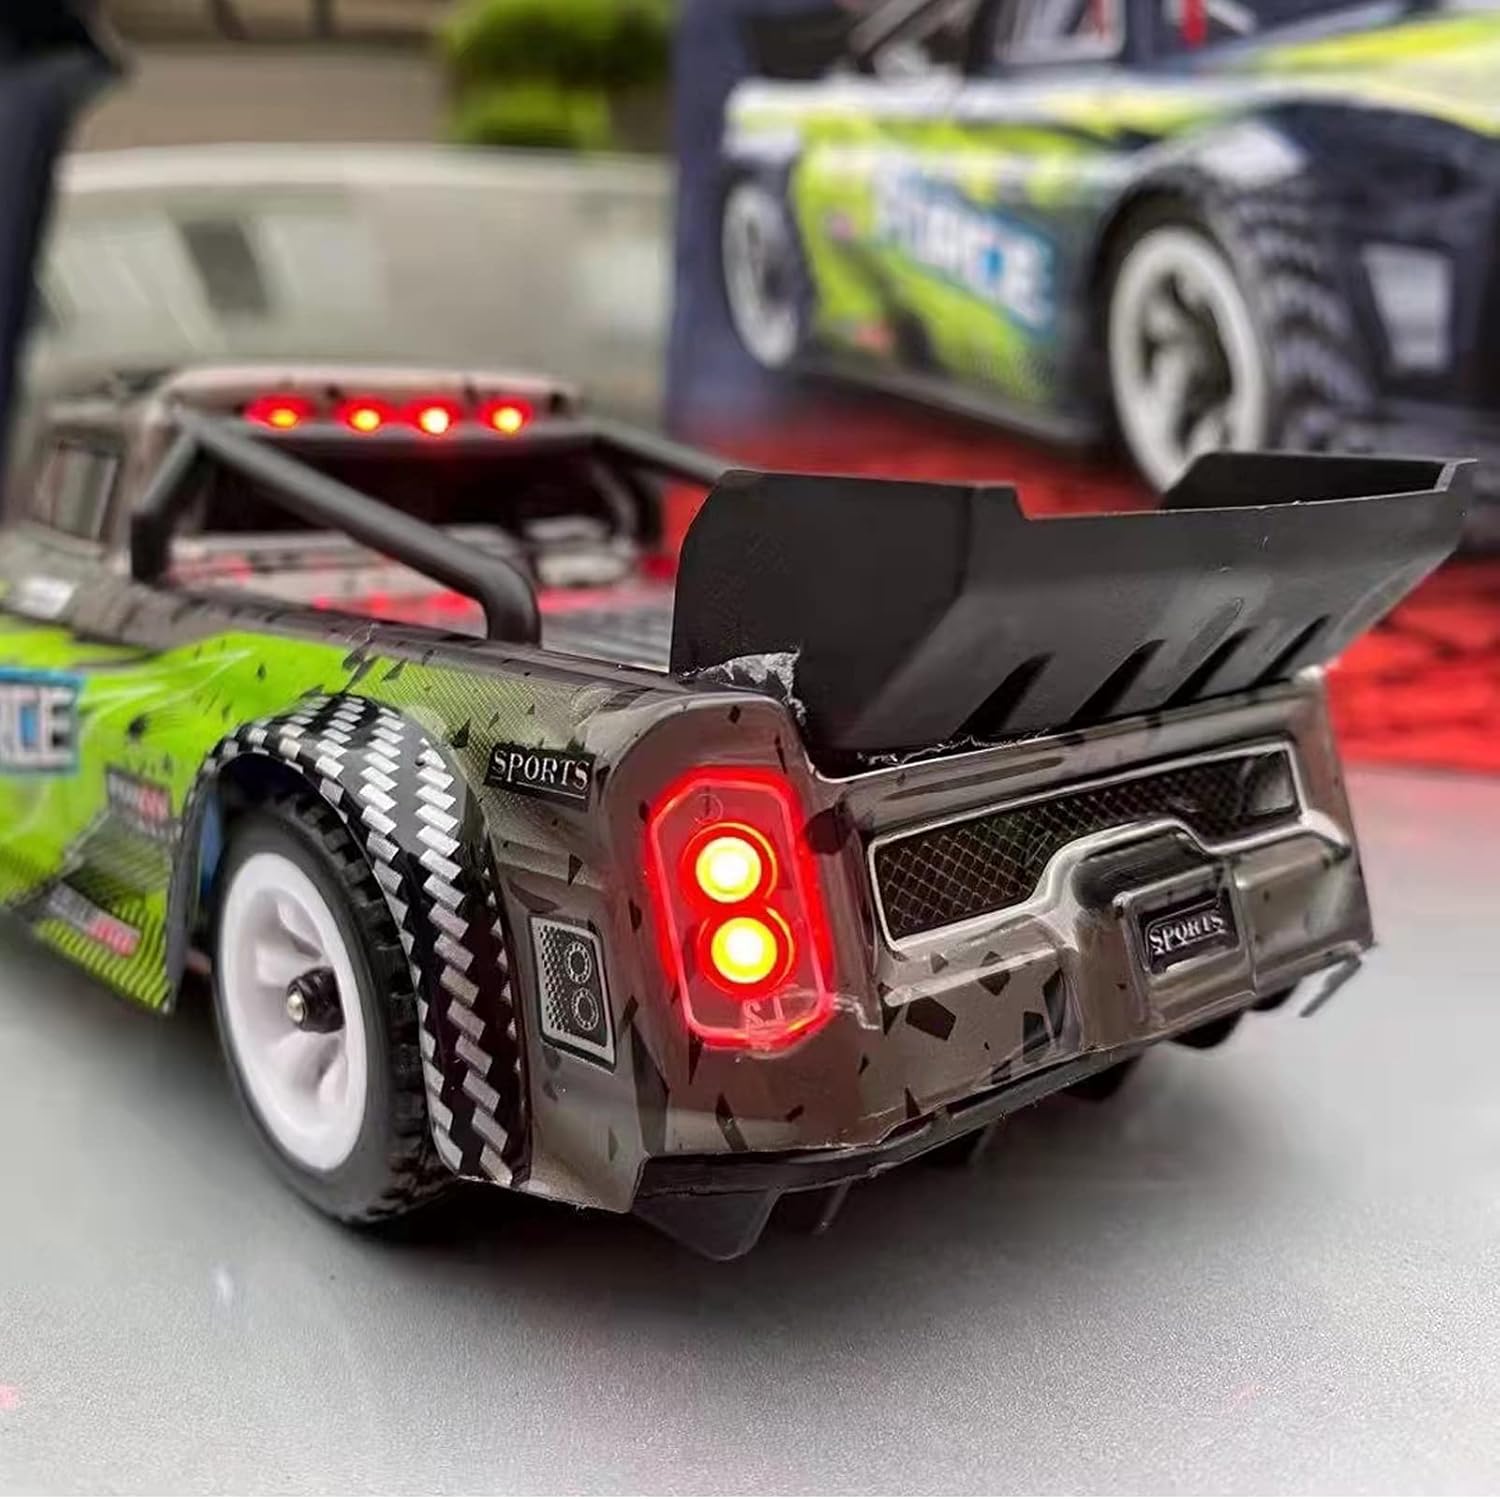
Image 5.1: The remote control with key components labeled.
5.1 Remote Control Functions
- Steering Wheel: Controls left and right turning.
- Trigger: Pull to accelerate forward, push to brake/reverse.
- ST TRIM (Steering Trim): Adjusts the steering neutral position. Use if the car pulls to one side when the steering wheel is centered.
- TH D/R (Throttle Dual Rate): Adjusts the maximum throttle output, allowing for speed control.
- Power Switch: Turns the remote control on/off.
- Power Indicator: Shows the remote control's power status.
6. Setup
6.1 Charging the Car Battery
- Connect the 7.4V 400mAh Lithium Battery to the USB charging cable.
- Plug the USB charging cable into a suitable USB power adapter (e.g., computer USB port, wall adapter).
- The indicator light on the USB charger will show the charging status (refer to charger instructions for specific light patterns).
- Charging typically takes approximately 50 minutes. Do not overcharge the battery.
6.2 Installing the Car Battery
- Ensure the car's power switch is in the OFF position.
- Locate the battery compartment on the underside of the car.
- Carefully insert the charged 7.4V 400mAh Lithium Battery into the compartment.
- Connect the battery connector to the car's power port.
- Securely close the battery compartment cover.
6.3 Installing Remote Control Batteries
- Open the battery cover on the back of the remote control.
- Insert the required batteries (typically AA, not included) according to the polarity markings.
- Close the battery cover securely.
6.4 Binding the Remote Control to the Car
- Turn on the remote control transmitter. The power indicator light will flash.
- Turn on the power switch on the RC car.
- The remote control and car will automatically bind. The indicator light on the remote control will become solid when binding is successful.
- If binding fails, turn off both devices and repeat the steps.
7. Operating Instructions
7.1 Basic Driving
- Forward: Pull the trigger towards you.
- Brake/Reverse: Push the trigger away from you.
- Turn Left/Right: Rotate the steering wheel left or right.
7.2 Trimming Adjustments
- If the car does not drive straight when the steering wheel is centered, use the ST TRIM dial on the remote control to fine-tune the steering.
- Adjust the TH D/R dial to limit the maximum speed, which can be helpful for beginners or for driving in smaller spaces.
7.3 Driving Tips
- Start with lower speeds to get accustomed to the controls.
- Practice smooth steering and throttle inputs for better control.
- For drifting, experiment with throttle and steering inputs on smooth surfaces.
- The LED lights allow for barrier-free operation at night, but ensure clear visibility of the car.
8. Maintenance
8.1 Cleaning
- After each use, especially outdoors, clean the car to remove dirt, dust, and debris.
- Use a soft brush or compressed air to clean hard-to-reach areas.
- Do not use water or harsh chemicals, as this can damage electronic components.
8.2 Battery Care
- Always disconnect the battery from the car when not in use.
- Store batteries in a cool, dry place, away from direct sunlight and extreme temperatures.
- Do not puncture, disassemble, or expose batteries to fire.
8.3 Gear and Chassis Inspection
- Regularly inspect the gears for wear or damage. Replace worn gears using the provided spare parts.
- Check the all-metal chassis for any bends or damage after impacts.
- Ensure all screws are tightened, but do not overtighten.

Image 8.1: The 130 brush motor, a key component for the car's performance.
9. Troubleshooting
| Problem | Possible Cause | Solution |
|---|---|---|
| Car does not respond to remote. | Low battery in car or remote; Not bound; Power switch off. | Charge car battery; Replace remote batteries; Ensure both power switches are ON; Re-bind the remote and car. |
| Short operating time. | Battery not fully charged; Battery degradation. | Ensure battery is fully charged; Consider replacing the battery if it's old or damaged. |
| Car pulls to one side. | Steering trim incorrect; Damaged steering components. | Adjust ST TRIM on the remote; Inspect steering linkages and replace if damaged. |
| Unusual noise from gears. | Worn or damaged gears; Debris in gears. | Inspect and clean gears; Replace damaged gears. |
10. Specifications
| Feature | Detail |
|---|---|
| Model Number | WLtoys 284131 |
| Scale | 1:28 |
| Drive System | 4-Wheel Drive (4WD) |
| Motor | 130 Brush Motor |
| Max Speed | 30 KM/H |
| Battery | 7.4V 400mAh Lithium Ion |
| Charging Time | Approx. 50 minutes |
| Use Time | Approx. 18 minutes |
| Control Frequency | 2.4GHz |
| Control Distance | Approx. 100 meters |
| Product Dimensions | 17.5 x 8 x 5.5 cm (6.89 x 3.15 x 2.17 inches) |
| Item Weight | 1.5 pounds (approx. 0.68 kg) |
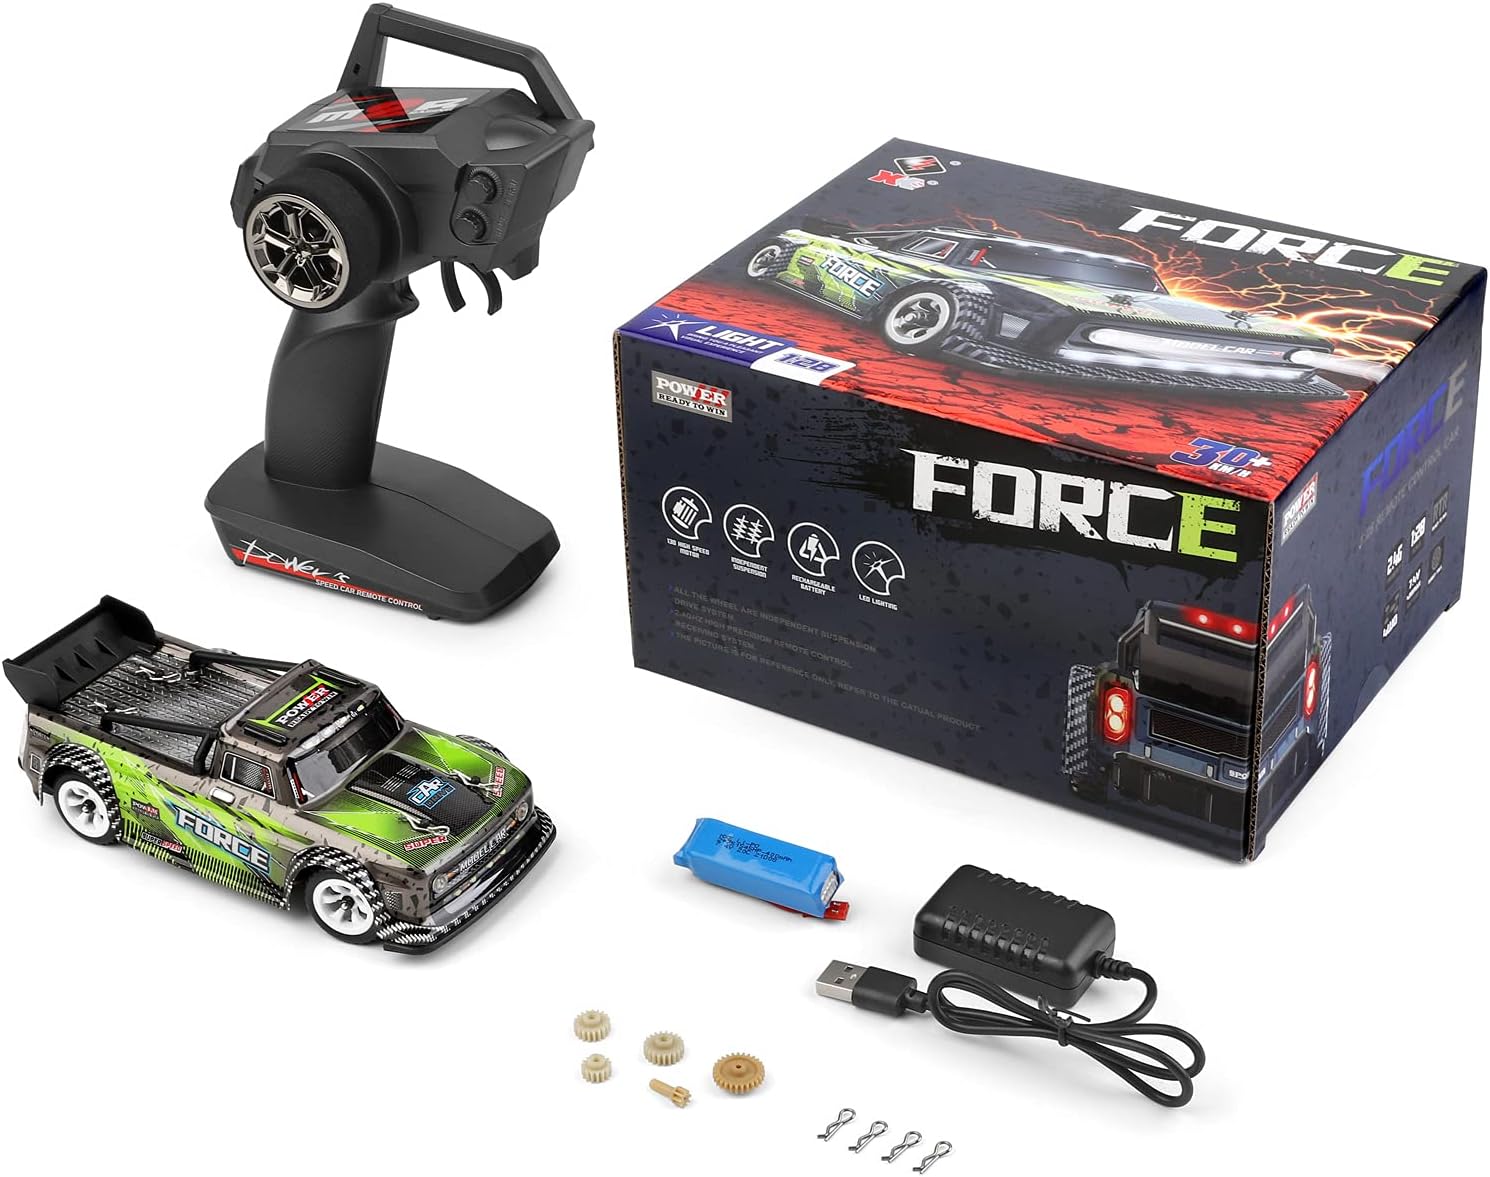
Image 10.1: Visual representation of the car's dimensions.
11. Warranty and Support
GoolRC provides a warranty for this product. For any issues or support inquiries, please contact our customer service. We are committed to serving you.
For further assistance or to explore other GoolRC products, please visit the official GoolRC store: GoolRC Store
Related documentsWLtoys 284131


Ask a question about this manual
Ask about setup, troubleshooting, compatibility, parts, safety, or missing instructions. Manuals+ will review the question and use this page’s manual context to help answer it.