1. Introduction
This manual provides essential information for the safe and efficient operation of your Hisense 100L9G Laser TV Projector. Please read it thoroughly before using the product and retain it for future reference.
Package Contents
Verify that all items listed below are included in your package:
- Hisense 100L9G Laser TV Console
- 100-inch Ambient Light Rejecting (ALR) Screen
- Power Cord
- Remote Control
- Cleaning Kit

Image 1.1: Hisense 100L9G Laser TV Projector and 100-inch ALR Screen setup.
Video 1.1: Official overview of the Hisense L9G Laser TV features and capabilities.
2. Safety Information
Observe the following safety precautions to prevent damage to the product and ensure user safety:
- Laser Safety: Do not look directly into the projector lens when the unit is operating. The laser light can cause eye damage.
- Ventilation: Ensure adequate ventilation around the projector. Do not block ventilation openings.
- Power Supply: Use only the provided power cord and connect to a grounded outlet.
- Liquid Exposure: Keep the projector away from water or other liquids.
- Cleaning: Use a soft, dry cloth for cleaning. Refer to the Maintenance section for detailed cleaning instructions.
3. Setup
3.1 Projector Placement
The Hisense 100L9G is an Ultra Short Throw (UST) projector. Place the projector on a stable, flat surface directly below the intended projection area on the screen. The distance from the wall will determine the image size. For a 100-inch screen, refer to the projector's quick setup guide for precise placement measurements.
3.2 ALR Screen Assembly
Follow the separate assembly instructions provided with your 100-inch Ambient Light Rejecting (ALR) screen. Ensure the screen is securely mounted and perfectly flat for optimal image quality.
3.3 Connections
Connect your devices to the projector using the appropriate ports on the rear panel.

Image 3.1: Rear panel connections including HDMI, USB, LAN, and audio ports.
- HDMI: Connect your external devices (e.g., Blu-ray player, gaming console, cable box) to the HDMI ports. HDMI 2 (eARC) supports Audio Return Channel for compatible sound systems.
- USB: Connect USB storage devices for media playback or software updates.
- LAN: Connect an Ethernet cable for a wired internet connection.
- Digital Audio Out (Optical): Connect to an external audio receiver or soundbar.
- Audio Out (3.5mm): Connect to headphones or external speakers.
- Power: Connect the power cord to the AC IN port and then to a power outlet.
4. Initial Setup & Configuration
4.1 Powering On
After connecting all cables, press the power button on the projector or the remote control to turn on the unit. The Hisense logo will appear on the screen.
4.2 First-Time Setup Wizard
Upon first power-on, the projector will guide you through an initial setup wizard. This includes:
- Language selection
- Network connection (Wi-Fi or Ethernet)
- Google account sign-in (for Android TV features)
- Channel scan (if connecting an antenna)
- Image alignment and focus adjustment
4.3 Picture Settings
Access the picture settings menu to adjust brightness, contrast, color, and sharpness to your preference. The 100L9G features TriChroma laser technology for enhanced color accuracy and brightness.

Image 4.1: The Hisense 100L9G provides a bright picture suitable for various room lighting conditions.
5. Operating Your Laser TV
5.1 Remote Control
Use the provided remote control to navigate menus, adjust settings, and control playback. Familiarize yourself with the button layout for common functions like power, input, volume, and smart TV access.
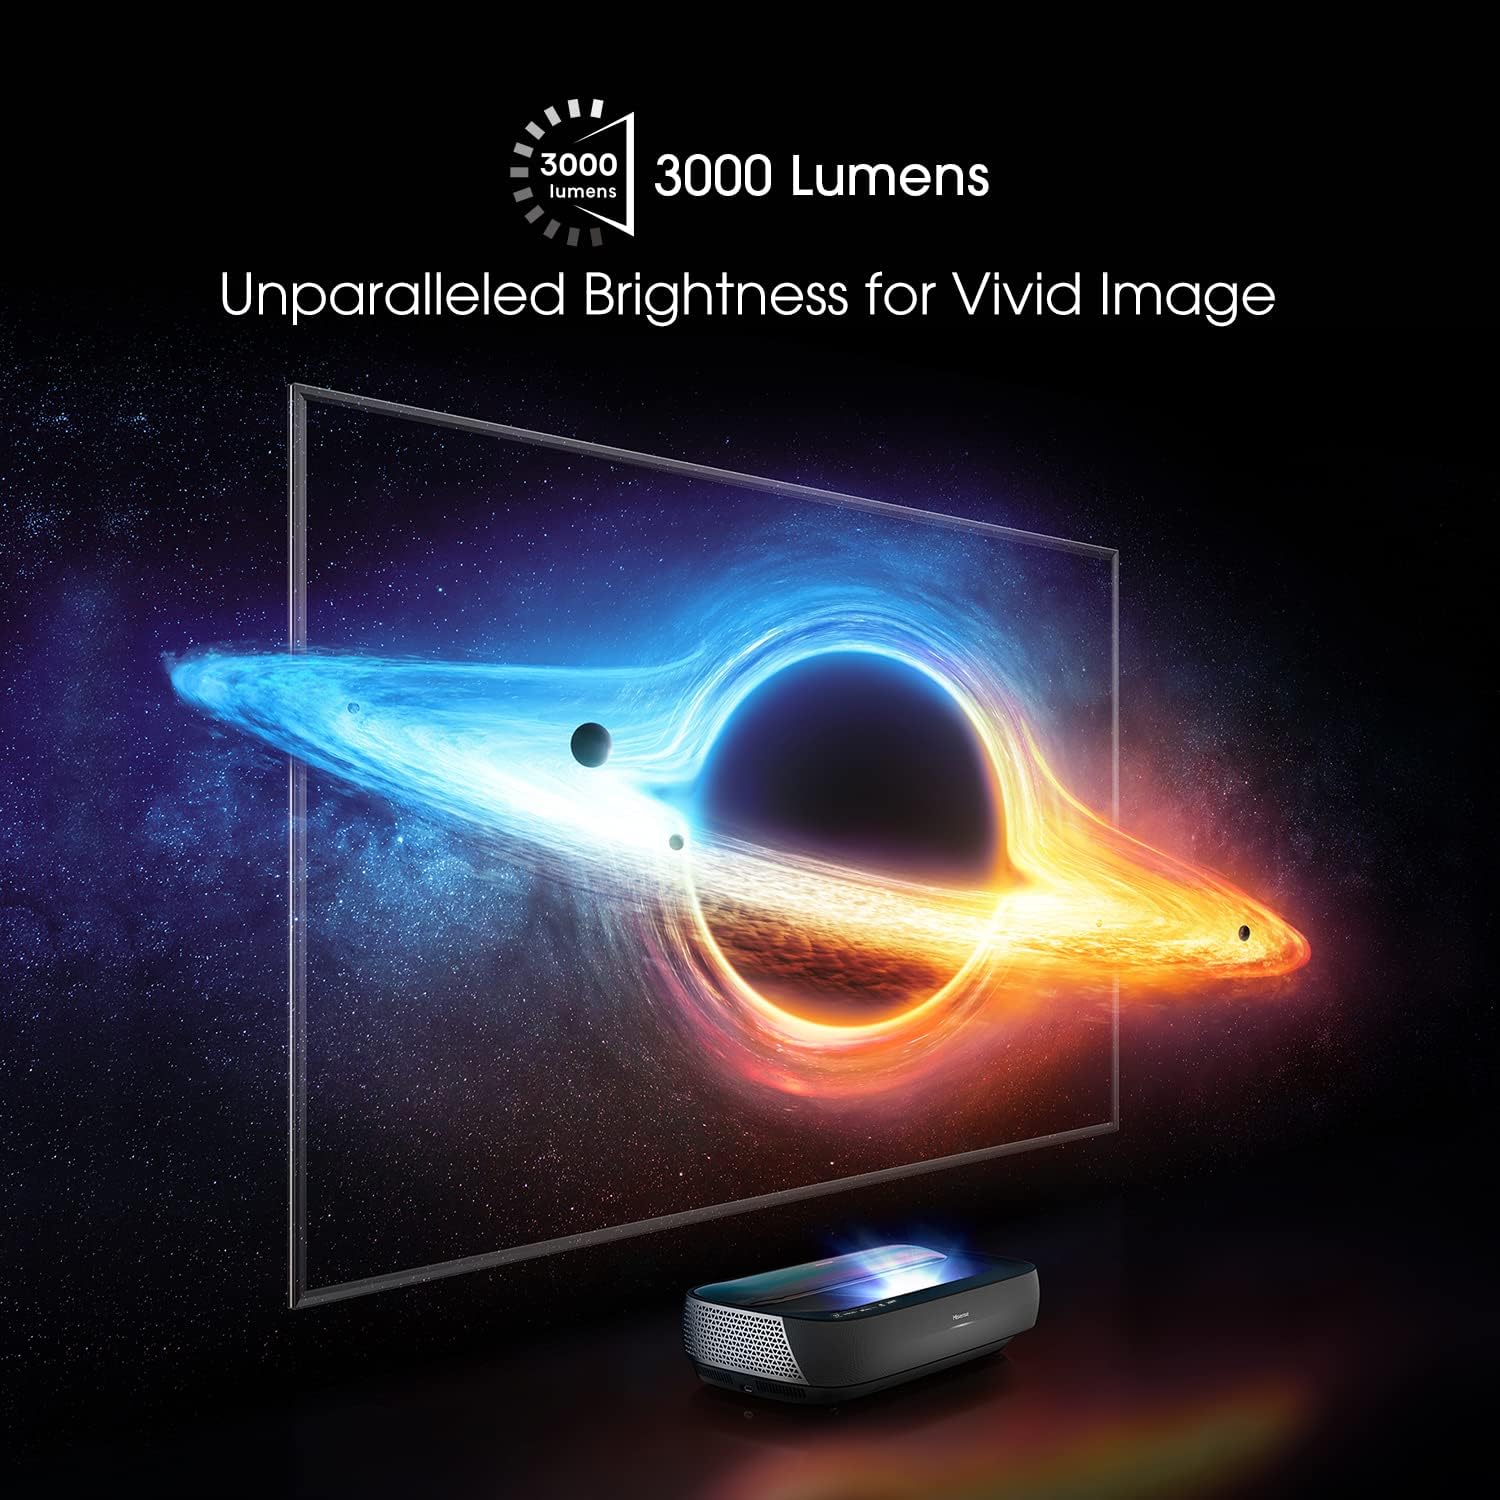
Image 5.1: The remote control for the Hisense 100L9G Laser TV.
5.2 Input Selection
Press the 'Input' button on the remote to switch between connected HDMI devices, built-in apps, or other sources.
5.3 Smart TV Features (Android TV)
The 100L9G runs on Android TV, providing access to a wide range of streaming apps, Google Assistant, and Chromecast built-in. Navigate the Android TV interface using the remote control.
5.4 Audio Settings (Dolby Atmos)
The projector features built-in 40W Dolby Atmos sound. Access the audio settings menu to customize sound modes, equalizer settings, and ensure Dolby Atmos is enabled for compatible content.

Image 5.2: The Hisense 100L9G features integrated Dolby Atmos sound for immersive audio.
6. Advanced Features
6.1 TriChroma Laser Engine
The 100L9G utilizes a TriChroma laser engine with pure red, green, and blue lasers, achieving 107% of the BT.2020 color space for a wide and accurate color reproduction.

Image 6.1: TriChroma laser technology uses three distinct lasers for superior color performance.
6.2 Filmmaker Mode
Activate Filmmaker Mode to experience movies and TV shows as the creators intended, with original aspect ratios, colors, and frame rates preserved.
6.3 HDR10/HLG Support
The projector supports HDR10 and HLG formats, delivering enhanced contrast and color detail with compatible content.
6.4 MEMC Technology
Motion Estimation, Motion Compensation (MEMC) technology provides smooth motion for fast-paced content, reducing blur and judder.
7. Maintenance
7.1 Cleaning the Projector
Regularly clean the exterior of the projector with a soft, dry, lint-free cloth. Do not use abrasive cleaners or solvents. For the lens, use a specialized lens cleaning cloth and solution, following the instructions in the provided cleaning kit.
7.2 Cleaning the ALR Screen
Gently wipe the ALR screen surface with a soft, dry microfiber cloth. Avoid applying pressure or using harsh chemicals, as this can damage the screen's special coating. Refer to the screen's specific cleaning instructions.
7.3 Laser Light Source
The laser light source has an estimated operating life of 25,000 hours. No user maintenance is required for the laser module itself.
8. Troubleshooting
If you encounter issues with your Hisense 100L9G Laser TV, refer to the following common problems and solutions:
| Problem | Possible Solution |
|---|---|
| No power | Check if the power cord is securely connected to both the projector and the power outlet. Ensure the outlet is functional. |
| No image | Verify the correct input source is selected. Check HDMI cable connections. Ensure the projector lens is not obstructed. |
| Poor image quality | Adjust focus and keystone correction. Check picture settings (brightness, contrast, color). Ensure the screen is clean and flat. |
| No sound | Check volume levels. Ensure external audio devices are correctly connected and selected. Verify audio output settings. |
| Remote control not working | Replace batteries. Ensure there are no obstructions between the remote and the projector. |
If the problem persists after trying these solutions, please contact Hisense customer support.
9. Specifications
| Feature | Specification |
|---|---|
| Model Number | 100L9G-CINE100 |
| Display Resolution | 3840 x 2160 (4K UHD) |
| Brightness | 3000 Lumens |
| Light Source | TriChroma Laser |
| Light Source Operating Life | 25,000 Hours |
| Color Space Coverage | 107% BT.2020 |
| Screen Size | 100 Inches (with ALR Screen) |
| Audio Output | 40W with Dolby Atmos |
| Operating System | Android TV |
| Connectivity | HDMI (3x, including eARC), USB (2x), LAN, Digital Audio Out, Audio Out, 802.11 ac/b/g/n Wi-Fi, Bluetooth |
| Power Consumption | 320 watts |
| Dimensions (Projector) | 610mm (W) x 346mm (D) x 155mm (H) (Approximate, based on image) |
10. Warranty and Support
10.1 Warranty Information
The Hisense 100L9G Laser TV Projector comes with a 2-year manufacturer's warranty. Please retain your proof of purchase for warranty claims. The warranty covers defects in materials and workmanship under normal use.
10.2 Customer Support
For technical assistance, troubleshooting beyond this manual, or warranty service, please contact Hisense customer support. Visit the official Hisense website for contact details and the most up-to-date support information.
Hisense Official Website: www.hisense-usa.com


