
Introduction
Thank you for choosing the TECKNET Wireless Doorbell System. This manual provides detailed instructions for the installation, operation, and maintenance of your new doorbell. This system is designed for convenience and reliability, featuring a self-powered transmitter and two plug-in receivers with pass-through sockets. Please read this manual thoroughly before use to ensure proper functionality and longevity of the product.

Image: The TECKNET Wireless Doorbell Kit, showing the two plug-in receivers and the single push-button transmitter.
Package Contents
- 1 x Self-Powered Doorbell Transmitter
- 2 x Plug-in Doorbell Receivers with Pass-Through Sockets
- Mounting Hardware (Screws, Anchors, Adhesive Tape)
- User Manual
Key Features
- Self-Powered Transmitter: No batteries required for the push button. It generates its own power when pressed.
- Pass-Through Sockets: Receivers feature integrated EU sockets, allowing you to use the outlet for other devices.
- Wide Wireless Range: Up to 400 meters (1300 feet) in open areas.
- IP65 Waterproof Transmitter: Designed to withstand various weather conditions.
- 32 Selectable Melodies: Choose from a variety of chimes.
- 5 Adjustable Volume Levels: From 0dB (mute) to 110dB.
- LED Flash Indicator: Visual alert for the hearing impaired or noisy environments.
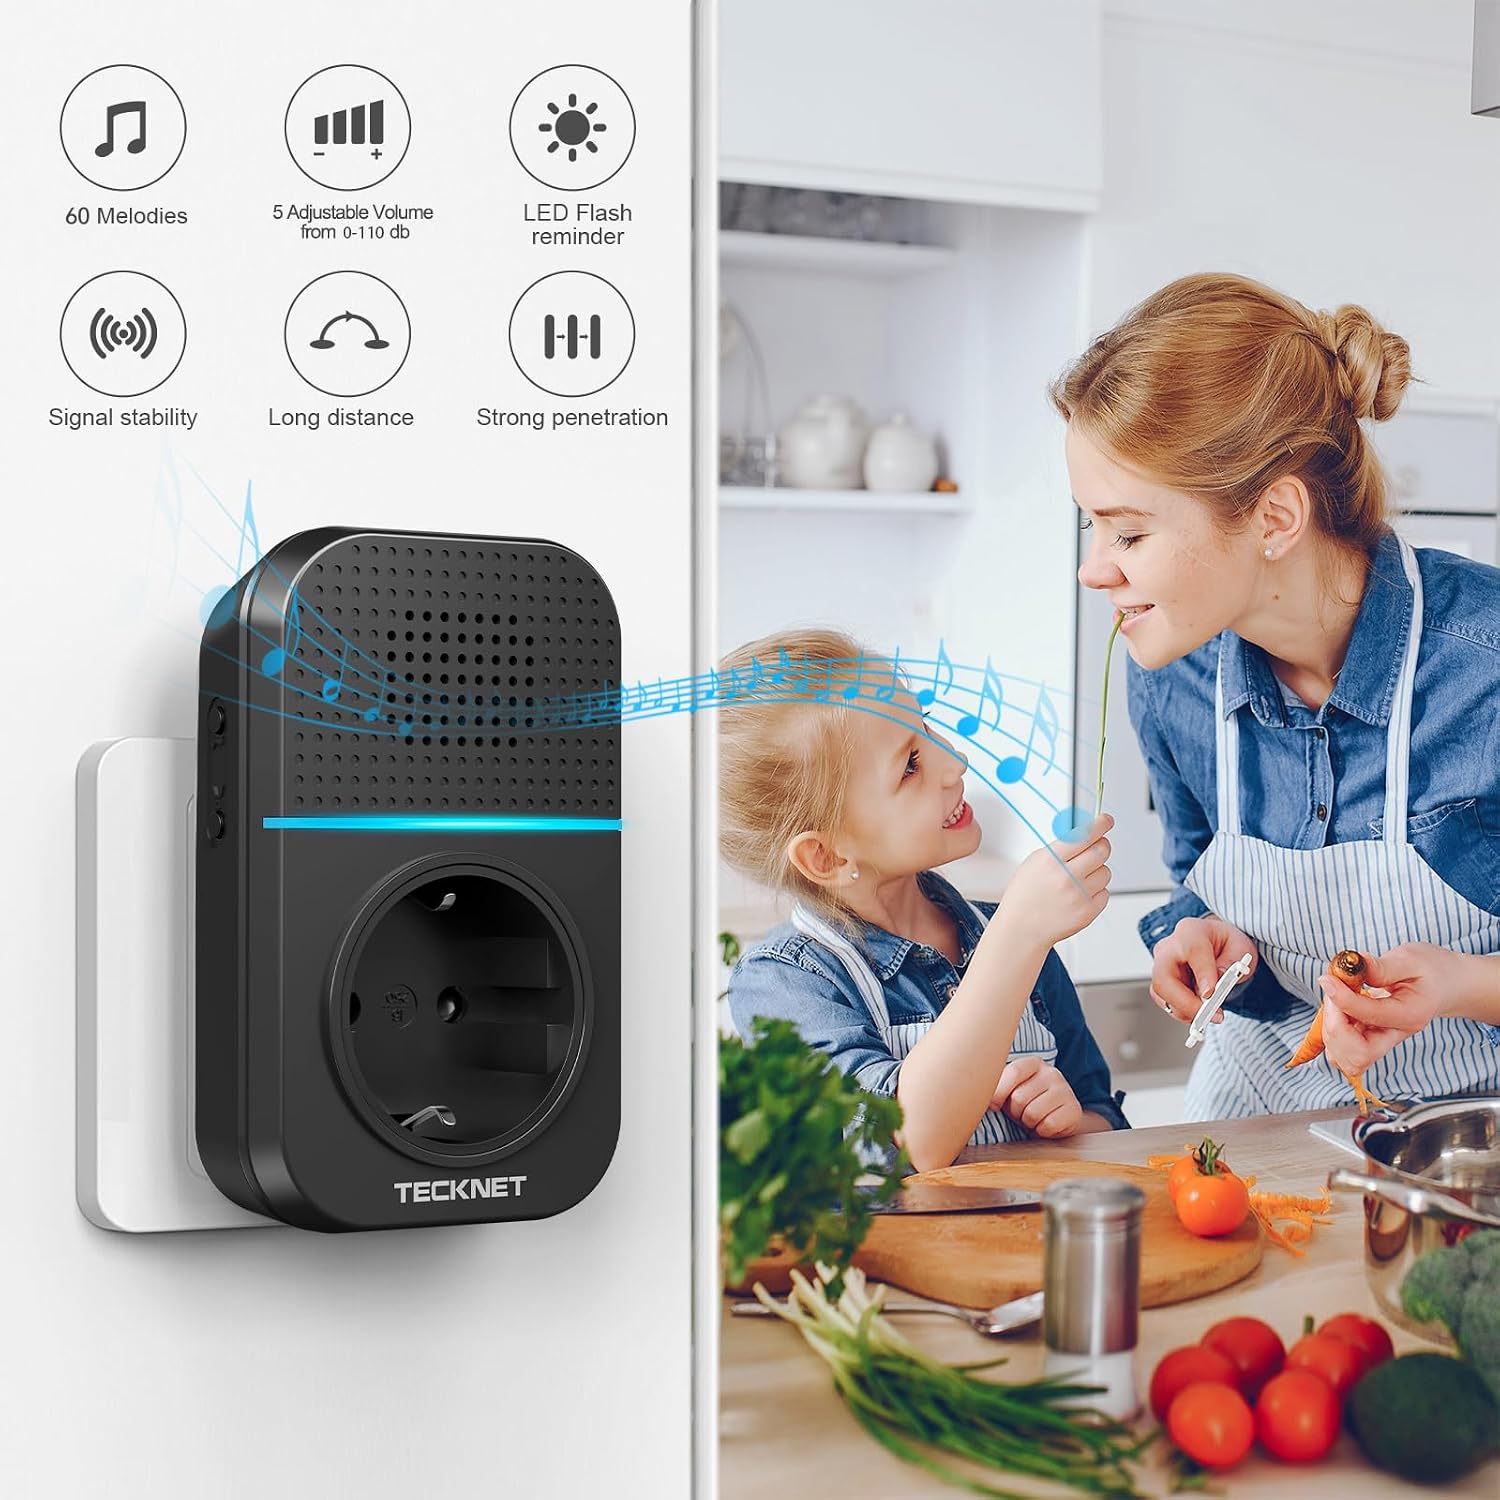
Image: Visual representation of the doorbell's features, including melody options, volume control, LED indicator, and signal strength.

Image: Diagram illustrating the 400-meter wireless range of the doorbell system across a property.
Setup and Installation
Transmitter Installation
The doorbell transmitter can be installed using either the provided adhesive tape or screws and anchors.
- Using Adhesive Tape (Method A):
- Clean the desired mounting surface thoroughly to ensure it is dry and free of dust or grease.
- Peel off one side of the protective film from the adhesive tape and apply it firmly to the back of the transmitter.
- Peel off the remaining protective film and press the transmitter firmly onto the cleaned surface for at least 30 seconds.
- Using Screws and Anchors (Method B):
- Mark the desired drilling points on the wall using the transmitter's mounting holes as a guide.
- Drill holes at the marked points and insert the wall anchors.
- Align the transmitter with the holes and secure it with the provided screws.
Receiver Setup
Simply plug the receivers into any standard EU wall outlet. The integrated pass-through socket ensures that the outlet remains available for other electrical devices.

Image: Detailed instructions for installing the transmitter using adhesive or screws, and a visual of the receiver's EU plug.

Image: The doorbell receiver plugged into a wall outlet, demonstrating how its pass-through socket allows another plug to be inserted.
Operation
Changing Melodies
To change the melody, press the 'Music' button on the side of the receiver. Each press will cycle through the available 32 melodies. Stop at your desired chime.
Adjusting Volume
To adjust the volume, press the 'Volume' button on the side of the receiver. There are 5 volume levels, including a mute option (0dB) and a maximum of 110dB. Cycle through the levels until you reach your preferred volume.
Pairing the Devices
The doorbell kit is pre-paired at the factory. If re-pairing is needed or if you wish to pair additional transmitters/receivers:
- Plug in the receiver.
- Press and hold the pairing button on the receiver for approximately 3 seconds until you hear a "Ding-Dong" sound and the LED indicator flashes. The receiver is now in pairing mode.
- Immediately press the transmitter button. The receiver will make another "Ding-Dong" sound, indicating successful pairing.
- To exit pairing mode, wait for 5 seconds or press the pairing button again.
Maintenance
To ensure optimal performance and longevity of your doorbell system, follow these simple maintenance guidelines:
- Cleaning: Wipe the transmitter and receivers with a soft, dry cloth. Do not use abrasive cleaners or solvents.
- Transmitter Placement: While the transmitter is IP65 waterproof, avoid submerging it in water or exposing it to extreme conditions beyond its operating temperature range (-20°C to 60°C / -4°F to 140°F).
- Receiver Placement: Keep receivers in a dry indoor environment.
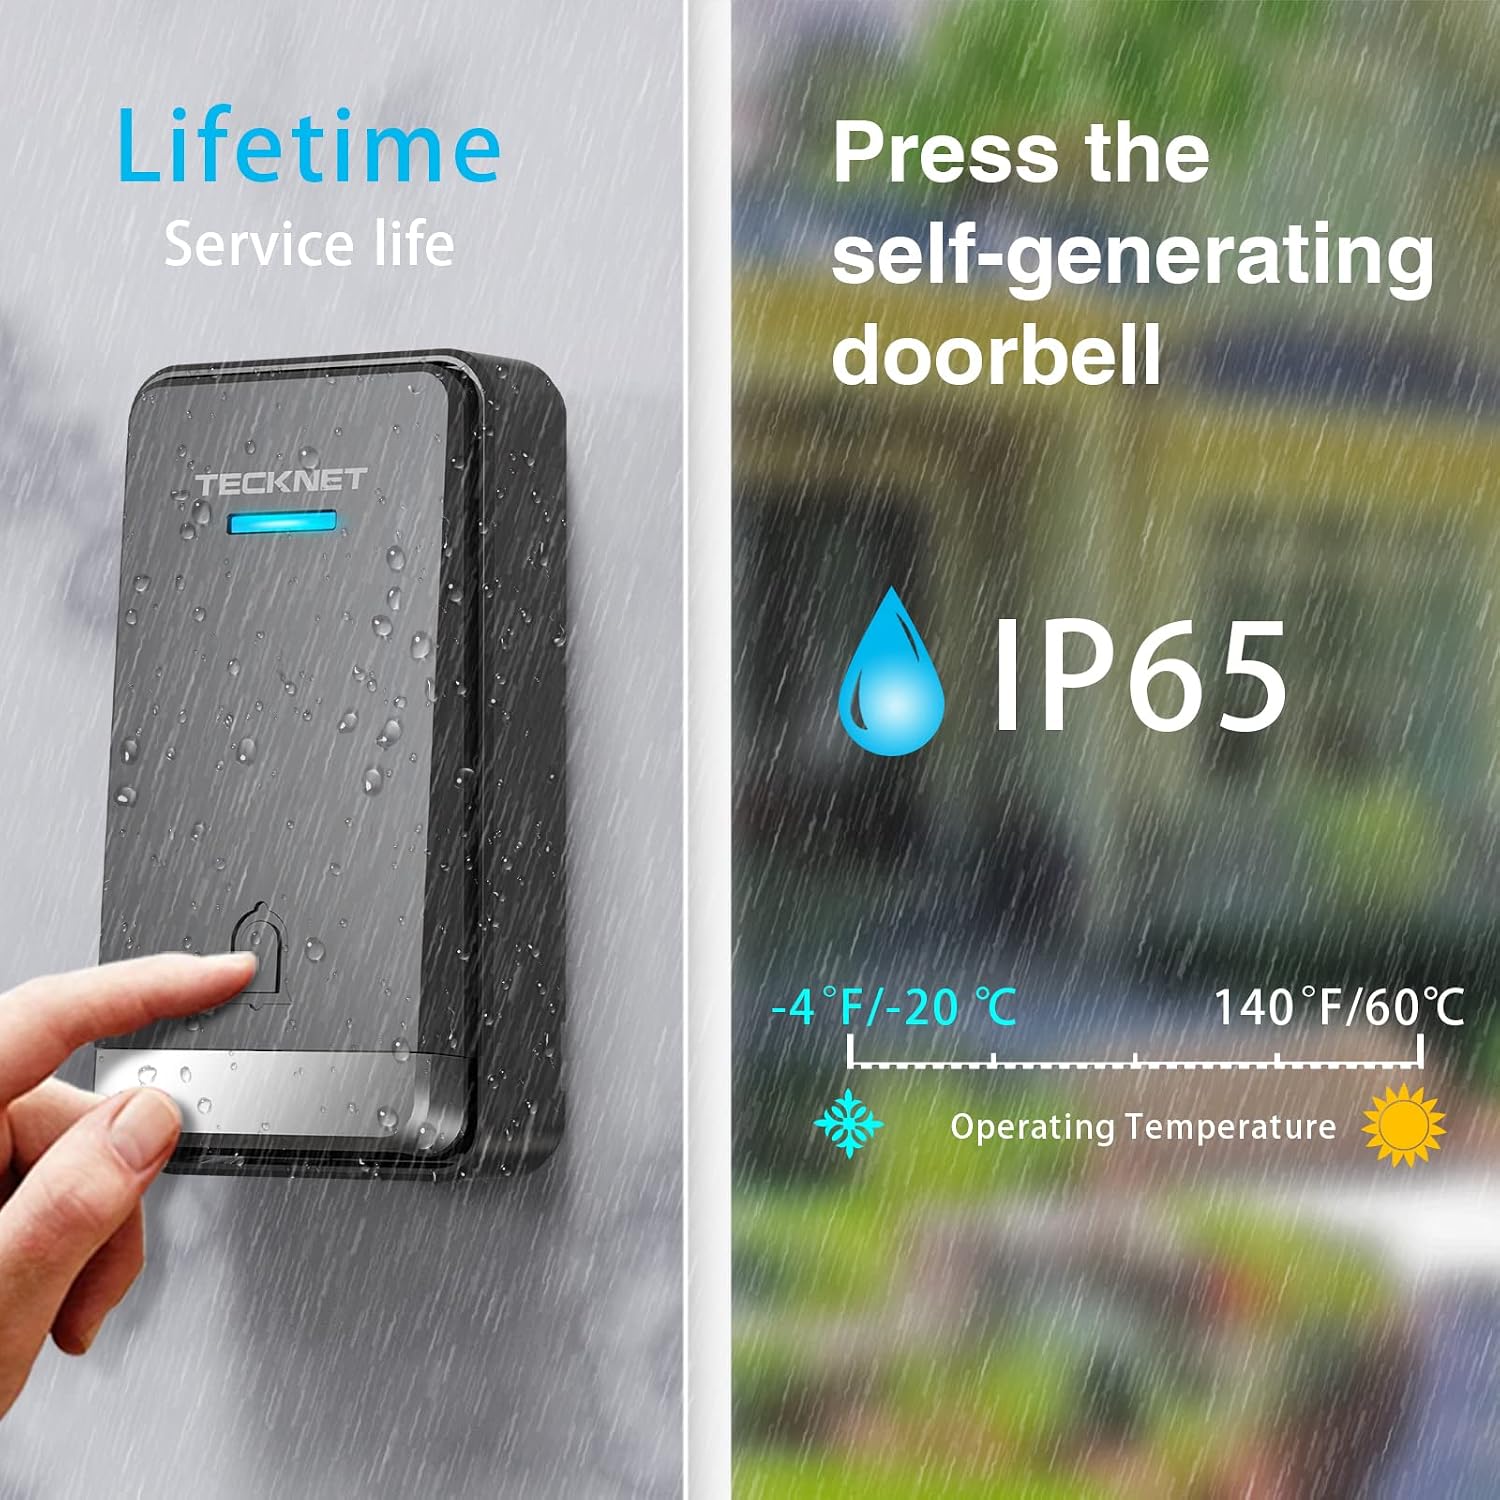
Image: The doorbell transmitter being exposed to water, highlighting its IP65 waterproof rating and specified operating temperature range.
Troubleshooting
| Problem | Possible Cause | Solution |
|---|---|---|
| Doorbell does not ring | Transmitter and receiver are not paired. | Follow the "Pairing the Devices" instructions in the Operation section. |
| Receiver is unplugged or power outage. | Ensure the receiver is securely plugged into a working power outlet. | |
| Obstructions or excessive distance. | Reduce the distance between the transmitter and receiver. Avoid placing receivers near large metal objects or thick walls that can interfere with the signal. | |
| Short range / Intermittent ringing | Signal interference from other wireless devices or structural obstacles. | Relocate the receiver to a different outlet or position. Ensure no large metal objects are directly between the transmitter and receiver. |
| Operating temperature outside specified range. | Ensure the transmitter is within the -20°C to 60°C (-4°F to 140°F) operating temperature range. | |
| Volume is too low or too high | Volume setting is not optimal. | Press the 'Volume' button on the receiver to adjust to the desired level. |
Specifications
| Feature | Specification |
|---|---|
| Model Number | HWD01816 |
| Manufacturer | Shenzhen UniChain Technology Co., Ltd |
| Product Dimensions | 12.5 x 9 x 7 cm; 350 g |
| Color | Black |
| Number of Items in Package | 1 (Kit includes 1 transmitter, 2 receivers) |
| Batteries Required | No |
| Waterproof Rating (Transmitter) | IP65 |
| Operating Temperature | -20°C to 60°C (-4°F to 140°F) |
| Wireless Range | Up to 400m (1300ft) in open areas |
| Melodies | 32 |
| Volume Levels | 5 (0-110dB) |
Warranty and Support
For warranty information and customer support, please refer to the contact details provided with your product packaging or visit the official TECKNET website. Keep your purchase receipt as proof of purchase for any warranty claims.


