
FLASHFORGE AD3 PRO
FLASHFORGE Adventurer 3 Pro 3D Printer User Manual
Model: AD3 PRO | Brand: FLASHFORGE
1. Introduction
This user manual provides comprehensive instructions for the setup, operation, maintenance, and troubleshooting of your FLASHFORGE Adventurer 3 Pro 3D Printer. Please read this manual thoroughly before using the printer to ensure safe and optimal performance.
2. Safety Information
- Always operate the printer in a well-ventilated area.
- Do not touch the hot nozzle or heated build plate during operation or immediately after printing. Allow components to cool down.
- Keep the printer away from flammable materials and direct sunlight.
- Ensure the power supply is stable and matches the printer's requirements.
- Keep children and pets away from the printer during operation.
- Unplug the printer before performing any maintenance or cleaning.
3. Product Overview
The FLASHFORGE Adventurer 3 Pro is a high-precision 3D printer designed for ease of use and reliable performance. It features a fully enclosed design, a glass build plate, and quick-removable nozzles.
Key Features:
- Glass Printing Platform: Smooth and flat surface for easy model removal, heated up to 100°C for ABS printing.
- Detachable Nozzle: Easily removable nozzle, heats quickly to 240°C in 50 seconds. Supports 0.3, 0.4, 0.6 mm nozzles up to 265°C for various filaments.
- Built-in Camera: Monitor printing process in real-time when connected to the internet.
- Filament Detection: Automatic suspension of printing if filament breaks or runs out, resuming once new filament is loaded.
- Ultra-Quiet Operation: Noise level below 45 decibels, suitable for any room.
- Full-Color Touch Screen: Intuitive interface for easy navigation and control.
- Leveling-Free Design: Simplifies setup and ensures consistent print quality.

Figure 3.1: The FLASHFORGE Adventurer 3 Pro 3D Printer, showcasing its enclosed design and internal components.
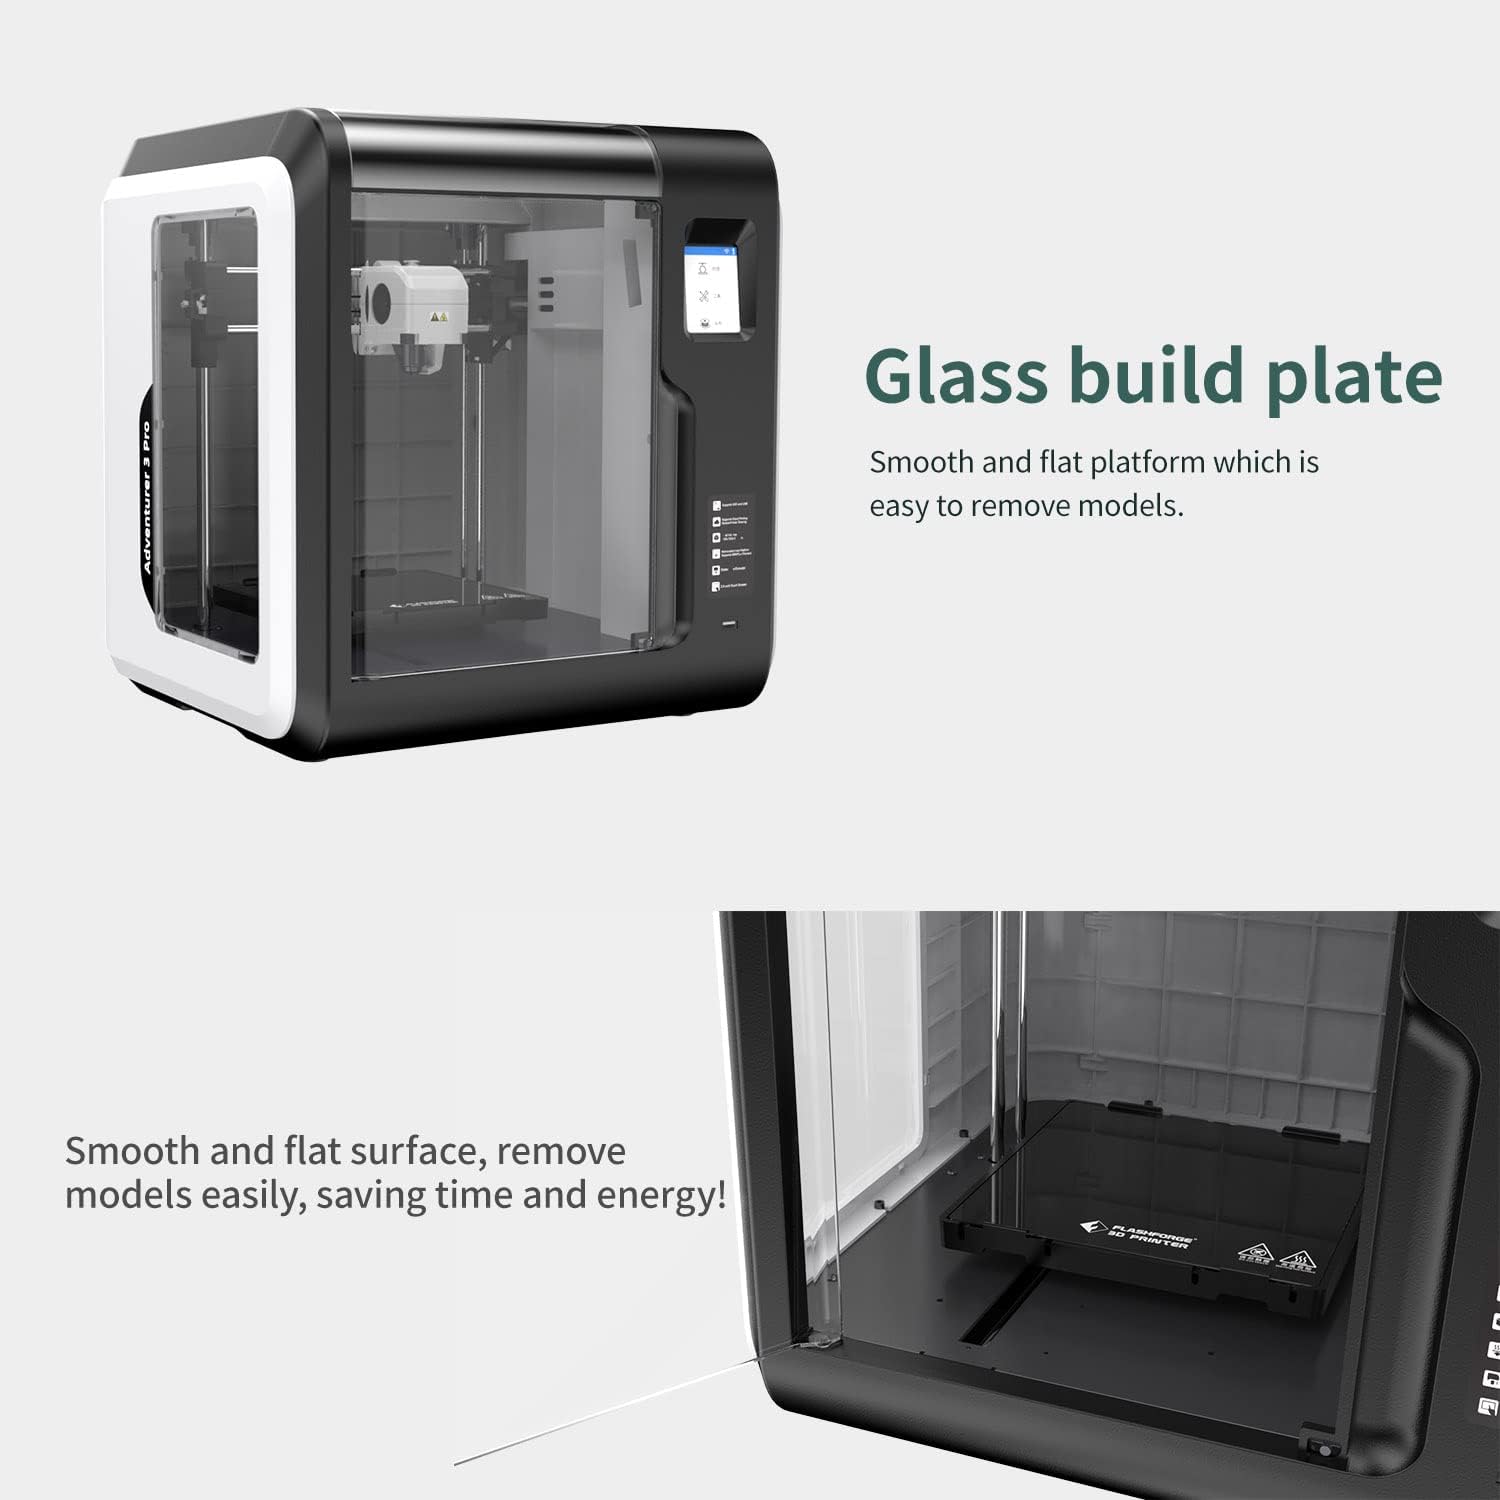
Figure 3.2: Close-up view of the smooth and flat glass build plate, designed for easy model removal.

Figure 3.3: Illustration of the quick-removable nozzle system, highlighting the 240°C and 265°C nozzle options.

Figure 3.4: The integrated camera allows for remote monitoring of print progress via FlashCloud.

Figure 3.5: The full-color touch screen interface provides intuitive control over printer functions.
4. Setup
4.1 Unboxing and Initial Placement
Carefully remove the printer from its packaging. Place the printer on a stable, level surface in a well-ventilated area, away from direct sunlight and heat sources. Ensure there is enough space around the printer for proper ventilation and access.

Figure 4.1: The shipping box for the FLASHFORGE Adventurer 3 Pro 3D Printer, indicating product details and handling instructions.
4.2 Filament Loading
The Adventurer 3 Pro features an automatic filament feeding function.
- Open the filament compartment.
- Insert the filament spool into the designated holder.
- Feed the filament end into the extruder's intake. The printer will automatically detect and load the filament.
4.3 Software Installation and Connectivity
To prepare your print files and control the printer, install the FlashPrint software from the official FLASHFORGE website. The printer supports multiple connectivity options:
- Wi-Fi: Connect the printer to your local wireless network for remote operation and monitoring.
- Ethernet: Use an Ethernet cable for a stable wired network connection.
- USB Stick: Transfer print files directly to the printer via a USB stick.
- FlashCloud/PolarCloud: Utilize cloud platforms for file management and remote control.

Figure 4.2: The FlashCloud interface, demonstrating remote monitoring and control capabilities for your 3D printer.
5. Operation
5.1 Preparing a Print
- Design or download a 3D model (e.g., in STL format).
- Open the model in FlashPrint software.
- Configure print settings such as layer height, infill, and support structures. Ensure correct filament type and temperature settings are selected (e.g., PLA, ABS, PETG).
- Slice the model to generate the G-code file.
- Transfer the G-code file to the printer via Wi-Fi, Ethernet, or USB stick.
5.2 Starting a Print
- On the printer's touch screen, select the desired G-code file.
- Preheat the build plate and nozzle to the recommended temperatures for your filament type. This is crucial for proper adhesion and to prevent issues like "popping" sounds.
- Confirm settings and start the print.
5.3 Monitoring and Pausing Prints
You can monitor the print progress via the built-in camera through FlashCloud or FlashPrint software. If filament runs out or breaks, the printer will automatically pause. Replace the filament and resume printing from the touch screen.
6. Maintenance
6.1 Nozzle Maintenance
Nozzles can partially clog over time. To clean:
- Ensure the nozzle is heated to printing temperature.
- Use a thin cleaning pin to clear any blockages from the nozzle opening.
- For stubborn clogs, the detachable nozzle can be easily removed and replaced.
6.2 Build Plate Cleaning
For optimal print adhesion, keep the glass build plate clean.
- After approximately 5 prints, clean the build plate with rubbing alcohol.
- Ensure the plate is completely dry before starting a new print.
- For difficult adhesion, a thin layer of glue stick can be applied to the build plate.
7. Troubleshooting
7.1 Filament Not Sticking to Build Plate
- Clean Build Plate: Ensure the glass build plate is clean and free of debris. Use rubbing alcohol.
- Temperature Settings: Verify that the print temperature and bed temperature settings in your slicing software are correct for the filament type being used. Preheat the bed before printing.
- First Layer Calibration: Although leveling-free, ensure the first layer is extruding correctly and adhering. Adjust Z-offset if necessary.
7.2 Popping Sounds During Printing
- This often indicates moisture in the filament or insufficient heating.
- Preheat: Ensure both the nozzle and build plate are fully preheated to their target temperatures before printing begins.
- Filament Storage: Store filament in a dry environment to prevent moisture absorption.
7.3 Software Connectivity Issues (FlashPrint/FlashCloud)
- Network Connection: Verify that both your computer and the printer are connected to the same stable network (Wi-Fi or Ethernet).
- Firewall/Antivirus: Ensure your computer's firewall or antivirus software is not blocking FlashPrint's connection.
- IP Address: In FlashPrint, manually add the printer's IP address if auto-detection fails.
- Software Version: Ensure you are using the latest version of FlashPrint software.
8. Specifications
| Feature | Specification |
|---|---|
| Extruder Number | 1 |
| Extruder Diameter | 0.4mm |
| Highest Set Temperature of Extruder | 265°C |
| Build Volume (L×W×H) | 150mm × 150mm × 150mm |
| Print Speed | 10-100mm/s |
| Highest Set Temperature of Platform | 100°C |
| Printer Volume | 388mm × 340mm × 405mm |
| Screen | 2.8-inch Touch Screen |
| Net Weight | 9 kg (19.8 lbs) |
| Input Power | 100-240 VAC, 47-63Hz |
| Power | 150W |
| Internal Storage | 8GB |
| Spool Diameter | 52mm (Note: Larger spools may require an external holder) |
| Data Transmission | USB stick, Wi-Fi, Ethernet, FlashCloud, PolarCloud |
| Software | FlashPrint |
| Output File Format | GX/G files |
| Input File Format | 3MF/STL/OBJ/FPP/BMP/PNG/JPG/JPEG files |

Figure 8.1: Detailed technical specifications for the Adventurer 3 Pro 3D Printer.
9. Warranty and Support
The FLASHFORGE Adventurer 3 Pro 3D Printer comes with a 12-month warranty. FLASHFORGE provides lifetime technical support and 24-hour professional customer service.
For further assistance or to contact support, please visit the official FLASHFORGE Store: FLASHFORGE Store on Amazon.
Related documentsAD3 PRO


Ask a question about this manual
Ask about setup, troubleshooting, compatibility, parts, safety, or missing instructions. Manuals+ will review the question and use this page’s manual context to help answer it.