
1. Introduction
This manual provides essential information for the safe and efficient operation of your FLUENTPOWER FSP350CR 1/2HP Submersible Rain Barrel Pump. Please read these instructions carefully before installation and use, and retain them for future reference. This pump is designed for pumping clean water from rain barrels, ponds, pools, cellars, and hot tubs, with small solids less than 1/5 inch.
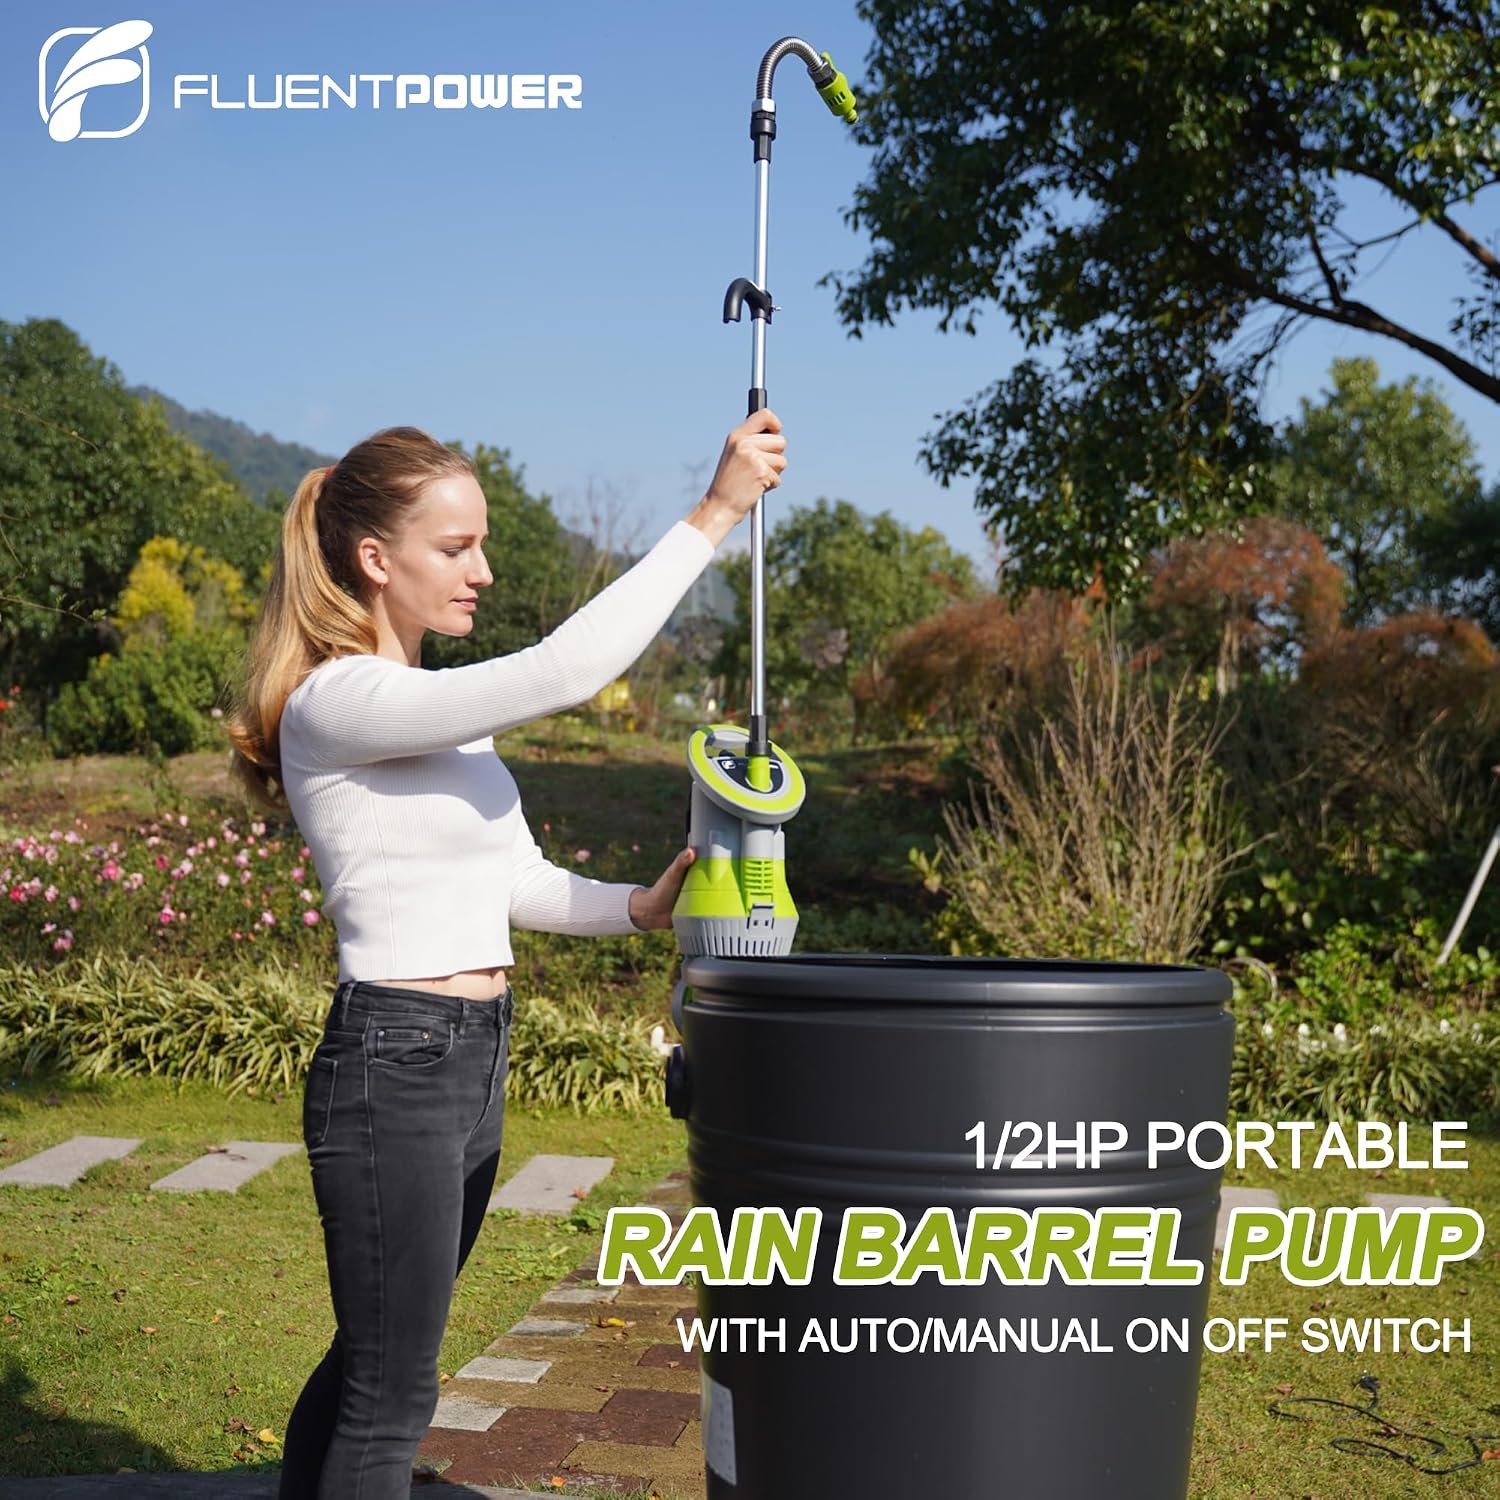
Image 1.1: FLUENTPOWER 1/2HP Submersible Rain Barrel Pump in use.
2. Safety Information
Always observe the following safety precautions to reduce the risk of injury, electric shock, or damage to the pump.
- Electrical Safety: Ensure the power supply matches the pump's voltage (120 Volts). Always connect to a grounded outlet. Do not operate the pump with a damaged cord or plug. Do not immerse the plug or power cord in water.
- Water Type: This pump is designed for clean water containing small solids less than 1/5 inch. Do not use it for flammable, corrosive, or explosive liquids.
- Temperature: Do not pump water hotter than 35°C (95°F).
- Children and Pets: Keep children and pets away from the pump and its operating area.
- Maintenance: Always disconnect the power supply before performing any maintenance or cleaning.
- Thermal Overload Protection: The pump has a built-in thermal motor protector. If the motor overheats, the pump will automatically shut off and restart after cooling down.
3. Product Features
The FLUENTPOWER FSP350CR pump incorporates several design elements for user convenience and efficient performance:
- Efficient Motor: A 1/2 HP motor provides a maximum flow rate of 1050 GPH and can lift water up to 36 ft.
- Automatic/Manual Operation: Features a float switch for automatic ON/OFF control and a manual mode for continuous operation.
- Adjustable Securing Hook: Allows for height adjustment to suit various rain barrel sizes.
- Control Water Flow: An aluminum swan neck extension pipe with a snap-on connector enables flow adjustment.
- Bottom Suction Design: Integrated dirt filter mat for easy cleaning and replacement, suitable for clean water with small solids.
- Durable Construction: Full corrosion-resistant shell and environmental thermoplastic construction ensure longevity.
- Long Cable: Equipped with a 26 ft power cable for extended reach.

Image 3.1: Key features including water flow control, adjustable hook, and bottom suction.
4. Setup
Follow these steps for initial setup of your submersible pump:
- Unpack: Carefully remove all components from the packaging. Verify that all parts are present, including the pump, two aluminum extension tubes, adjustable securing hook, quick connector, and spray nozzle.
- Assemble Extension Tubes: Connect the two aluminum extension tubes to achieve the desired height for your rain barrel.
- Attach Securing Hook: Secure the adjustable hook to the extension tube at a height that allows the pump to be suspended correctly within the rain barrel.
- Connect Hose: Attach your standard garden hose to the quick connector system on the pump's outlet. Ensure a secure connection to prevent leaks.
- Position Pump: Lower the pump into the rain barrel or water source. Ensure it is submerged and stable. For automatic mode, the float switch must be able to move freely.

Image 4.1: Connecting the quick connector and garden hose.
5. Operating Instructions
The pump offers both automatic and manual operating modes.
5.1 Automatic Mode
- Activation: Once plugged in, the pump will automatically start when the water level rises above approximately 15 inches.
- Deactivation: The pump will automatically shut off when the water level drops to approximately 3 inches.
- Priming: When starting the pump for the first time or after it has been dry, tilt and submerge it into water for a few seconds to expel any trapped air. This ensures proper priming.
- Float Switch: Ensure the float switch can move freely without obstruction for reliable automatic operation.
5.2 Manual Operation
- Activation: To engage manual mode, insert the float switch into the side slot on the pump body. This bypasses the automatic water level detection.
- Continuous Running: In manual mode, the pump will run continuously as long as it is plugged in, regardless of water level.
- Low Water Removal: Manual mode allows for water removal down to approximately 0.2 inches.
- Important Precaution: Since the pump will not turn off automatically in manual mode, it is crucial to monitor the water level. Immediately unplug the pump once the desired water level is reached or if the water runs out to prevent the motor from running dry and overheating. Running dry can cause severe damage to the pump.

Image 5.1: Automatic and Manual operating modes.
6. Maintenance
Regular maintenance ensures optimal performance and extends the life of your pump.
- Disconnect Power: Always unplug the pump from the power source before any maintenance.
- Clean Filter Mat: The bottom suction design includes an integrated dirt filter mat. Regularly inspect and clean this filter to prevent blockages and maintain efficient flow. The grate is designed for easy opening and cleaning.
- Inspect for Damage: Periodically check the power cord, plug, and pump housing for any signs of damage. Do not use the pump if any damage is found.
- Winter Storage: If storing the pump for winter or extended periods, ensure it is thoroughly cleaned and completely dry. Store in a frost-free environment.
7. Troubleshooting
Refer to the following table for common issues and their solutions:
| Problem | Possible Cause | Solution |
|---|---|---|
| Pump does not start | No power supply Float switch not activated (Auto Mode) Thermal overload activated Impeller jammed | Check power connection and outlet Ensure water level is above 15 inches or switch to Manual Mode Allow pump to cool down Disconnect power, inspect and clear impeller |
| Low flow rate or no water discharge | Clogged filter/intake Air trapped in pump (not primed) Hose kinked or blocked Discharge head too high | Clean the bottom filter mat Tilt and submerge pump to expel air Check hose for obstructions Ensure lifting height is within specifications |
| Pump runs continuously in Auto Mode | Float switch stuck in ON position Float switch inserted in manual slot | Check float switch for obstructions and free movement Remove float switch from manual slot |
| Water leaks from connections | Loose hose connection Damaged quick connector/seal | Tighten all hose connections Inspect quick connector and replace if damaged |
| Pump motor overheats | Running dry (Manual Mode) Clogged impeller/filter Pumping water too hot | Monitor water level in Manual Mode, unplug when dry Clean impeller and filter Ensure water temperature is below 35°C (95°F) |
8. Specifications
Technical specifications for the FLUENTPOWER FSP350CR Submersible Rain Barrel Pump:

Image 8.1: Pump performance data.
| Attribute | Value |
|---|---|
| Model Number | FSP350CR |
| Brand | FLUENTPOWER |
| Horsepower | 0.5 HP |
| Maximum Flow Rate | 1050 GPH (17.5 Gallons Per Minute) |
| Maximum Lifting Height | 36 Feet |
| Maximum Immersion Depth | 23 Feet |
| Minimum Pit Size | 12" x 12" |
| Voltage | 120 Volts |
| Power Source | Corded Electric |
| Cable Length | 26 Feet |
| Material | Aluminum, Thermoplastic |
| Product Dimensions (L x W x H) | 15.2L x 14.5W x 23.1H Centimetres |
| Item Weight | 3.86 kg |
| Max Solid Size | Less than 1/5 inch |
9. Warranty & Support
FLUENTPOWER products are manufactured to high-quality standards. For warranty information, technical support, or to inquire about replacement parts, please contact FLUENTPOWER customer service. Keep your purchase receipt as proof of purchase for any warranty claims.
Contact Information: Refer to the FLUENTPOWER official website or your purchase documentation for the most current customer support contact details.