
navycrest Navycrest_Q1
navycrest Q1 Dash Cam User Manual
Model: Navycrest_Q1
1. Introduction
Thank you for choosing the navycrest Q1 Dash Cam. This manual provides detailed instructions for the installation, operation, and maintenance of your new dash camera. Please read this manual thoroughly before use to ensure proper functionality and to maximize your driving safety and recording experience.
2. Package Contents
Please verify that all items are present in your package:
- navycrest Q1 Dash Camera
- SD Card (32GB included)
- Stickers
- Car Charger
- Microphone
- Speaker

Figure 2.1: navycrest Q1 Dash Cam and included accessories.
3. Product Overview
The navycrest Q1 Dash Cam is designed for discreet and reliable vehicle recording. Key features include:
- Quad HD 1440P Resolution: Records professional 1440P 30fps videos and 20MP photos with a 6G 170-degree wide-angle lens.
- Built-in Wi-Fi and APP Control: Allows real-time video monitoring, settings adjustment, and direct download/sharing of footage via a smartphone app.
- Excellent Night Vision: Features a GC CMOS sensor with f/1.8 aperture and WDR (Wide Dynamic Range) technology for clear videos in low-light conditions.
- G-Sensor: Automatically locks footage upon impact to prevent overwriting.
- Parking Mode: Automatically powers on and records when a collision is detected while parked.
- Loop Recording: Overwrites the oldest files when the SD card is full, ensuring continuous recording.
- Compact and Discreet Design: Minimizes obstruction of your view.

Figure 3.1: Product features and discreet design.

Figure 3.2: Overview of the dash cam's capabilities.
4. Setup and Installation
Follow these steps to install your navycrest Q1 Dash Cam:
- Prepare the SD Card: Insert the included 32GB SD card into the dash cam's SD card slot. Ensure it is inserted correctly until it clicks into place.
- Choose Mounting Location: Select a location on your windshield that does not obstruct your view, typically behind the rearview mirror. Ensure the area is clean and dry.
- Attach the Dash Cam: Use the provided stickers to securely attach the dash cam to the chosen location on the windshield. The mount pad is very sticky, so ensure the position is correct before applying firm pressure. A spare sticking pad is usually supplied.
- Connect Power: Plug the car charger into your vehicle's cigarette lighter socket. Connect the other end of the car charger cable to the dash cam's power input. Route the cable neatly along the windshield edge and trim to avoid interference with driving. Note: The power cable uses a Mini USB connection.
- Remove Lens Protector: Before first use, ensure you remove the protective plastic film from the camera lens to ensure clear recording quality.
- Adjust Lens Angle: The lens is adjustable. Once mounted, power on the dash cam and adjust the lens angle to capture the desired view of the road ahead.
5. Operating Instructions
5.1 Basic Recording
Once powered on, the dash cam will automatically begin recording. The recording indicator light will confirm active recording. Videos are saved to the inserted SD card.
5.2 Wi-Fi and App Control
The navycrest Q1 features built-in 2.4GHz Wi-Fi for seamless connection to your smartphone. This allows for real-time viewing, settings adjustment, and easy file management.
- Download the App: Search for the official navycrest dash cam app on your smartphone's app store (iOS or Android).
- Connect to Wi-Fi: Turn on the dash cam. On your smartphone, go to Wi-Fi settings and connect to the dash cam's Wi-Fi network. The network name and password can typically be found in the dash cam's settings menu or on the device itself.
- Use the App: Open the app. You can now:
- Monitor real-time video feed.
- Adjust camera settings (e.g., resolution, G-sensor sensitivity, loop recording duration).
- Download recorded 1440P videos directly to your smartphone.
- Share footage on social media platforms.

Figure 5.2.1: Wi-Fi and App Control interface.

Figure 5.2.2: Wi-Fi and App Connectivity.
5.3 G-Sensor (Gravity Sensor)
The built-in 3-axis G-sensor detects sudden movements or impacts. When a shock or collision is detected, the camera automatically locks the current video segment, preventing it from being overwritten by loop recording. This ensures critical event footage is preserved.

Figure 5.3.1: G-Sensor activation during an impact.

Figure 5.3.2: G-Sensor protecting footage.
5.4 Loop Recording
The dash cam continuously records video in short segments (e.g., 1, 3, or 5 minutes). When the SD card reaches its full capacity, the system automatically overwrites the oldest unlocked video files to make space for new recordings. This ensures uninterrupted recording without manual intervention.
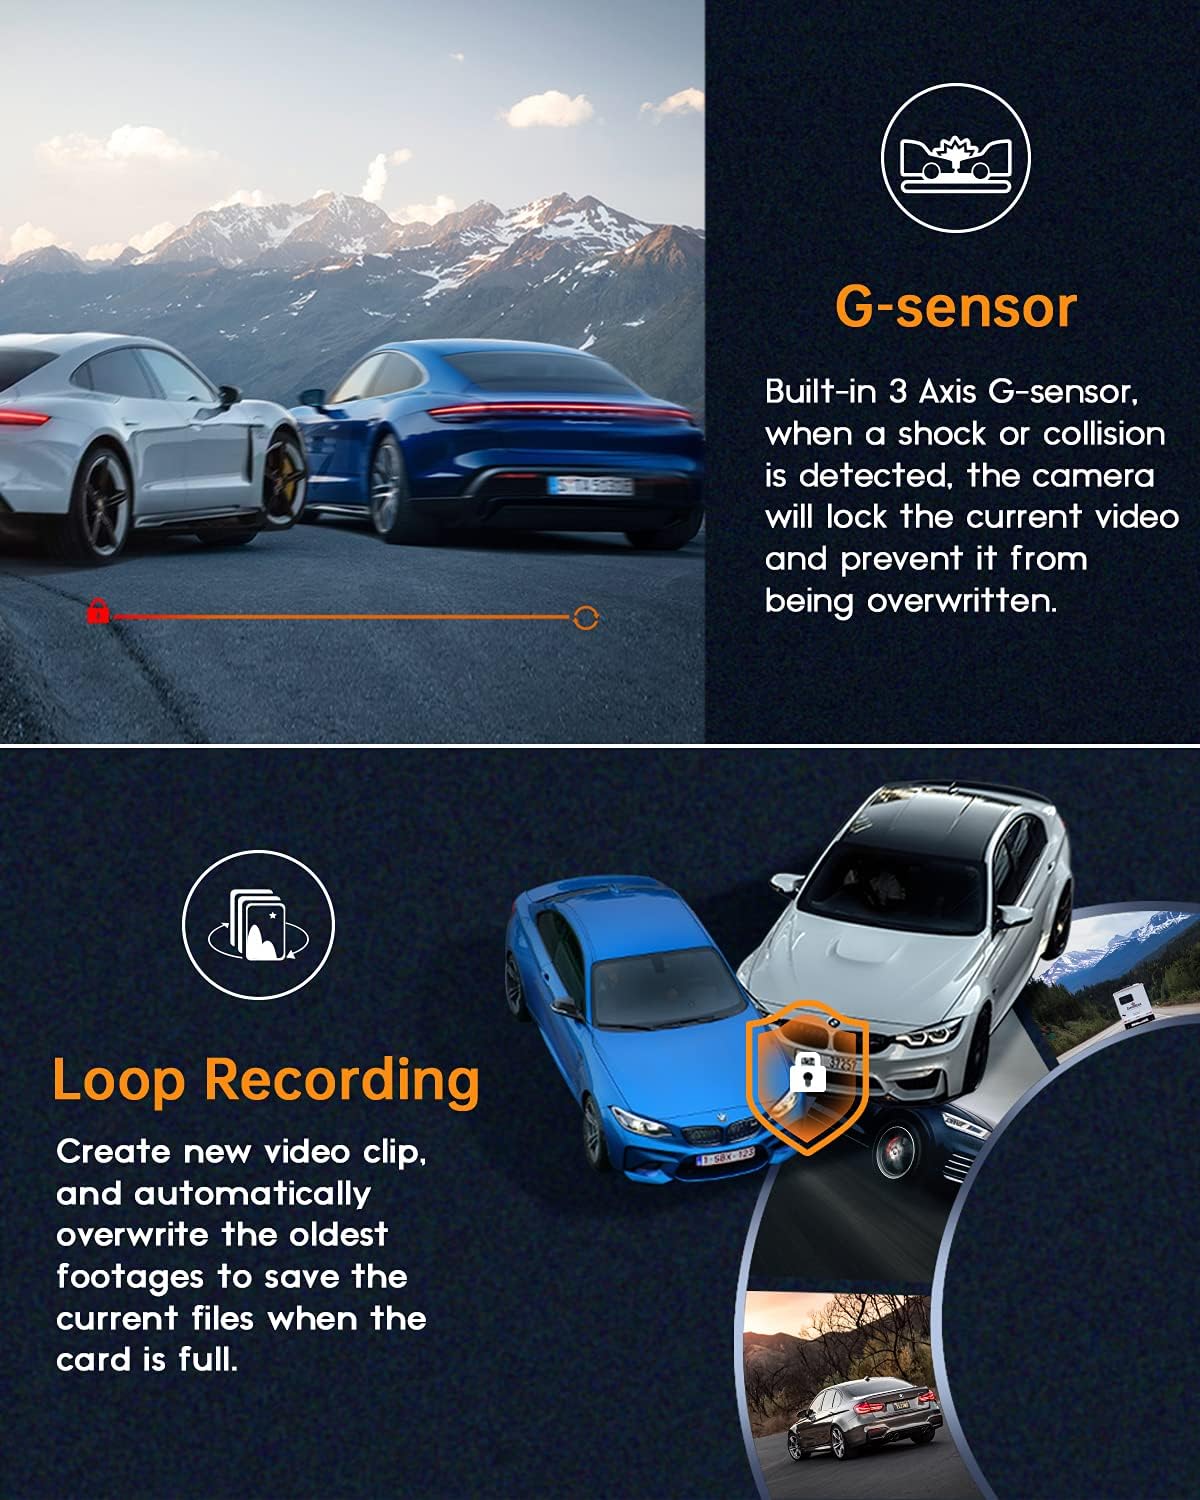
Figure 5.4.1: Loop Recording process.

Figure 5.4.2: Continuous recording.
5.5 Parking Monitor
When the vehicle is parked and the dash cam is connected to a continuous power source (e.g., hardwired kit, sold separately), the parking monitor feature will activate. If the collision sensor is triggered, the dash cam will automatically power on and record a short video for evidence, then power off again.
5.6 Night Vision and WDR
The dash cam utilizes a GC CMOS sensor with a large f/1.8 aperture and WDR (Wide Dynamic Range) technology to enhance video clarity in various lighting conditions, especially at night. WDR balances exposure to capture details in both bright and dark areas simultaneously.
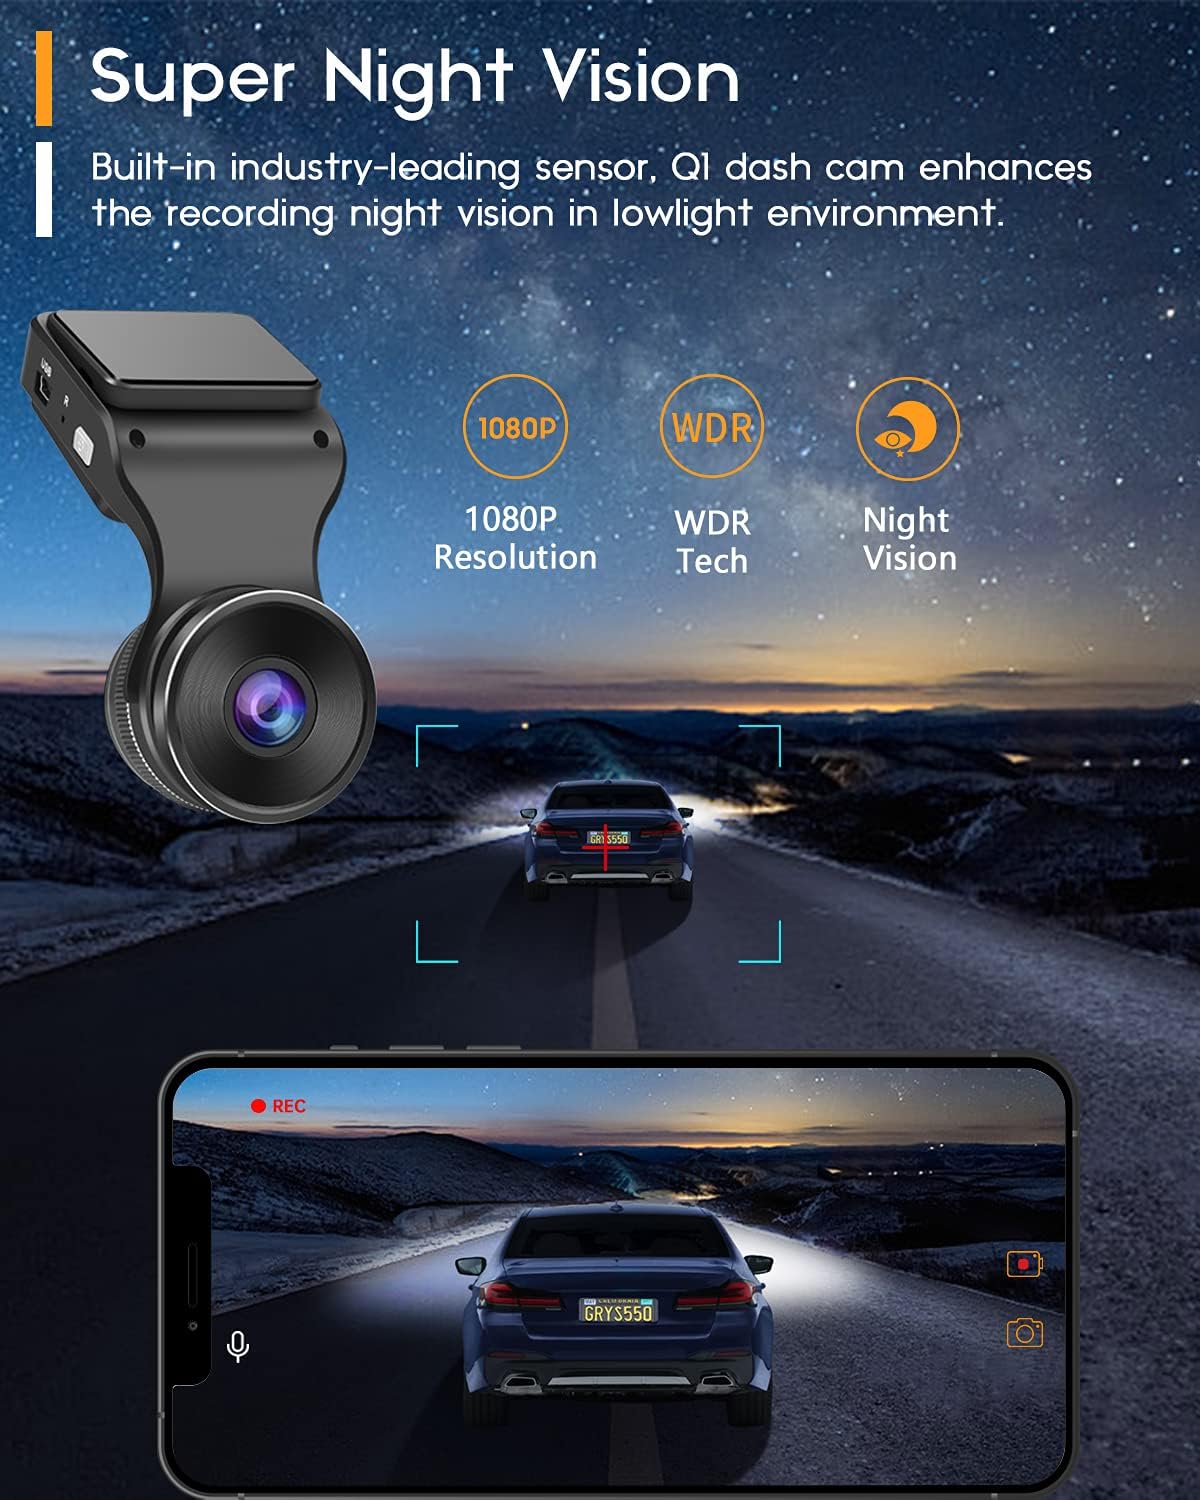
Figure 5.6.1: Super Night Vision capability.
Figure 5.6.2: Enhanced night recording.

Figure 5.6.3: WDR in action.
6. Maintenance
- Cleaning the Lens: Use a soft, lint-free cloth to gently wipe the camera lens. Avoid abrasive materials or harsh chemicals that could scratch the lens.
- SD Card Maintenance: It is recommended to format the SD card periodically (e.g., once a month) using the dash cam's settings menu or a computer. This helps maintain optimal recording performance and prevents data corruption. Back up any important footage before formatting.
- Operating Temperature: Avoid exposing the dash cam to extreme temperatures for prolonged periods, as this can affect battery life and device performance.
7. Troubleshooting
| Problem | Possible Cause / Solution |
|---|---|
| Dash cam does not power on. |
|
| Recording is not starting or stopping. |
|
| Video footage is blurry or unclear. |
|
| Wi-Fi connection issues with the app. |
|
| Dash cam freezes or crashes. |
|
8. Specifications
| Feature | Detail |
|---|---|
| Model Number | Navycrest_Q1 |
| Video Capture Resolution | 1440p (2K QHD) |
| Effective Still Resolution | 20 MP |
| Optical Sensor Technology | CMOS |
| Screen Size | 1.5 inches |
| Display Technology | LCD |
| Wide Angle | 170 degrees |
| Aperture | f/1.8 |
| Connectivity | Built-in 2.4GHz Wi-Fi |
| Special Features | G-Sensor, Loop Recording, Parking Monitor, WDR, Night Vision |
| Power Source | 12 Volts (Car Charger) |
| Product Dimensions | 10.5 x 5.5 x 3 cm; 6 g (Product); 5.5L x 3W x 10.5H centimetres (Package) |
| Batteries | 1 Lithium Polymer battery (included) |
| Manufacturer | navycrest |
9. Warranty and Support
navycrest provides dedicated customer support for your Q1 Dash Cam.
- Technical Support: We offer 7*24 technical support. Please expect a response within 24 hours for any inquiries or issues.
- Warranty Information: For detailed warranty terms and conditions, please refer to the warranty card included in your package or visit the official navycrest website.
- Contact Information: For support, please refer to the contact details provided on the product packaging or the official navycrest website.
Related documentsNavycrest_Q1


Ask a question about this manual
Ask about setup, troubleshooting, compatibility, parts, safety, or missing instructions. Manuals+ will review the question and use this page’s manual context to help answer it.