
1. Introduction
This manual provides detailed instructions for the installation, operation, and maintenance of your Sedea FLAGtv HD Amplified Outdoor DTT Antenna. This antenna is designed for optimal reception of Digital Terrestrial Television (DTT) signals, featuring 40dB amplification and an integrated 5G (LTE 700) filter to minimize interference. Its robust design ensures durability in various outdoor conditions.
2. Safety Instructions
- Electrical Safety: Ensure all power connections are secure and follow local electrical codes. Do not expose the power adapter to moisture.
- Installation Safety: When installing the antenna outdoors, especially on a mast or roof, exercise extreme caution. Avoid contact with power lines. If you are unsure, seek professional assistance.
- Weather Conditions: Avoid installation during thunderstorms or high winds.
- Product Integrity: Do not attempt to open or modify the antenna casing. This may void the warranty and pose a safety risk.
3. Package Contents
Please verify that all items are present in your package:
- Sedea FLAGtv HD Amplified Outdoor DTT Antenna
- Mounting hardware (for mast, balcony, or wall installation)
- Power adapter (100-240 Vac / 6Vcc 100 mA injector)
- Instruction Manual (this document)
4. Product Overview
The Sedea FLAGtv HD antenna is a compact and powerful solution for DTT reception. It features a durable, weather-resistant casing and a versatile mounting system.
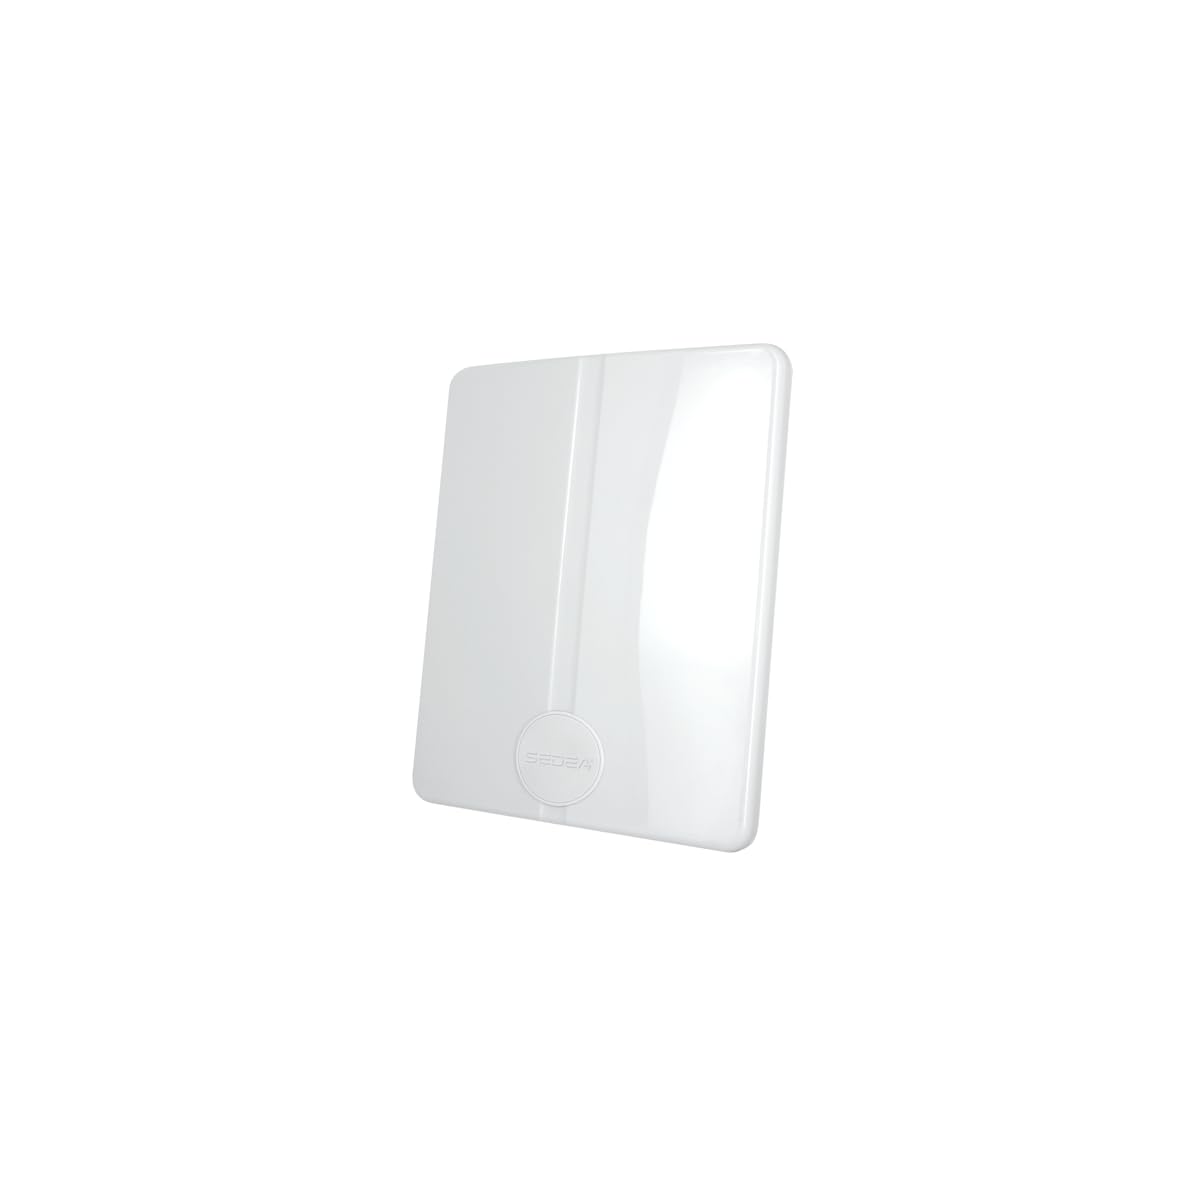
Figure 1: Side view of the Sedea FLAGtv HD antenna, highlighting its compact form factor.

Figure 2: Rear view of the Sedea FLAGtv HD antenna with its dual mounting system for mast or wall installation.
5. Setup and Installation
The Sedea FLAGtv HD antenna offers flexible installation options.
5.1 Mounting Options
The antenna can be mounted in several ways using the provided hardware:
- Mast Mounting: Attach the antenna to an existing mast using the U-bolt and clamps.
- Balcony Railing: Secure the antenna to a balcony railing with the appropriate clamps.
- Wall Mounting: Use screws and wall plugs (not always included, check local requirements) to fix the bracket directly to a wall.
- Caravan/RV: The compact size makes it suitable for mobile installations.
Ensure the antenna is securely fastened to prevent movement due to wind.
5.2 Polarity Adjustment
The antenna supports both horizontal and vertical polarity. Adjust the antenna's orientation to match the polarization of the DTT signals in your region for optimal reception.
5.3 Connection and Power Supply
- Connect a coaxial cable (not included) from the antenna's output to the 'Antenna In' port on your DTT receiver or television.
- Powering the Antenna: The antenna can be powered in two ways:
- Via DTT Receiver: If your DTT receiver or TV provides 5V to 24V DC power through the antenna input, the antenna can be powered directly from it. Consult your receiver's manual.
- Via Supplied Adapter: If your receiver does not provide power, use the included 100-240 Vac / 6Vcc 100 mA power injector. Connect the coaxial cable from the antenna to the 'Antenna' port on the injector, and another coaxial cable from the 'TV' port on the injector to your DTT receiver/TV. Plug the power adapter into a wall outlet.
6. Operating Instructions
6.1 Antenna Positioning
For best reception, position the antenna with a clear line of sight towards the local DTT broadcast tower. Obstructions like buildings, trees, or hills can weaken the signal. You may need to experiment with different orientations to find the optimal signal strength.
6.2 Gain Adjustment
The antenna features adjustable gain up to 40dB. If your DTT receiver or TV has a signal strength meter, use it while adjusting the antenna's gain to achieve the best signal quality without over-amplification, which can cause distortion.
6.3 Channel Scan
After connecting and powering the antenna, perform a channel scan on your DTT receiver or television. Refer to your receiver's manual for specific instructions on how to initiate a channel scan.
7. Maintenance
The Sedea FLAGtv HD antenna is designed for minimal maintenance due to its robust construction and IP55 weather protection.
- Cleaning: Periodically clean the antenna's exterior with a soft, damp cloth to remove dirt or debris that might accumulate. Do not use harsh chemicals or abrasive cleaners.
- Inspection: Annually inspect the mounting hardware and coaxial cable for any signs of wear, corrosion, or damage. Ensure all connections remain tight.
- Durability: The antenna is highly resistant to UV radiation and climatic variations, ensuring long-term performance.
8. Troubleshooting
- No Signal / Poor Signal:
- Check all cable connections between the antenna, power injector (if used), and DTT receiver/TV.
- Ensure the antenna is correctly powered.
- Reposition the antenna, adjusting its direction and polarity for optimal signal reception.
- Perform a new channel scan on your DTT receiver/TV.
- Adjust the antenna's gain setting.
- Interference:
- The integrated 5G (LTE 700) filter helps mitigate interference from mobile networks. If interference persists, ensure the antenna is correctly installed and positioned away from other electronic devices.
9. Specifications
| Frequency Range | UHF – Channels 21 to 48 |
| Gain | Adjustable up to 40 dB max |
| Noise Factor | Less than 4 dB |
| Impedance | 50 Ohms |
| Power Supply | 100-240 Vac / 6Vcc 100 mA (injector supplied) or 5-24 Vcc via DTT receiver |
| Dimensions (L x W x H) | 33.5 x 26 x 8 cm |
| Weight | 2.646 kg |
| Protection Rating | IP55 |
| Filter | Integrated 5G (LTE 700) |
10. Warranty and Support
For warranty information and technical support, please refer to the documentation provided at the time of purchase or contact your retailer. Keep your proof of purchase for warranty claims.