1. Introduction
Thank you for choosing the Raybee Heavy Duty Adjustable Clothes Rack. This manual provides essential information for the safe and efficient assembly, operation, and maintenance of your new clothing storage solution. Please read these instructions thoroughly before beginning assembly and retain this manual for future reference.

Image 1.1: The Raybee Heavy Duty Adjustable Clothes Rack, fully assembled and organized with various garments and storage items.
2. Safety Information
- Ensure all components are securely connected before loading the rack.
- Do not exceed the maximum load capacity of 900 lbs.
- Distribute weight evenly across shelves and hanging rods to prevent tipping.
- Keep small parts away from children during assembly.
- Avoid climbing or hanging on the rack.
- Place the rack on a level surface to maintain stability. Adjustable stabilizer feet are provided for minor adjustments.
3. Parts List
Before beginning assembly, verify that all parts are present and undamaged. The package includes:
- 5 x Hanging Rods
- 8 x Wire Shelves
- Clips (for securing shelves)
- Vertical Support Poles (various lengths)
- Adjustable Stabilizer Feet

Image 3.1: Detailed view of the detachable heavy-duty hanging rods and solid wire shelves, key components of the Raybee clothes rack.
4. Setup and Assembly
The Raybee clothes rack is designed for quick and easy assembly, typically within 20 minutes, without the need for additional tools. Follow these general steps:
- Unpack Components: Carefully remove all parts from the packaging and lay them out on a clean, flat surface.
- Assemble Vertical Poles: Connect the vertical support poles as indicated in the diagram, ensuring they are securely joined.
- Attach Clips: Snap the plastic clips onto the vertical poles at your desired shelf heights. Ensure all clips for a single shelf are at the same height.
- Install Shelves: Slide the wire shelves down over the poles until they rest securely on the installed clips. Gently tap the shelves with a rubber mallet (not included) or your hand to ensure they are fully seated.
- Install Hanging Rods: Attach the hanging rods between the designated vertical poles. The sliding sleeve locking mechanism allows for flexible positioning.
- Adjust Stabilizer Feet: Once assembled, adjust the stabilizer feet at the base of the rack to ensure it is level and stable on your floor.
For a visual guide on assembly and various configurations, please refer to the video below:
Video 4.1: A detailed guide demonstrating the assembly process and various configuration options for the Raybee clothes rack.
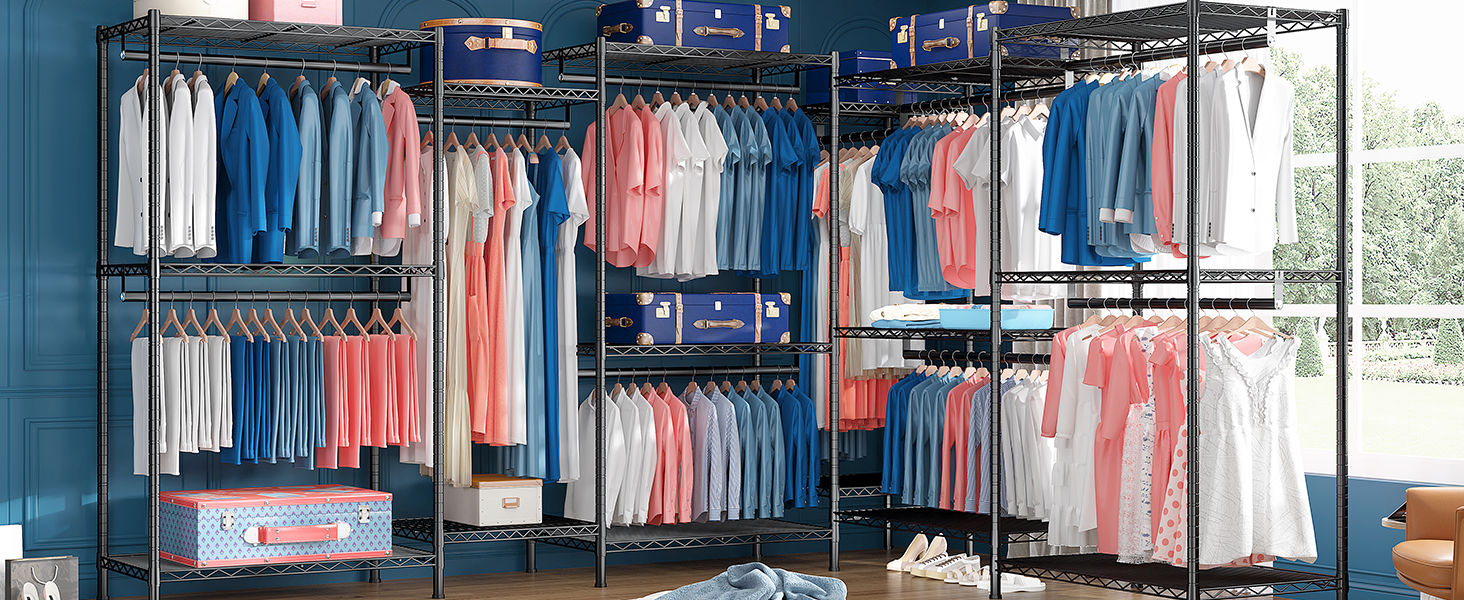
Image 4.2: Illustration of eight flexible assembly configurations, demonstrating how the Raybee clothes rack can be adapted to different room layouts and storage needs.
5. Operating Instructions
The Raybee clothes rack is designed for versatile clothing storage. Utilize the 5 hanging rods for items like coats, jackets, shirts, and dresses, and the 8 shelves for folded garments, shoes, or storage boxes.
- Adjusting Shelves and Rods: The sliding sleeve locking mechanism allows for easy adjustment of shelf and rod heights. To adjust, simply release the clips, reposition them to the desired height, and re-secure the shelf or rod. This flexibility is ideal for accommodating different garment lengths (dresses, suits, coats) and item sizes.
- Weight Distribution: For optimal stability and to utilize the 900 lbs load capacity, distribute items evenly across all available hanging rods and shelves. Avoid concentrating heavy items on a single section.
- Multi-Scenario Use: The rack's design supports 8 flexible configurations, making it suitable for various spaces such as apartments, bedrooms, dorms, or as a portable closet solution.
Video 5.1: This video demonstrates the practical use of the Raybee clothes rack, showcasing its adjustable features and how it can be organized with various clothing items.

Image 5.2: Key features of the Raybee clothes rack, highlighting the safety lock mechanism, the robust heavy-duty wire shelves, and the adjustable feet for stability on uneven surfaces.
6. Maintenance
- Cleaning: Wipe down the metal surfaces with a soft, damp cloth. Avoid abrasive cleaners or harsh chemicals that could damage the coated finish.
- Inspection: Periodically check all connections and clips to ensure they remain secure. Tighten any loose parts as needed.
- Relocation: If moving the rack, ensure it is empty to prevent damage or injury. Disassemble if moving a significant distance or through narrow doorways.
7. Troubleshooting
| Problem | Possible Cause | Solution |
|---|---|---|
| Rack is unstable/wobbly. | Uneven floor; loose connections; uneven weight distribution. | Adjust stabilizer feet. Check all clips and pole connections for tightness. Redistribute weight evenly. |
| Shelves or rods slide down. | Clips not fully engaged; excessive weight. | Ensure clips are securely snapped onto poles and shelves/rods are fully seated. Reduce load if exceeding capacity. |
| Difficulty assembling components. | Incorrect orientation of parts; clips not properly aligned. | Refer to assembly diagrams and video. Ensure clips are facing the correct direction and are at the same height for each shelf. |
8. Specifications
| Feature | Detail |
|---|---|
| Brand | Raybee |
| Model Number | GC-5H-1 |
| Color | Black |
| Material | Alloy Steel, Metal |
| Product Dimensions (D x W x H) | 17.7" x 74.8" x 76.8" |
| Installation Type | Free Standing |
| Load Capacity | Up to 900 Pounds |
| Number of Shelves | 8 |
| Number of Hanging Rods | 5 |
| Assembly Required | Yes (Tools not required) |

Image 8.1: Dimensional overview of the Raybee clothes rack, indicating its depth, width, and height for planning placement.
Video 8.2: This video highlights the heavy-duty construction and load-bearing capabilities of the Raybee clothes rack, demonstrating its robustness.
9. Warranty and Support
For warranty information or product support, please contact Raybee customer service through their official website or the retailer where the product was purchased. Ensure you have your model number (GC-5H-1) and purchase details available.
You can visit the official Raybee Store for more information: Raybee Store


