
MasterChef Airfryer 4.75 Qt
MasterChef Airfryer 4.75 Qt Compact Air Fryer User Manual
Model: Airfryer 4.75 Qt
Introduction
The MasterChef Airfryer is designed to provide a healthier way to cook your favorite meals. Utilizing high-speed hot air circulation, it cooks food with significantly less oil, resulting in crispy exteriors and tender interiors. This manual provides comprehensive instructions for safe operation, maintenance, and troubleshooting to ensure optimal performance of your air fryer.

Figure 1: MasterChef Airfryer 4.75 Qt Compact Air Fryer with Digital Display.
Important Safeguards
When using electrical appliances, basic safety precautions should always be followed, including the following:
- Read all instructions before using the appliance.
- Do not touch hot surfaces. Use handles or knobs.
- To protect against electric shock, do not immerse cord, plugs, or the main unit in water or other liquid.
- Close supervision is necessary when any appliance is used by or near children.
- Unplug from outlet when not in use and before cleaning. Allow to cool before putting on or taking off parts.
- Do not operate any appliance with a damaged cord or plug or after the appliance malfunctions or has been damaged in any manner.
- The use of accessory attachments not recommended by the appliance manufacturer may cause injuries.
- Do not use outdoors.
- Do not let cord hang over edge of table or counter, or touch hot surfaces.
- Do not place on or near a hot gas or electric burner, or in a heated oven.
- Extreme caution must be used when moving an appliance containing hot oil or other hot liquids.
- Always attach plug to appliance first, then plug cord into the wall outlet. To disconnect, turn any control to "off", then remove plug from wall outlet.
- Do not use appliance for other than intended use.
Product Components
Familiarize yourself with the main parts of your MasterChef Airfryer:
- Main Unit: Houses the heating element and fan.
- Digital Touch Screen Display: For controlling settings and viewing cooking status.
- Removable Basket: The primary cooking container.
- Crisper Plate/Grill: Sits inside the basket to allow air circulation around food.
- Handle: For safely pulling out and inserting the basket.

Figure 2: Close-up of the digital one-touch control screen.
Setup
- Unpack: Carefully remove all packaging materials and promotional labels from your air fryer.
- Clean: Wash the removable basket and crisper plate with warm, soapy water. Rinse thoroughly and dry completely. Wipe the exterior of the main unit with a damp cloth.
- Placement: Place the air fryer on a stable, heat-resistant surface, away from walls or other appliances to allow for proper air circulation. Ensure there is at least 6 inches of space around the unit.
- First Use: It is recommended to run the air fryer empty for about 10-15 minutes at 350°F (175°C) before first use to eliminate any manufacturing odors. A slight odor may be present, which is normal.
Operating Instructions
General Operation
- Prepare Food: Place your ingredients into the air fryer basket. For best results, do not overfill the basket; ensure air can circulate around the food.
- Insert Basket: Slide the basket firmly back into the main unit until it clicks into place.
- Power On: Plug the air fryer into a grounded electrical outlet. The digital display will illuminate.
- Set Temperature and Time:
- Use the temperature control buttons (+ / -) to adjust the cooking temperature (80°F - 400°F).
- Use the timer control buttons (+ / -) to set the cooking time (up to 60 minutes).
- Use Presets: The air fryer features 7 easy pre-set cooking options for common foods. Simply touch the corresponding icon on the digital display to select a preset. The air fryer will automatically set the optimal temperature and time.
- Start Cooking: Press the Start/Pause button to begin the cooking cycle.
- Check Progress: You can pull out the basket at any time during cooking to check on your food or shake it. The air fryer will automatically pause and resume when the basket is reinserted.
- End of Cycle: The air fryer will beep when the cooking cycle is complete. Carefully remove the basket using the handle.

Figure 3: The digital display showing the 7 easy pre-set cooking settings.
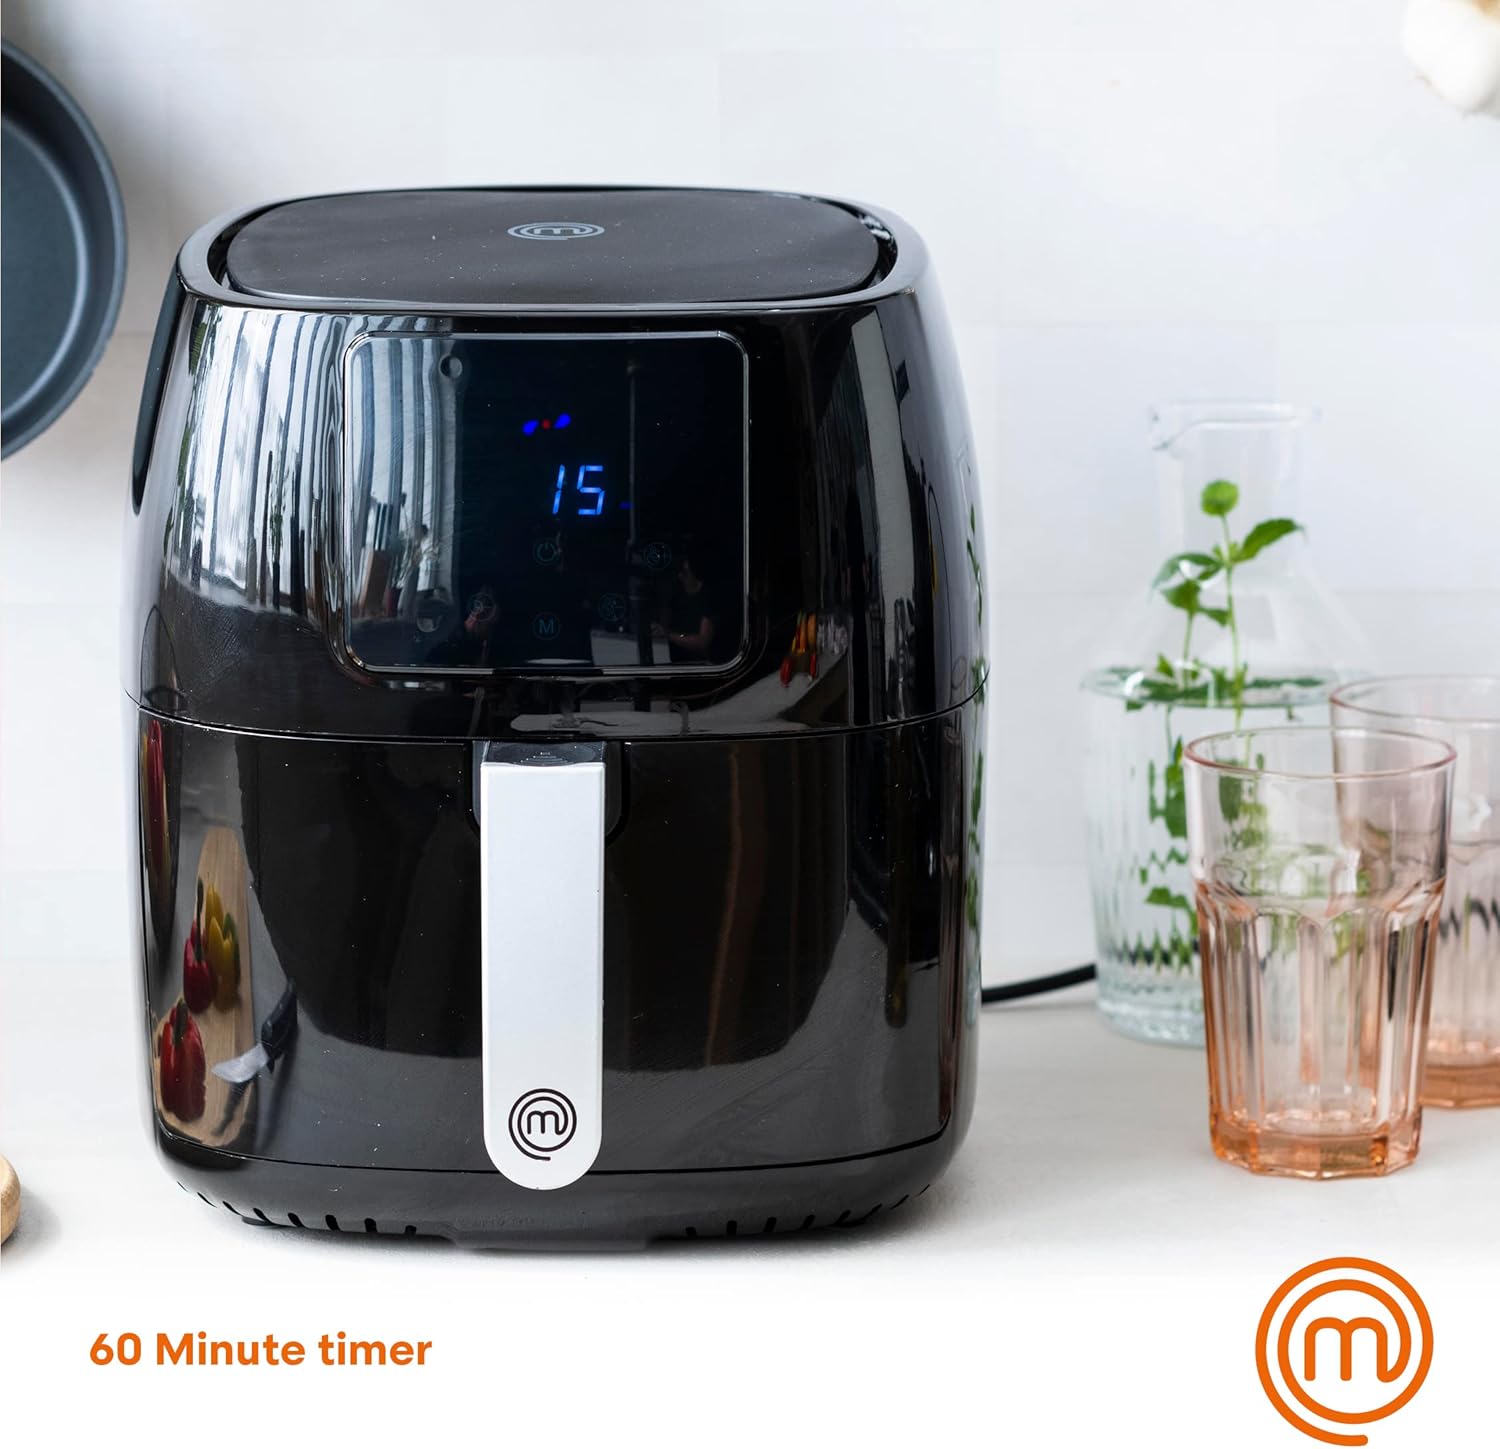
Figure 4: The air fryer display showing the 60-minute timer function.
Cooking Guide and Tips
The MasterChef Airfryer is versatile and can fry, bake, grill, roast, and reheat. Here are some tips for optimal results:
- Oil Usage: While the air fryer requires little to no oil, a small amount of oil (1-2 teaspoons) can enhance crispiness for certain foods like fresh-cut fries.
- Shaking: For even cooking and browning, shake the basket halfway through the cooking time, especially for smaller items like fries, nuggets, or vegetables.
- Batch Cooking: If cooking large quantities, cook in smaller batches to ensure even air circulation and crispiness.
- Preheating: Preheating the air fryer for 3-5 minutes before adding food can help achieve better results and reduce cooking time.
- Food Placement: Arrange food in a single layer in the basket to maximize air exposure. Avoid stacking items.

Figure 5: Air fryer cooking fries, demonstrating healthier results with 90% less fat.

Figure 6: The air fryer basket with a whole chicken, illustrating its large 4.75-quart capacity.
Cleaning and Maintenance
Proper cleaning and maintenance will extend the life of your air fryer.
- Unplug and Cool: Always unplug the air fryer from the power outlet and allow it to cool completely before cleaning.
- Clean Basket and Crisper Plate: The non-stick removable basket and crisper plate are dishwasher safe. Alternatively, they can be washed by hand with warm, soapy water and a soft cloth or non-abrasive sponge. Avoid using metal utensils or abrasive cleaning materials.
- Clean Exterior: Wipe the exterior of the air fryer with a damp cloth. Do not immerse the main unit in water or any other liquid.
- Clean Interior: If necessary, wipe the interior of the air fryer with a damp cloth. For stubborn residue, a soft brush can be used.
- Storage: Ensure all parts are clean and dry before storing the air fryer in a cool, dry place.

Figure 7: Hand removing the inner pot, highlighting its easy-to-use design for cleaning.
Troubleshooting
| Problem | Possible Cause | Solution |
|---|---|---|
| Air fryer does not turn on. | Not plugged in; power outlet malfunction; unit malfunction. | Ensure the power cord is securely plugged into a working outlet. Check if the outlet is functional by plugging in another appliance. If the issue persists, contact customer support. |
| Food is not crispy. | Basket overloaded; insufficient oil; temperature too low; cooking time too short. | Cook in smaller batches. Lightly coat food with oil. Increase temperature or cooking time. Shake the basket frequently. |
| White smoke coming from the appliance. | Grease residue from previous use; fatty ingredients. | Clean the basket and crisper plate thoroughly after each use. For fatty foods, place a piece of aluminum foil under the crisper plate to catch excess grease. |
| Food is not cooked evenly. | Food not shaken or flipped; basket overloaded. | Shake or flip food halfway through cooking. Do not overload the basket. |
Specifications
| Feature | Detail |
|---|---|
| Model Name | Compact Air Fryer with Digital Display |
| Capacity | 4.75 Quarts (4.5 Liters) |
| Wattage | 1400 Watts |
| Voltage | 110 Volts |
| Temperature Range | 80°F - 400°F |
| Timer | Up to 60 minutes |
| Control Method | Touch |
| Dimensions (D x W x H) | 7.87"D x 11.81"W x 9.84"H |
| Item Weight | 9.43 pounds |
| Non-stick Coating | Yes |
| Dishwasher Safe Parts | Basket and Crisper Plate |
Warranty and Support
For warranty information and customer support, please refer to the warranty card included with your product or visit the official MasterChef website. Keep your purchase receipt as proof of purchase for any warranty claims.
For further assistance, you may contact MasterChef customer service through their official channels. Please note that customer service availability may vary.
Ask a question about this manual
Ask about setup, troubleshooting, compatibility, parts, safety, or missing instructions. Manuals+ will review the question and use this page’s manual context to help answer it.