
Husgw ZYX-J30
Husgw Battery Charger User Manual
Model: ZYX-J30
Product Overview
The Husgw ZYX-J30 is a fully automatic intelligent battery charger designed for 12V and 24V lead-acid batteries, including calcium, gel, AGM, and wet batteries. It features a multi-stage charging process and a pulse repair function to help restore depleted and sulfated batteries, extending their lifespan. The charger is equipped with an LCD display for real-time monitoring of charging status, voltage, current, and temperature.
Key features include:
- Intelligent Detection and Repair: Automatically detects battery status, adjusts charging parameters based on temperature, and includes a pulse repair function for battery restoration.
- Intelligent LCD Display: Shows battery voltage, charging current, temperature, and charging progress. It can display remaining battery voltage even when not connected to power.
- Multiple Protection Features: Incorporates spark protection, low voltage, over-voltage, over-current, reverse connection, short circuit, and overheating protection for safe operation.
- Wide Application Range: Suitable for 12V/24V 2AH-150AH lead-acid batteries used in cars, trucks, motorcycles, lawnmowers, and boats.

Figure 1: Husgw ZYX-J30 Intelligent Battery Charger with its red and black battery clamps.
Important Safety Information
- DO NOT CHARGE LITHIUM BATTERIES. This charger is designed exclusively for lead-acid batteries (calcium, gel, AGM, wet). Attempting to charge lithium batteries may result in damage to the battery, charger, or personal injury.
Always read and understand all safety warnings and instructions before using the charger. Keep the charger away from flammable materials. Ensure proper ventilation during charging. Disconnect the charger from the power outlet before making or breaking the connections to the battery.
Setup and Connection
Follow these steps to properly connect the battery charger to your vehicle's battery:
- Connect Battery Clamps:
- Connect the RED positive (+) clamp to the positive (+) terminal of the battery.
- Connect the BLACK negative (-) clamp to the negative (-) terminal of the battery.
Ensure a secure connection to prevent sparks or poor contact.
- Connect to Power Outlet: Plug the charger's power cord into a standard 100-240VAC, 50-60Hz electrical outlet. The charger will automatically begin the charging process.
Note: When the charger is connected to the battery but not to the power supply, the LCD display will show the current voltage of the battery, allowing you to check its status.

Figure 2: Step-by-step connection guide for 12V and 24V battery charging.

Figure 3: Proper connection of the charger clamps to a vehicle battery.
Operating Instructions
The Husgw ZYX-J30 charger operates automatically once connected. It features an intelligent LCD display and multiple charging modes.
LCD Display Overview
The LCD display provides real-time information about the charging process:

Figure 4: Breakdown of the LCD display indicators, including Voltage, Current, Temperature, Repair mode, Completion, and Reverse connection warning.
- Voltage (V): Displays the current battery voltage.
- Current (A): Shows the charging current.
- Temperature (°C): Indicates the ambient temperature. The charger automatically adjusts charging based on temperature.
- Repair (PUL): Indicates when the pulse repair function is active.
- Completed (FULL): Lights up when the battery is fully charged.
- Reverse Connection: An error icon will display if the battery clamps are connected incorrectly.
- Battery Charge Progress: A battery icon with bars indicates the charging progress (20%, 40%, 60%, 80%, 100%).
Charging Modes
The charger features four selectable modes to optimize charging for different battery types and conditions. Press the "MODE SELECTION" button to cycle through the modes.
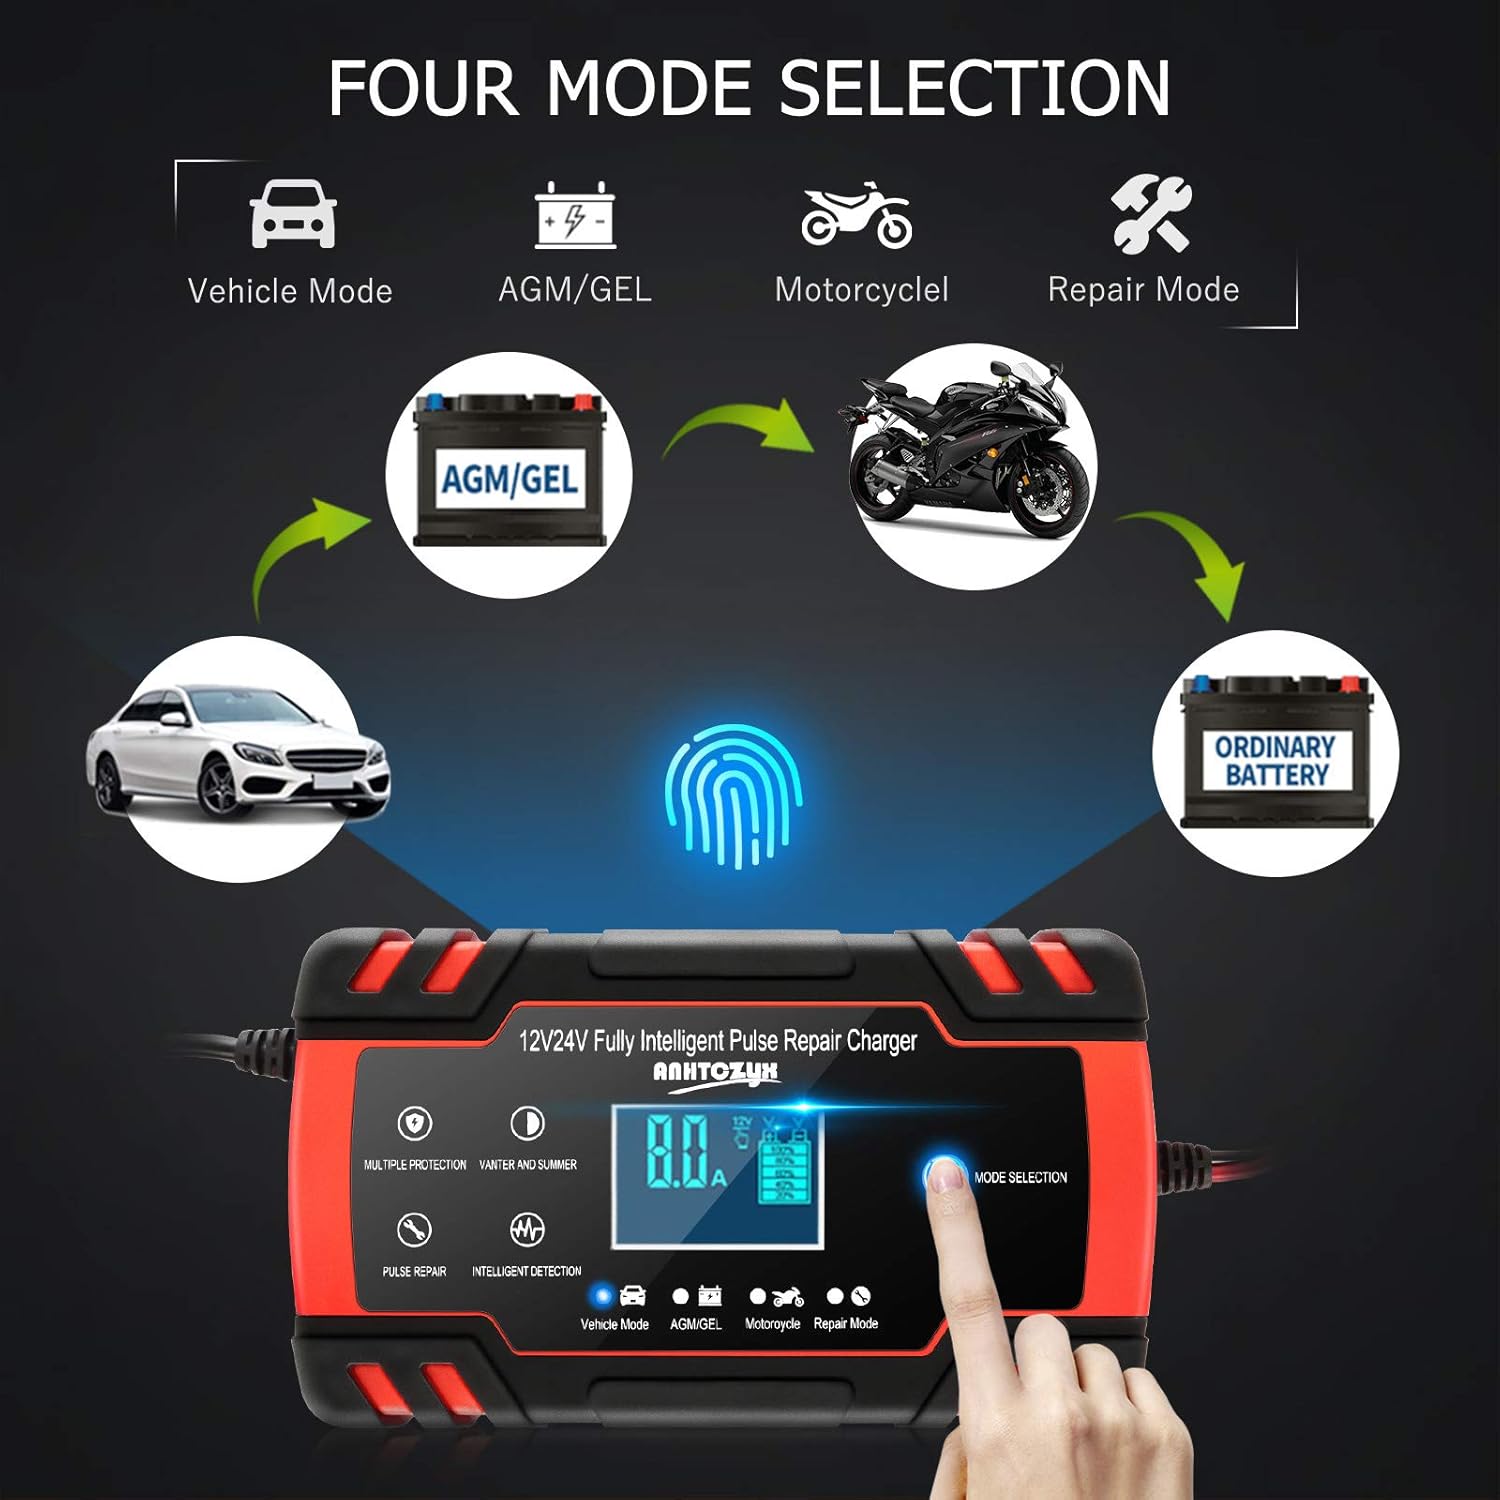
Figure 5: The four available charging modes for different battery types and conditions.
- Vehicle Mode: Standard charging mode for most car batteries.
- AGM/GEL Mode: Optimized charging for AGM (Absorbent Glass Mat) and Gel batteries.
- Motorcycle Mode: Lower current charging suitable for smaller motorcycle batteries.
- Repair Mode: Activates the pulse repair function to desulfate and restore old or depleted batteries.
The charger automatically prevents overcharging. It is recommended to fully charge the battery for 24 hours to extend its life. For safety, it is recommended to remove the charger after 48 hours of continuous charging.

Figure 6: The charger's display indicating efficient charging performance.
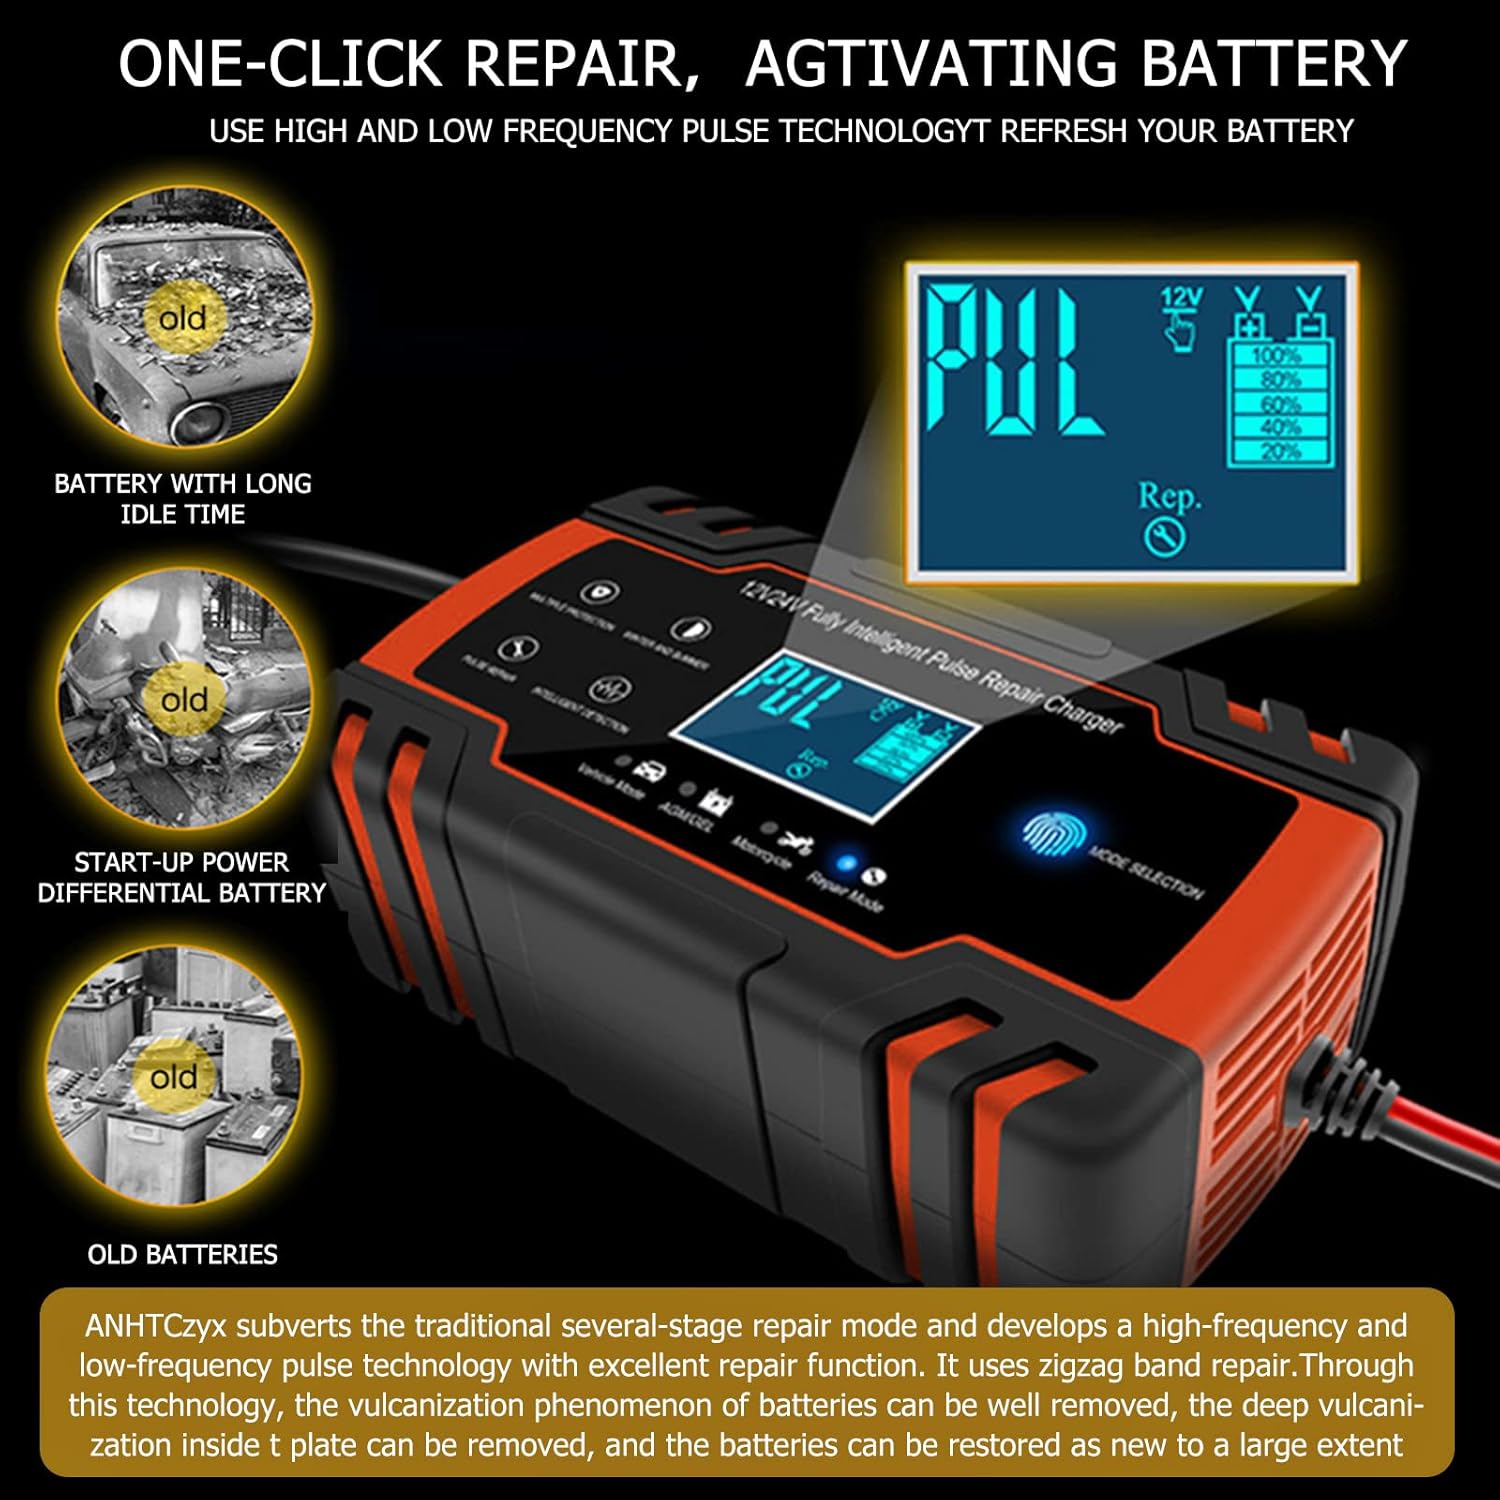
Figure 7: The pulse repair function helps restore batteries with long idle times, start-up differential, or old batteries.
Maintenance
Proper maintenance ensures the longevity and optimal performance of your Husgw battery charger:
- Cleaning: Disconnect the charger from both the power outlet and the battery before cleaning. Wipe the exterior with a soft, dry cloth. Do not use abrasive cleaners or solvents.
- Storage: Store the charger in a cool, dry place when not in use. Keep it away from direct sunlight, moisture, and extreme temperatures.
- Cable Care: Inspect the power cord and battery cables regularly for any signs of damage, such as cuts or fraying. Do not use the charger if cables are damaged.
- Ventilation: Ensure the charger's ventilation openings are clear of obstructions during operation to allow for proper heat dissipation.

Figure 8: The charger features an automatic heat dissipation system to maintain optimal operating temperature and extend lifespan.
Troubleshooting
If you encounter issues with your Husgw battery charger, refer to the following common problems and solutions:
- Charger Not Turning On:
- Ensure the power cord is securely plugged into a live electrical outlet.
- Check if the battery clamps are correctly connected to the battery terminals (positive to positive, negative to negative).
- "Reverse Connection" Error on LCD:
- This indicates that the positive and negative battery clamps are connected incorrectly. Disconnect the charger from the power outlet, then re-connect the clamps to the correct battery terminals.
- Battery Not Charging:
- Verify that the battery is a lead-acid type (not lithium). This charger is not compatible with lithium batteries.
- Ensure the battery voltage is above 2.0V, as the charger has a minimum starting voltage.
- Check for any loose connections at the battery terminals or power outlet.
- The battery might be severely damaged or sulfated. Try using the "Repair Mode" if applicable.
- Charger Overheating:
- Ensure the charger is placed in a well-ventilated area and its cooling vents are not blocked.
- If the charger continues to overheat, disconnect it immediately and contact customer support.
If the problem persists after attempting these troubleshooting steps, please contact Husgw customer support for further assistance.
Specifications
| Parameter | Value |
|---|---|
| Input Voltage | 100-240VAC, 50-60Hz |
| Output Voltage | DC13.8V-27.6V |
| Rated Output | 12V8A, 24V4A |
| Maximum Output Current | 8A |
| Charging Current | 8A (mA) |
| Minimum Starting Voltage | 2.0V |
| Output Line Length | 65 cm |
| Input Line Length | 110 cm |
| Battery Range | 6-150Ah |
| Thermal Protection | 65°C +/- 5°C |
| Dimensions (L x W x H) | 162 x 100 x 55 mm (6.38 x 3.94 x 2.17 inches) |
| Net Weight | 0.6 kg (1.32 pounds) |
| Model Number | ZYX-J30 |
Warranty and Support
Husgw products are manufactured to high-quality standards. For information regarding warranty coverage, technical support, or service inquiries, please refer to the contact information provided with your product packaging or visit the official Husgw website.
Please retain your proof of purchase for any warranty claims.
Ask a question about this manual
Ask about setup, troubleshooting, compatibility, parts, safety, or missing instructions. Manuals+ will review the question and use this page’s manual context to help answer it.