
1. Introduction
Thank you for purchasing the VGEBY Electric Toy Sewing Machine. This mini sewing machine is designed to provide a fun and educational experience for children, fostering creativity and hand-eye coordination. Please read this manual carefully before use to ensure safe and proper operation.

Image 1.1: A child operating the VGEBY Electric Toy Sewing Machine, demonstrating its use for creative play.
2. Safety Information
- This product is suitable for children aged three years and older. Adult supervision is recommended during operation.
- Ensure the sewing machine is placed on a stable, flat surface before use.
- Keep fingers and loose clothing away from the needle area during operation to prevent injury.
- Do not immerse the machine in water or other liquids.
- Use only the recommended battery type (3x AA batteries, not included) and ensure correct polarity.
- Remove batteries if the machine will not be used for an extended period.
- The machine features a smooth surface without burrs to protect children's skin.
- Do not attempt to modify or disassemble the machine.
3. Package Contents
Upon opening the package, please verify that all components are present and undamaged:
- VGEBY Electric Toy Sewing Machine
- Electric Remote Control (Foot Pedal)
- Storage Box with Accessories (e.g., miniature scissors, threader, fabric pieces)
- Instruction Manual (this document)

Image 3.1: The turquoise storage box included with the sewing machine.

Image 3.2: A view of the accessories found inside the storage box, such as small pink sewing tools and a threader.
4. Product Features and Parts Identification
Familiarize yourself with the different parts of your VGEBY Electric Toy Sewing Machine:

Image 4.1: Labeled diagram of the sewing machine components.
- Coil Tuning Knob: Adjusts thread tension.
- Hand Runner: Manual wheel for needle movement.
- Lighting Function: Illuminates the sewing area.
- Sewing Part: Area where the needle and presser foot operate.
- Light Switch: Turns the sewing light on/off.
- Scale: Measurement guide on the sewing bed.
- Storage Drawer: Small pull-out drawer for accessories.
- Electric Remote Control (Foot Pedal): Activates sewing function.
5. Setup
5.1. Battery Installation
The VGEBY Electric Toy Sewing Machine requires 3 AA batteries (not included).
- Locate the battery compartment on the underside or back of the machine.
- Open the battery compartment cover.
- Insert 3 AA batteries, ensuring correct polarity (+/-).
- Close the battery compartment cover securely.
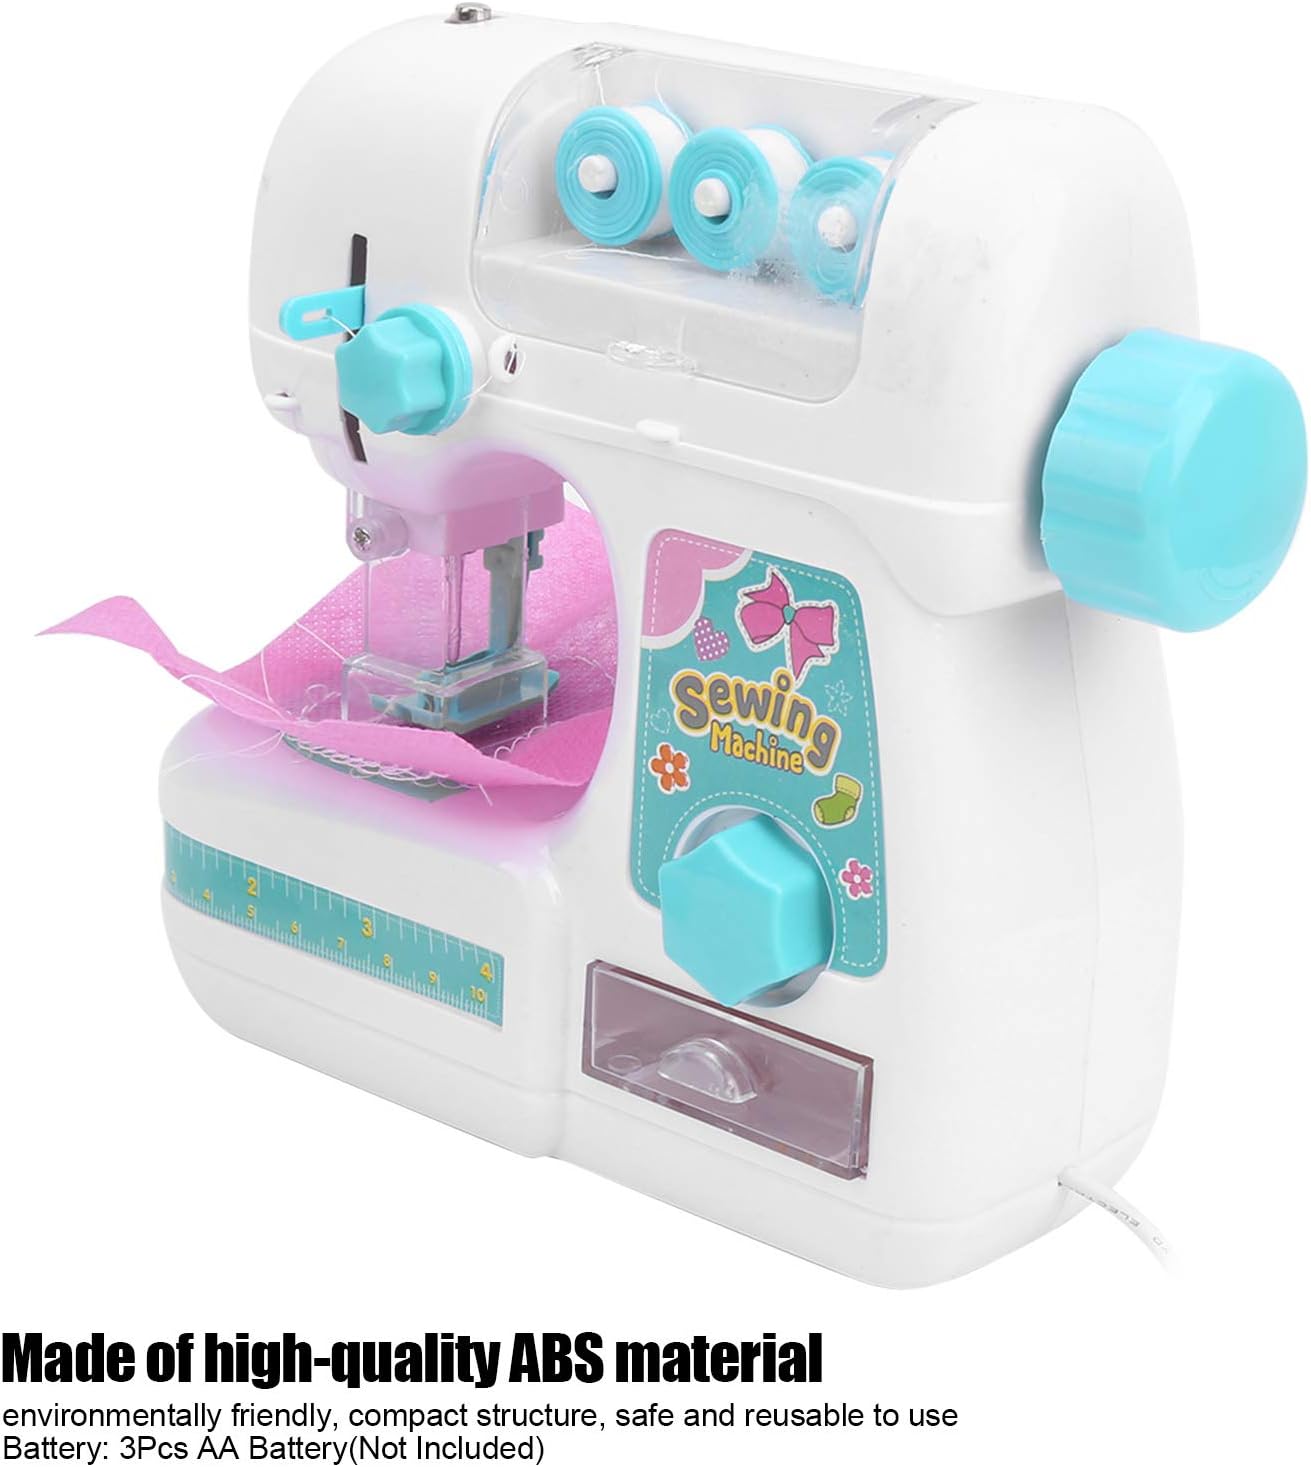
Image 5.1: The machine's side view, noting the requirement for 3 AA batteries.
5.2. Threading the Machine
Detailed threading instructions are typically provided with the product packaging or on the machine itself. Generally, follow these steps:
- Place a spool of thread on the spool pin.
- Guide the thread through the tension discs.
- Thread the needle from front to back.
- Ensure the bobbin is correctly inserted in its compartment.
6. Operating Instructions
6.1. Basic Sewing
- Ensure the machine is threaded correctly.
- Place the fabric under the presser foot.
- Lower the presser foot.
- Connect the Electric Remote Control (foot pedal) to the machine.
- Gently press the foot pedal to start sewing. Release to stop.
- Guide the fabric gently as it sews.
6.2. Using the Lighting Function
To illuminate the sewing area, locate the Light Switch (refer to Image 4.1) and toggle it to the "ON" position. Toggle it back to "OFF" when not needed.
6.3. Adjusting Thread Tension
If stitches appear too loose or too tight, adjust the Coil Tuning Knob (refer to Image 4.1) slightly until the stitch quality improves.
7. Maintenance
- Cleaning: Wipe the machine with a soft, dry cloth. Do not use harsh chemicals or abrasive cleaners.
- Storage: Store the machine and its accessories in a clean, dry place away from direct sunlight and extreme temperatures. The included storage box (Image 3.1) is ideal for accessories.
- Battery Care: Remove batteries if the machine is not used for extended periods to prevent leakage.
8. Troubleshooting
| Problem | Possible Cause | Solution |
|---|---|---|
| Machine does not turn on. | Batteries are dead or incorrectly installed. | Replace batteries or check polarity. |
| Stitches are loose or uneven. | Incorrect thread tension or improper threading. | Adjust the Coil Tuning Knob. Re-thread the machine carefully. |
| Needle gets stuck or breaks. | Fabric is too thick or pulled too hard. | Use thinner fabric. Guide fabric gently, do not pull. |
| Machine makes unusual noise. | Obstruction or internal issue. | Stop use immediately. Check for thread tangles. If problem persists, discontinue use. |
9. Specifications
- Model: VGEBYgta184nkxw971
- Brand: VGEBY
- Material: High-quality ABS Plastic
- Power Source: 3 x AA Batteries (not included)
- Recommended Age: 3+ years
- Dimensions (approx.): 17cm (L) x 6.5cm (W) x 17cm (H) / 6.7in (L) x 2.6in (W) x 6.7in (H)

Image 9.1: Detailed dimensions of the VGEBY Electric Toy Sewing Machine.
10. Warranty and Support
For warranty information or technical support, please refer to the retailer where the product was purchased or contact VGEBY customer service directly. Keep your purchase receipt as proof of purchase.
Note: Specific warranty terms may vary by region and retailer.