
1. Introduction
Thank you for choosing the Nikai NWM700FT 7 Kg Front Load Washing Machine. This manual provides essential information for the safe installation, correct operation, and proper maintenance of your appliance. Please read this manual thoroughly before using the washing machine and keep it for future reference.
1.1 Safety Information
- Always disconnect the appliance from the power supply before cleaning or performing maintenance.
- Do not allow children to play with the appliance. Supervise children when the appliance is in use.
- Ensure the power cord is not damaged. If damaged, it must be replaced by a qualified service agent.
- Do not install the appliance in areas exposed to direct sunlight or extreme temperatures.
- This appliance is for household use only.
2. Product Overview
The Nikai NWM700FT is a 7 Kg front-loading washing machine designed for efficient and quiet operation. It features a durable stainless steel drum, 1200 RPM spin speed, and an auto imbalance sensor for stable performance.
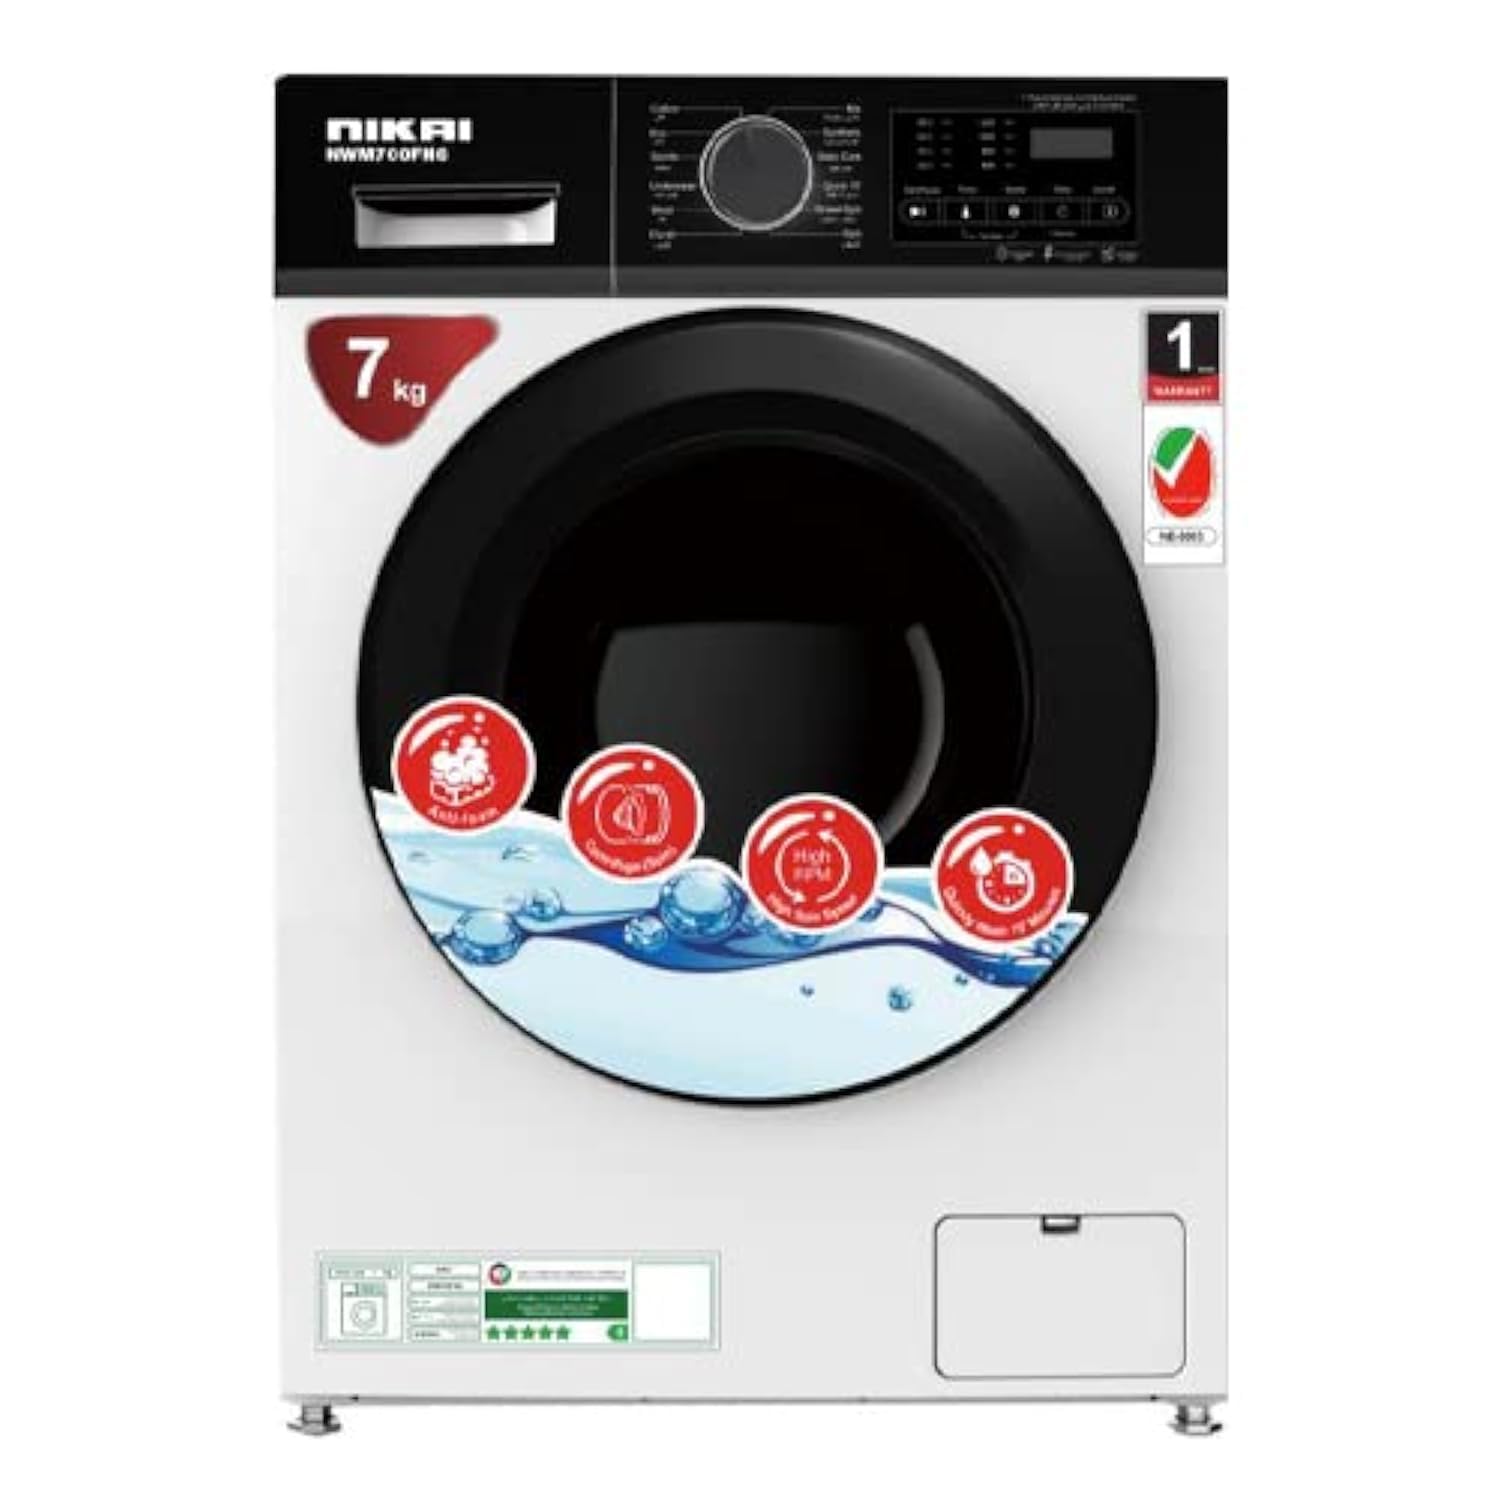
Figure 2.1: Front view of the Nikai NWM700FT Washing Machine, showing the control panel, detergent drawer, and large front-loading door.
2.1 Key Features
- 7 Kg Capacity: Suitable for medium to large laundry loads.
- 1200 RPM Spin Speed: Ensures efficient water extraction for faster drying.
- Silent Operation: Engineered for reduced noise during wash cycles.
- Auto Imbalance Sensor: Detects and corrects unbalanced loads to prevent excessive vibration and damage.
- Quick Wash Mode: For lightly soiled items requiring a faster cycle.
- Water Saving Device: Utilizes high pressure with less water for efficient cleaning.
- Stainless Steel Drum: Durable and corrosion-resistant for long-lasting performance.
- A+ Energy Class Rating: Indicates high energy efficiency.
- 15 Washing Programs: A variety of cycles for different fabric types and soil levels.

Figure 2.2: Visual representation of key features including water saving, stainless steel drum, quick wash, auto imbalance sensing, silent operation, and A+ energy efficiency.

Figure 2.3: Illustration of the water balanced spin tub technology, demonstrating how water is distributed to maintain balance during the spin cycle.
3. Installation & Setup
3.1 Unpacking
- Carefully remove all packaging materials.
- Remove the transport bolts located at the rear of the machine. These bolts secure the drum during transit and must be removed before operation. Keep them for future transport.
3.2 Location Requirements
- Place the washing machine on a firm, level floor. Uneven surfaces can cause vibration and noise.
- Ensure adequate space around the machine for ventilation and maintenance.
- Avoid placing the machine in areas where the temperature may drop below freezing.
3.3 Connecting Water Supply
- Connect the inlet hose to a cold water tap with a 3/4-inch thread.
- Ensure all connections are tight to prevent leaks.
3.4 Connecting Drain Hose
- Insert the drain hose into a standpipe or secure it over the edge of a sink.
- Ensure the drain hose is not kinked or blocked. The height of the drain point should be between 60 cm and 100 cm from the floor.
3.5 Leveling the Machine
- Adjust the adjustable feet at the bottom of the machine until it is perfectly level. Use a spirit level to verify.
- Tighten the lock nuts on the feet to secure them in position.
3.6 Power Connection
- Plug the power cord into a grounded electrical outlet.
- Ensure the voltage and frequency match the specifications of your appliance.
4. Operating Instructions
4.1 Control Panel Overview

Figure 4.1: The control panel features a digital display, a rotary program selector, and push buttons for various functions.
- Program Selector Dial: Used to choose from 15 available wash programs.
- Digital Display: Shows program status, time remaining, and error codes.
- Function Buttons: For selecting options like Quick Wash, Spin Speed, Temperature, and Start/Pause.
4.2 Loading Laundry
- Open the loading door and place laundry loosely into the drum. Do not overload the machine.
- Close the door firmly until it clicks.
4.3 Adding Detergent
- Pull out the detergent dispenser drawer.
- Add appropriate amounts of detergent and fabric softener to their respective compartments. Refer to detergent packaging for dosage.
- Push the dispenser drawer back in completely.
4.4 Selecting a Wash Program
- Turn the Program Selector Dial to choose the desired wash program (e.g., Cotton, Synthetics, Delicates, Quick Wash).
- The digital display will show the default settings for the selected program.
4.5 Optional Functions
- Quick Wash: Press the Quick Wash button for a shorter cycle for lightly soiled items.
- Spin Speed: Adjust the spin speed using the dedicated button to suit your fabric type.
- Temperature: Modify the wash temperature if desired.
4.6 Starting a Wash Cycle
- Press the Start/Pause button to begin the wash cycle.
- The door will lock, and the machine will start filling with water.
4.7 Ending a Wash Cycle
- The machine will signal when the cycle is complete.
- The door will unlock after a short delay. Open the door and remove your laundry.
- Unplug the machine from the power outlet when not in use.
5. Maintenance & Care
Regular maintenance ensures the longevity and optimal performance of your washing machine.
5.1 Cleaning the Detergent Dispenser
- Pull out the dispenser drawer completely.
- Remove any removable parts and rinse them under running water.
- Clean the inside of the dispenser housing with a brush.
- Reassemble and reinsert the drawer.
5.2 Cleaning the Drum
- Run a maintenance wash cycle (e.g., a hot wash with no laundry and a descaling agent) periodically to prevent odor and residue buildup.
- Wipe the rubber door seal after each wash to remove moisture and lint.
5.3 Cleaning the Filter
- Locate the drain pump filter, usually at the bottom front of the machine.
- Place a shallow container beneath the filter to catch any residual water.
- Carefully unscrew and remove the filter. Clean any lint, debris, or foreign objects.
- Screw the filter back in securely.
5.4 Exterior Cleaning
- Wipe the exterior surfaces with a soft, damp cloth.
- Do not use abrasive cleaners or solvents.
6. Troubleshooting
Before contacting service, please check the following common issues and solutions:
| Problem | Possible Cause | Solution |
|---|---|---|
| Machine does not start | No power; Door not closed; Program not selected | Check power supply; Close door firmly; Select a program and press Start |
| Water not filling | Water tap closed; Inlet hose kinked; Water pressure too low | Open water tap; Straighten hose; Check water supply |
| Water not draining | Drain hose kinked/blocked; Filter blocked | Straighten hose; Clean drain pump filter |
| Excessive vibration/noise | Machine not level; Transport bolts not removed; Overloaded drum | Adjust feet to level; Remove transport bolts; Reduce load size |
| Detergent residue in dispenser | Low water pressure; Dispenser blocked | Check water pressure; Clean detergent dispenser |
7. Specifications
Technical details for the Nikai NWM700FT Front Load Washing Machine:
| Feature | Specification |
|---|---|
| Brand | Nikai |
| Model | NWM700FT |
| Capacity | 7 Kilograms |
| Max Spin Speed | 1200 RPM |
| Product Dimensions (L x W x H) | 63 x 60 x 86 cm |
| Item Weight | 75 Kilograms |
| Installation Type | Freestanding |
| Control Console | Push Button |
| Standard Cycles | 15 |
| Access Location | Front Load |
| Material Type | Stainless Steel |
| Energy Class Rating | A+ |
8. Warranty & Support
8.1 Warranty Information
This Nikai NWM700FT washing machine comes with a 1-year warranty from the date of purchase. The warranty covers manufacturing defects and faulty materials under normal household use. Please retain your proof of purchase for warranty claims.
The warranty does not cover:
- Damage caused by improper installation or use not in accordance with this manual.
- Damage caused by unauthorized repairs or modifications.
- Normal wear and tear.
- Damage from external factors such as power surges, accidents, or natural disasters.
8.2 Customer Support
For technical assistance, service requests, or inquiries regarding your warranty, please contact Nikai customer support. Refer to the contact information provided with your purchase documentation or visit the official Nikai website for regional support details.
