
I-STAR 90085PI/18
I-STAR Projection Alarm Clock Radio User Manual
Model: 90085PI/18 | Brand: I-STAR
1. Introduction
Thank you for purchasing the I-STAR Projection Alarm Clock Radio. This device combines a digital alarm clock with a ceiling projection feature, FM radio, and a convenient USB charging port. Designed for ease of use and optimal visibility, it ensures you wake up refreshed and your devices are charged.
Key Features:
- Large 1.2-inch LED display with 2-level dimmable brightness.
- Time projection onto the ceiling with 180° rotation for easy viewing.
- Dual alarm function to set two different wake-up times.
- FM radio with up to 10 preset stations and sleep timer function.
- Integrated 1A USB output port for charging smartphones.
- Large, easy-to-reach snooze button for extra rest.
- Battery backup (CR2032, not included) for time and alarm settings during power outages.
2. Setup Guide
2.1 Package Contents:
Please check the box for the following items:
- 1 x I-STAR Digital Projection Alarm Clock
- 1 x 5V DC Power Adapter
- 1 x User Guide
2.2 Powering On:
Connect the provided 5V DC power adapter to the DC IN port on the back of the alarm clock and plug it into a standard wall outlet. The display will light up.
For battery backup, insert one CR2032 cell battery (not included) into the battery compartment on the bottom of the unit. This battery will preserve time and alarm settings in case of a power interruption.
2.3 Initial Time Setting:
Upon first power-on or after a power reset without battery backup, the time may need to be set. Refer to the "Setting Time and Date" section in Operating Instructions for detailed steps.
3. Operating Instructions
3.1 Setting Time and Date:
- Press and hold the MEM/M+/DATE button to enter time setting mode.
- Use the < and > buttons to adjust the hour, then press MEM/M+/DATE to confirm.
- Repeat the process for minutes, year, month, and day.
- Press MEM/M+/DATE again to exit time setting.
3.2 Display and Brightness:
The clock features a large 1.2-inch LED display. To adjust the display brightness, press the SNOOZE/SLEEP/DIMMER button located on the top of the unit. There are two brightness levels to choose from, allowing you to find the perfect setting for day or night viewing.

Figure 3.2.1: The large 1.2-inch LED display provides clear time visibility. Adjust brightness for optimal viewing.
3.3 Projection Feature:
The alarm clock can project the time onto your ceiling or wall in red digits. This allows for easy time checking without needing to turn on a light or strain your eyes.
- To activate or deactivate the projection, press the PROJECTION ON-OFF / 180° FLIP button on the front panel.
- To rotate the projected image by 180 degrees, press and hold the PROJECTION ON-OFF / 180° FLIP button. This is useful if the projected time appears upside down.
- The projection angle can be physically adjusted by rotating the projector lens on the top of the unit.

Figure 3.3.1: The clock projecting the time onto the ceiling, allowing for easy viewing from bed.
3.4 Setting Alarms:
The device features two independent alarms (Alarm 1 and Alarm 2).
- Press the ALARM 1 or ALARM 2 button to select the desired alarm. The alarm icon will flash.
- Use the < and > buttons to set the desired alarm time (hour and minute).
- Press the ALARM 1 or ALARM 2 button again to confirm the time.
- Next, use the < and > buttons to select the alarm source: Buzzer or FM Radio.
- Press the ALARM 1 or ALARM 2 button one more time to confirm and activate the alarm. The corresponding alarm icon will appear on the display.
- To turn off an active alarm, press the AL OFF button.

Figure 3.4.1: Set two independent alarms to wake up to your preferred time and sound.
3.5 FM Radio Operation:
The built-in FM radio allows you to listen to your favorite stations.
- To turn on the radio, press the FM RADIO button.
- To automatically scan and save stations, press and hold the FM RADIO button. The clock can store up to 10 preset stations.
- Use the < and > buttons to manually tune or cycle through preset stations.
- Adjust the volume using the volume control knob (if present, otherwise assume buttons).
- To turn off the radio, press the FM RADIO button again.
3.6 Snooze Function:
When an alarm sounds, press the large SNOOZE/SLEEP/DIMMER button on top of the unit to temporarily silence the alarm for a few extra minutes of sleep. The alarm will sound again after the snooze period ends.
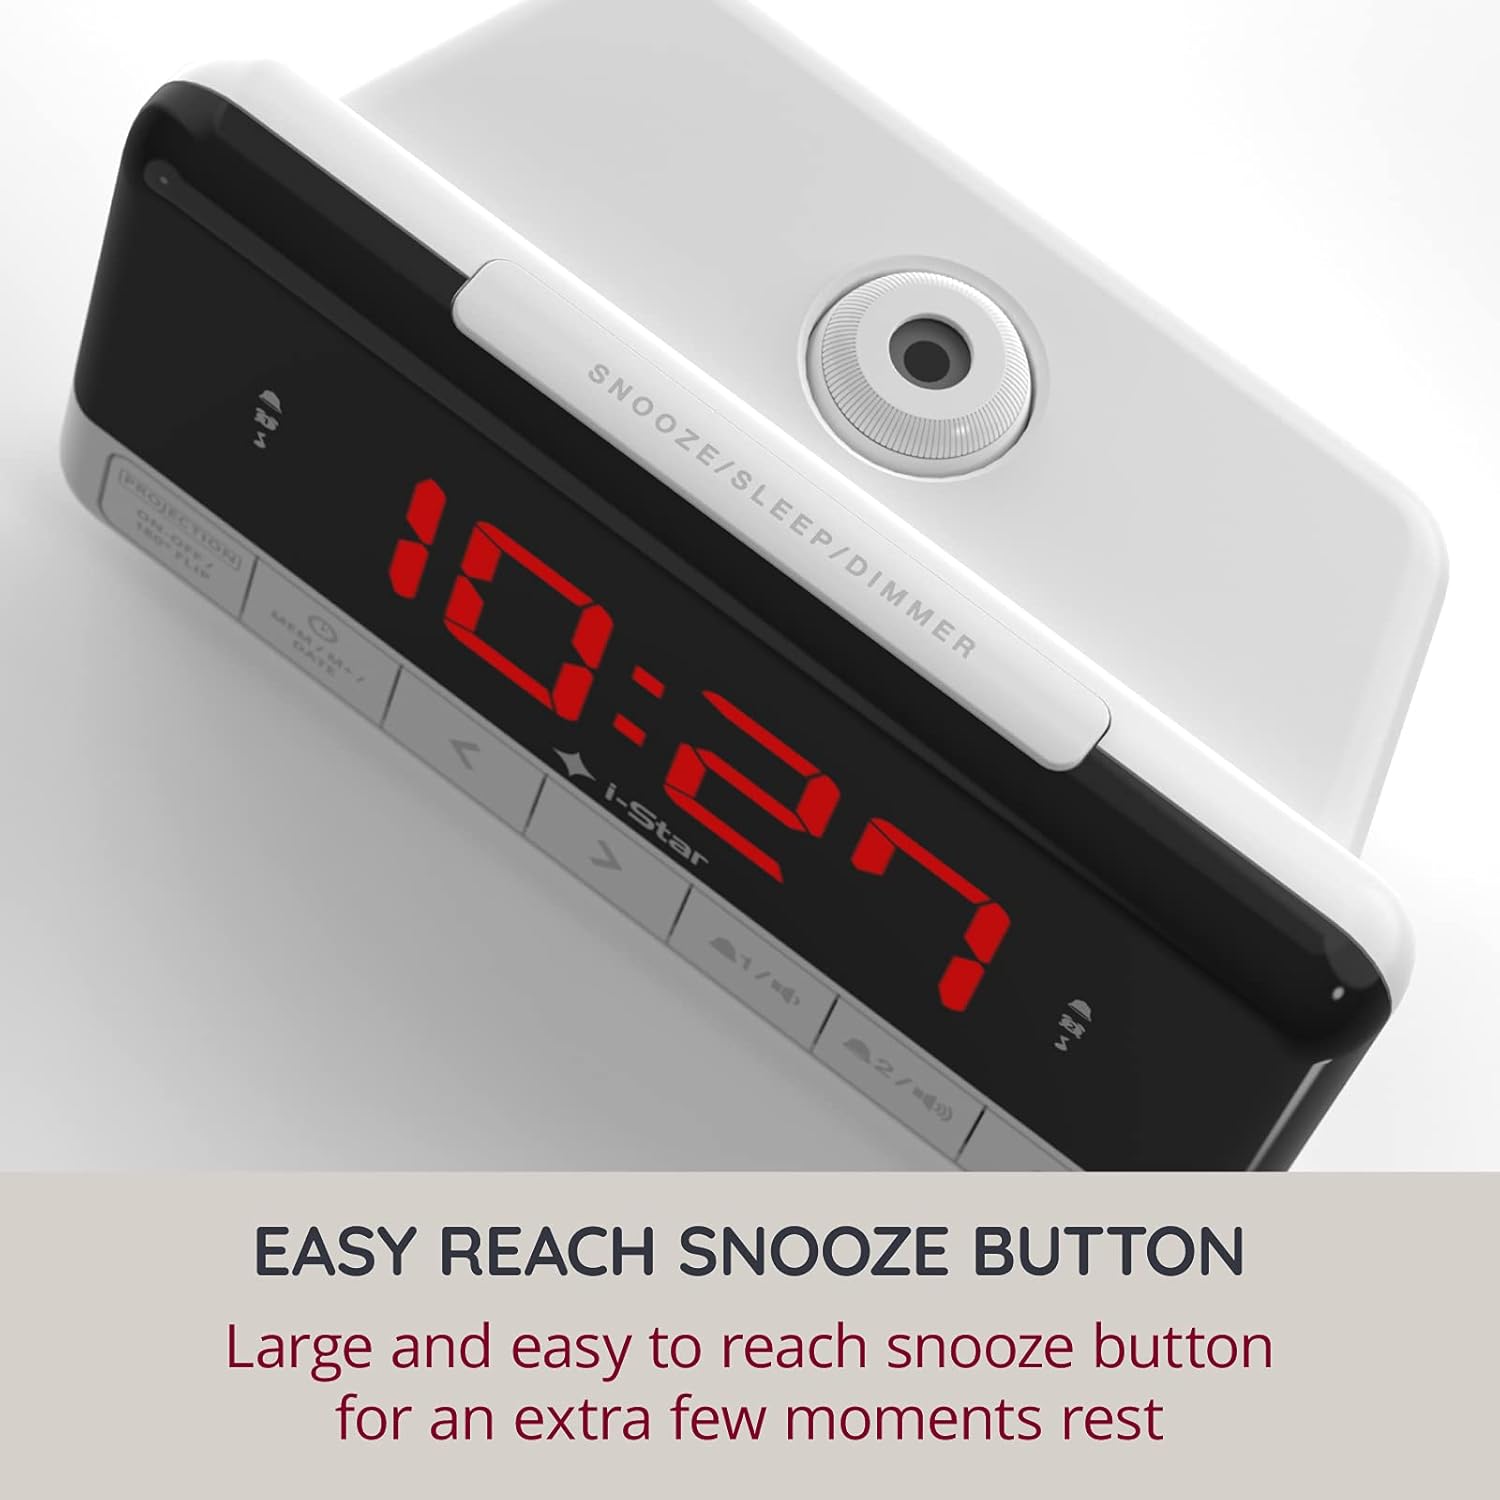
Figure 3.6.1: The easily accessible snooze button provides a few extra moments of rest.
3.7 Sleep Timer Function:
The sleep timer allows the radio to play for a set duration before automatically turning off.
- While the radio is playing, press the SNOOZE/SLEEP/DIMMER button repeatedly to cycle through available sleep timer durations (e.g., 10, 20, 30, 60, 90 minutes, or OFF).
- The radio will automatically turn off after the selected time.
3.8 USB Charging Port:
The alarm clock is equipped with a 1A USB output port on the side, allowing you to conveniently charge your smartphone or other USB-powered devices overnight.
- Connect your device's USB charging cable to the USB output port on the alarm clock.
- Connect the other end of the cable to your device. Charging will begin automatically.
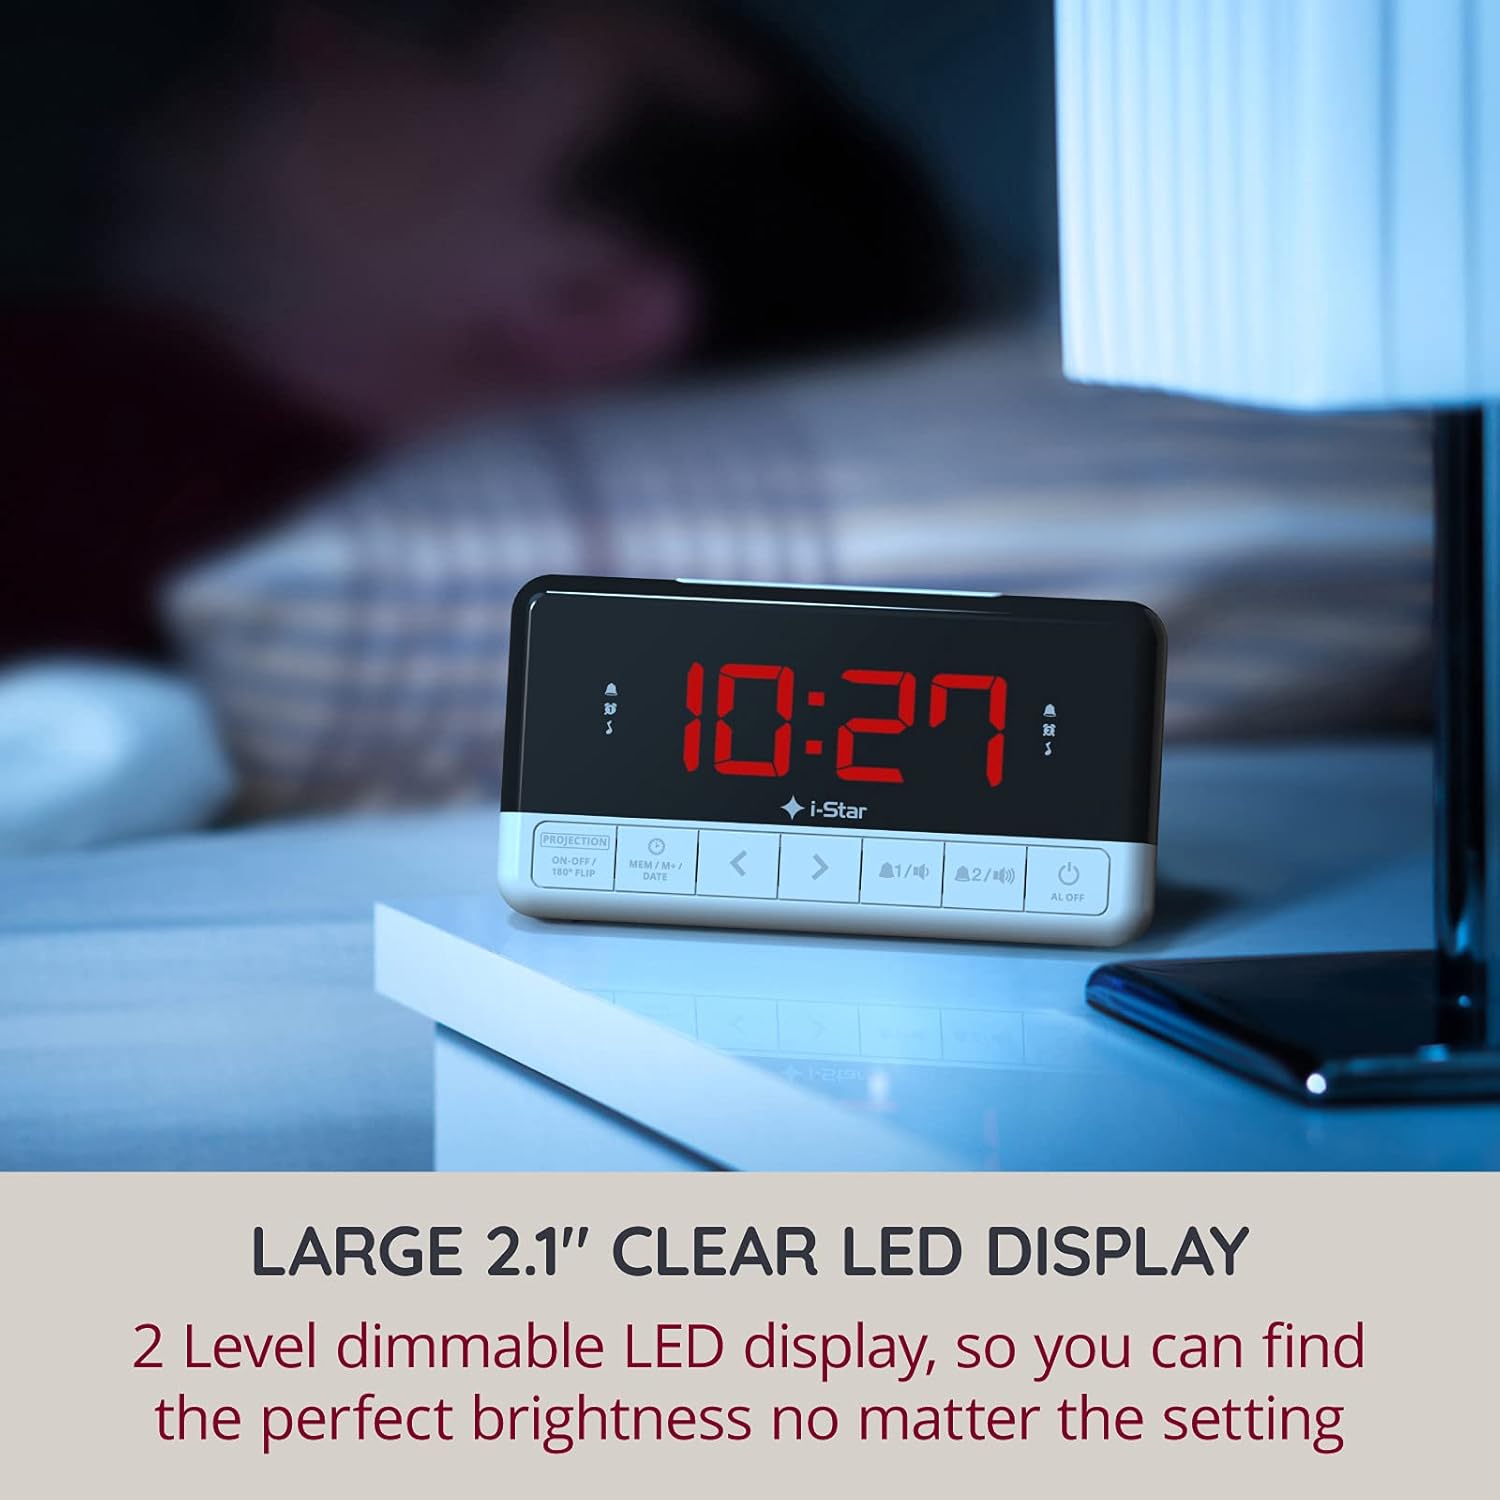
Figure 3.8.1: The integrated USB port allows for convenient charging of your mobile devices.
4. Maintenance
4.1 Cleaning:
To clean the alarm clock, gently wipe the surface with a soft, dry cloth. Do not use abrasive cleaners, waxes, or solvents as they may damage the finish. Ensure the unit is unplugged before cleaning.
4.2 Battery Replacement (Backup):
The CR2032 backup battery (not included) should be replaced periodically, typically every 1-2 years, or if you notice that time and alarm settings are lost after a power outage. To replace:
- Unplug the alarm clock from the power outlet.
- Locate the battery compartment on the bottom of the unit.
- Open the compartment cover and remove the old CR2032 battery.
- Insert a new CR2032 battery with the positive (+) side facing up.
- Close the battery compartment cover securely.
- Plug the alarm clock back into the power outlet.
5. Troubleshooting
If you encounter any issues with your I-STAR Projection Alarm Clock Radio, please refer to the table below for common problems and their solutions.
| Problem | Possible Cause | Solution |
|---|---|---|
| No display/Unit not powering on. | Power adapter not connected or faulty outlet. | Ensure the power adapter is securely plugged into the clock and a working wall outlet. Try a different outlet. |
| Alarm does not sound. | Alarm not set, alarm volume too low, or alarm deactivated. | Verify alarm time and source are correctly set. Ensure the alarm icon is visible on the display. Check radio volume if FM radio is selected as alarm source. |
| Projected time is upside down. | Projection orientation needs adjustment. | Press and hold the PROJECTION ON-OFF / 180° FLIP button to flip the image. |
| Radio reception is poor. | Antenna not extended or interference. | Fully extend the FM antenna wire on the back of the unit. Reposition the clock to improve reception. Avoid placing near other electronic devices that may cause interference. |
| Radio volume is too high at minimum setting. | Inherent design characteristic. | This can be a common observation. Try adjusting the clock's position or consider placing a soft material over the speaker grille to slightly dampen the sound, if acceptable. |
| Time/settings lost after power outage. | Backup battery is missing or depleted. | Install a new CR2032 battery in the backup compartment. |
6. Specifications
| Feature | Detail |
|---|---|
| Brand | I-STAR |
| Model Number | 90085PI/18 |
| Color | White |
| Product Dimensions | 16 x 6.7 x 8.5 cm (approx. 6.3 x 2.6 x 3.3 inches) |
| Weight | 370 g (approx. 0.82 lbs) |
| Material | Plastic |
| Display Type | Digital LED (1.2-inch) |
| Special Features | Alarm, Projection, FM Radio, USB Charging Port, Dimmable Display, Snooze Function, Sleep Timer |
| Power Source | AC Power Adapter (5V DC) with CR2032 Battery Backup (not included) |
7. Warranty and Support
7.1 Warranty Information:
I-STAR offers a 12-month hassle-free warranty with this product. This warranty covers manufacturing defects and ensures reliable operation under normal use. Please retain your proof of purchase for warranty claims.
7.2 Customer Support:
For any questions, technical assistance, or warranty inquiries, please contact I-STAR customer service. Refer to the product packaging or the official I-STAR website for the most up-to-date contact information.
Ask a question about this manual
Ask about setup, troubleshooting, compatibility, parts, safety, or missing instructions. Manuals+ will review the question and use this page’s manual context to help answer it.