
1. Introduction
This manual provides comprehensive instructions for the installation, operation, and maintenance of your SpeaKa Professional SP-PS-501 SP-9430124 roll-up projection screen. Please read this manual carefully before use to ensure proper functionality and safety. Keep this manual for future reference.
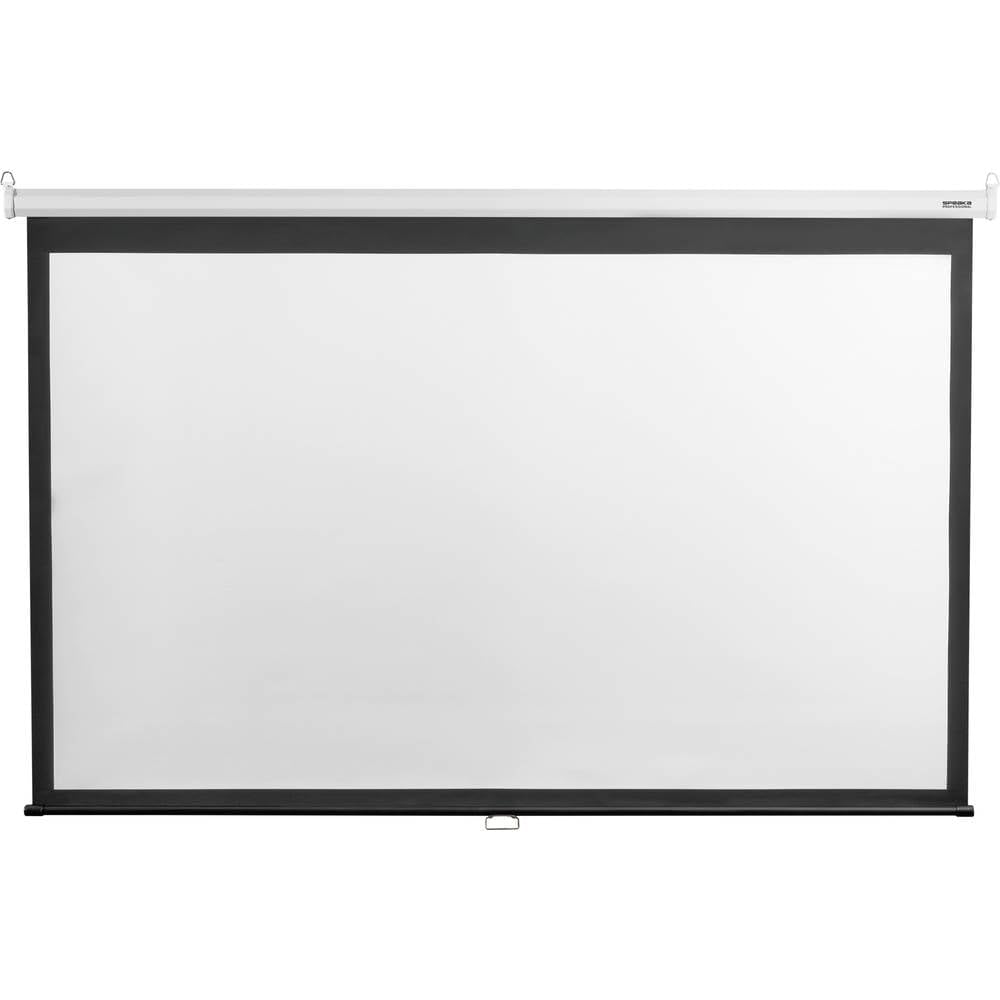
Image 1.1: The SpeaKa Professional SP-PS-501 SP-9430124 roll-up projection screen. This image shows the screen in its rolled-up state, ready for installation or use.
2. Safety Instructions
- Ensure the screen is securely mounted to a stable wall or ceiling structure to prevent accidental falls.
- Do not attempt to disassemble or modify the screen mechanism. This may cause damage and void the warranty.
- Keep the screen away from direct sunlight, heat sources, and moisture to prevent material degradation.
- Operate the roll-up mechanism gently to avoid damage to the screen fabric or internal components.
- Keep children and pets away from the screen during operation.
3. Product Features
- Fiberglass projection screen, 2.65 x 1.49 m (120 inches diagonal).
- 16:9 aspect ratio with a wide 160° viewing angle, eliminating the need to sit directly in front of the screen.
- Two different installation options: wall or ceiling mounting.
- Ideal for home, office, or classroom use.
- Designed for easy installation.
4. Package Contents
Please check that all items are present and undamaged upon unpacking:
- SpeaKa Professional SP-PS-501 SP-9430124 Roll-up Projection Screen
- Mounting hardware (screws, anchors for wall/ceiling installation)
- User Manual (this document)
If any parts are missing or damaged, please contact customer support immediately.
5. Setup
The projection screen offers both wall and ceiling mounting options. Choose the most suitable method for your environment.
5.1 Wall Mounting
- Determine Location: Select a suitable wall location, ensuring sufficient space for the screen to fully extend and retract. Mark the desired mounting points for the brackets.
- Drill Holes: Use a drill to create pilot holes at the marked locations. Ensure the drill bit size matches the provided wall anchors.
- Insert Anchors: Insert the wall anchors into the drilled holes.
- Attach Brackets: Secure the mounting brackets to the wall using the provided screws. Ensure they are level and firmly attached.
- Mount Screen: Carefully lift the projection screen and hook it onto the installed wall brackets. Ensure it is securely seated.
5.2 Ceiling Mounting
- Determine Location: Choose a ceiling location that can support the weight of the screen. Mark the desired mounting points for the brackets.
- Drill Holes: Drill pilot holes at the marked locations, using appropriate drill bits and ceiling anchors for your ceiling type (e.g., concrete, wood joists).
- Insert Anchors: Insert the ceiling anchors into the drilled holes.
- Attach Brackets: Secure the mounting brackets to the ceiling using the provided screws. Verify they are level and robust.
- Mount Screen: Carefully lift the projection screen and attach it to the installed ceiling brackets. Confirm it is securely fastened.
6. Operating Instructions
The SpeaKa Professional projection screen features a manual roll-up mechanism.
- To Extend the Screen: Gently pull down the handle located at the bottom center of the screen. Pull steadily and evenly until the screen reaches the desired viewing height. The screen will lock into place at various intervals.
- To Retract the Screen: Gently pull down the handle again, slightly further than its current position, then release it slowly. The screen will retract smoothly into its housing. Guide the screen as it retracts to prevent it from snapping back too quickly.
Caution: Do not force the screen up or down. If it jams, check for obstructions before attempting to operate it again.
7. Maintenance
Proper maintenance ensures the longevity and optimal performance of your projection screen.
- Cleaning the Screen Surface: Use a soft, lint-free cloth dampened with mild soap and water to gently wipe the screen surface. Do not use abrasive cleaners, solvents, or harsh chemicals, as these can damage the screen material. Allow the screen to air dry completely before retracting.
- Cleaning the Housing: Wipe the screen housing with a dry or slightly damp cloth to remove dust.
- Regular Inspection: Periodically check the mounting hardware for tightness and signs of wear. Ensure the roll-up mechanism operates smoothly.
- Storage: When not in use for extended periods, ensure the screen is fully retracted into its housing to protect the surface from dust and damage.
8. Troubleshooting
| Problem | Possible Cause | Solution |
|---|---|---|
| Screen does not extend or retract smoothly. | Obstruction in the mechanism; screen fabric caught; internal mechanism issue. | Check for any visible obstructions. Gently try to operate the screen. Do not force it. If the issue persists, contact customer support. |
| Screen surface is wrinkled or uneven. | Improper retraction; prolonged storage in an uneven position; manufacturing defect. | Ensure the screen retracts evenly. For minor wrinkles, extending the screen fully for a period may help. If severe or persistent, contact customer support. |
| Image quality is poor on the screen. | Screen surface is dirty; projector settings are incorrect; projector is not aligned. | Clean the screen surface as per maintenance instructions. Adjust projector focus, keystone, and alignment. Ensure the room lighting is appropriate. |
9. Specifications
| Feature | Detail |
|---|---|
| Brand | Speaka |
| Model Number | SP-9430124 |
| Screen Dimensions (L x H) | 265 cm x 149 cm (2.65m x 1.49m) |
| Aspect Ratio | 16:9 |
| Viewing Angle | 160 Degrees |
| Screen Finish | Matte |
| Material | Glass Fiber Reinforced Plastic |
| Mounting Type | Wall or Ceiling Mount |
| Operation Mode | Manual |
| Color | Multicolor |
10. Warranty
The SpeaKa Professional SP-PS-501 SP-9430124 projection screen comes with a 1-year warranty for spare parts. This warranty covers defects in materials and workmanship under normal use. It does not cover damage caused by misuse, accidents, unauthorized modifications, or improper installation.
Please retain your proof of purchase for warranty claims.
11. Support
For technical assistance, troubleshooting beyond this manual, or warranty inquiries, please contact SpeaKa Professional customer support. Refer to the product packaging or the official SpeaKa Professional website for contact information.
Online Resources: Visit the official SpeaKa Professional website for FAQs, additional product information, and support resources.


