
1. Introduction
Thank you for choosing the RIOGOO Seedling Heat Mat and Thermostat Kit. This kit is designed to provide a stable and optimal temperature environment for seed germination, plant propagation, homebrewing, and pet terrariums. It includes a durable, waterproof heat mat and a precise digital thermostat controller to ensure consistent temperature regulation.
2. Safety Information
- Electrical Safety: Ensure the power outlet matches the voltage requirements of the device. Do not overload electrical circuits.
- Water Exposure: The heat mat is IP67 waterproof, meaning it is protected against temporary immersion in water. However, the thermostat controller is not waterproof. Do not submerge the thermostat controller or expose it to excessive moisture.
- Placement: Place the heat mat on a flat, dry, and stable surface. Avoid placing it on sharp objects or uneven surfaces that could damage the mat.
- Ventilation: Do not cover the thermostat controller or restrict airflow around it, as this can affect temperature readings and device performance.
- Damage: Do not use the product if the mat, cord, or thermostat appears damaged. Contact customer support for assistance.
- Children and Pets: Keep the device out of reach of children and pets to prevent accidental damage or injury.
3. Package Contents
Your RIOGOO Seedling Heat Mat and Thermostat Kit includes:
- 1 x RIOGOO Seedling Heat Mat (10 x 20.75 inches / 25.4 x 52.7 cm)
- 1 x RIOGOO Digital Thermostat Controller with Temperature Probe
4. Product Features
- Precise Temperature Control: The digital thermostat maintains a stable temperature between 20°C and 42°C (68°F and 108°F).
- Advanced Heating Technology: Utilizes film heating for uniform and stable heat distribution, promoting optimal growth.
- Waterproof Heat Mat: The heat mat features an IP67 waterproof rating for safe use in humid environments.
- Versatile Application: Ideal for seed starting, plant propagation, homebrewing, fermentation, and providing warmth for pet terrariums (reptiles, rodents, arachnids).
- Easy Storage: The flexible heat mat can be rolled up for convenient storage when not in use.
5. Setup Instructions
- Unpack Components: Carefully remove the heat mat and thermostat controller from their packaging.
- Position Heat Mat: Place the RIOGOO heat mat on a flat, dry, and stable surface where you intend to grow your seedlings or house your terrarium. Ensure the surface is free of sharp objects.
- Connect Heat Mat: Plug the power cord of the heat mat into the outlet socket on the digital thermostat controller.
- Place Temperature Probe: Insert the temperature probe into the rooting medium (e.g., soil, water) or the terrarium environment where you want to monitor and control the temperature. Ensure the probe is securely placed and not directly touching the heat mat surface to get an accurate reading of the ambient temperature.
- Power Connection: Plug the thermostat controller's power cord into a standard electrical outlet. The LED display on the thermostat will illuminate.

Image: Proper setup of the heat mat and thermostat with a seedling tray. The thermostat is mounted, and the heat mat is placed underneath the tray.
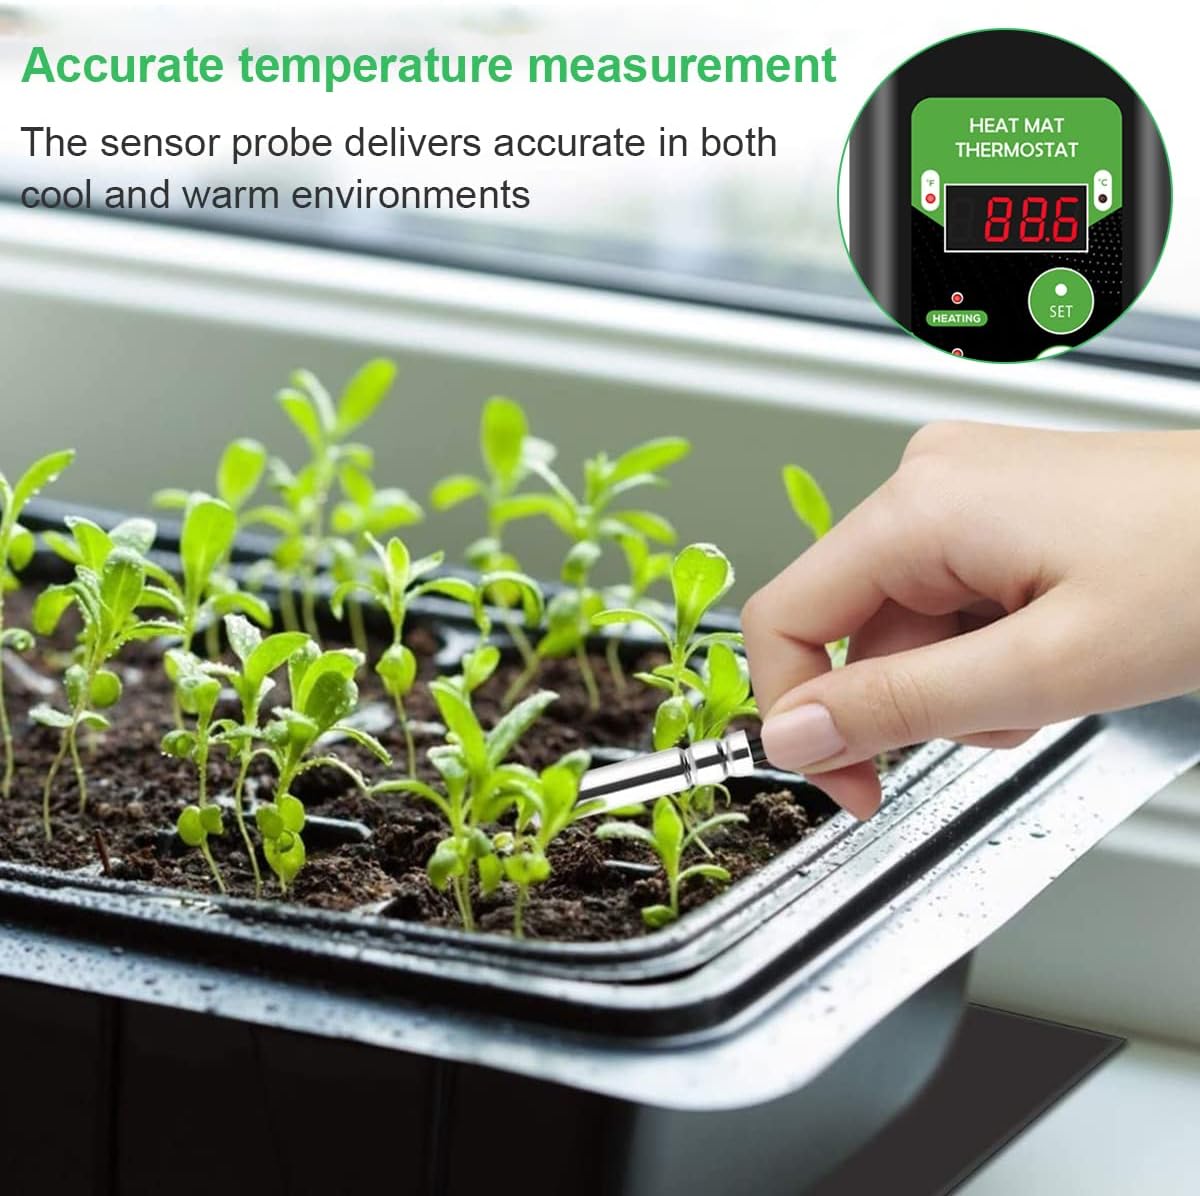
Image: A hand inserting the temperature probe into the soil of a seedling tray for accurate temperature measurement.
6. Operating Instructions
- Power On: Once plugged in, the thermostat's LED display will show the current temperature detected by the probe. The 'Power' indicator light will be on.
- Set Desired Temperature:
- Press the SET button once. The display will flash, showing the currently set target temperature.
- Use the UP (▲) or DOWN (▼) buttons to adjust the temperature to your desired setting.
- Press the SET button again to confirm the new temperature. The display will stop flashing and return to showing the current temperature.
- Heating Indicator: When the current temperature is below the set temperature, the 'Heating' indicator light will turn on, and the heat mat will begin to warm up. Once the set temperature is reached, the 'Heating' light will turn off.
- Temperature Unit Conversion: To switch between Celsius (°C) and Fahrenheit (°F), press and hold the UP (▲) button for approximately 3 seconds.

Image: Detailed view of the thermostat controller, showing the Fahrenheit/Celsius LED display, heating/power indicators, SET button, and UP/DOWN temperature adjustment buttons.

Image: The thermostat display indicating the temperature setting range from 20°C/68°F to 42°C/108°F.
7. Maintenance
- Cleaning the Heat Mat: Disconnect the heat mat from power before cleaning. Wipe the surface of the mat with a damp cloth. Do not use abrasive cleaners or submerge the mat in water.
- Cleaning the Thermostat: Wipe the thermostat controller with a dry or slightly damp cloth. Do not use harsh chemicals or allow water to enter the device.
- Storage: When not in use, ensure the heat mat and thermostat are clean and dry. Roll the heat mat loosely and store it in a cool, dry place away from direct sunlight.
8. Troubleshooting
- Heat Mat Not Heating:
- Check if the thermostat is plugged into a working power outlet.
- Ensure the heat mat is securely plugged into the thermostat's outlet.
- Verify that the set temperature is higher than the current ambient temperature. The 'Heating' indicator should be on.
- Inaccurate Temperature Reading:
- Ensure the temperature probe is properly inserted into the medium (soil, water) and not directly on the heat mat surface or exposed to direct sunlight/drafts.
- Check for any damage to the probe cable.
- Thermostat Display Not Working:
- Confirm the thermostat is plugged into a live power outlet.
- Try plugging the thermostat into a different outlet.
9. Specifications
| Heat Mat Dimensions | 10 x 20.75 inches (25.4 x 52.7 cm) |
| Temperature Control Range | 20°C - 42°C (68°F - 108°F) |
| Heat Mat Waterproof Rating | IP67 |
| Manufacturer | RIOGOO |
10. Warranty and Support
The RIOGOO Seedling Heat Mat and Thermostat Kit comes with a 1-year warranty from the date of purchase. This warranty covers manufacturing defects and malfunctions under normal use.
For warranty claims, technical support, or any questions regarding your product, please contact RIOGOO customer service. Please have your purchase receipt and product model information ready when contacting support.
Contact information for support is typically found on the product packaging or the retailer's website.