1. Product Overview
This manual provides instructions for the safe and effective operation of the Makita DHP486RTJ 18V LXT Brushless Combi Drill. This tool is designed for drilling, fastening, and hammer drilling applications in various materials.

Figure 1: Makita DHP486RTJ Combi Drill kit, including the drill, two 5.0 Ah batteries, a charger, and a Makpac case.
1.1 Included Components
- 1 x Makita DHP486RTJ 18V LXT Brushless Combi Drill
- 2 x BL1850B 18V 5.0Ah Lithium-Ion Batteries
- 1 x DC18RC Rapid Charger
- 1 x Makpac Case
- 1 x Auxiliary Side Handle
- 1 x Depth Gauge
2. Safety Instructions
Always observe basic safety precautions to reduce the risk of fire, electric shock, and personal injury. Keep this instruction manual for future reference.
2.1 General Power Tool Safety Warnings
- Work Area Safety: Keep the work area clean and well-lit. Cluttered or dark areas invite accidents. Do not operate power tools in explosive atmospheres, such as in the presence of flammable liquids, gases, or dust.
- Electrical Safety: Power tool plugs must match the outlet. Never modify the plug in any way. Do not abuse the cord. Keep cord away from heat, oil, sharp edges, or moving parts.
- Personal Safety: Always wear eye protection. Use hearing protection when operating hammer drills. Dress properly; avoid loose clothing or jewelry. Secure long hair.
- Tool Use and Care: Do not force the power tool. Use the correct power tool for your application. Disconnect the plug from the power source and/or remove the battery pack before making any adjustments, changing accessories, or storing power tools.
- Battery Tool Use and Care: Recharge only with the charger specified by the manufacturer. Use power tools only with specifically designated battery packs.
3. Setup
3.1 Battery Installation and Removal
- To install the battery, align the battery pack with the groove in the tool housing and slide it in until it locks into place. Ensure it is securely latched.
- To remove the battery, press the release button on the battery pack and slide the battery out of the tool.
3.2 Battery Charging
Use the supplied DC18RC Rapid Charger to charge the BL1850B batteries.
- Plug the charger into a standard AC power outlet.
- Insert the battery pack into the charger. The charging indicator lights will show the charging status.
- A full charge typically takes approximately 45 minutes for a 5.0Ah battery. Refer to the charger manual for detailed indicator explanations.
3.3 Installing the Auxiliary Side Handle
The auxiliary side handle provides additional control and stability, especially during high-torque applications or hammer drilling.
- Loosen the handle grip by turning it counter-clockwise.
- Slide the handle assembly over the front of the drill housing, positioning it to the desired angle.
- Tighten the handle grip by turning it clockwise until it is secure.
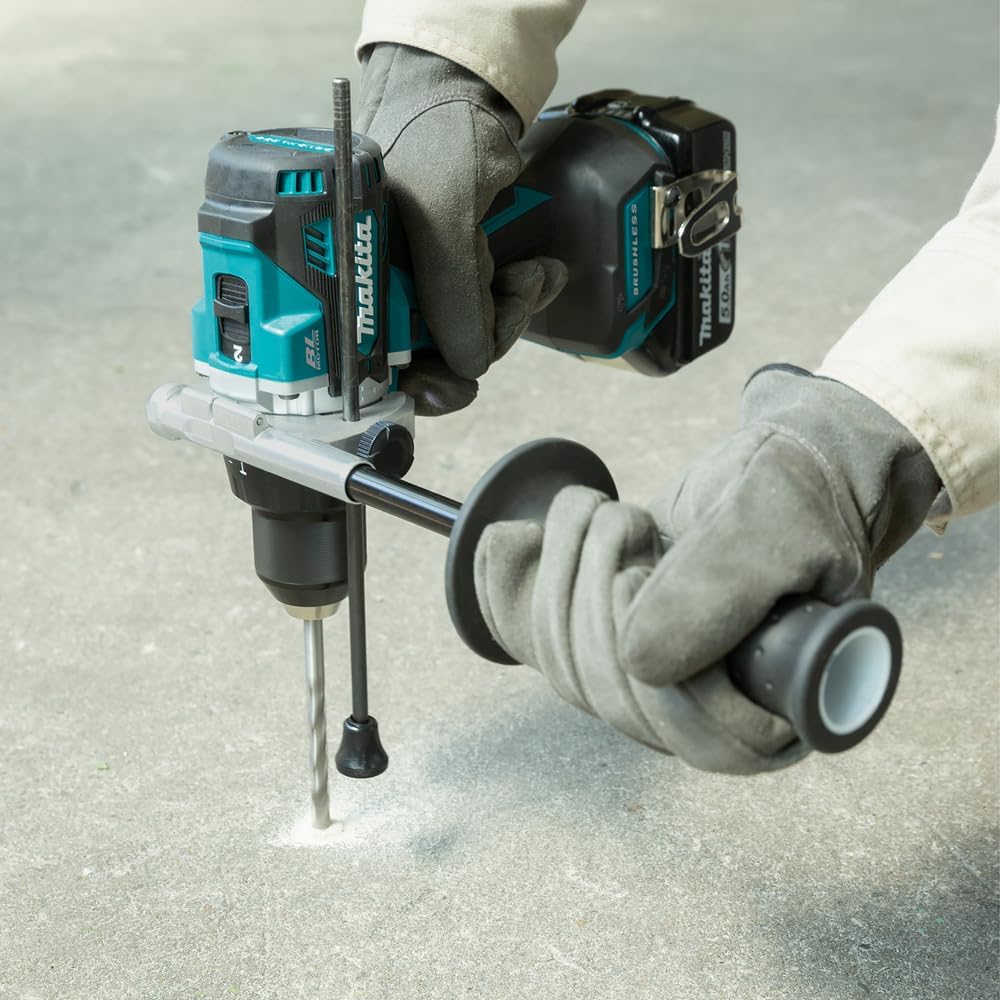
Figure 2: Proper use of the auxiliary side handle for enhanced control during drilling.
3.4 Installing Drill Bits or Accessories
The DHP486RTJ features a 13mm single sleeve keyless chuck.
- Rotate the chuck sleeve counter-clockwise to open the chuck jaws.
- Insert the drill bit or accessory fully into the chuck.
- Rotate the chuck sleeve clockwise to tighten the jaws securely around the bit. Ensure the bit is centered and firmly held.
4. Operating Instructions
4.1 Mode Selection
The tool has three operating modes: Drill, Hammer Drill, and Driver. Rotate the mode selector ring to choose the desired function:
- Drill Mode (⚒): For drilling into wood, metal, and plastic.
- Hammer Drill Mode (⚒⚒): For drilling into masonry and concrete.
- Driver Mode (⚒): For driving screws with adjustable torque settings.
4.2 Speed Control
The DHP486RTJ features a mechanical 2-speed gearbox:
- Low Speed (1): For heavy-duty applications, large diameter drilling, or driving screws where high torque is required.
- High Speed (2): For faster drilling in lighter materials or smaller diameter holes.
Use the speed selector switch located on top of the tool to change between speeds. Ensure the tool is stopped before changing speeds.
4.3 Torque Settings
In Driver Mode, the torque can be adjusted using the torque setting ring. There are 21 torque settings plus a drill mode setting. Select a lower torque setting for smaller screws or softer materials and a higher setting for larger screws or harder materials. The drill mode setting provides maximum torque for drilling.
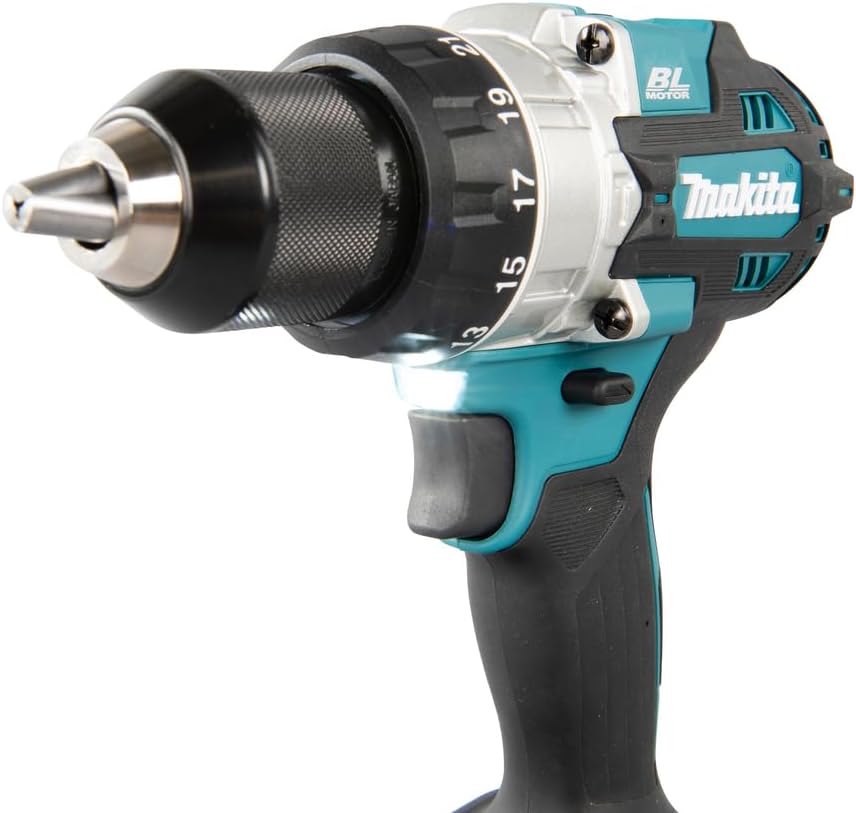
Figure 3: Detail of the chuck, torque adjustment ring, and integrated LED work light.
4.4 Trigger Switch and Electric Brake
The trigger switch controls the tool's speed. Pressing the trigger further increases the speed. The electric brake stops the chuck rotation almost instantly when the trigger is released, enhancing safety and control.
4.5 Battery Charge Level Indicator
The tool features a 3-stage LED gauge to indicate the battery charge level. Press the button near the indicator to check the remaining battery capacity.
5. Maintenance
Regular maintenance ensures optimal performance and extends the tool's lifespan.
- Cleaning: Keep the tool's ventilation openings clean to prevent overheating. Wipe the tool with a dry cloth. Do not use water or chemical cleaners.
- Inspection: Periodically inspect the power cord of the charger for damage. Check the chuck for wear and ensure it operates smoothly.
- Lubrication: This tool is designed for maintenance-free operation regarding internal lubrication.
- Storage: Store the tool, batteries, and charger in a cool, dry place, away from direct sunlight and moisture. When storing in the Makpac case, ensure all components are clean and dry.
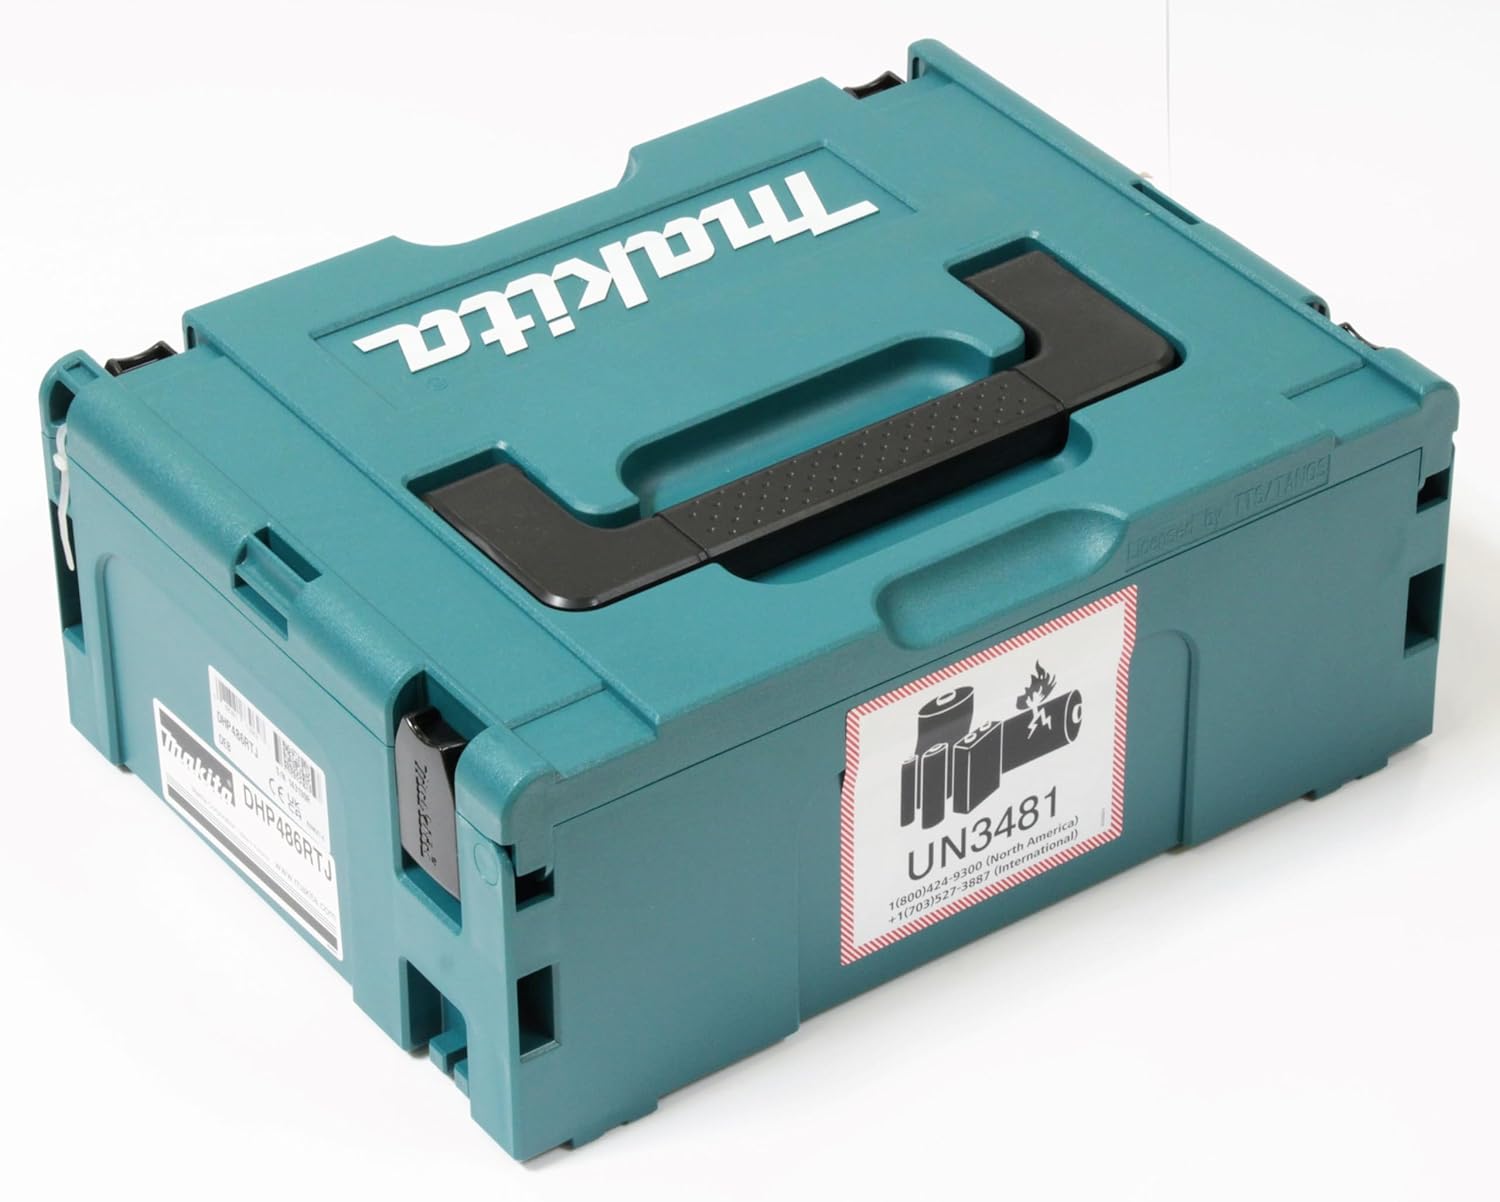
Figure 4: Makpac case with battery warning label, suitable for tool storage and transport.
6. Troubleshooting
If you encounter issues with your Makita DHP486RTJ, refer to the following common problems and solutions:
| Problem | Possible Cause | Solution |
|---|---|---|
| Tool does not start | Battery not charged or improperly installed. | Ensure battery is fully charged and correctly inserted. |
| Reduced power or speed | Low battery charge. Overload protection activated. | Recharge battery. Reduce load on the tool. |
| Battery not charging | Charger not plugged in. Damaged battery or charger. | Check power connection. Inspect battery and charger for damage. Contact service if necessary. |
| Chuck not holding bit | Bit not inserted fully. Chuck jaws worn. | Re-insert bit and tighten firmly. If problem persists, chuck may need replacement. |
If the problem persists after attempting these solutions, contact an authorized Makita service center.
7. Specifications
| Feature | Specification |
|---|---|
| Model Number | DHP486RTJ |
| Voltage | 18 Volts |
| Battery Type | Lithium-Ion (LXT) |
| Battery Capacity | 5.0 Ah |
| Maximum Torque | 130 Newton Meters |
| No Load Speed (Low) | 0 - 550 RPM |
| No Load Speed (High) | 0 - 2100 RPM |
| Impacts Per Minute (Low) | 0 - 8,250 IPM |
| Impacts Per Minute (High) | 0 - 31,500 IPM |
| Chuck Capacity | 1.5 - 13 mm (1/16" - 1/2") |
| Max. Drilling Capacity (Wood) | 76 mm |
| Max. Drilling Capacity (Steel) | 13 mm |
| Max. Drilling Capacity (Masonry) | 16 mm |
| Item Weight | 2.8 kg (6.16 lbs) with battery |
| Dimensions (L x W x H) | 3.94"L x 3.94"W x 3.94"H (Tool only, approximate) |
| Sound Level | 95 dB |
8. Warranty and Support
Makita power tools are subject to rigorous quality control. In the unlikely event of a defect due to faulty materials or workmanship, Makita offers a standard warranty. Please refer to the warranty card included with your product or visit the official Makita website for detailed warranty terms and conditions specific to your region.
For technical support, spare parts, or service, please contact your local authorized Makita service center. A list of service centers can typically be found on the official Makita website or by contacting Makita customer service.
Online Resources: For additional information, product registration, and FAQs, visit the official Makita website: www.makita.com


