
1. Product Overview
The FOLAI 4-in-1 Electronic Stud Finder is a versatile wall detector designed for accurate detection of various materials behind walls. It features a large LCD display for clear readings and an ergonomic design for comfortable handling. This device utilizes multi-sense technology to locate both metal and wooden studs, as well as live AC wiring up to two inches deep. Its four scanning modes (Stud Scan, Deep Scan, Metal Scan, and AC Scan) make it suitable for a range of detection tasks.
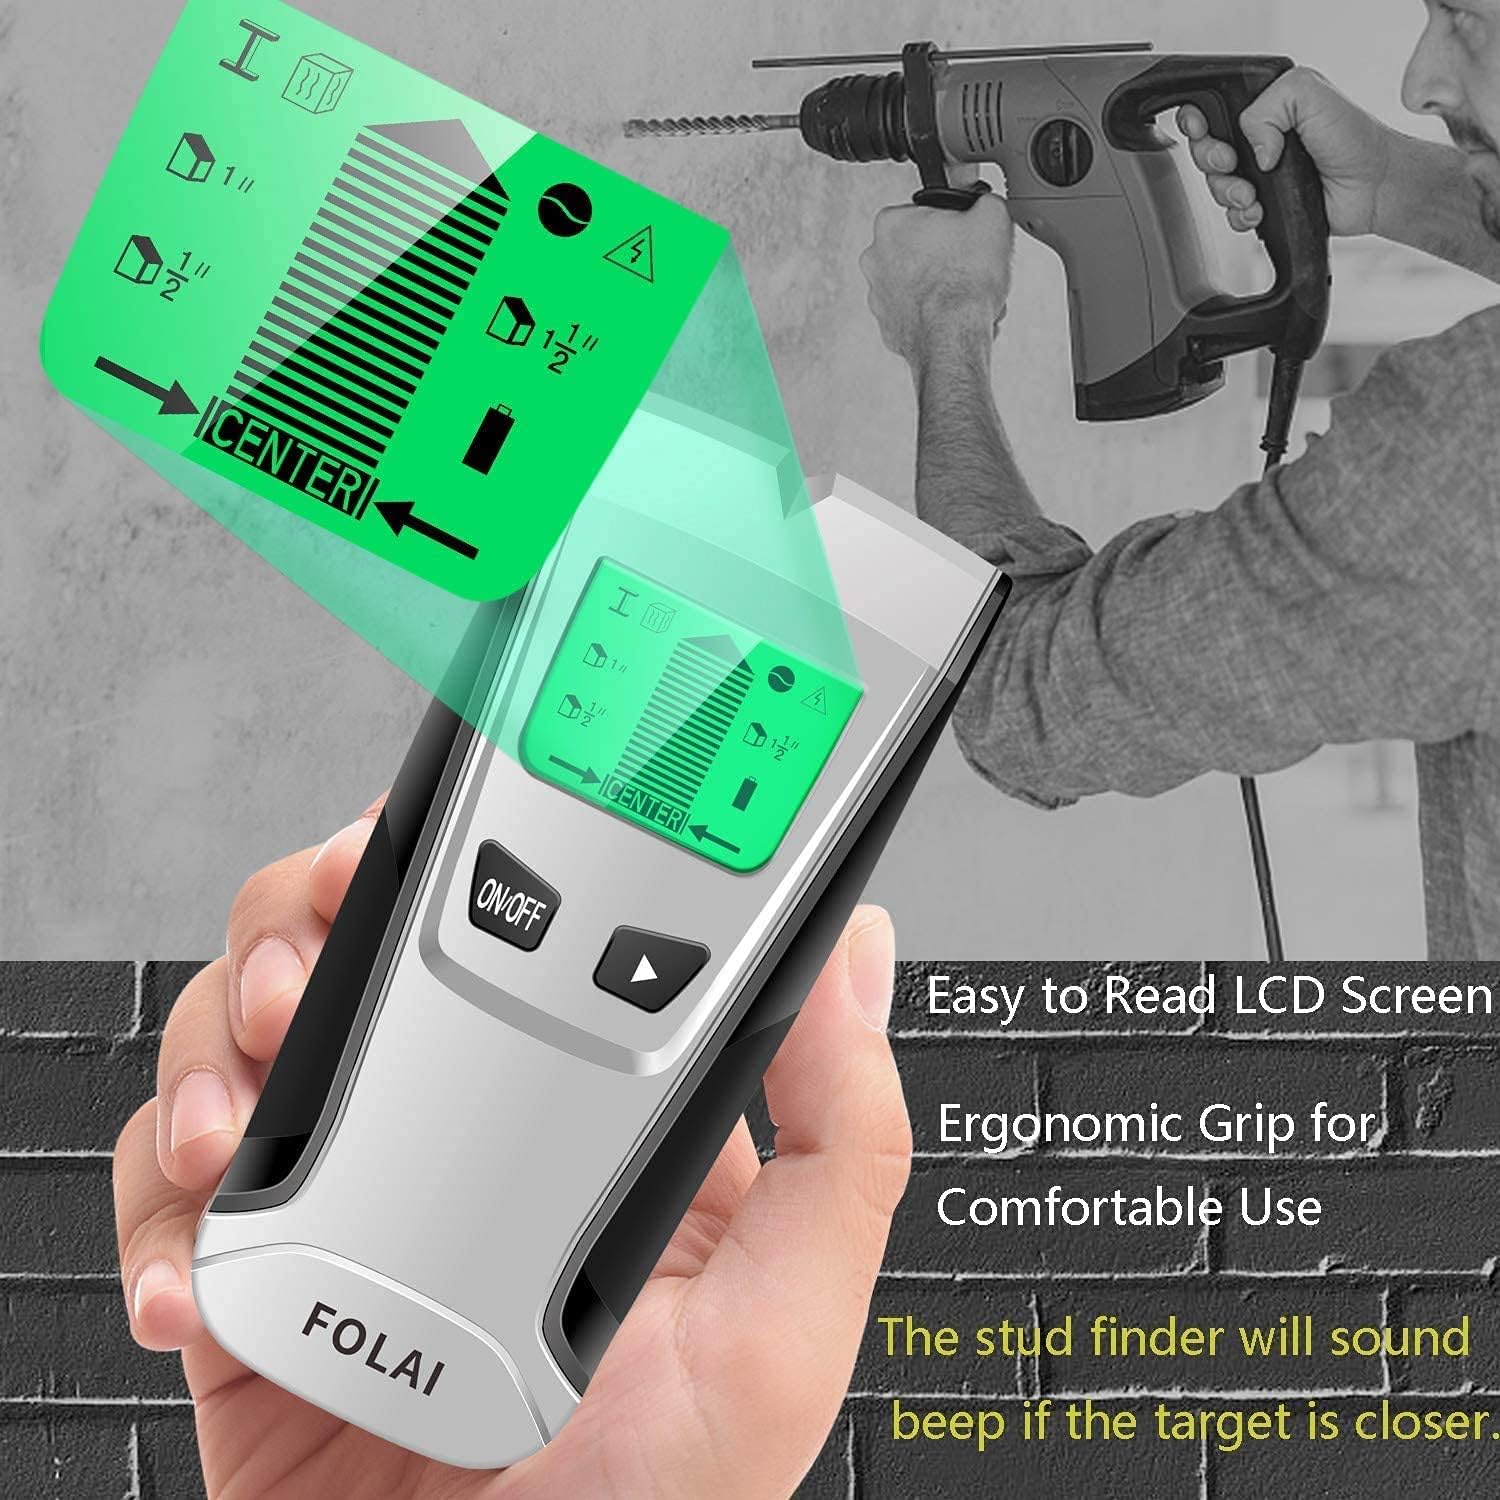
Image 1.1: The FOLAI Stud Finder features an easy-to-read LCD screen and an ergonomic grip for comfortable use. It provides a sound warning when a target is detected.
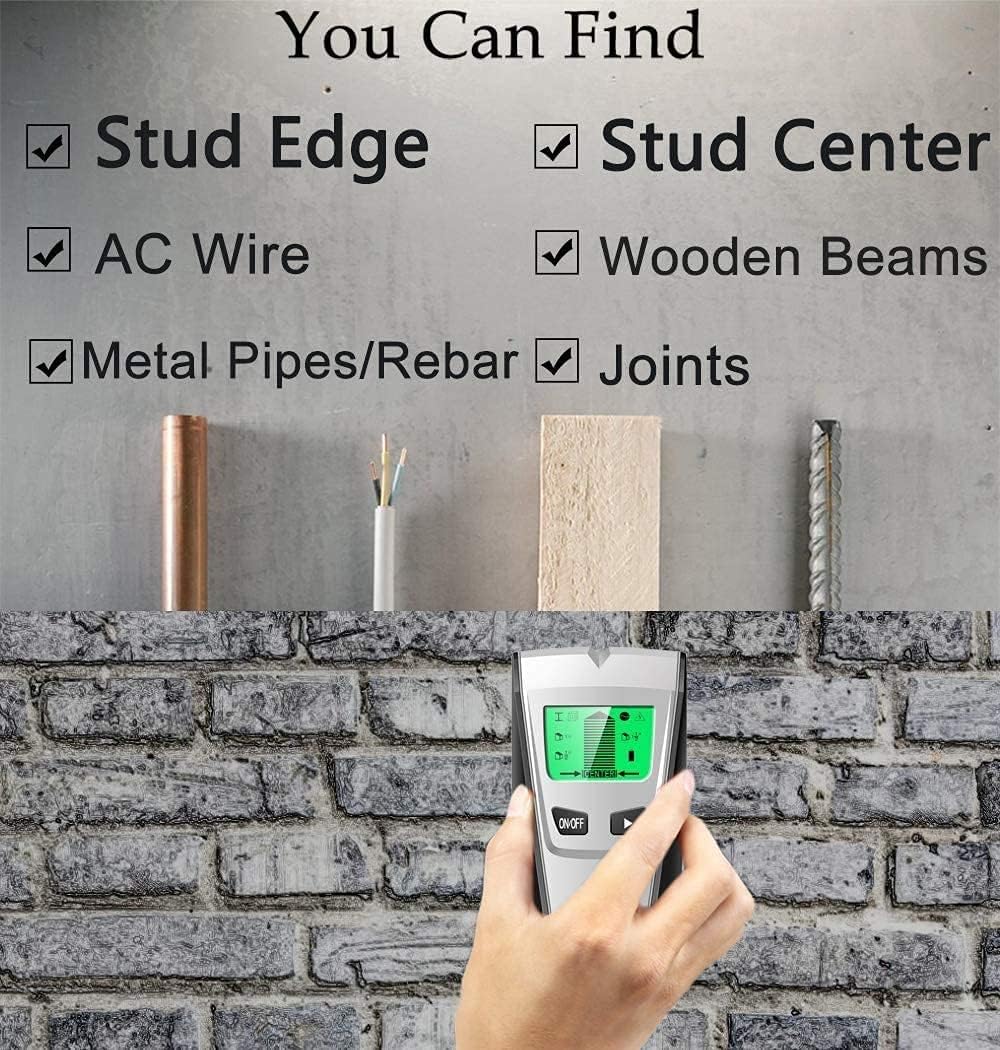
Image 1.2: The stud finder is capable of locating stud edges, stud centers, AC wires, wooden beams, metal pipes/rebar, and joints within walls.
2. Safety Information
- Always read and understand all instructions before using the device.
- Do not rely solely on the stud finder to locate live AC wires. Always turn off power at the circuit breaker before working on walls, especially when drilling or cutting.
- Keep the device dry and clean. Do not expose it to moisture or extreme temperatures.
- This device is intended for indoor use on standard wall materials (drywall, plasterboard). Performance may vary on other materials or in specific environmental conditions.
- Keep out of reach of children.
3. Package Contents
Verify that all items are present in your package:
- FOLAI 4-in-1 Electronic Stud Finder
- User Manual (this document)
Note: A 9V battery is required for operation and is typically not included in the package.
4. Product Features and Components

Image 4.1: Labeled diagram of the FOLAI Stud Finder's display and controls.
Key Components:
- LCD Display: Shows detection mode, signal strength, battery level, and target indication.
- ON/OFF Button: Powers the device on or off.
- MODE Button: Selects between Stud Mode, Metal Mode, and AC Mode.
- Target Indication Bar: Visualizes proximity to the detected object.
- Stud Mode Indicator: Icon for stud detection.
- Metal Mode Indicator: Icon for metal detection.
- AC Mode Indicator: Icon for live AC wire detection.
- Scan Depth Indicators: Shows approximate scanning depth (e.g., 1", 1 1/2", 3/2").
- Center Indicator: Indicates when the device is centered over a stud.
- Power Indicator: Shows battery status.
5. Setup
5.1 Battery Installation
- Open the battery compartment cover on the back of the device.
- Insert a new 9V battery, ensuring correct polarity (+/-).
- Close the battery compartment cover securely.
5.2 Initial Calibration
Proper calibration is crucial for accurate detection. Calibrate the device before each use and whenever you move to a new scanning location.
- Place the stud finder flat against the wall where you intend to scan. Ensure there are no studs, metal, or AC wires in the immediate area.
- Press and hold the ON/OFF button. The device will emit a beep and the display will show a calibration sequence.
- Keep the device still against the wall until calibration is complete (usually a few seconds). A successful calibration is indicated by a short beep and the display showing 'READY' or a similar indicator.
- If calibration fails or gives an error, release the button, move to a different spot on the wall, and repeat the process.
6. Operating Instructions
6.1 Selecting a Mode
After calibration, press the MODE button to cycle through the available detection modes:
- Stud Scan Mode: For detecting wooden studs up to 1 inch (25 mm) deep.
- Deep Scan Mode: For detecting wooden studs up to 1.5 inches (38 mm) deep.
- Metal Scan Mode: For detecting metal objects (e.g., pipes, rebar, metal studs) up to 2.36 inches (60 mm) deep.
- AC Scan Mode: For detecting live unshielded AC wires up to 2 inches (51 mm) deep.
6.2 Scanning Procedure
- Ensure the device is calibrated on a clear section of the wall.
- Place the device flat against the wall.
- Slowly slide the stud finder horizontally across the wall surface. Keep it flat and do not lift or tilt it.
- Observe the LCD display. As the device approaches a target, the signal strength bars will increase, and an audible beep may sound.
- When the device is directly over the center of a stud or metal object, the 'CENTER' indicator will appear, and the signal strength will be at its maximum. Mark this spot.
- To confirm the location, scan the area from the opposite direction. Consistent readings indicate an accurate detection.

Image 6.1: The stud finder in use, demonstrating its ability to detect various hidden elements like metal pipes, AC wires, wooden beams, and rebars.
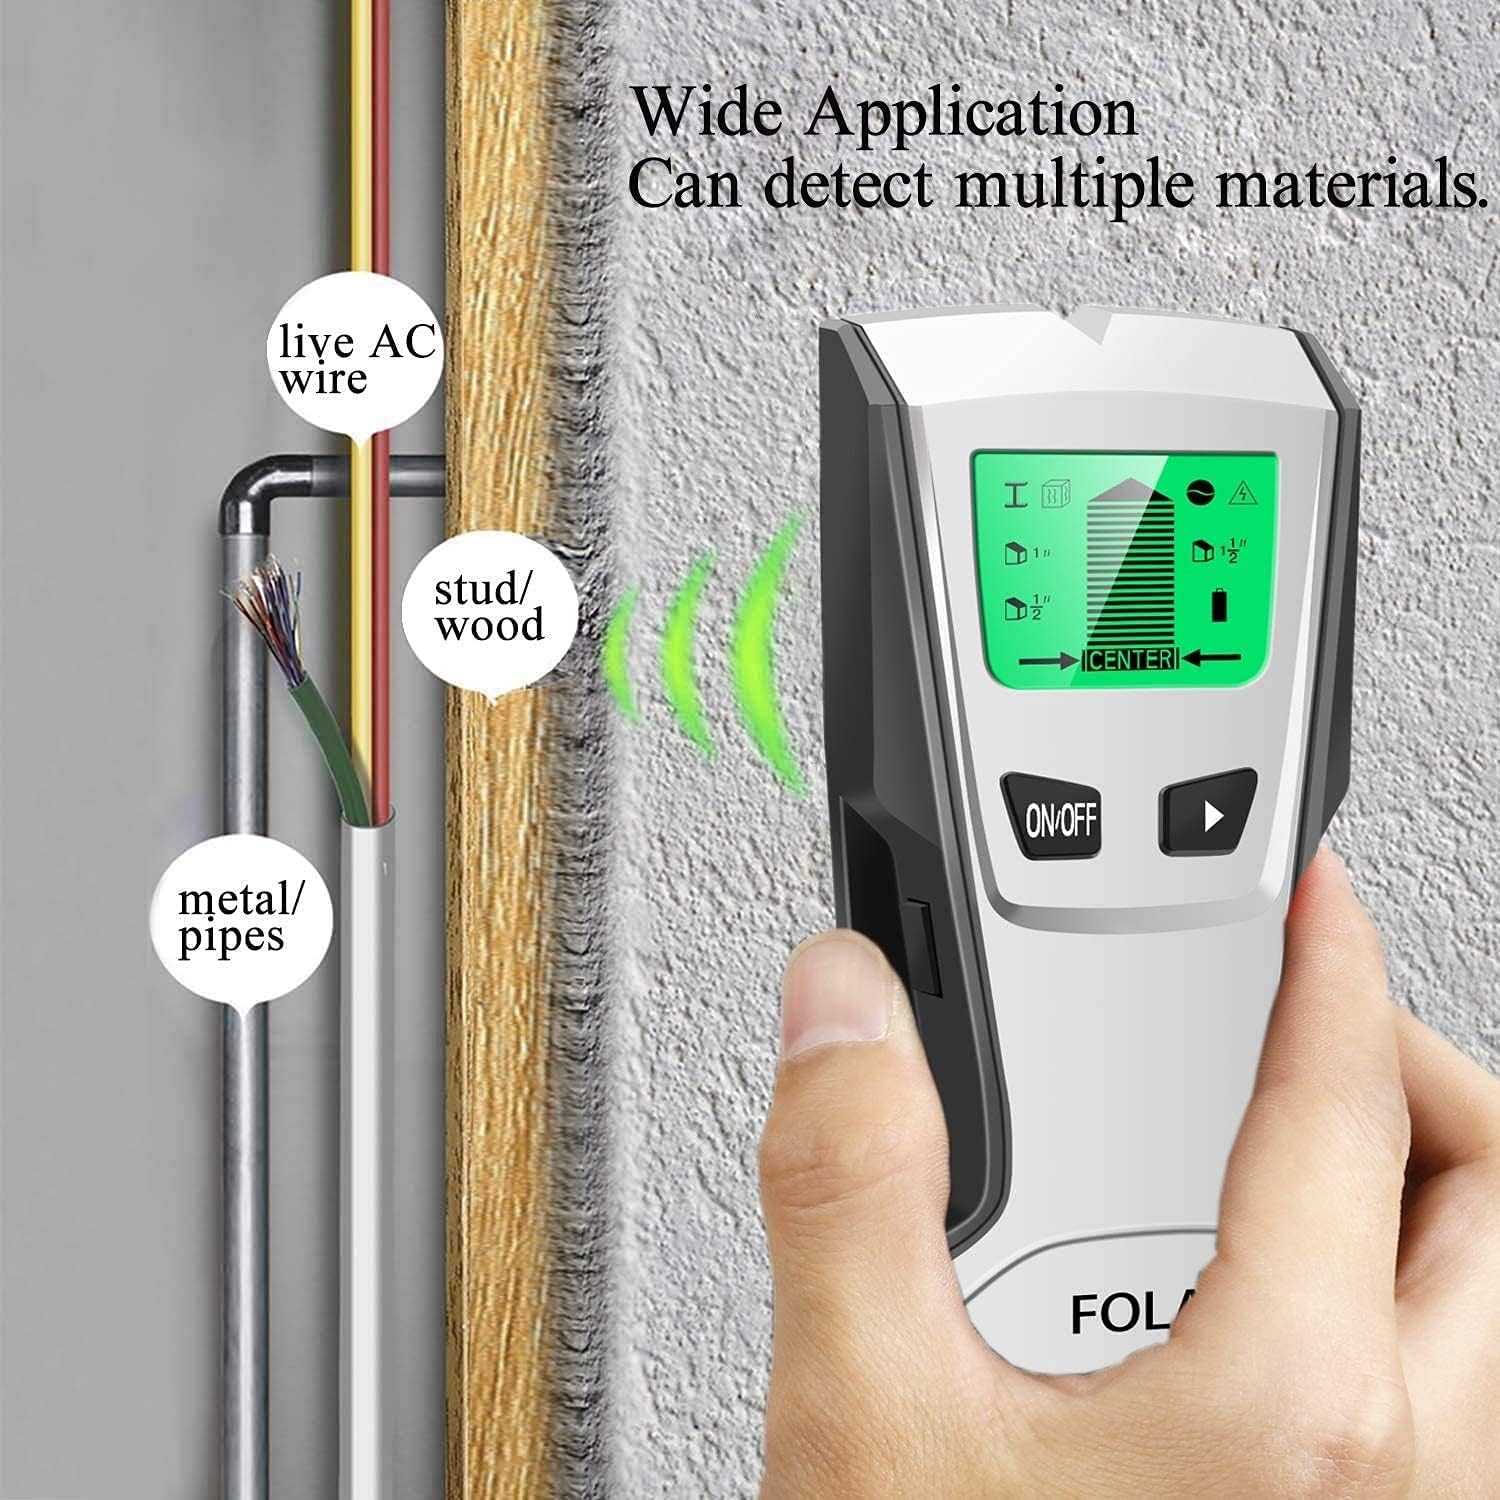
Image 6.2: Illustration of the stud finder's wide application, showing detection of live AC wires, wood/studs, and metal/pipes within a wall.
7. Tips for Accurate Detection
- Calibrate Correctly: Always calibrate the device on a section of the wall that is free from known obstructions.
- Slow and Steady: Move the device slowly across the wall. Moving too quickly can result in missed detections.
- Maintain Contact: Keep the entire scanning surface of the device flat against the wall. Do not lift or tilt it during scanning.
- Scan Multiple Times: For critical applications, scan the same area from different directions (left-to-right, right-to-left, and even vertically if appropriate) to confirm readings.
- Avoid Wet Areas: Moisture can interfere with detection. Avoid scanning walls that are damp or recently painted.
- Consider Wall Material: The device is optimized for drywall. Performance may vary on lath and plaster, wallpaper with metallic fibers, or highly textured surfaces.
8. Maintenance
- Cleaning: Wipe the device with a soft, dry cloth. Do not use abrasive cleaners or solvents.
- Storage: Store the stud finder in a cool, dry place away from direct sunlight and extreme temperatures. Remove the battery if the device will not be used for an extended period to prevent leakage.
- Battery Replacement: Replace the 9V battery when the low battery indicator appears on the display.
9. Troubleshooting
| Problem | Possible Cause | Solution |
|---|---|---|
| Inaccurate readings / No detection | Improper calibration; Wall material interference; Device moved too quickly; Low battery. | Recalibrate on a clear section of the wall. Scan slowly. Ensure full contact with the wall. Replace battery if low. |
| Device does not turn on | Dead or incorrectly installed battery. | Check battery polarity. Replace with a new 9V battery. |
| Constant beeping or false positives | Calibrated over an object; High humidity; Nearby electrical interference. | Recalibrate on a different, clear section of the wall. Move away from other electronic devices. |
10. Specifications
- Brand: FOLAI
- Model: B09BN25PP4
- Power Source: Battery Powered (9V battery, not included)
- Stud Scan Depth: Up to 1 inch (25 mm)
- Deep Scan Depth: Up to 1.5 inches (38 mm)
- Metal Scan Depth: Up to 2.36 inches (60 mm)
- AC Scan Depth: Up to 2 inches (51 mm)
- International Protection Rating: IP54
- Item Weight: 8.8 ounces
- Package Dimensions: 10.16 x 5.12 x 2.28 inches
11. Warranty and Support
For warranty information or technical support, please refer to the contact details provided with your purchase or visit the official FOLAI website. Keep your purchase receipt as proof of purchase.