
Introduction
This manual provides comprehensive instructions for the Vpcok Direct 12.6 Quart Sous Vide Container with Lid and Rack. This product is designed to enhance your sous vide cooking experience by providing a stable and efficient environment for your immersion circulator. Please read this manual thoroughly before use to ensure proper operation and maintenance.
Product Features
- All-in-One Design: This container integrates functions for securely holding your sous vide cooker, fixing food in place, and preserving heat. It is compatible with most hot-selling immersion circulators on the market, with the exception of Anova PC 1.0.
- Unique Rack Design: The fixed sous vide rack prevents food from being heated unevenly by allowing height adjustment. This ensures consistent water circulation around your food.
- Heat-Reducing Lid: The included lid significantly reduces heat loss and minimizes water evaporation during long cooking sessions, contributing to energy efficiency and stable temperatures.
- Durable Construction: Manufactured from high-quality, heat-resistant plastic, this sous vide container is shatterproof, durable, and designed for long-term use.
- High Temperature Resistance: The material withstands a wide temperature range from -45°C to 135°C. Integrated handles provide convenience and safety when moving the container, preventing scalds.
Package Contents
Upon opening the package, ensure all components are present and in good condition:
- 1 x Vpcok Direct 12.6 Quart Sous Vide Container
- 1 x Lid with Immersion Circulator Opening
- 1 x Adjustable Fixed Shelf/Rack
- 4 x Adjustment Columns for Rack
- 1 x User Manual

Image: All components of the Vpcok Direct Sous Vide Container, including the container, lid, and adjustable rack.
Video: Unboxing and initial overview of the Sous Vide Container components.
Setup and Assembly
Follow these steps to assemble your Vpcok Direct Sous Vide Container:
Step 1: Prepare the Lid and Adjustment Columns
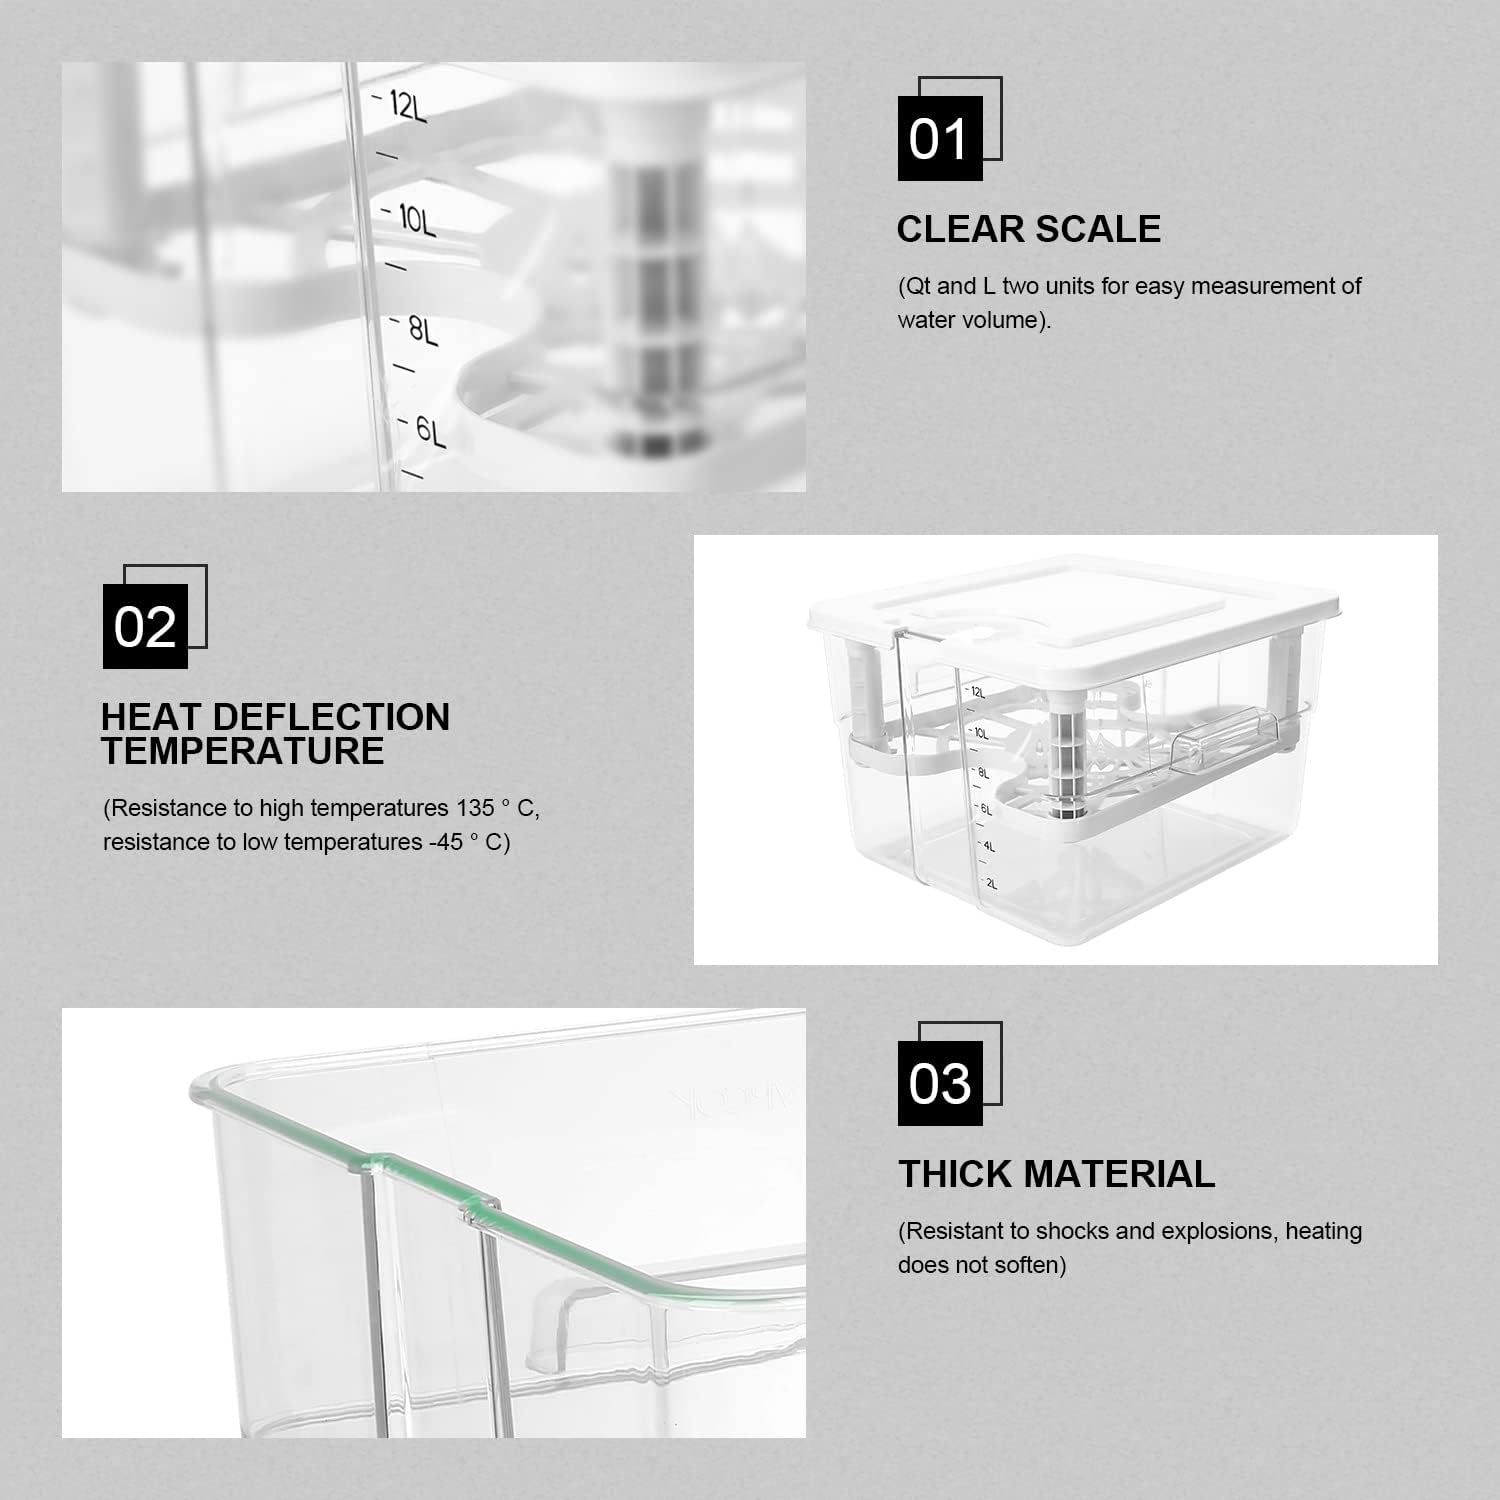
Image: Illustration of turning the lid upside down and inserting the adjustment columns into the designated slots.
Turn the lid upside down. Point the adjustment columns with their buckles towards the docking ports in the lid and gently press them down until they are securely fastened.
Step 2: Attach the Adjustable Rack
Image: Illustration of aligning the rack's holes with the adjustment columns and adjusting height.
Aim the holes of the adjustable rack at the four adjustment columns. First, adjust two columns to your desired height, then carefully position the rack onto the remaining two columns.
Step 3: Secure the Lid to the Container
Image: Illustration of placing the fully assembled lid and rack onto the sous vide container.
Carefully place the assembled lid and rack onto the sous vide container, ensuring it fits snugly to minimize heat and moisture loss.
Video: Detailed steps for assembling the sous vide container's lid and rack.
Operating Instructions
Follow these steps for optimal use of your sous vide container:
Step 1: Prepare Your Food
Image: A vacuum sealer preparing a cut of meat in a bag.
Place the food you intend to cook into a vacuum-sealable bag and remove all air using a vacuum sealer. This ensures even cooking and prevents food from floating.
Step 2: Fill Container and Position Food
Image: A vacuum-sealed food bag being placed into the sous vide container, with water being added.
Place the vacuum-sealed food bag(s) into the sous vide container. Adjust the height of the fixed rack to ensure the food is fully submerged in the water. Fill the container with water to the desired level, ensuring it is within the operating range of your immersion circulator. Place the lid securely on the container.
Step 3: Insert Immersion Circulator
Image: An immersion circulator being inserted into the dedicated opening on the container lid.
Insert your immersion circulator into the designated opening in the lid. Ensure it is securely placed and stable.
Step 4: Set Temperature and Time
Set the desired temperature and cooking time on your sous vide device according to your recipe. The container's design promotes uniform heat transfer and visible water circulation for precise cooking.

Image: Diagram illustrating efficient heat circulation and uniform temperature distribution within the container.
Step 5: Enjoy Your Meal
Image: A perfectly cooked steak, ready to be served, demonstrating the results of sous vide cooking.
Once cooking is complete, carefully remove the food bag from the container. Finish the food using your preferred methods (e.g., searing, grilling) to achieve desired texture and flavor, then serve and enjoy.
Maintenance and Cleaning
Proper cleaning and maintenance will extend the life of your sous vide container.
Cleaning Instructions:
- After each use, empty the water from the container.
- Wash the container, lid, and rack with warm, soapy water. A soft sponge or cloth is recommended.
- Rinse all components thoroughly with clean water to remove any soap residue.
- Allow all parts to air dry completely before storing.
- Do not use abrasive cleaners, harsh chemicals, or scouring pads, as these can scratch or damage the plastic.
- The container is not dishwasher safe. Hand washing is recommended.
Troubleshooting
Here are solutions to common issues you might encounter:
Food Bags Floating
If your vacuum-sealed food bags are floating, ensure the adjustable rack is properly positioned to hold them submerged. The rack's design is intended to keep food fully immersed. If necessary, you can use additional sous vide weights or clips (not included) to keep bags below the water line.

Image: Illustration of the adjustable rack effectively keeping food submerged, preventing uneven heating.
Excessive Water Evaporation
The lid is specifically designed to minimize water evaporation during cooking. Ensure the lid is securely placed on the container throughout the cooking process. For very long cooking times (e.g., over 24 hours), it is advisable to periodically check the water level and add hot water if necessary to ensure your immersion circulator remains adequately submerged.
Immersion Circulator Fit
The lid's opening is designed to accommodate most standard immersion circulators. If your specific circulator model (e.g., Anova PC 1.0) does not fit perfectly, ensure it is still securely positioned to prevent excessive heat loss and maintain stability during operation.
Product Specifications
| Property | Value |
|---|---|
| Product Dimensions | 12"D x 12"W x 8"H |
| Capacity | 12.6 Quarts |
| Item Weight | 1.4 Kilograms |
| Brand | Vpcok Direct |
| Material | Plastic |
| Control Method | App (for compatible circulators) |
| Upper Temperature Rating | 135 Degrees Celsius |
| Color | White |
| Manufacturer | Vpcok Direct |
| ASIN | B09BJKF287 |
| GTIN | 06972404305675 |
Warranty and Support
For specific warranty information, product support, or to address any concerns not covered in this manual, please refer to the documentation included with your purchase or contact Vpcok Direct customer service directly. Contact details can typically be found on the product packaging or the official Vpcok Direct website.