1. Introduction
Thank you for choosing the QZT Mini Body Camera. This compact and versatile device is designed for various recording needs, offering 1080p Full HD video, audio recording, night vision, and motion detection capabilities. This manual provides detailed instructions to help you set up, operate, and maintain your camera effectively.

Image 1.1: QZT Mini Body Camera with included 32GB SD card.
2. Package Contents
Please check the package for the following items:
- QZT Mini Body Camera
- USB Charging/Data Cable
- User Manual
- SD Card (Capacity may vary, typically 32GB)
3. Product Overview
Familiarize yourself with the camera's components and controls:

Image 3.1: Labeled diagram of the QZT Mini Body Camera.
- Lens: Captures video and images.
- Power Button: Turns the camera on/off.
- Mode Switch: Toggles between video, audio, and photo modes.
- Indicator Light: Displays camera status (e.g., recording, charging).
- SD Card Slot: For inserting the microSD card.
- USB Port: For charging and data transfer.
- Reset Button: Used to reset the device.
- Magnetic Base & Clip Buckle: For versatile mounting and attachment.
4. Setup
4.1 Initial Charging
Before first use, fully charge the camera. Connect the camera to a USB power source (e.g., computer, power adapter) using the provided USB cable. The indicator light will show charging status and turn off or change color when fully charged. A full charge typically takes approximately 3 hours and provides up to 14 hours of use.
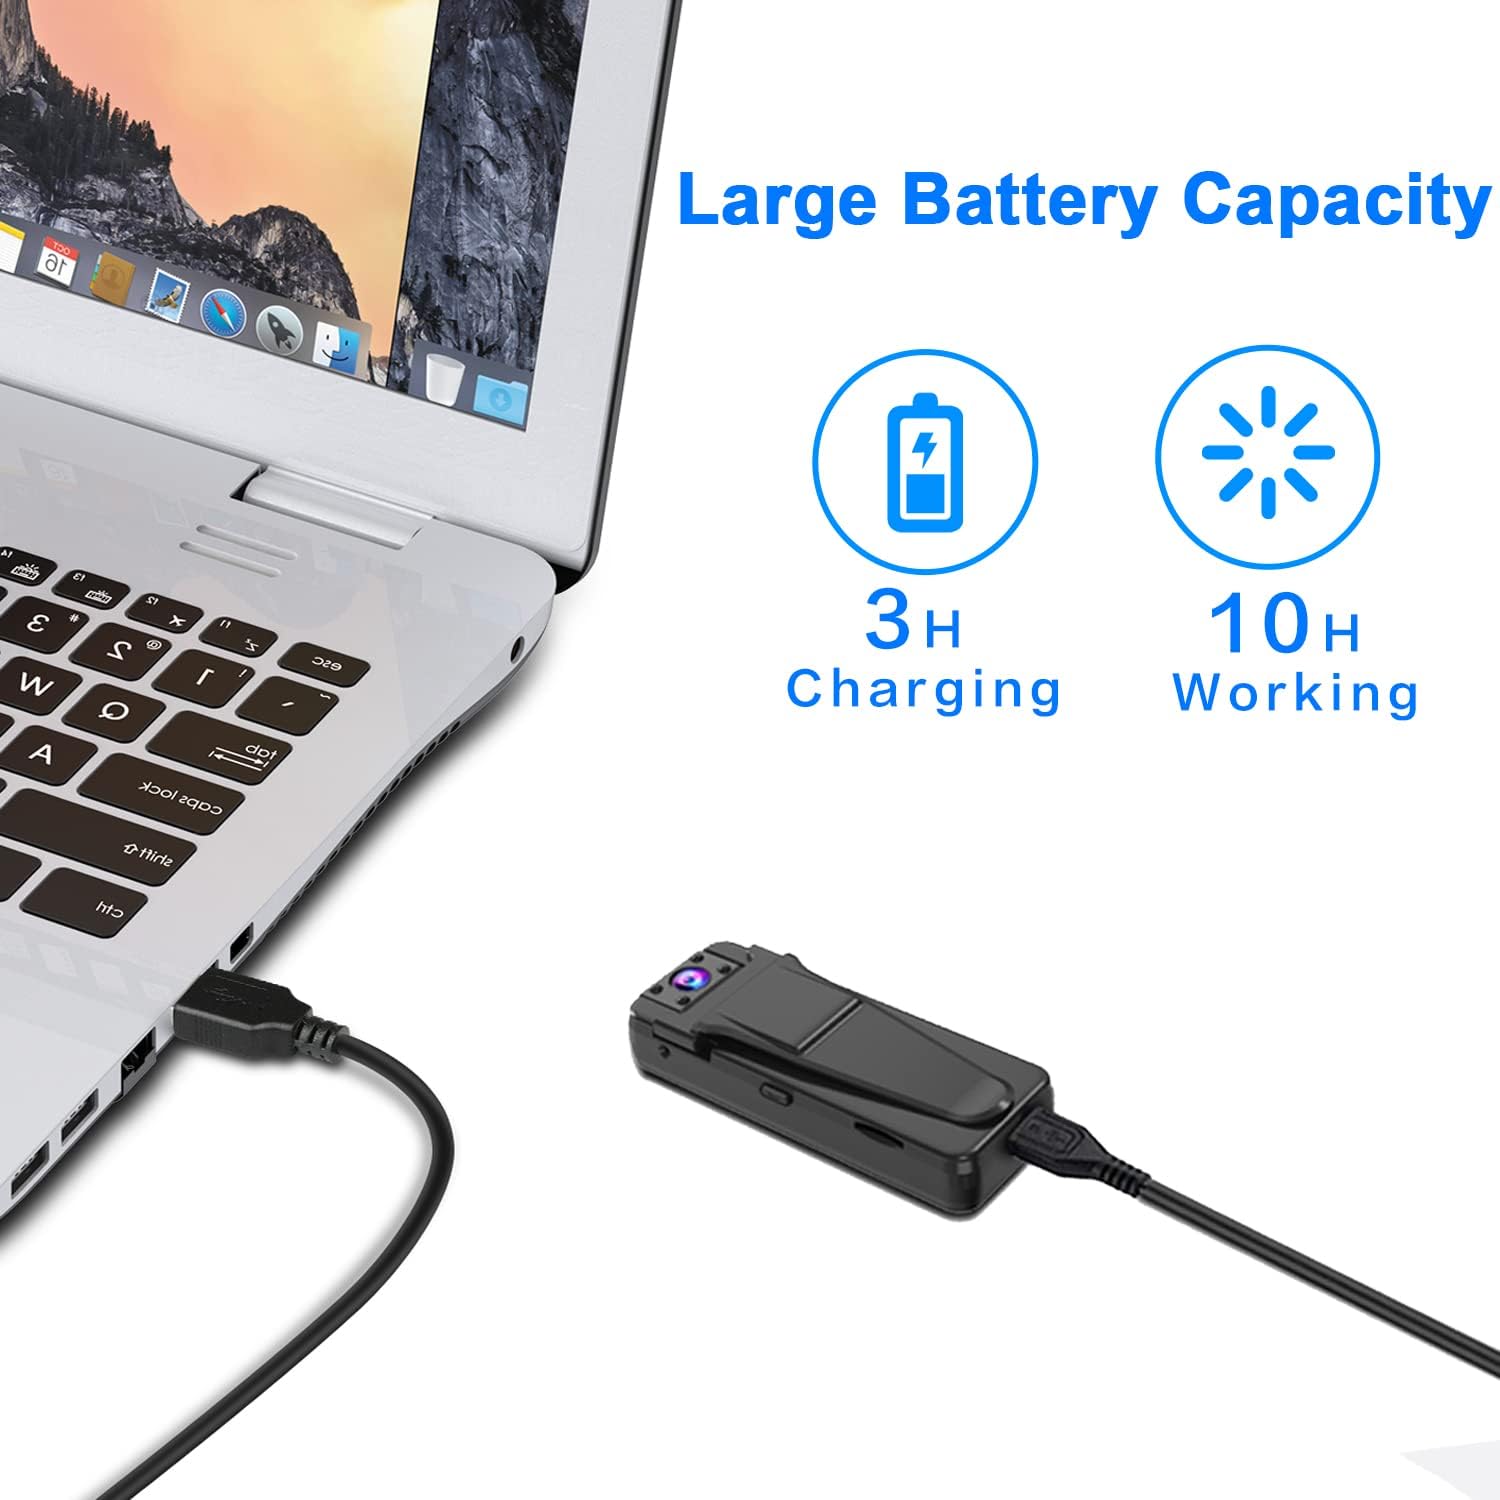
Image 4.1: Charging the QZT Mini Body Camera via USB.
4.2 Inserting the SD Card
Locate the SD card slot on the camera. Gently insert the provided microSD card into the slot until it clicks into place. Ensure the camera is powered off before inserting or removing the SD card. The camera will automatically power off after a few seconds if no SD card is detected upon startup.
4.3 Setting Date and Time
To ensure accurate timestamps on your recordings, connect the camera to your computer and follow the instructions in the camera's internal storage (usually a text file) to set the correct date and time.
5. Operating Instructions
5.1 Power On/Off
- To Power On: Press and hold the Power Button until the indicator light illuminates.
- To Power Off: Press and hold the Power Button until the indicator light turns off.
5.2 Recording Video
Slide the Mode Switch to the video recording position. The camera will typically start recording automatically, indicated by a flashing light. Videos are saved in 10-minute segments. To stop recording, slide the Mode Switch to another position or power off the camera.

Image 5.1: The camera supports video, photo, and audio recording modes.
5.3 Taking Photos
While in video recording status, you can switch to photo mode to capture still images. Refer to the specific button functions on your device for photo capture (e.g., a short press of the power button or a dedicated photo button).
5.4 Recording Audio
Slide the Mode Switch to the audio recording position. The camera will begin recording audio, typically saving files hourly. The indicator light will confirm audio recording status.
5.5 Night Vision
The camera features manual night vision. To activate or deactivate night vision, locate the dedicated night vision switch or button on the device. Night vision provides clearer video and images in low-light conditions.

Image 5.2: 1080P HD Resolution and Night Vision capability.
5.6 Motion Detection
The camera supports motion detection recording. When enabled, the camera will automatically start recording when motion is detected and stop when motion ceases, conserving storage space and battery life. Refer to the camera's settings (accessible via computer) to enable and configure motion detection.
5.7 Loop Recording
The camera supports loop recording. When enabled, new files will automatically overwrite the oldest files when the SD card is full. If loop recording is disabled, you must manually delete old files to free up space, otherwise, the camera will stop recording when the memory is full.
6. File Management
To view your recorded files, you have two options:
- Connect via USB: Connect the camera to your computer using the USB cable. The camera will appear as a removable disk, allowing you to access and transfer files.
- Use an SD Card Reader: Remove the microSD card from the camera and insert it into an SD card reader connected to your computer.

Image 6.1: Methods for accessing recorded files.
7. Troubleshooting
- Camera not turning on: Ensure the camera is fully charged. If the issue persists, try resetting the camera using a small pin in the reset hole.
- Camera turns off automatically: Check if an SD card is properly inserted. The camera requires an SD card to operate.
- Cannot record: Verify that the SD card has sufficient free space. If loop recording is off and the card is full, delete old files or replace the card. Ensure the SD card is formatted correctly (FAT32 recommended).
- Poor video/audio quality: Ensure the lens is clean. For night vision, confirm it is activated in low-light conditions.
- Date/Time incorrect: Reconnect to a computer and follow the instructions to set the date and time file.
8. Specifications
| Feature | Specification |
|---|---|
| Brand | QZT |
| Model | B09BFBF9BW |
| Color | Black |
| Material | Metal |
| Video Resolution | 1080p |
| Special Features | Night Vision, Motion Detection |
| Connectivity Technology | Wired (USB for data/charging), No Wi-Fi |
| Power Source | Battery Powered (Built-in rechargeable battery) |
| Battery Life (Approx.) | 14 hours (after full charge) |
| Charging Time (Approx.) | 3 hours |
| Storage | MicroSD Card (up to 128GB, card included) |
| Recommended Uses | Home Security, Surveillance, Spy Camera |
| Indoor/Outdoor Use | Indoor |
| Dimensions (Package) | 11.6 x 7.5 x 3.9 cm |
| Weight (Package) | 140 grams |
9. Safety Information
- Do not expose the camera to extreme temperatures, humidity, or direct sunlight.
- Avoid dropping or subjecting the camera to strong impacts.
- Keep the camera away from water and liquids.
- Use only the provided USB cable for charging and data transfer.
- Do not attempt to disassemble or repair the camera yourself. Contact customer support for assistance.
- Ensure the camera is used in compliance with all local laws and regulations regarding surveillance and privacy.
10. Warranty and Support
QZT products come with a standard warranty. For warranty details, technical support, or any questions regarding your Mini Body Camera, please contact QZT customer service through the retailer's platform or the official QZT website. Please have your product model and purchase information ready when contacting support.


