
1. Introduction
This manual provides essential information for the safe and efficient operation, installation, and maintenance of your Crompton Rapidjet Plus Turbo 6-L Storage Water Heater. Please read these instructions carefully before using the appliance and retain them for future reference.
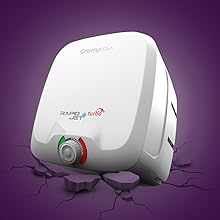
Image: Crompton Rapidjet Plus Turbo Water Heater in a modern bathroom setting, highlighting its aesthetic integration.
2. Safety Instructions
Always adhere to the following safety guidelines to prevent injury or damage to the appliance:
- Ensure the water heater is installed by a qualified technician.
- Do not operate the water heater if the power cord or plug is damaged.
- Never attempt to repair the appliance yourself. Contact authorized service personnel.
- Ensure proper grounding to prevent electrical shock.
- Keep flammable materials away from the water heater.
- Do not block ventilation openings.
- The appliance must be filled with water before switching on the power.

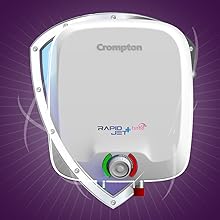
Image: Diagram illustrating the 3-level safety features of the water heater, including advanced safety mechanisms.
3. Product Features
The Crompton Rapidjet Plus Turbo water heater is designed for efficiency and safety:
- Fast Heating: Equipped for rapid water heating.
- Capacity: 6 Liters storage capacity.
- Energy Efficiency: 5 Star Rated for optimal energy savings.
- High Pressure Resistance: Suitable for high-rise buildings with 8 bar pressure compatibility.
- 3-Level Safety: Features a capillary thermostat, automatic thermal cut-out, and a multi-functional valve for enhanced safety.
- Anti-Rust Protection: Fitted with a specially designed magnesium anode to prevent corrosion from hard water.
- Quality Heating Element: ISI marked nickel-coated special element resists scale formation.
- Smart Shield Corrosion Protection: Advanced technology for tank longevity.


4. Technical Specifications
| Specification | Detail |
|---|---|
| Model Number | ASWH-6LRPDJT3KW |
| Capacity | 6 Liters |
| Power Source | Electric |
| Voltage | 230 Volts (AC) |
| Wattage | 3000 W |
| Efficiency | 5 Star Rated |
| Maximum Pressure | 8 Bars |
| Mount Type | Wall Mounting |
| Item Weight | 5700 Grams |
| Material Type | Plastic |
| Included Components | Water Heater |
5. Installation (Setup)
Professional installation is highly recommended for this water heater to ensure safety and proper functioning. The unit is designed for wall mounting.
5.1 Pre-Installation Checks
- Verify that the wall can support the weight of the water heater when full.
- Ensure adequate space around the unit for maintenance and ventilation.
- Check water supply pressure and electrical connections meet specifications.
5.2 Mounting and Connections
- Mark drilling points on the wall according to the unit's dimensions.
- Securely mount the water heater to the wall using appropriate fasteners.
- Connect the cold water inlet and hot water outlet pipes. Ensure all connections are watertight.
- Install the multi-functional safety valve on the inlet pipe.
- Fill the tank with water before connecting to the electrical supply. Open a hot water tap to allow air to escape until water flows steadily.
- Connect the power cord to a properly grounded electrical outlet.

Image: Dimensions of the Crompton Rapidjet Plus Turbo water heater (310mm height, 275mm width, 335mm depth).

Image: Crompton Rapidjet Plus Turbo water heater installed in a bathroom, demonstrating typical placement.
6. Operating Instructions
6.1 Initial Start-up
- Ensure the water heater is properly installed and filled with water.
- Plug the power cord into the electrical outlet.
- Switch on the power supply to the water heater. The indicator light will illuminate.
6.2 Temperature Adjustment
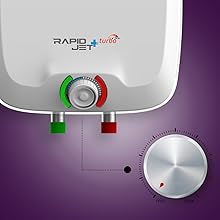
- Use the temperature control knob on the front of the unit to set your desired water temperature.
- The water heater will automatically heat the water to the set temperature and maintain it.
6.3 Shutting Down
- To turn off the water heater, switch off the power supply at the main switch or unplug the unit.
- For extended periods of non-use, it is recommended to drain the tank to prevent freezing or sediment buildup.
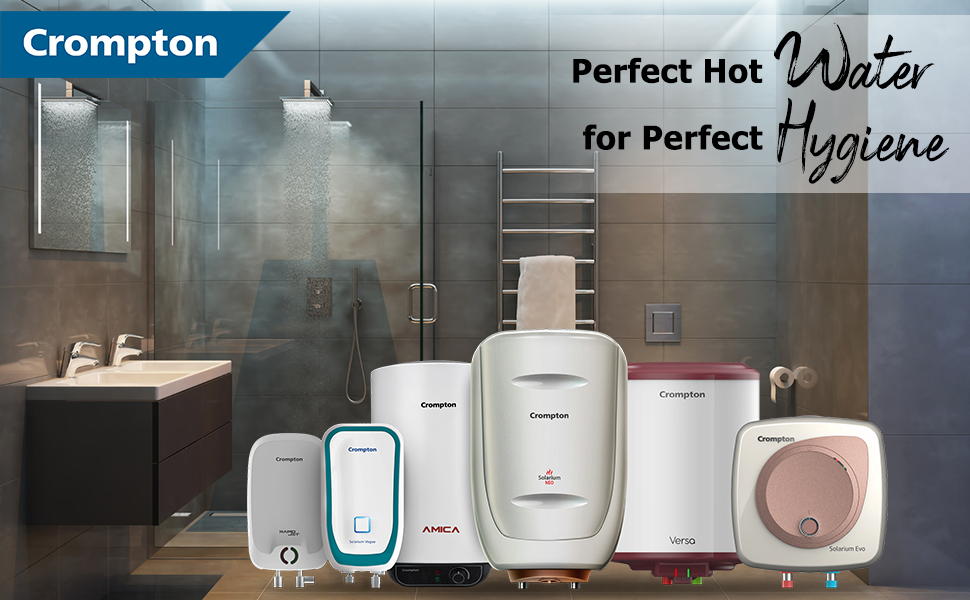
Image: Close-up of the Crompton Rapidjet Plus Turbo water heater, showing the temperature control knob for easy adjustment.
7. Maintenance
Regular maintenance ensures the longevity and efficiency of your water heater.
7.1 Cleaning
- Before cleaning, always switch off the power supply and unplug the unit.
- Wipe the exterior with a soft, damp cloth. Do not use abrasive cleaners or solvents.
7.2 Descaling and Anode Rod Inspection
- Periodically, the heating element may accumulate scale, especially in hard water areas. Descaling should be performed by a qualified technician.
- The magnesium anode rod, which protects against corrosion, should be inspected and replaced by a technician every 1-2 years, depending on water quality.
7.3 Draining the Tank
- Turn off the power supply and close the cold water inlet valve.
- Open a hot water tap to release pressure.
- Connect a hose to the drain valve at the bottom of the heater and direct it to a suitable drain.
- Open the drain valve to empty the tank.
8. Troubleshooting
Refer to the table below for common issues and their potential solutions. For problems not listed or if solutions do not resolve the issue, contact customer support.
| Problem | Possible Cause | Solution |
|---|---|---|
| No hot water | No power supply; Thermostat tripped; Heating element failure | Check power connection/fuse; Reset thermostat; Contact service |
| Water not hot enough | Temperature setting too low; Scale buildup; Insufficient capacity | Adjust thermostat; Descale (service required); Allow more heating time |
| Water is too hot | Temperature setting too high | Lower temperature setting |
| Leaking from unit | Loose connections; Faulty pressure relief valve; Tank corrosion | Tighten connections; Replace valve (service required); Contact service for tank inspection |
| Unusual noises | Sediment buildup in tank; Loose components | Drain and flush tank (service required); Contact service |
9. Warranty and Support
Crompton provides comprehensive warranty coverage for your water heater:
- Tank: 5 years warranty from the date of purchase.
- Heating Element: 2 years warranty from the date of purchase.
- Product: 2 years warranty on the overall product from the date of purchase.
The warranty is limited to manufacturing defects only. For on-site service, customers need to contact the nearest authorized service center. A service engineer will visit to inspect or repair the product.
Customer Care
For any queries, service requests, or free installation assistance (available in select locations), please contact Crompton customer care:
- Toll-Free Number: 1800 419 0505
- Mobile: +91 74287 13838
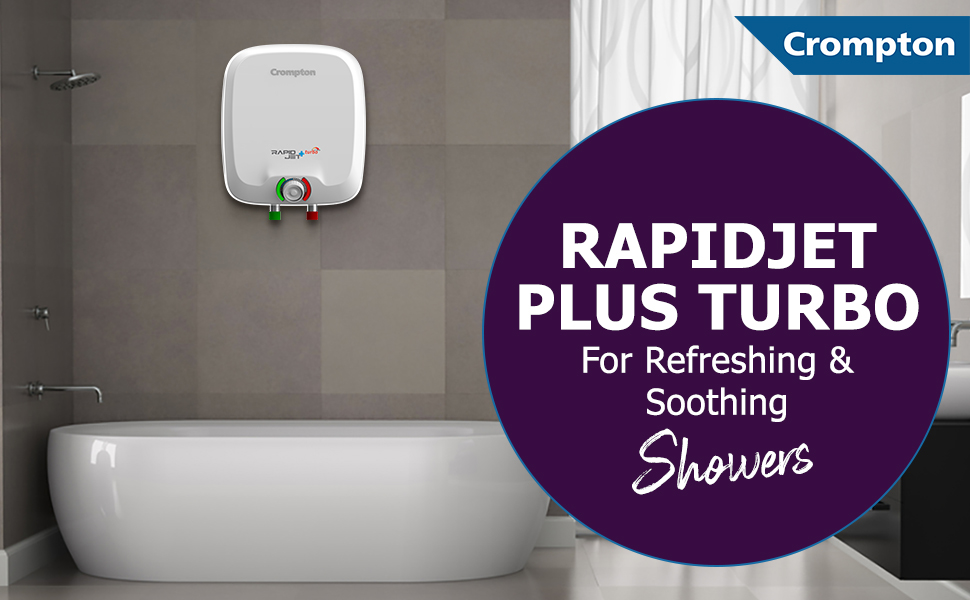
Image: Crompton customer care contact information, including toll-free and mobile numbers for support and installation services.