
Introduction
This manual provides detailed instructions for the assembly, operation, and maintenance of your FREE SOLDIER 30070 Astronomical Telescope. Please read this guide thoroughly before using your telescope to ensure proper function and longevity.
Safety Information
WARNING: CHOKING HAZARD - Small parts. Not for children under 3 years. Adult supervision is recommended during assembly and use.
NEVER look directly at the sun through your telescope or its finder scope without a professionally made solar filter. Permanent and irreversible eye damage, including blindness, can result.
Package Contents
Verify that all components are present before beginning assembly:
- Telescope Tube (300mm Focal Length, 70mm Aperture)
- Adjustable Aluminum Alloy Tripod
- Finder Scope (5X24)
- Diagonal Mirror
- Eyepieces: H20mm, H6mm
- 3X Barlow Lens
- Moon Mirror (Filter)
- Smartphone Adapter
- Wireless Remote Shutter
- Accessory Tray
- Carry Bag
- Instruction Manual

Image: All accessories included in the FREE SOLDIER 30070 Telescope package.
Setup Guide
Follow these steps to assemble your telescope. A video guide is also available for visual assistance.
Video: Step-by-step assembly instructions for the FREE SOLDIER 30070 Astronomical Telescope.
1. Tripod Assembly
- Unfold the tripod legs and extend them to your desired height. The legs can be adjusted from 16 to 45 inches.
- Secure the leg locks to ensure stability.
- Adjust the central column and pan handle for optimal positioning. The tripod head allows for 180° vertical and 360° horizontal rotation.

Image: Diagram illustrating the adjustable dimensions and multi-angle movement of the tripod.
2. Telescope Tube Installation
- Locate the mounting screw on the tripod head.
- Align the telescope tube's mounting hole with the tripod screw.
- Rotate the knob on the tripod head to securely fasten the telescope tube.
3. Finder Scope Installation
- Identify the finder scope bracket and the two small screws on the telescope tube.
- Place the finder scope bracket onto the telescope tube, aligning it with the screw holes.
- Secure the bracket by tightening the two screws.
- Insert the finder scope into its bracket and tighten the retaining screws.
4. Diagonal Mirror Installation
- Remove the dust cap from the focuser end of the telescope tube.
- Insert the diagonal mirror into the focuser. Tighten the small screw on the focuser to hold it in place.
5. Eyepiece and Barlow Lens Installation
- Insert your chosen eyepiece (H20mm or H6mm) into the diagonal mirror. Secure it with the small screw.
- For higher magnification, first insert the 3X Barlow lens into the diagonal mirror, then insert the eyepiece into the Barlow lens. Secure both with their respective screws.
6. Smartphone Adapter Installation
- Attach the smartphone adapter to an eyepiece. Ensure your phone's camera lens is centered over the eyepiece opening on the adapter.
- Insert the eyepiece with the attached smartphone adapter into the diagonal mirror.

Image: Visual guide for installing the smartphone adapter onto the telescope eyepiece.
Operating Your Telescope
1. Focusing
Once an object is located, rotate the focus knob slowly until the image appears sharp and clear through the eyepiece. Fine-tune as needed for optimal clarity.
2. Using the Finder Scope
The 5X24 finder scope helps locate objects before viewing them through the main telescope. Look through the finder scope and align its crosshairs with the desired object. Once aligned, the object should be visible in the main telescope's eyepiece.
3. Changing Magnification
Your telescope comes with H20mm and H6mm eyepieces, offering different magnifications. The H20mm eyepiece provides lower magnification and a wider field of view, ideal for locating objects. The H6mm eyepiece offers higher magnification for detailed observation. The 3X Barlow lens triples the magnification of any eyepiece it is used with.

Image: Examples of magnification levels achievable with different eyepieces and the 3X Barlow lens.
4. Observing the Moon (Moon Mirror)
For lunar observations, attach the Moon Mirror (filter) to the eyepiece. This filter reduces the brightness of the moon, enhancing contrast and allowing for more comfortable and detailed viewing of lunar features.
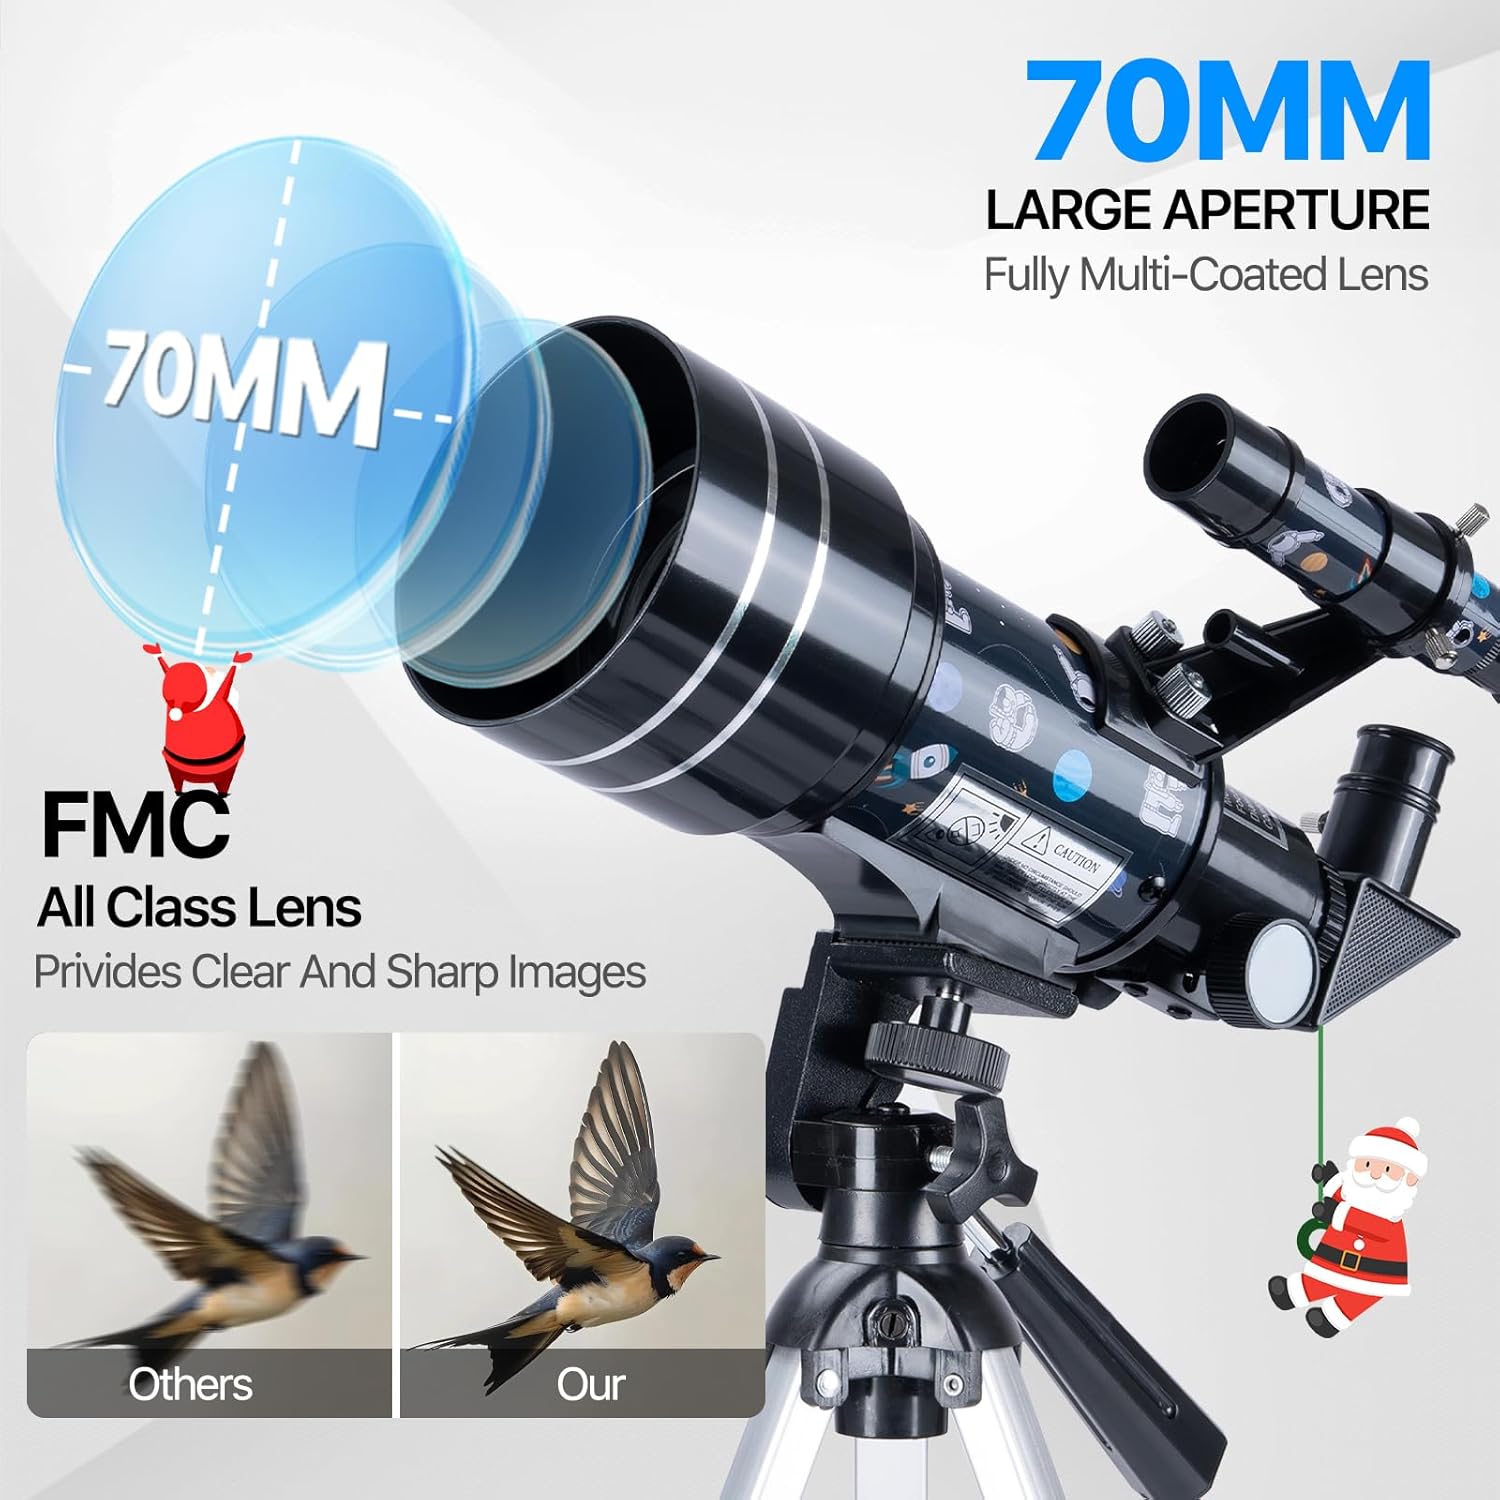
Image: Illustration of the 70mm aperture and the effect of the Moon Mirror on lunar observation.
5. Using the Smartphone Adapter and Wireless Remote
The smartphone adapter allows you to capture images or videos through the telescope. Once your phone is securely attached to the adapter and eyepiece, use the wireless remote shutter to take photos without touching the telescope, minimizing vibrations and ensuring clearer shots. Pair the remote via Bluetooth to your smartphone.
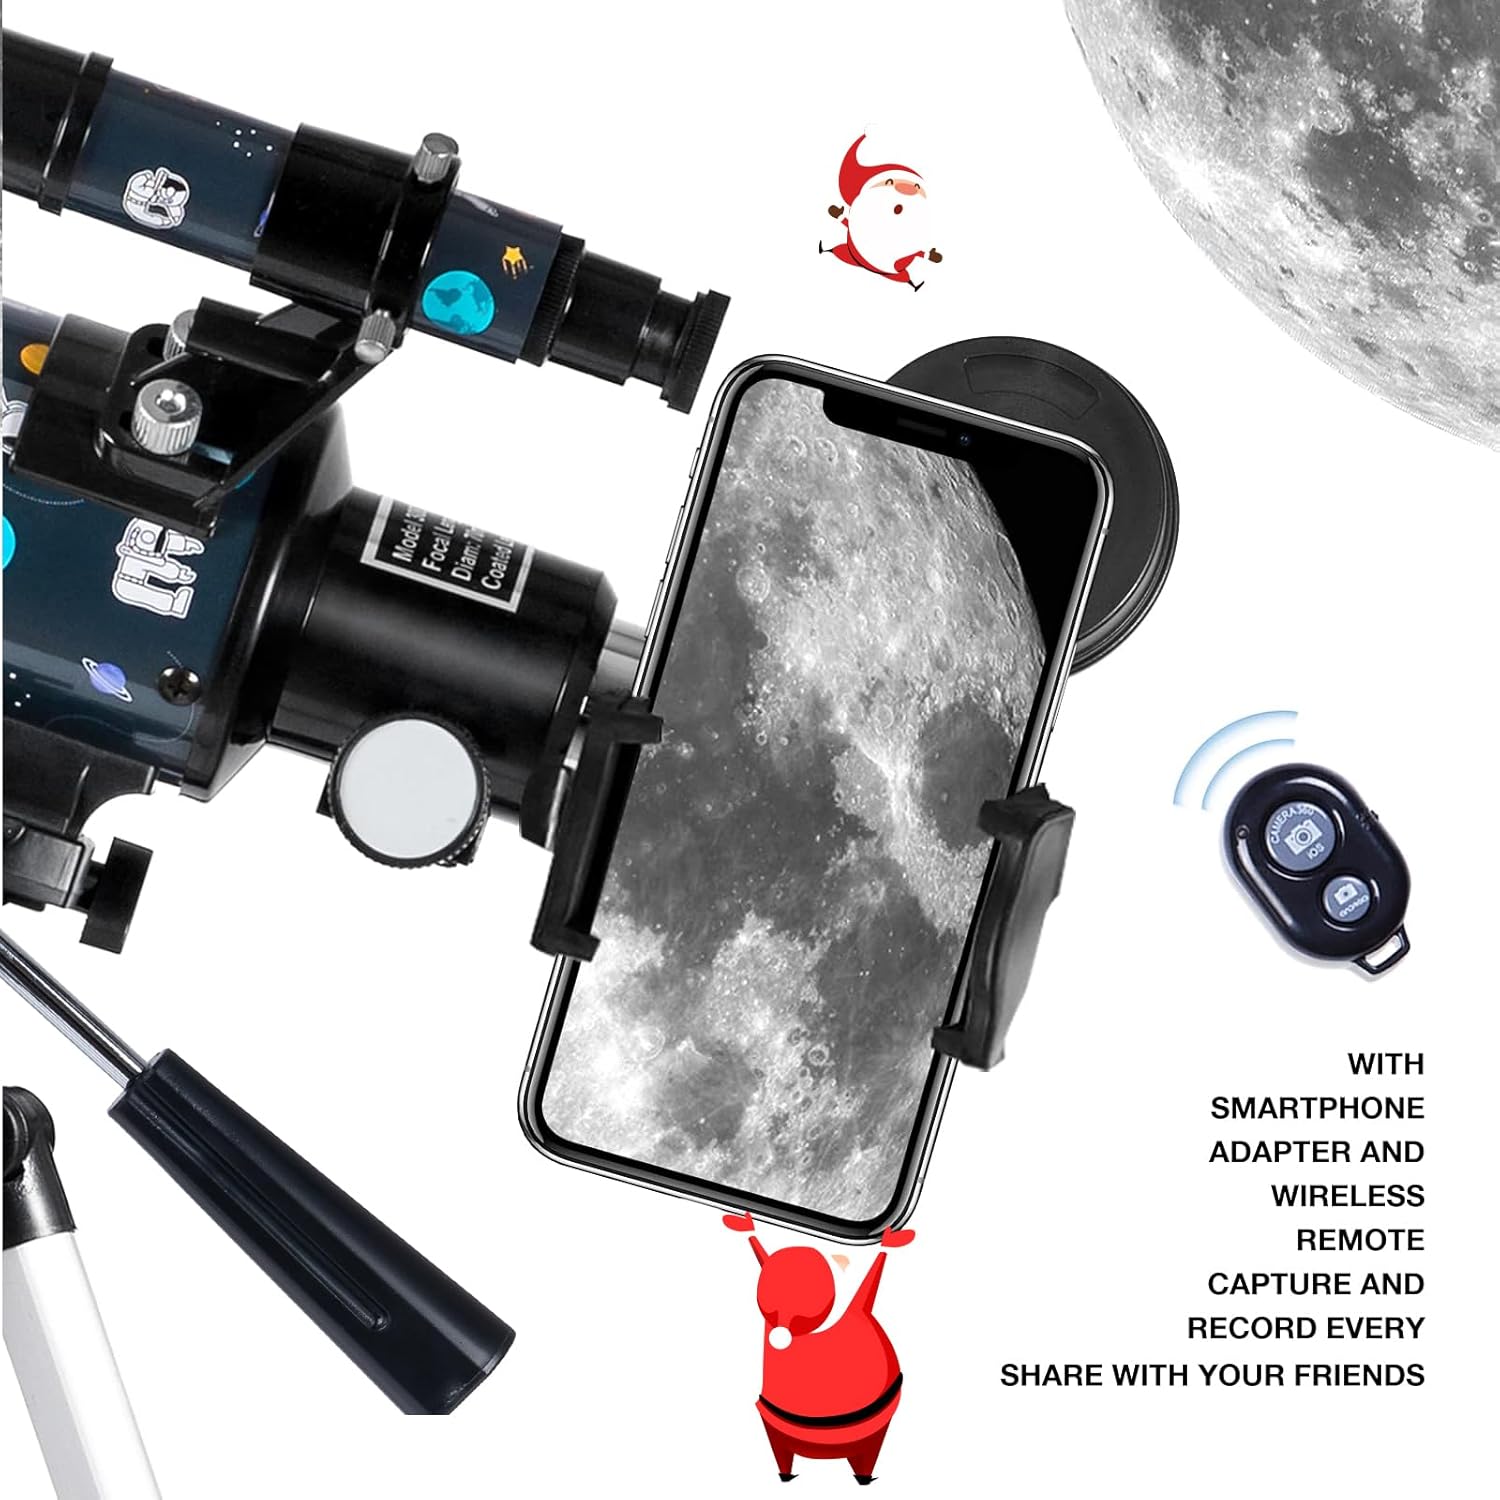
Image: The smartphone adapter and wireless remote in use for capturing images through the telescope.
Maintenance and Care
- Cleaning Lenses: Use a soft, lint-free cloth specifically designed for optical lenses. Gently wipe the lens surfaces. For stubborn smudges, use a small amount of optical lens cleaning fluid. Avoid touching the lens surfaces with your fingers.
- Cleaning the Telescope Body: Wipe the exterior of the telescope tube and tripod with a soft, damp cloth. Avoid abrasive cleaners.
- Storage: When not in use, store the telescope in its carry bag in a cool, dry place, away from direct sunlight and extreme temperatures. Ensure all caps are on the lenses and eyepieces to prevent dust accumulation.
- Handling: Always handle the telescope with care to avoid accidental drops or impacts, which can damage optical components or alignment.
Troubleshooting
- Image is blurry or out of focus: Adjust the focus knob slowly. Ensure the correct eyepiece is fully inserted and secured. Check if the diagonal mirror is properly seated.
- Cannot find objects: Ensure the finder scope is properly aligned with the main telescope. Start with the lowest magnification eyepiece (H20mm) for a wider field of view.
- Image is dim or unclear: This can happen with very high magnifications or in light-polluted areas. Try a lower magnification eyepiece. Ensure lenses are clean.
- Smartphone adapter is unstable or difficult to align: Ensure the adapter is securely fastened to the eyepiece and the phone is firmly clamped. Adjust the phone's position carefully to center the camera over the eyepiece.
- Telescope is wobbly: Ensure the tripod legs are fully extended and locked, and the telescope tube is securely attached to the tripod head.
Specifications
| Feature | Detail |
|---|---|
| Optical Tube Length | 300 Millimeters |
| Objective Lens Diameter | 70 Millimeters |
| Eyepiece Lens Description | Barlow (H20mm, H6mm included) |
| Telescope Mount Description | Altazimuth Mount |
| Finderscope | Reflex (5X24) |
| Focus Type | Manual Focus |
| Power Source | Battery Powered (for remote) |
| Product Dimensions | 27.56 x 11.81 x 44.88 inches |
| Item Weight | 4.44 pounds |
Warranty and Support
FREE SOLDIER provides comprehensive customer support for your telescope. If you have any questions regarding assembly, operation, or any other aspect of your product, please do not hesitate to contact us. We are committed to offering complete support to ensure your satisfaction.
For further assistance, please refer to the contact information provided with your purchase or visit the official FREE SOLDIER website.