1. Introduction
Thank you for purchasing the Crosley C100BT Belt-Drive Bluetooth Turntable. This manual provides essential information for the proper setup, operation, and maintenance of your new record player. Please read it thoroughly before use to ensure optimal performance and longevity of the product.
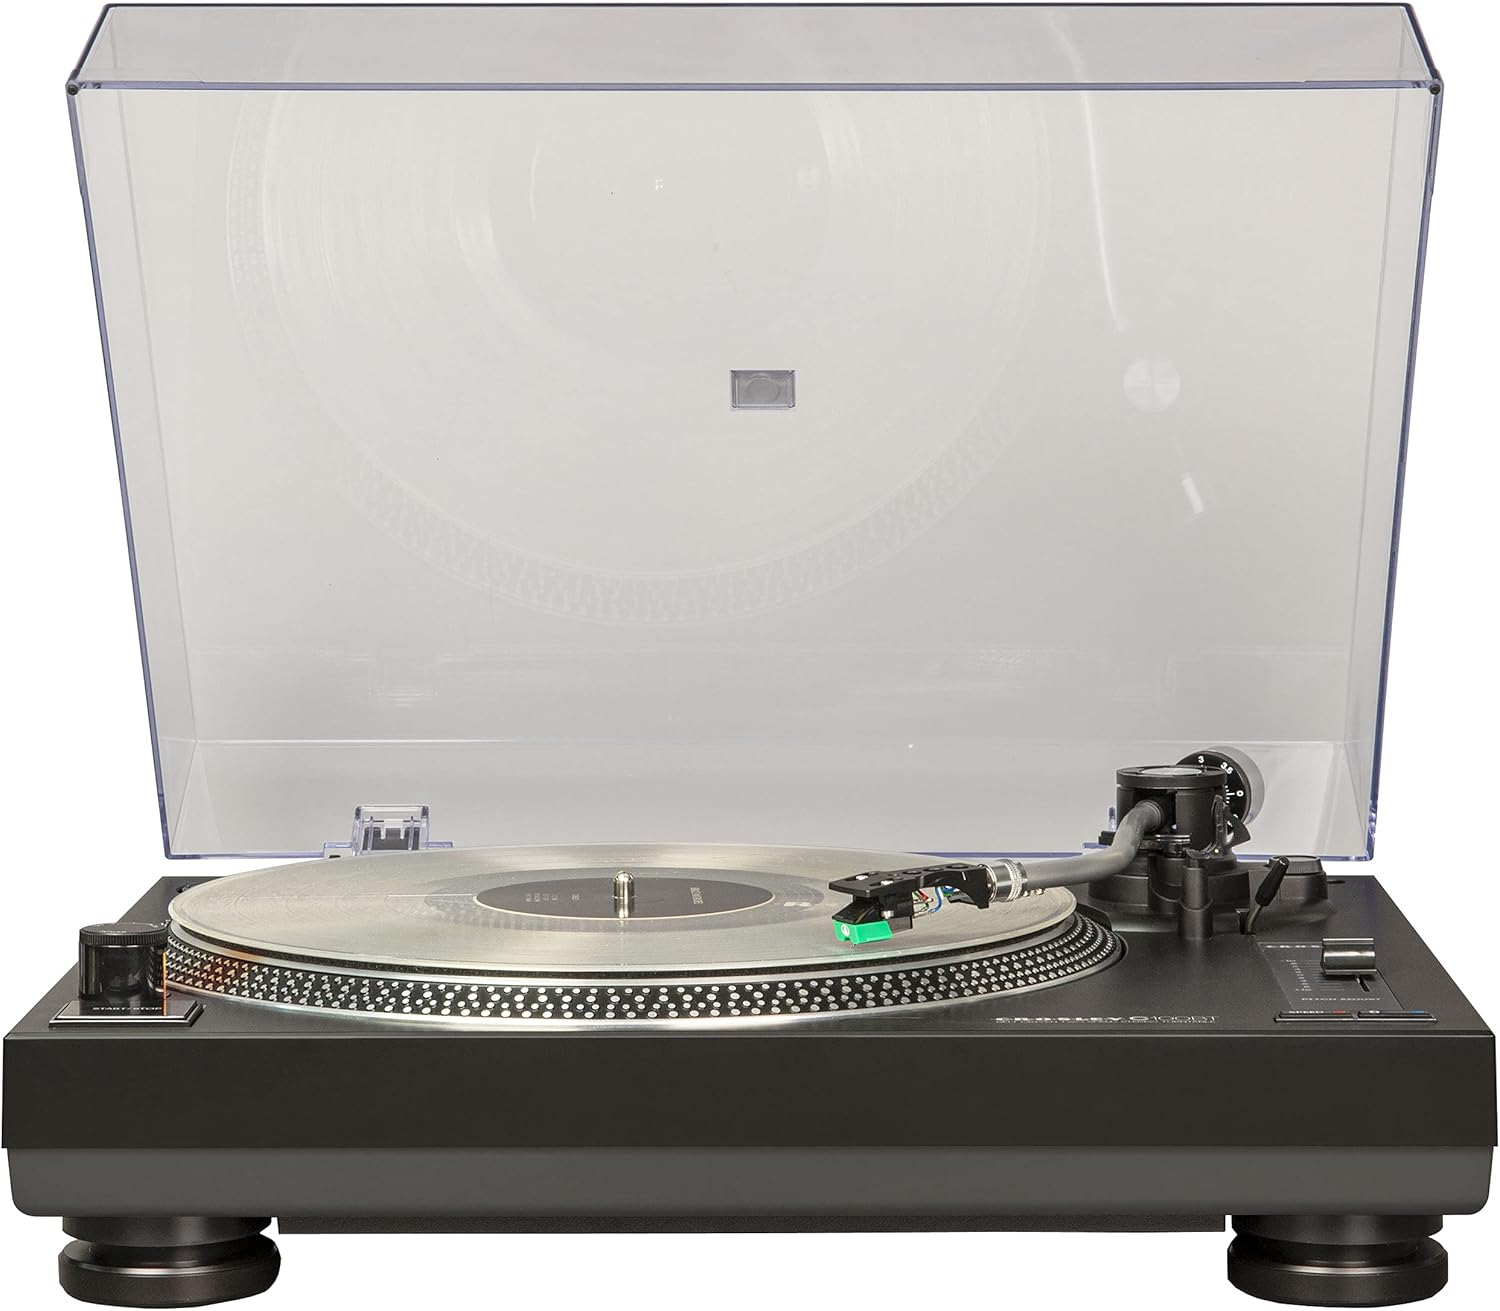
Image 1.1: The Crosley C100BT-BK Turntable with its clear dust cover open, showcasing the platter and tonearm.
2. Safety Information
To prevent fire or shock hazards, do not expose this appliance to rain or moisture. Do not remove the cover. No user-serviceable parts inside. Refer servicing to qualified service personnel. Always ensure the turntable is placed on a stable, level surface away from direct sunlight, heat sources, and excessive vibration.
3. Package Contents
Verify that all items listed below are included in your package:
- Turntable Unit
- Turntable Lid (Dust Cover)
- Turntable Platter
- Turntable Slipmat
- Headshell with Pre-mounted Audio-Technica Cartridge
- 45 RPM Adapter
- Tonearm Counterweight
- AC Power Adapter
4. Product Overview
The Crosley C100BT is a two-speed belt-drive stereo turntable designed for high-quality vinyl playback and Bluetooth streaming. Key features include:
- Plays 33 1/3 and 45 RPM records
- Aluminum S-shaped tonearm with adjustable counterweight and anti-skate control
- Pre-mounted moving magnet Audio-Technica cartridge with diamond stylus
- Aluminum strobe platter with pitch control
- Built-in switchable preamp
- RCA outputs for connection to external stereo systems or powered speakers
- Built-in Bluetooth receiver for wireless audio output
- Vibration-dampening feet

Image 4.1: Visual representation of key turntable features including two-speed playback, aluminum tonearm, and adjustable counterweight.

Image 4.2: Additional features highlighted: clear dust cover, switchable preamp, adjustable anti-skate, vibration absorbing feet, and the belt-driven motor.

Image 4.3: A close-up view of the pre-mounted moving magnet Audio-Technica cartridge with its diamond stylus.
5. Setup
5.1 Unpacking and Placement
- Carefully remove all components from the packaging.
- Place the turntable on a stable, level surface. Ensure there is enough space around the unit for proper ventilation and operation.
5.2 Platter and Belt Installation
- Place the platter onto the turntable spindle.
- Locate the drive belt (usually pre-installed on the underside of the platter or included separately). Carefully stretch the belt around the motor pulley.
- Place the slipmat on top of the platter.
5.3 Tonearm Setup
- Install the Headshell: Attach the headshell (with the pre-mounted cartridge) to the tonearm. Secure it by turning the locking ring clockwise.
- Balance the Tonearm: Gently release the tonearm clamp. Rotate the counterweight at the rear of the tonearm until the tonearm is perfectly balanced and floats horizontally.
- Set Tracking Force: Once balanced, hold the counterweight stationary and rotate the tracking force ring (the numbered ring on the counterweight) to '0'. Then, rotate the entire counterweight (including the ring) to the recommended tracking force for the Audio-Technica cartridge (typically 2.0 grams, refer to cartridge documentation for exact value).
- Set Anti-Skate: Adjust the anti-skate dial to match the tracking force setting.

Image 5.1: A detailed view of the adjustable counterweight, used for balancing the tonearm and setting tracking force.

Image 5.2: A close-up of the anti-skate adjustment dial, which helps prevent the stylus from skipping across the record.
5.4 Dust Cover Installation
Insert the hinges of the dust cover into the slots at the rear of the turntable unit.
5.5 Power and Audio Connections
- Connect the AC power adapter to the turntable and then to a wall outlet.
- Audio Output: Use RCA cables to connect the turntable to your stereo system or powered speakers. Ensure the PHONO/LINE switch on the rear of the turntable is set correctly:
- Set to LINE if connecting to an amplifier/receiver with a dedicated AUX/LINE input (using the turntable's built-in preamp).
- Set to PHONO if connecting to an amplifier/receiver with a dedicated PHONO input (using the amplifier's preamp).

Image 5.3: The rear panel of the turntable, illustrating the RCA output jacks and the PHONO/LINE switch for audio connection.
6. Operating Instructions
6.1 Playing a Record
- Place a record on the platter. If playing a 45 RPM single, use the included 45 RPM adapter.
- Select the appropriate speed (33 1/3 or 45 RPM) using the speed selector button. The corresponding LED will illuminate.
- Press the START/STOP button to begin platter rotation.
- Lift the tonearm using the cueing lever. Position the tonearm over the desired track of the record.
- Gently lower the tonearm using the cueing lever. The stylus will descend onto the record and playback will begin.
- To stop playback, lift the tonearm with the cueing lever, return it to the tonearm rest, and press the START/STOP button.

Image 6.1: The aluminum platter features strobe light dots, which are used in conjunction with the pitch adjust slider to fine-tune playback speed.

Image 6.2: A user's hand carefully guides the tonearm and stylus onto a vinyl record, initiating playback.
6.2 Pitch Adjustment
The pitch adjust slider allows you to fine-tune the playback speed. While the platter is spinning, observe the strobe dots on the edge of the platter under the red light. Adjust the slider until the dots appear stationary, indicating the correct speed.

Image 6.3: A close-up of the pitch adjustment slider, enabling precise control over the record's playback speed.
6.3 Bluetooth Pairing
- Ensure your Bluetooth speaker or headphones are in pairing mode.
- Press and hold the PAIRING button on the turntable until the Bluetooth indicator light flashes.
- Select "Crosley C100BT" from the Bluetooth device list on your speaker/headphones.
- Once paired, the Bluetooth indicator light will remain solid. Audio from the turntable will now stream wirelessly.

Image 6.4: The turntable's Bluetooth feature allows for wireless streaming of vinyl audio to external Bluetooth speakers or headphones.
Video 6.1: An official product video demonstrating the features and setup of the Crosley C100BT Belt-Drive Bluetooth Turntable.
Video 6.2: A short official video highlighting the C100BT-BK Belt-Drive Bluetooth Turntable in action.
7. Maintenance
7.1 Cleaning
- Dust Cover: Wipe gently with a soft, dry cloth. Avoid abrasive cleaners.
- Stylus: Use a soft brush designed for stylus cleaning, brushing gently from back to front.
- Turntable Unit: Wipe with a soft, slightly damp cloth. Do not use harsh chemicals.
7.2 Stylus Replacement
The pre-mounted Audio-Technica cartridge features a diamond stylus that will wear over time. Replace the stylus when you notice a decrease in sound quality or increased skipping. The removable headshell allows for easy cartridge upgrades or stylus replacement.
7.3 Drive Belt Replacement
If the platter stops spinning or spins inconsistently, the drive belt may need replacement. Refer to the setup instructions for accessing and replacing the belt.
8. Troubleshooting
- No Power: Ensure the AC adapter is securely connected to both the turntable and a working power outlet.
- No Sound:
- Check RCA cable connections to your amplifier/speakers.
- Verify the PHONO/LINE switch setting matches your amplifier's input.
- If using Bluetooth, ensure successful pairing and that your external device's volume is up.
- Record Speed Incorrect:
- Confirm the correct speed (33 1/3 or 45 RPM) is selected.
- Use the pitch adjust slider to fine-tune the speed, observing the strobe dots.
- Skipping or Poor Sound Quality:
- Ensure the tonearm is properly balanced and tracking force is set correctly.
- Adjust the anti-skate setting.
- Clean the stylus and record.
- Check if the stylus is worn and needs replacement.
- Ensure the turntable is on a stable surface to minimize vibrations.
9. Specifications
| Feature | Detail |
|---|---|
| Product Dimensions | 13.78 x 17.72 x 5.71 inches |
| Item Weight | 8.8 pounds |
| Item Model Number | C100BT-BK |
| Brand | Crosley |
| Maximum Rotational Speed | 45 RPM |
| Special Feature | Built-in Preamp |
| Material | Plastic |
| Color | Black |
| Compatible Devices | Speaker |
10. Warranty and Support
Crosley Radio products are designed in the USA and come with USA-based customer support. For warranty information or technical assistance, please refer to the official Crosley website or contact their customer service directly. Keep your purchase receipt for warranty claims.


