
Introduction
Thank you for choosing the Makita XGT 40VMAX Brushless Cordless Grass Trimmer UR002GZ01. This manual provides essential information for the safe and effective operation, maintenance, and troubleshooting of your new tool. Please read this manual thoroughly before use and keep it for future reference.
General Safety Instructions
WARNING: Read all safety warnings and instructions. Failure to follow the warnings and instructions may result in electric shock, fire, and/or serious injury.
- Always wear appropriate personal protective equipment (PPE) including eye protection, hearing protection, gloves, and sturdy footwear.
- Avoid contact with the cutting element. The blade remains sharp and can cause injury even when the tool is off.
- Keep hands and feet away from the cutting area.
- Ensure the work area is clear of debris, rocks, and other objects that could be thrown by the cutting line or blade.
- Do not operate the trimmer in wet conditions or rain. The Makita XGT system offers enhanced water resistance, but it is not waterproof.
- Before performing any maintenance, cleaning, or storage, always remove the battery pack.
- Do not modify the tool or use it for purposes other than those specified in this manual.
- Keep children and bystanders at a safe distance (at least 15 meters) from the operating area.
Product Overview
The Makita UR002GZ01 is a powerful cordless grass trimmer designed for efficient cutting of grass and light brush. It features a brushless motor and is part of the XGT 40VMAX system, offering high performance and durability.

Figure 1: Full view of the Makita UR002GZ01 Cordless Grass Trimmer. This image shows the complete assembly of the trimmer, including the motor head, shaft, handle, and battery housing.

Figure 2: Close-up of the Makita XGT 40VMAX battery housing. This image highlights the battery compartment and the XGT branding on the motor unit.

Figure 3: The cutting head of the UR002GZ01, shown with different cutting attachments including a trimmer line head, a plastic blade, and a metal blade. This illustrates the versatility of the tool.
Setup and Assembly
1. Handle Assembly
Attach the loop handle to the shaft. Ensure it is positioned comfortably for your height and working posture. Tighten the fasteners securely.

Figure 4: Illustration of adjusting the handle position. The arrow indicates the rotational movement for optimal ergonomic placement.
2. Guard and Cutting Attachment Installation
Install the cutting guard onto the motor head. This guard protects against thrown debris. Then, attach your desired cutting attachment (trimmer line head or blade) according to the instructions provided with the accessory. Ensure all components are firmly secured before use.

Figure 5: The cutting head assembly showing the protective guard and a metal blade installed. Proper installation of the guard is crucial for safety.
3. Battery Installation
Insert a fully charged Makita XGT 40VMAX battery into the battery housing until it clicks into place. Ensure the battery is securely seated.
Operating Instructions
1. Starting the Trimmer
To start the trimmer, press the power button on the control panel. The LED indicators will illuminate. Then, depress the safety lock-off lever and squeeze the trigger switch.

Figure 6: Close-up of the control panel on the handle, showing the power button, speed settings (1, 2, 3), and the trigger with safety lock-off lever.
2. Adjusting Speed
The trimmer features multiple speed settings (1, 2, 3) for different cutting conditions. Use the speed selection button on the control panel to cycle through the available speeds. Lower speeds are suitable for light trimming, while higher speeds are for dense vegetation.
3. Cutting Technique
Hold the trimmer firmly with both hands. Maintain a balanced stance. Swing the trimmer in a smooth, sweeping motion, cutting from right to left for optimal debris deflection. Avoid hitting hard objects or the ground with the cutting attachment.
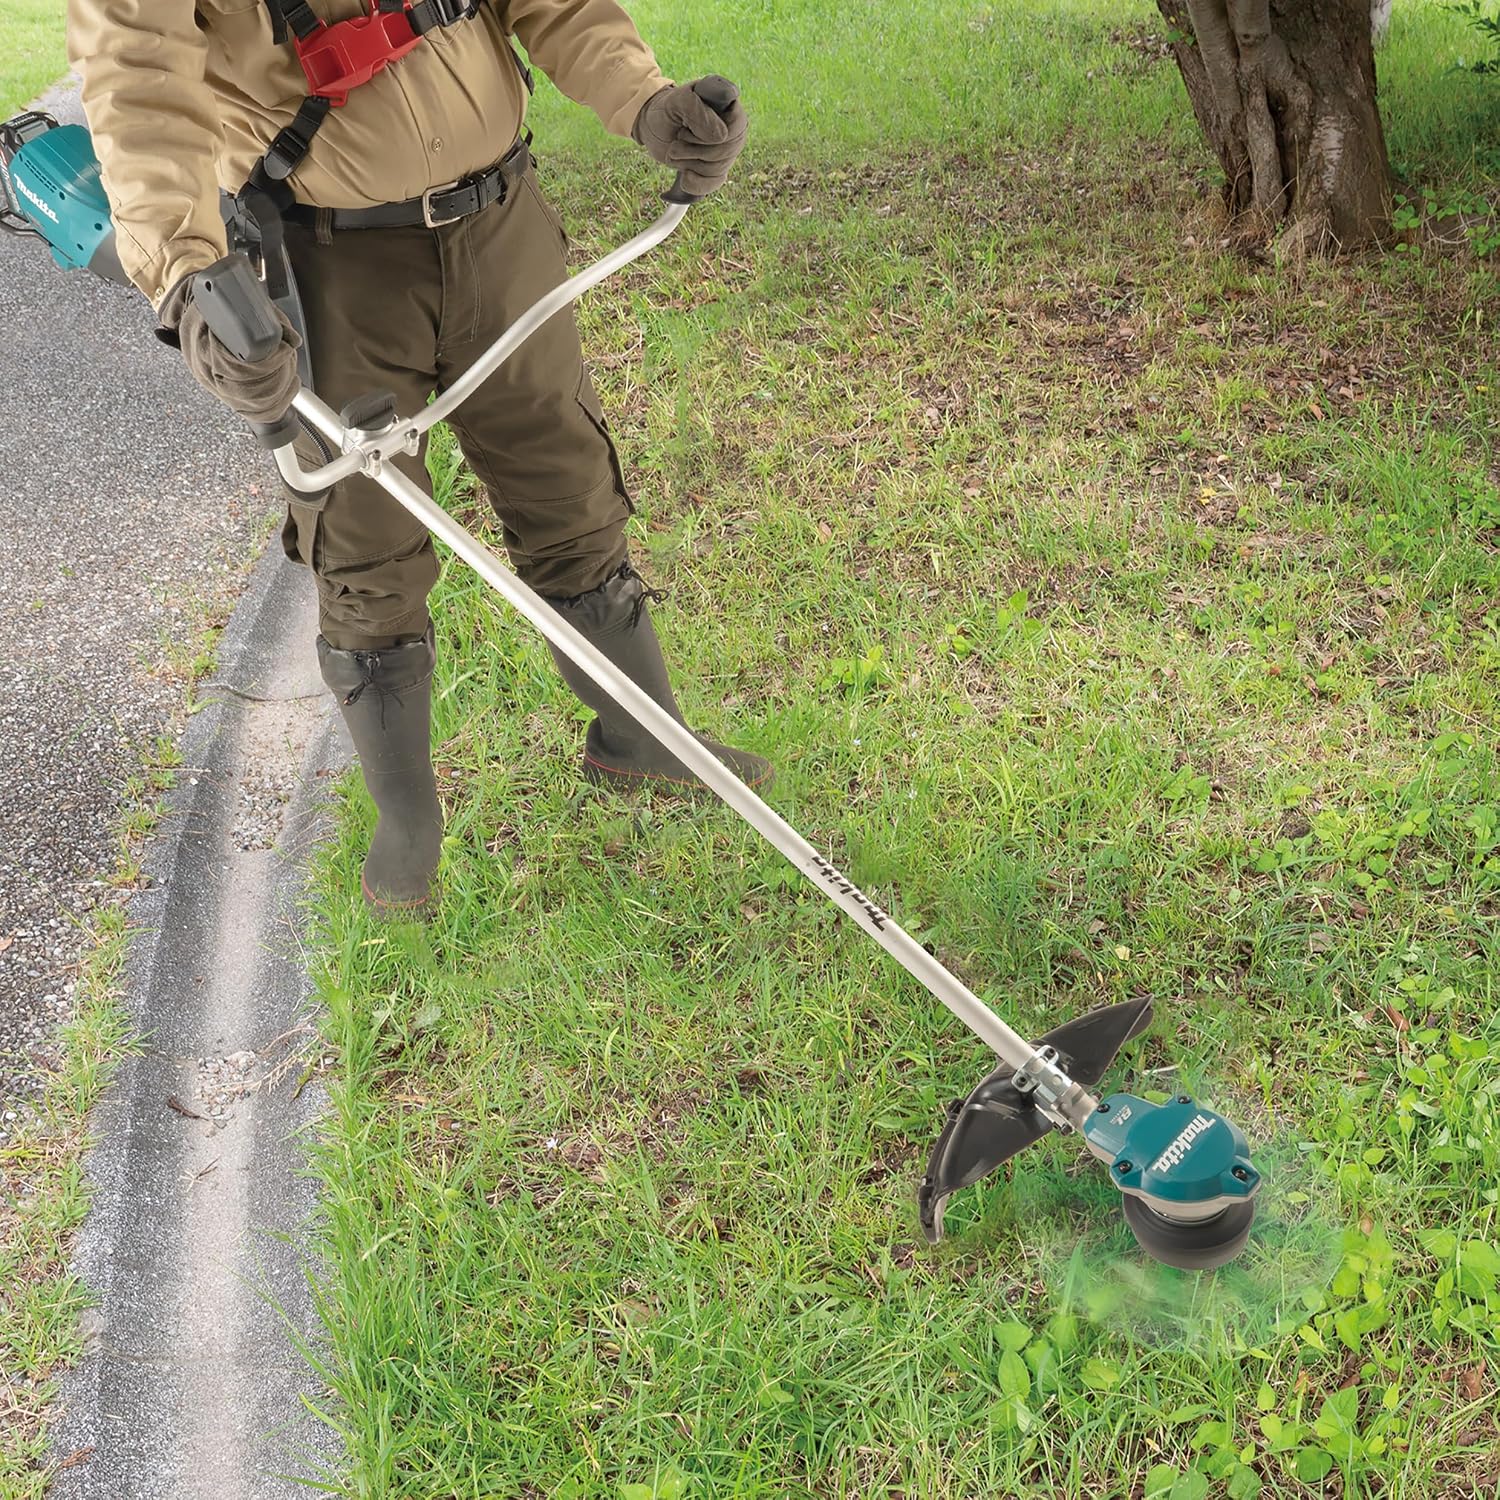
Figure 7: A user demonstrating proper operating posture while trimming grass. Note the protective gear and balanced grip.

Figure 8: The trimmer being used to clear dense vegetation, showcasing its capability in challenging conditions. The user is wearing full protective equipment.
4. Stopping the Trimmer
Release the trigger switch to stop the cutting attachment. To power off the tool completely, press and hold the power button until the LED indicators turn off.
Maintenance
1. Cleaning
After each use, remove the battery and clean the trimmer. Use a dry cloth to wipe down the housing. Remove any grass, dirt, or debris from the cutting head and guard. Do not use harsh chemicals or abrasive cleaners.
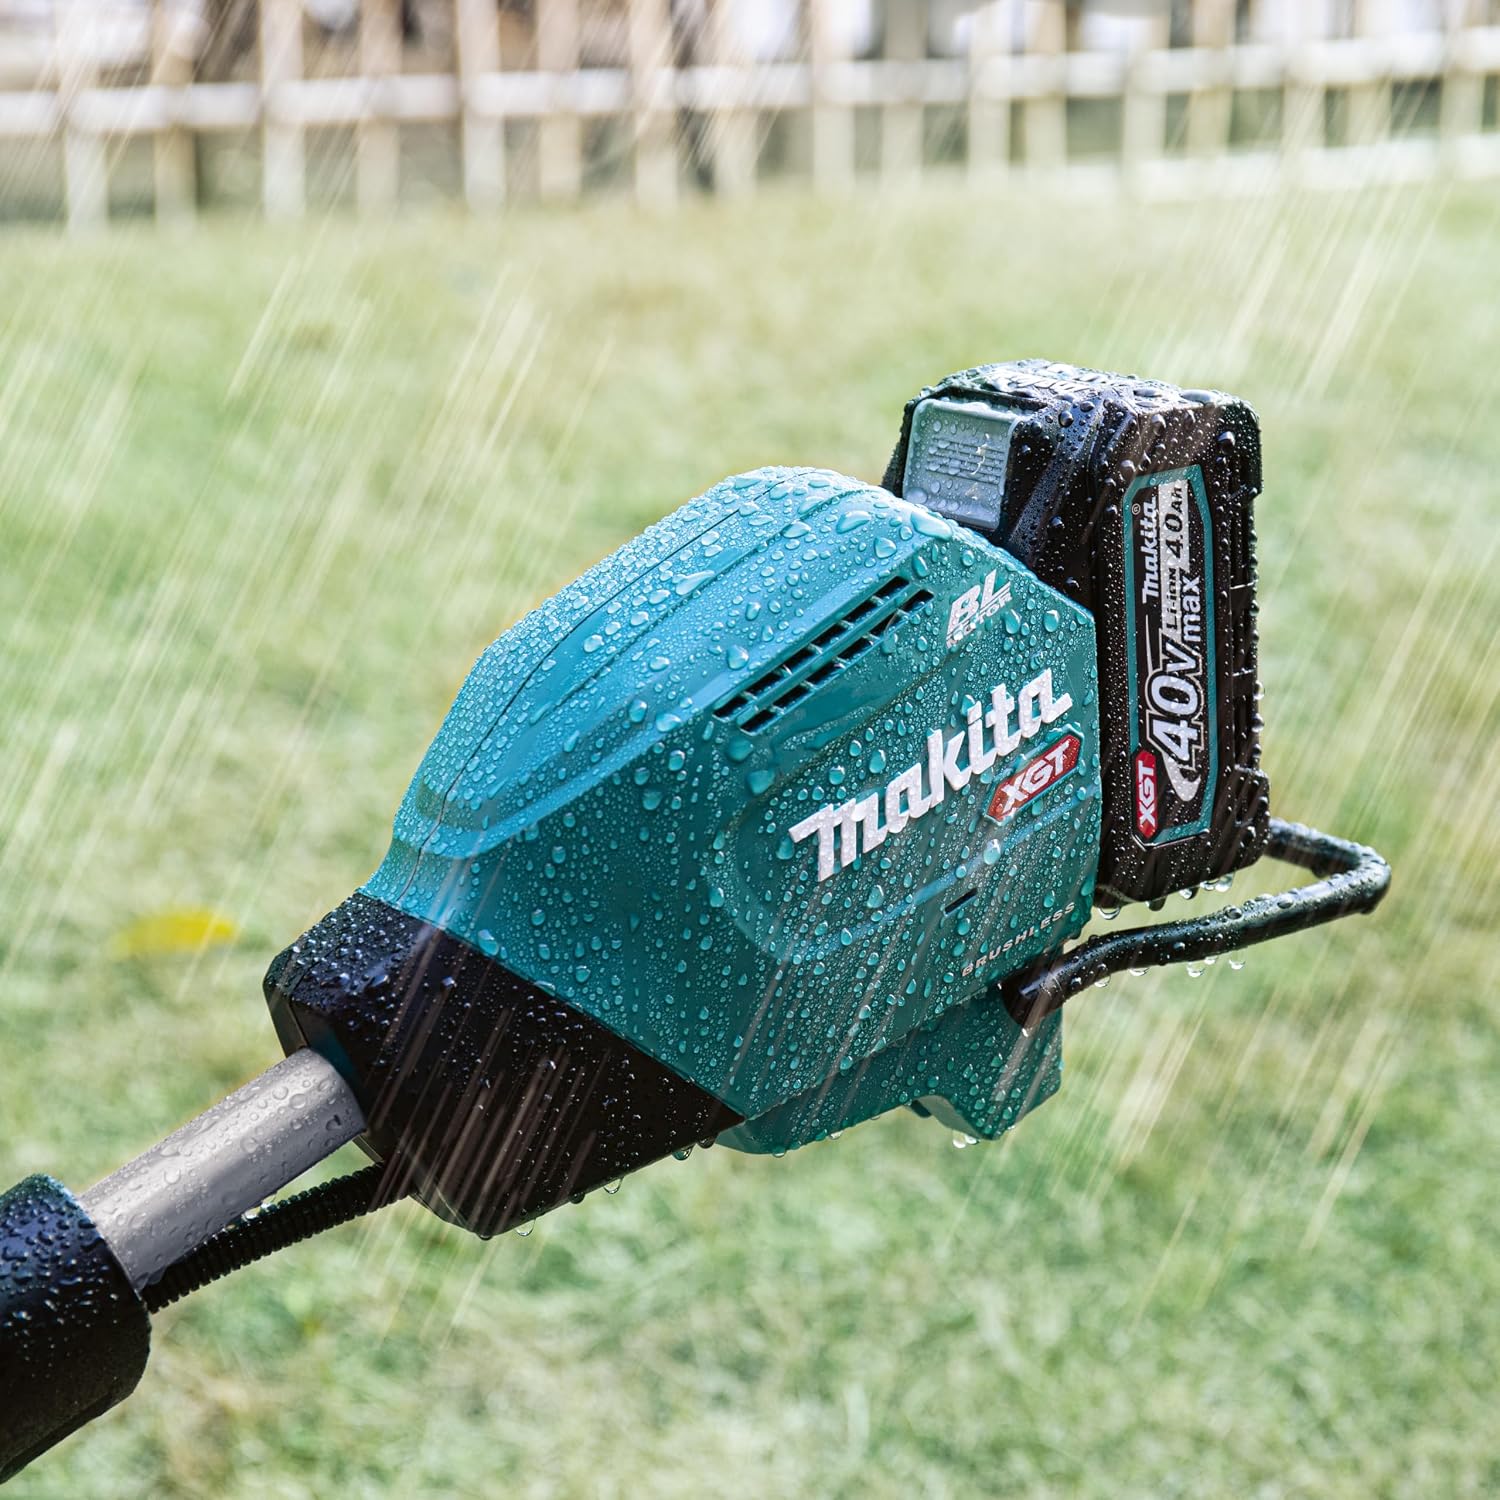
Figure 9: The Makita UR002GZ01 demonstrating its water resistance. While resistant to splashes, it should not be submerged or cleaned with high-pressure water.
2. Cutting Attachment Replacement
Regularly inspect the cutting line or blade for wear or damage. Replace worn cutting line spools or damaged blades with genuine Makita replacement parts. Refer to the specific instructions provided with your cutting attachment for detailed replacement procedures.
3. Storage
Store the trimmer in a dry, secure location out of reach of children. Remove the battery pack before storing for extended periods. Protect the cutting attachment from damage during storage.
Troubleshooting
| Problem | Possible Cause | Solution |
|---|---|---|
| Trimmer does not start. | Battery not inserted correctly or discharged. Safety lock-off not engaged. | Ensure battery is fully charged and properly inserted. Engage safety lock-off and press trigger. |
| Reduced cutting performance. | Worn cutting line/blade. Excessive debris in cutting head. | Replace cutting line or blade. Clean cutting head thoroughly. |
| Excessive vibration. | Damaged or unbalanced blade. Loose components. | Inspect and replace damaged blade. Check all fasteners for tightness. |
Specifications
| Feature | Detail |
|---|---|
| Model Number | UR002GZ01 |
| Brand | Makita |
| Power Source | Battery Powered (40VMAX XGT Li-ion) |
| Cutting Width | 230 mm (9 inches) |
| No-Load Speed | Up to 6500 RPM |
| Item Weight | 5.3 Kilograms |
| Product Dimensions (L x W) | 182.9 cm x 63 cm (72 in x 24.8 in) |
Warranty and Support
Makita products are manufactured under strict quality control standards. For information regarding warranty coverage, service, or technical support, please refer to the warranty card included with your product or contact your authorized Makita service center. Keep your purchase receipt as proof of purchase.


