
EVISTR L357
EVISTR L357 Digital Voice Recorder
Instruction Manual
1. Introduction
Thank you for choosing the EVISTR L357 Digital Voice Recorder. This device is designed for high-quality audio capture, offering features such as voice-activated recording, noise reduction, and MP3 playback. This manual will guide you through the setup, operation, and maintenance of your new recorder to ensure optimal performance.
2. Product Overview

Front view of the EVISTR L357 Digital Voice Recorder, showing the screen and control buttons.
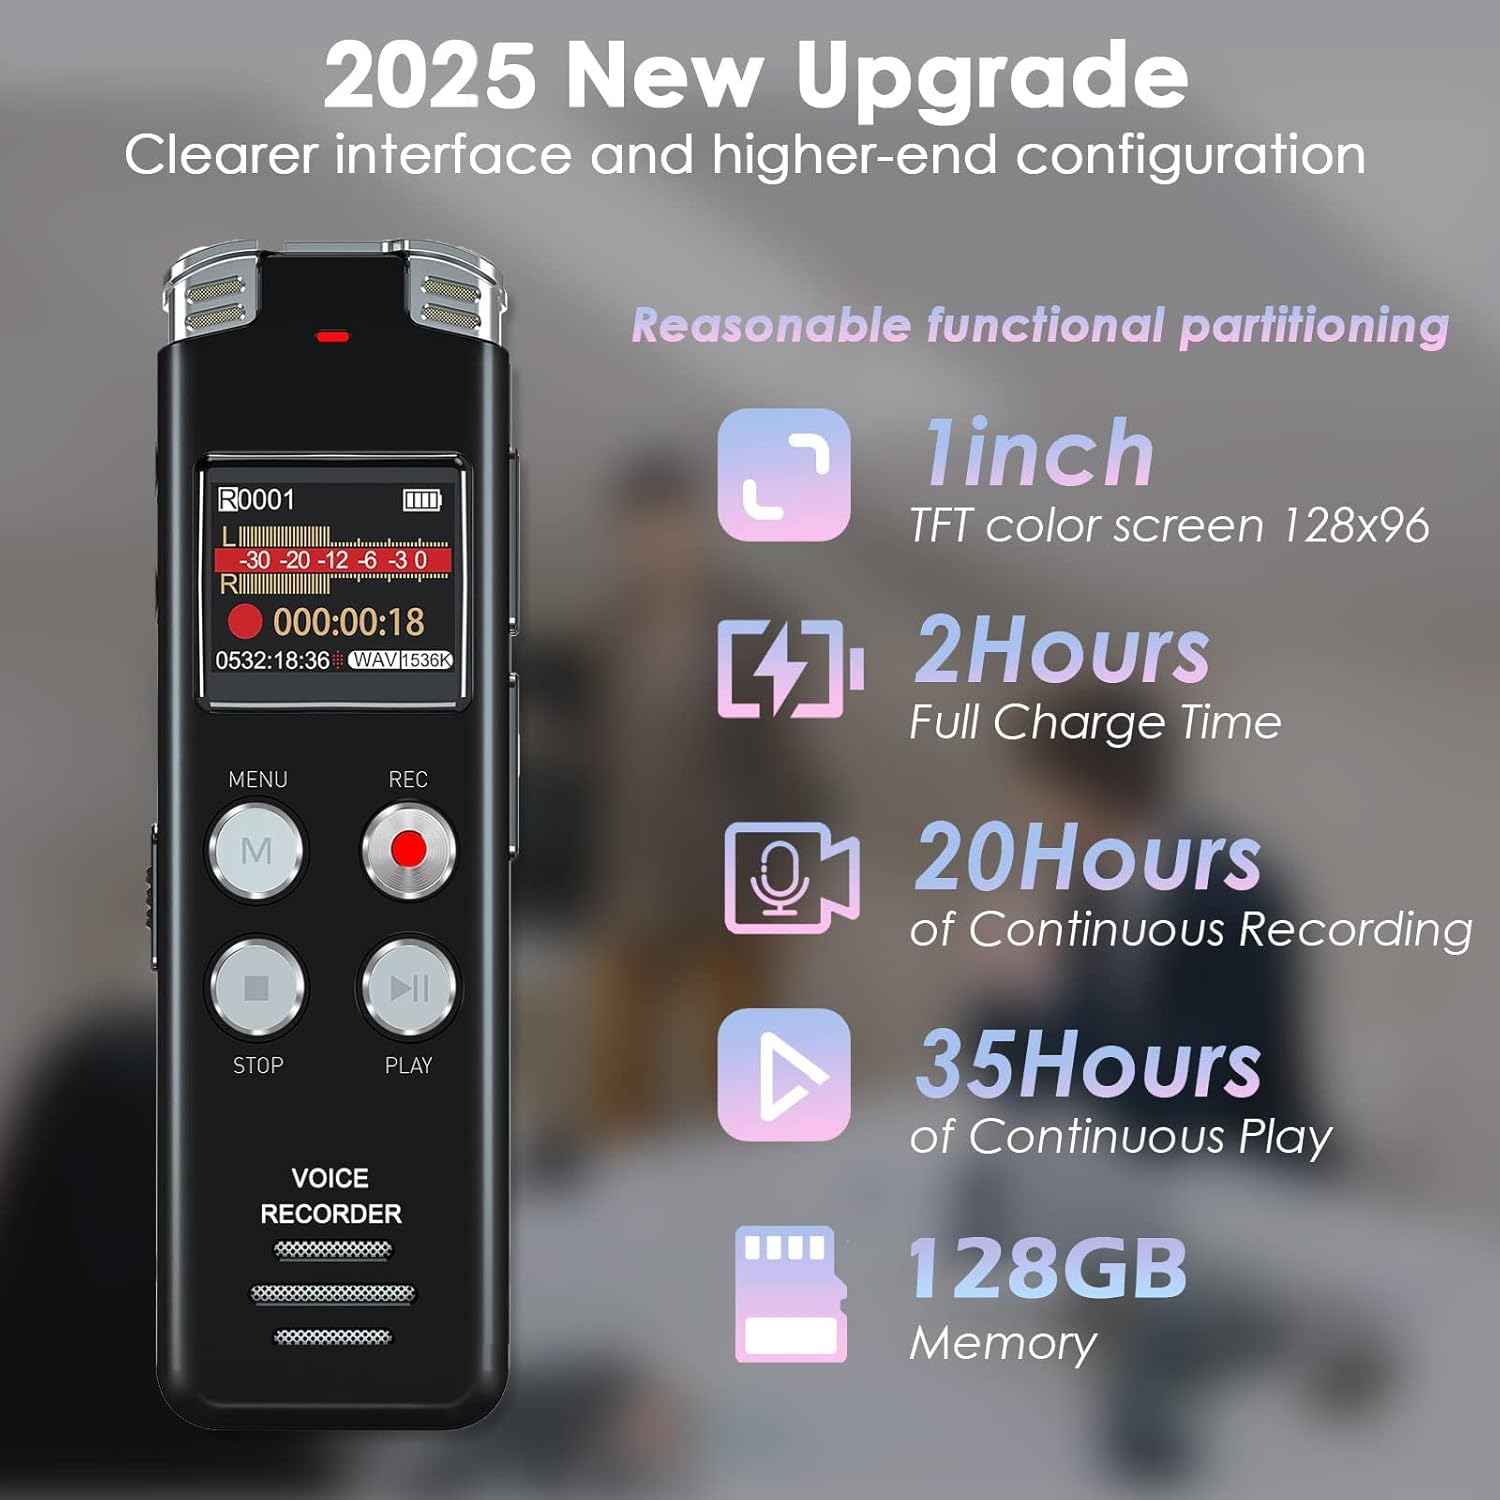
The EVISTR L357 highlighting its key features including 1-inch TFT color screen, 2-hour full charge time, 20 hours of continuous recording, 35 hours of continuous play, and 128GB memory.
2.1. Components and Controls
Familiarize yourself with the device's layout:
- Screen: Displays recording status, menu options, and playback information.
- MENU (M) Button: Accesses the device's menu settings and confirms selections.
- REC Button: Initiates recording.
- STOP Button: Stops and saves the current recording.
- PLAY/PAUSE Button: Starts or pauses playback.
- Volume Up/Down: Adjusts playback volume.
- USB-C Port: For charging and data transfer.
- Headphone Jack (3.5mm): For private listening.
- Built-in Microphones: Located at the top for audio capture.
- Power Switch (ON/OFF): Turns the device on or off.

Illustration of simple operations: REC to start recording, STOP to end and save, M for Menu/Confirm, and PLAY/PAUSE.
3. Setup
3.1. Charging the Device
Before first use, fully charge the recorder. Connect the supplied USB-C cable to the device's USB-C port and the other end to a computer's USB port or a USB wall adapter (not included). The battery indicator on the screen will show charging status. A full charge takes approximately 2 hours.
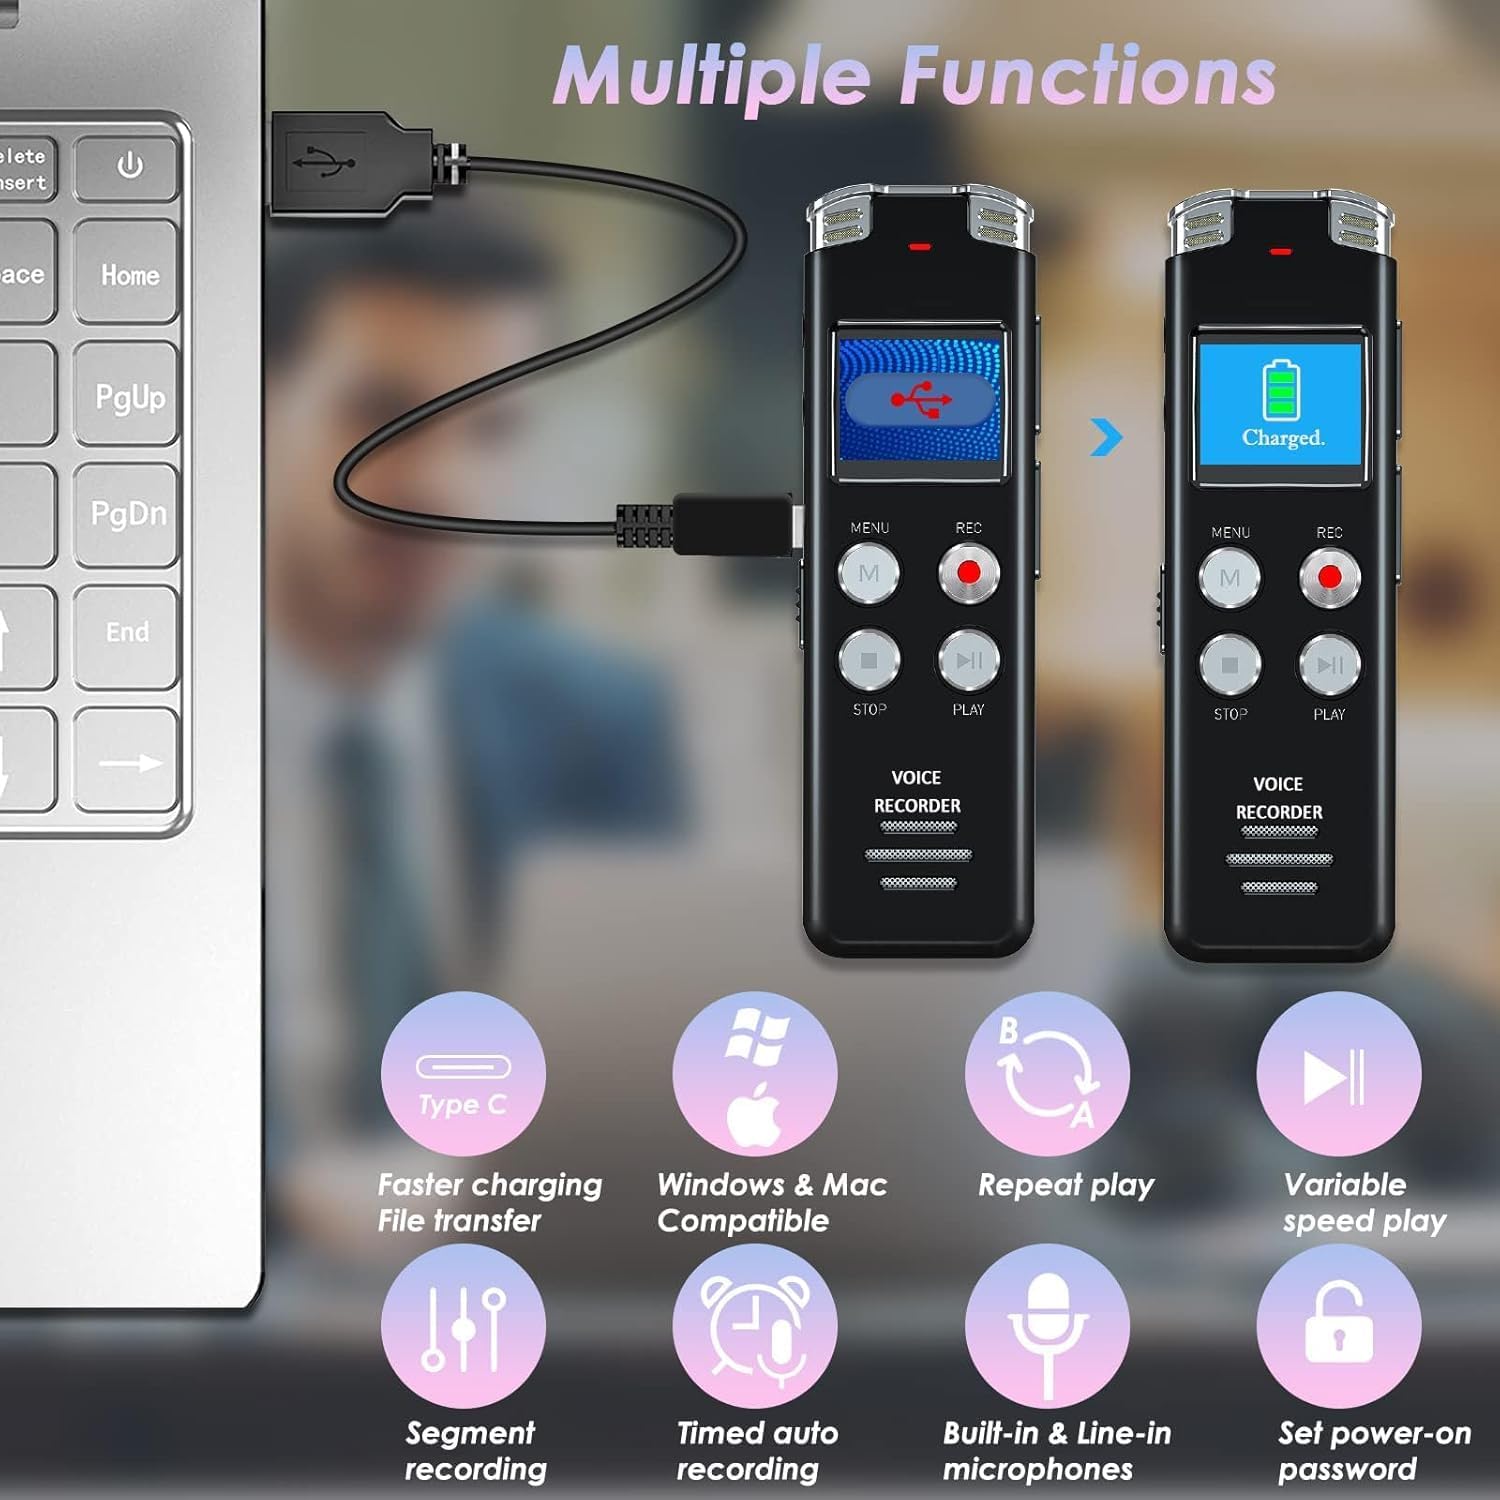
The recorder connected via USB-C to a laptop, illustrating charging and file transfer capabilities.
3.2. Power On/Off
To power on the device, slide the ON/OFF switch to the 'ON' position. To power off, slide it to the 'OFF' position.
4. Operating Instructions
4.1. Recording Audio
The EVISTR L357 supports high-quality recording up to 1536kbps with dynamic noise cancellation.
- Start Recording: Slide the power switch to 'ON'. Press the REC button. The screen will display recording time and audio levels.
- Stop and Save: Press the STOP button. The recording will be saved automatically.
- Recording Quality: You can set recording quality (MP3: 128kbps, 64kbps; WAV: 1536kbps) via the menu.
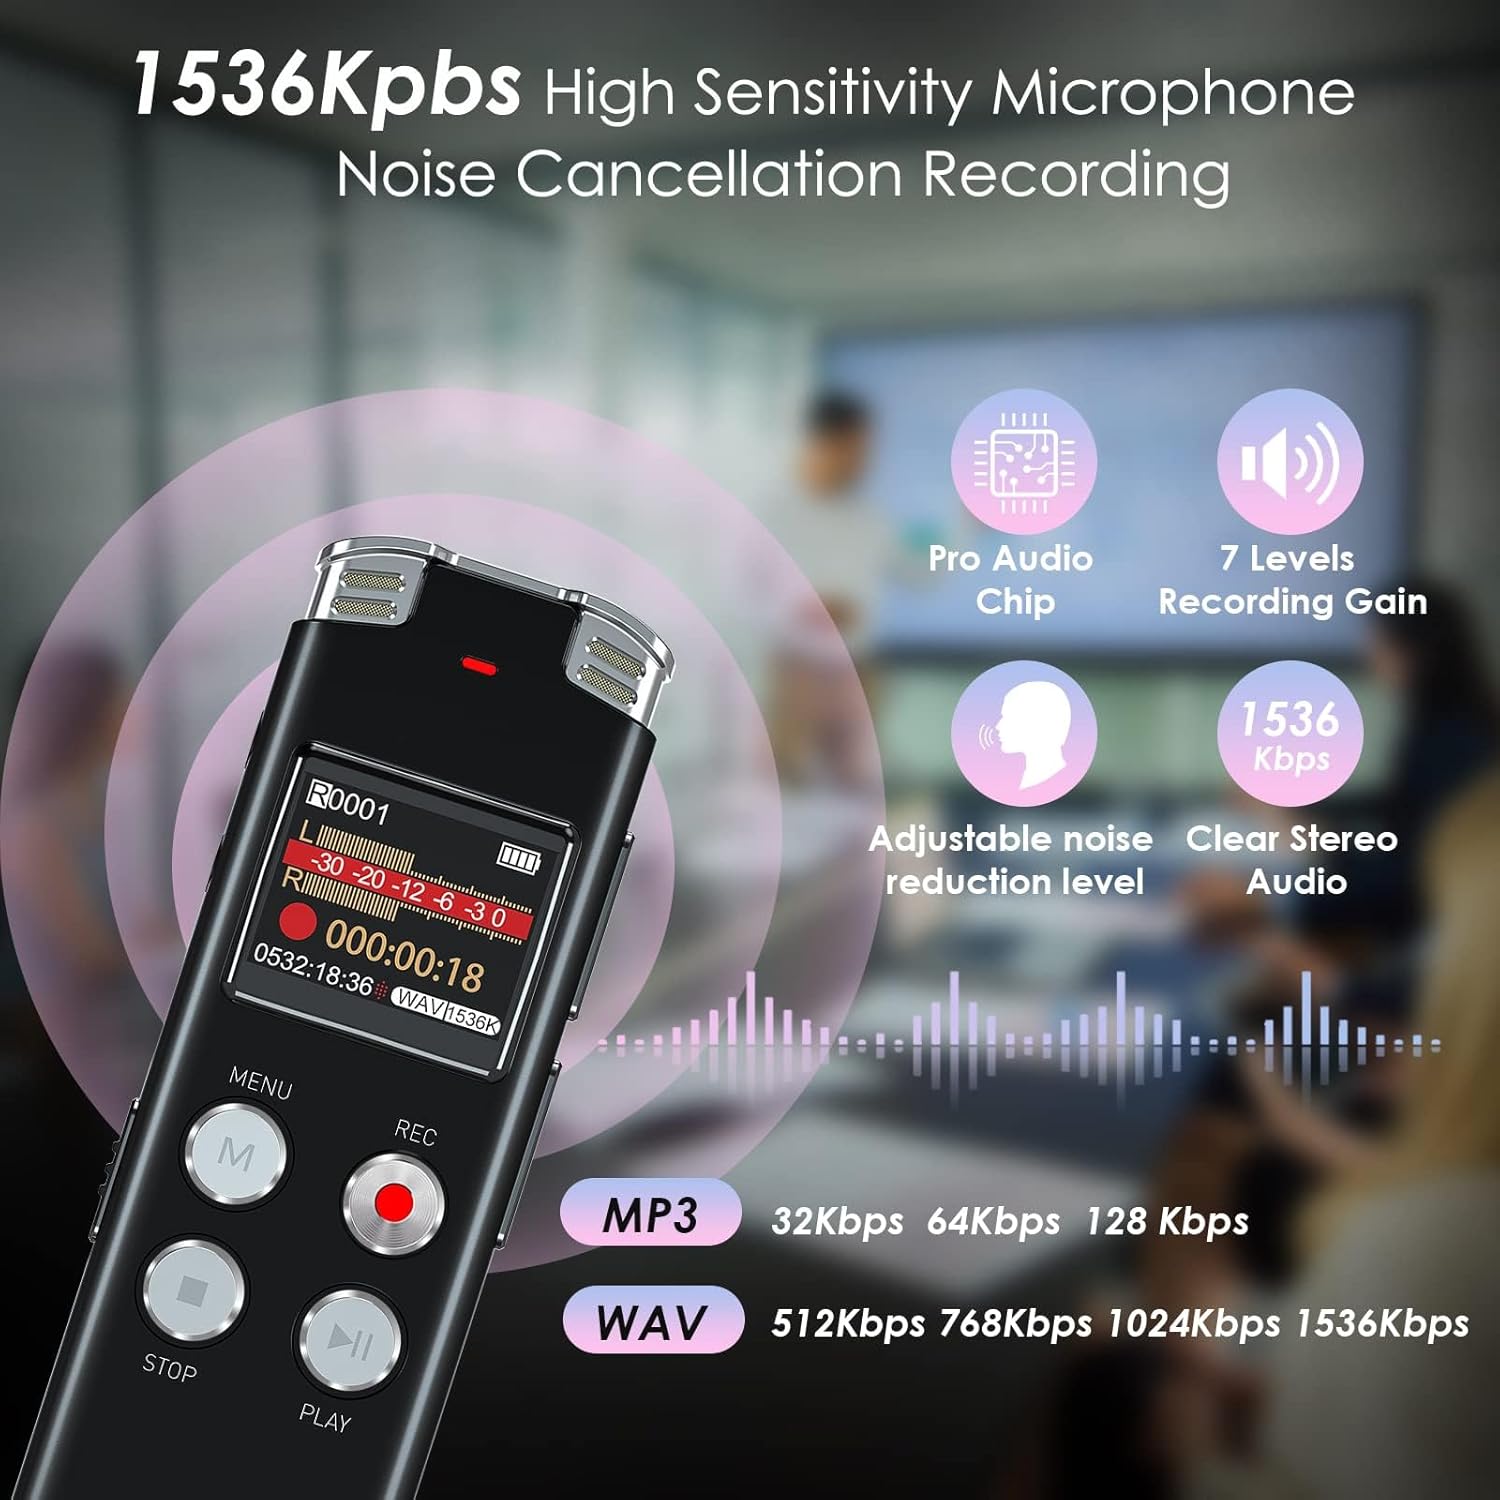
The recorder's advanced microphone and PCM intelligent noise reduction technology for clear audio at 1536kbps.
4.2. Voice Activated Recording (AVR)
The AVR function allows the recorder to start recording only when sound is detected, saving memory and avoiding silent segments. It features 7 adjustable sensitivity levels.
- Enable/Disable AVR: Navigate to the 'AVR' setting in the menu and select 'ON' or 'OFF'.
- Adjust Sensitivity: In the AVR settings, choose a sensitivity level from 1 to 7. Level 1 requires louder sound to activate, while Level 7 is highly sensitive.
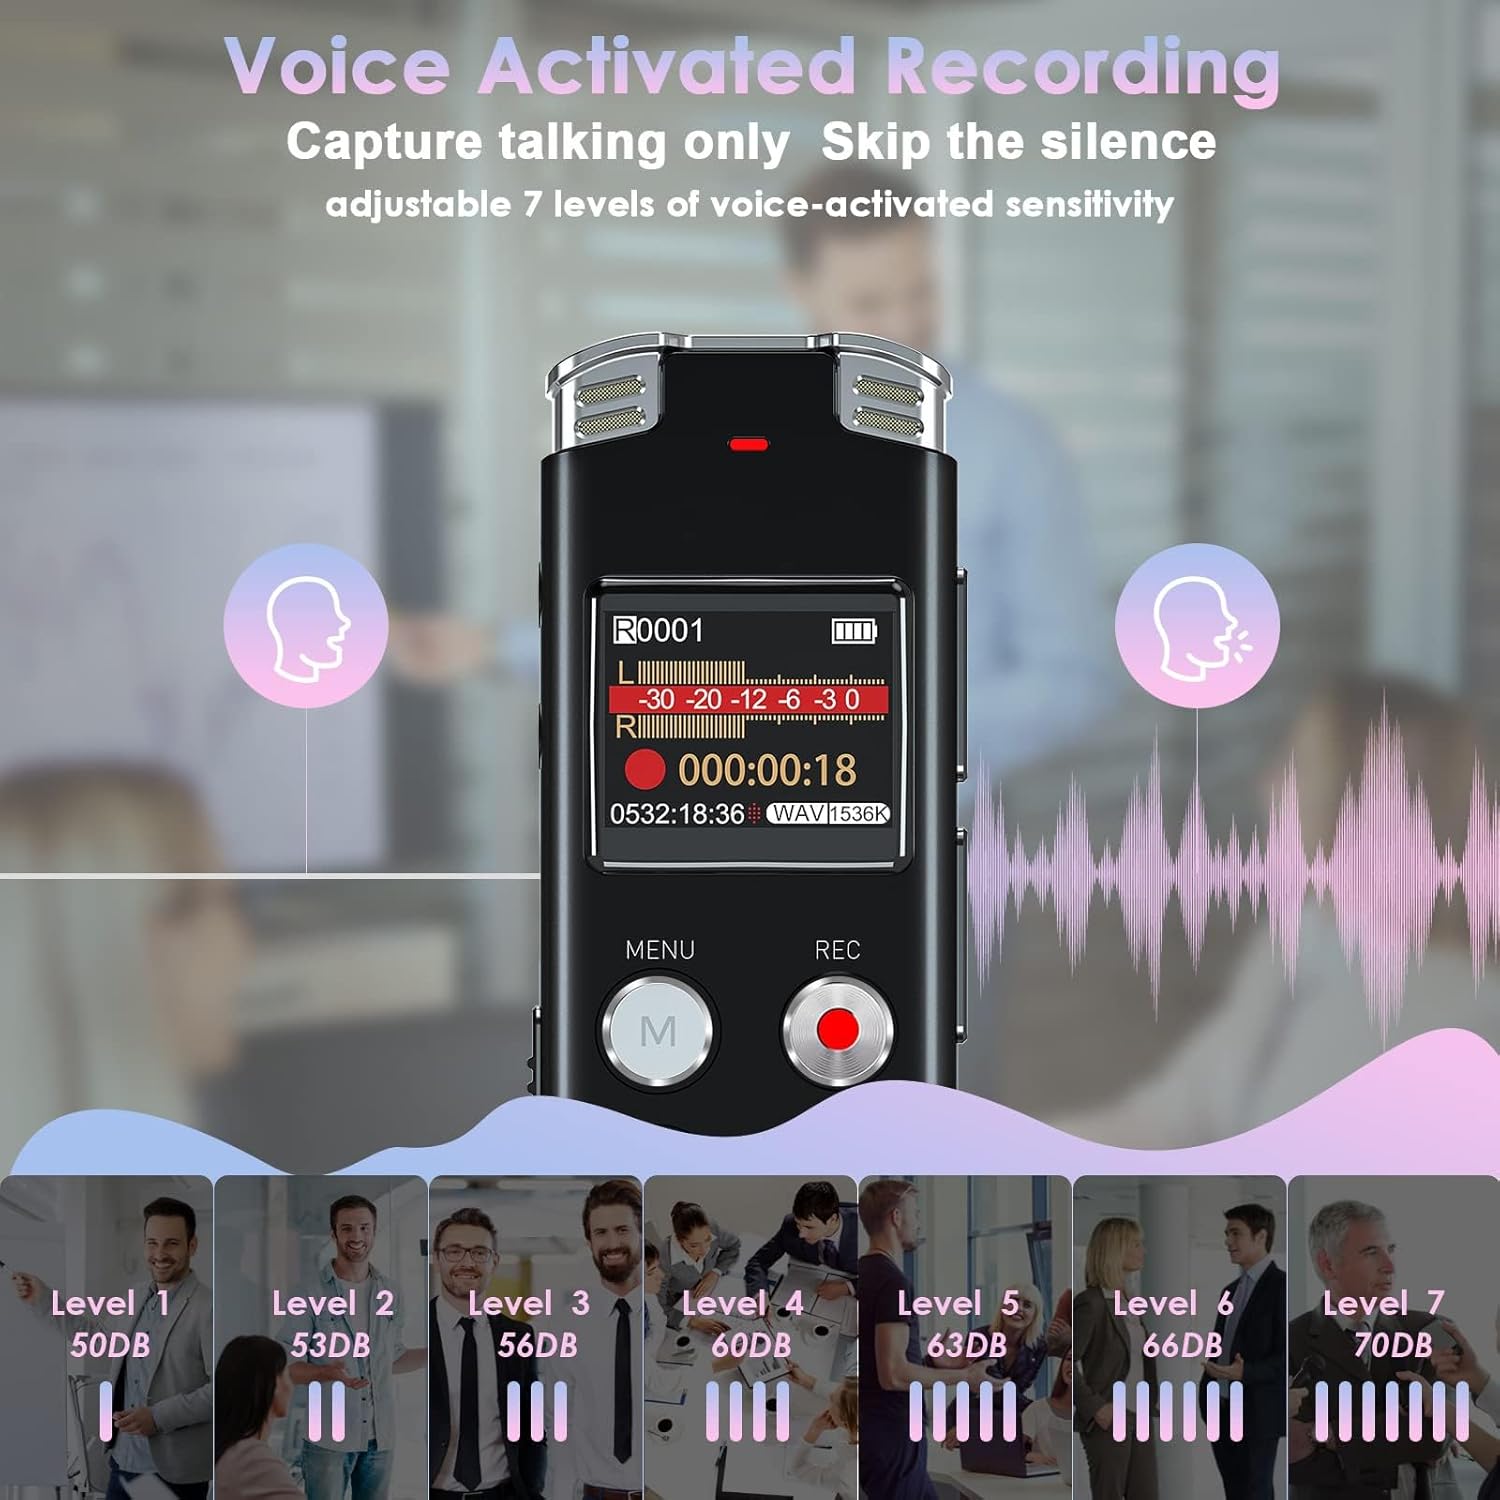
Visual representation of the 7 adjustable sensitivity levels for Voice Activated Recording, from 50dB to 70dB.
4.3. Playback Functions
- Play/Pause: Press the PLAY/PAUSE button to start or pause playback of a selected file.
- Fast Forward/Rewind: During playback, long-press the 'Up' button to rewind and the 'Down' button to fast forward.
- A-B Repeat: This feature allows you to repeat a specific segment of a recording. Select the start point (A) and end point (B) using the menu options during playback.
- Variable Speed Playback: Adjust the playback speed to listen to recordings faster or slower. This option is available in the playback menu.

Icon representing the A-B Repeat function for specific segment playback.
4.4. File Management
Recordings are saved with a timestamp for easy organization.
- Transfer to Computer: Connect the recorder to your computer using the USB-C cable. The device will appear as a removable disk. You can drag and drop files between the recorder and your computer. It is compatible with both Windows and Mac operating systems.
- Timestamp: Each recording file is automatically named with the date and time (YYYY-MM-DD-HH-MM-SS.WAV/MP3), making it easy to locate specific recordings.

The recorder supports recording in WAV and MP3 formats, and files can be easily transferred to both Windows and Mac computers.

Example of the timestamp file naming convention (YYYY-MM-DD-HH-MM-SS.WAV) for easy organization.
4.5. MP3 Player Functionality
The EVISTR L357 can also function as an MP3 player. Transfer your favorite MP3, WMA, WAV, APE, or FLAC music files to the device. Connect headphones to the 3.5mm jack for private listening.

A user listening to music using the EVISTR L357 as an MP3 player with headphones.
4.6. Password Protection
You can set a power-on password to protect your recordings and prevent unauthorized access to the device.
- Set Password: Navigate to the 'Password' option in the menu settings and follow the on-screen prompts to set a 4-digit password.
- Disable Password: Return to the 'Password' setting and select the option to disable it.

The device's screen displaying the password input interface for power-on protection.
5. Maintenance
- Cleaning: Use a soft, dry cloth to clean the device. Do not use liquid cleaners or solvents.
- Storage: Store the recorder in a cool, dry place away from direct sunlight, extreme temperatures, and humidity.
- Battery Care: To prolong battery life, avoid fully discharging the battery frequently. Charge the device regularly, even if not in use for extended periods.
6. Troubleshooting
| Problem | Possible Cause | Solution |
|---|---|---|
| Device does not turn on. | Battery is depleted. | Charge the device for at least 2 hours. |
| Cannot record. | Memory full; AVR enabled but no sound detected. | Delete old files to free up space. Check AVR settings or disable it for continuous recording. |
| Poor audio quality. | Microphone obstructed; recording distance too far; low recording quality setting. | Ensure microphones are clear. Move closer to the sound source. Increase recording quality (e.g., to 1536kbps WAV). Disable 'denoise' mode if it's affecting desired background sounds. |
| Cannot connect to computer. | Faulty USB cable; incorrect connection. | Try a different USB-C cable. Ensure the cable is fully inserted into both the device and the computer. Try a different USB port on the computer. |
| Interface is difficult to navigate. | Unfamiliarity with menu structure. | Spend time practicing with the menu options. Refer to this manual for specific functions. |
7. Specifications
- Model: L357
- Memory Storage Capacity: 128GB
- Recording Quality: Up to 1536kbps (WAV), MP3 (128kbps, 64kbps)
- Battery: 1 Lithium Ion battery (included)
- Product Dimensions: 10.1 x 2.7 x 1.08 cm
- Item Weight: 62.8 Grams
- Display: 1-inch TFT Color Screen
- Microphone Form Factor: Built-In
- Headphone Jack: 3.5 millimeters
- Hardware Interface: USB 2.0 Type B (USB-C port on device)
- Compatible Devices: MP3 Player, Laptop, Earphone
8. Warranty and Support
Your EVISTR L357 Digital Voice Recorder comes with a standard manufacturer's warranty. For detailed warranty information or technical support, please refer to the warranty card included in your product packaging or visit the official EVISTR website. Please retain your proof of purchase for warranty claims.
Related documentsL357


Ask a question about this manual
Ask about setup, troubleshooting, compatibility, parts, safety, or missing instructions. Manuals+ will review the question and use this page’s manual context to help answer it.