1. Introduction
This manual provides essential instructions for the setup, operation, and maintenance of your uehba RAV280 remote control. This remote is designed to be compatible with various Yamaha Home Theater System models, offering a straightforward replacement or secondary control option.
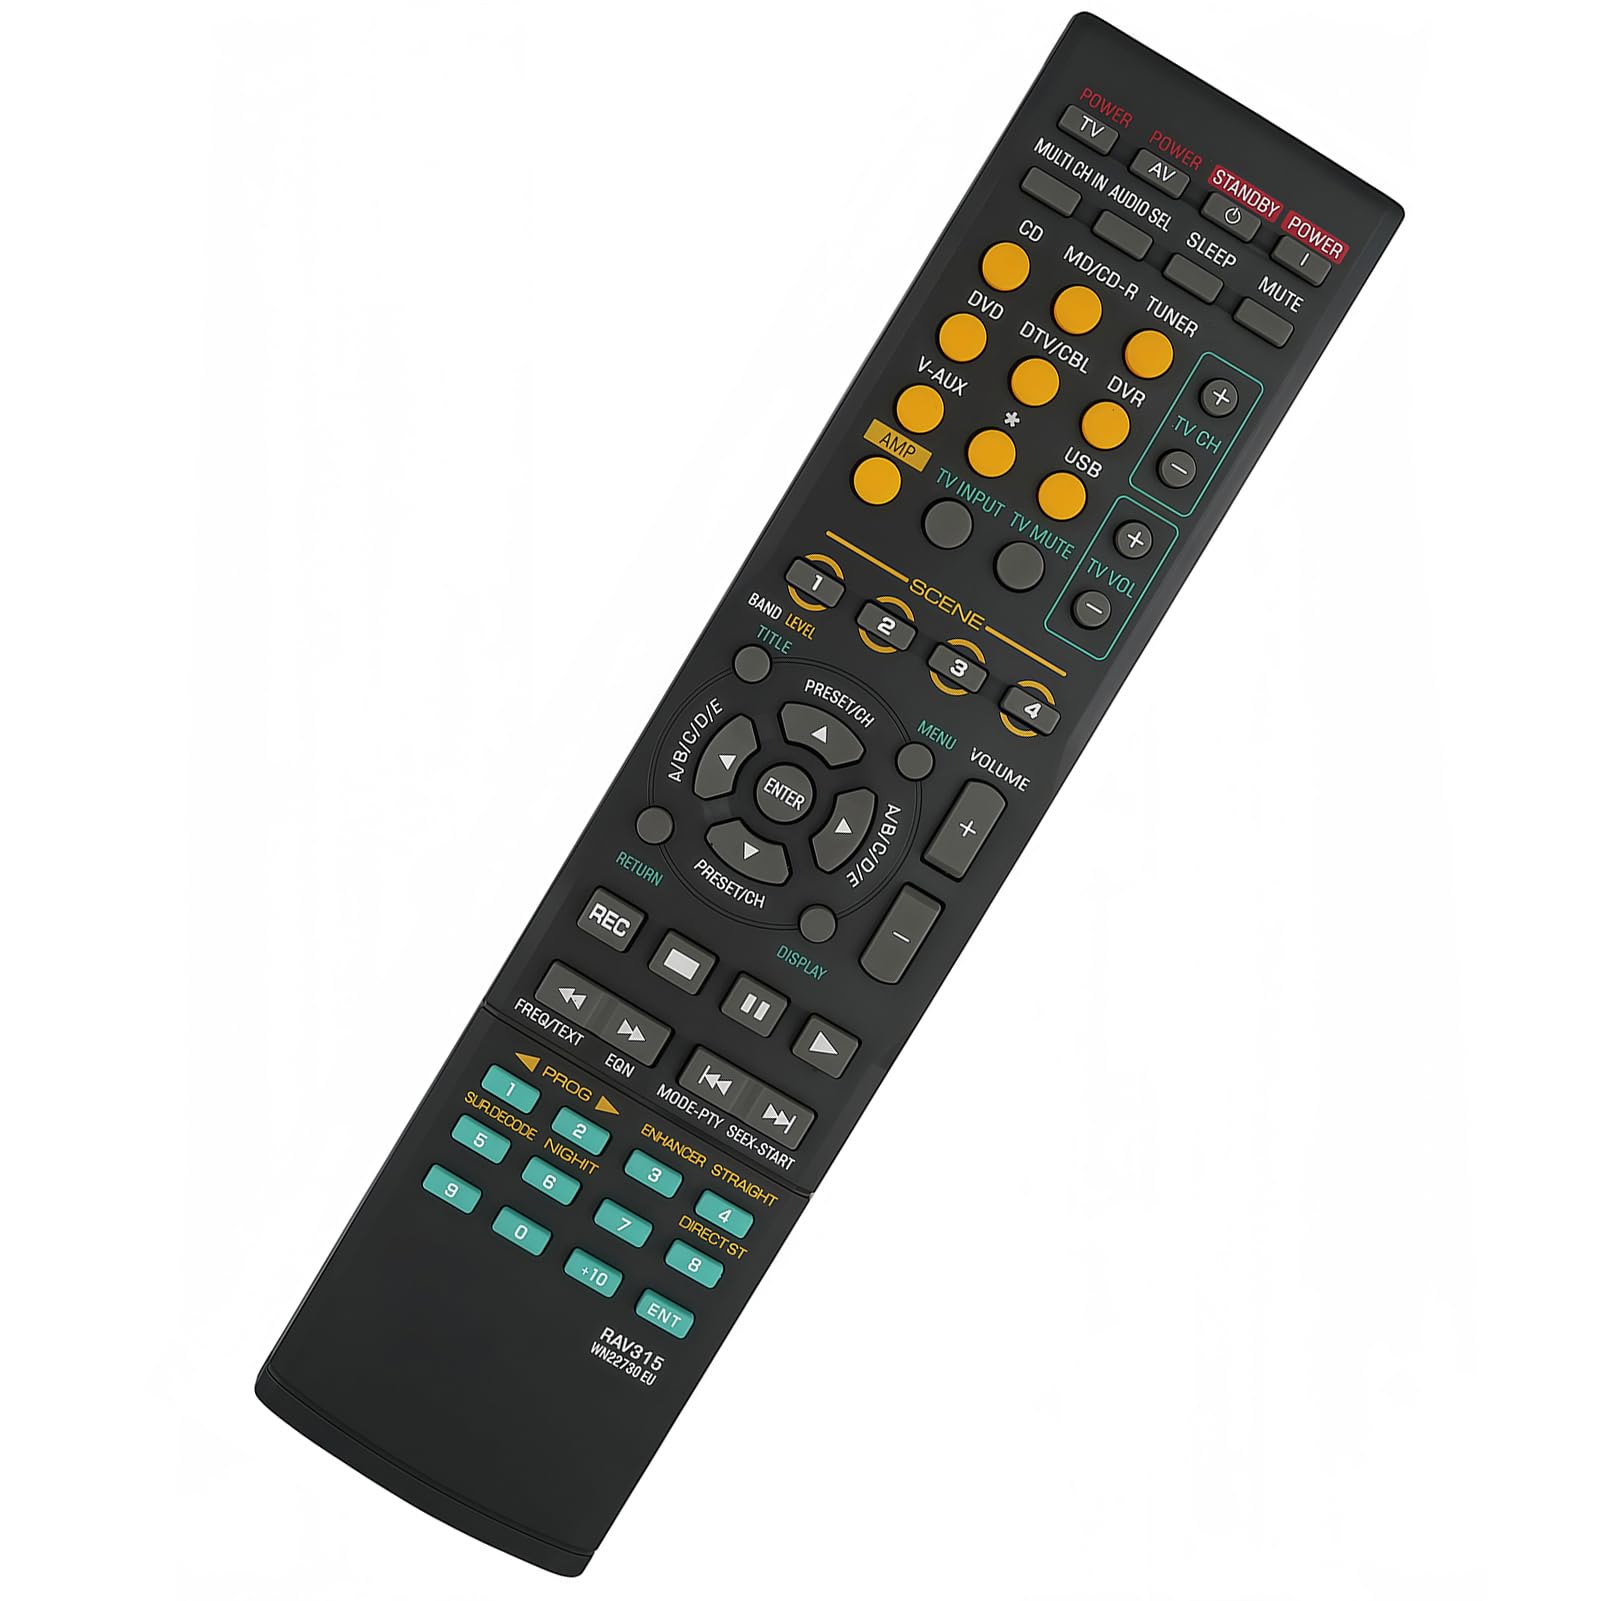
Image 1: The uehba RAV280 Remote Control, ready for use without programming.
2. Setup
The uehba RAV280 remote control is pre-programmed and does not require any setup or coding. Simply insert the batteries, and it will be ready for immediate use with compatible Yamaha Home Theater Systems.
2.1 Battery Installation
- Locate the battery compartment on the back of the remote control.
- Slide the battery compartment cover downwards to open it.
- Insert two (2) 1.5V AAA Alkaline Batteries, ensuring the correct polarity (+ and -) as indicated inside the compartment.
- Slide the battery compartment cover back into place until it clicks securely.
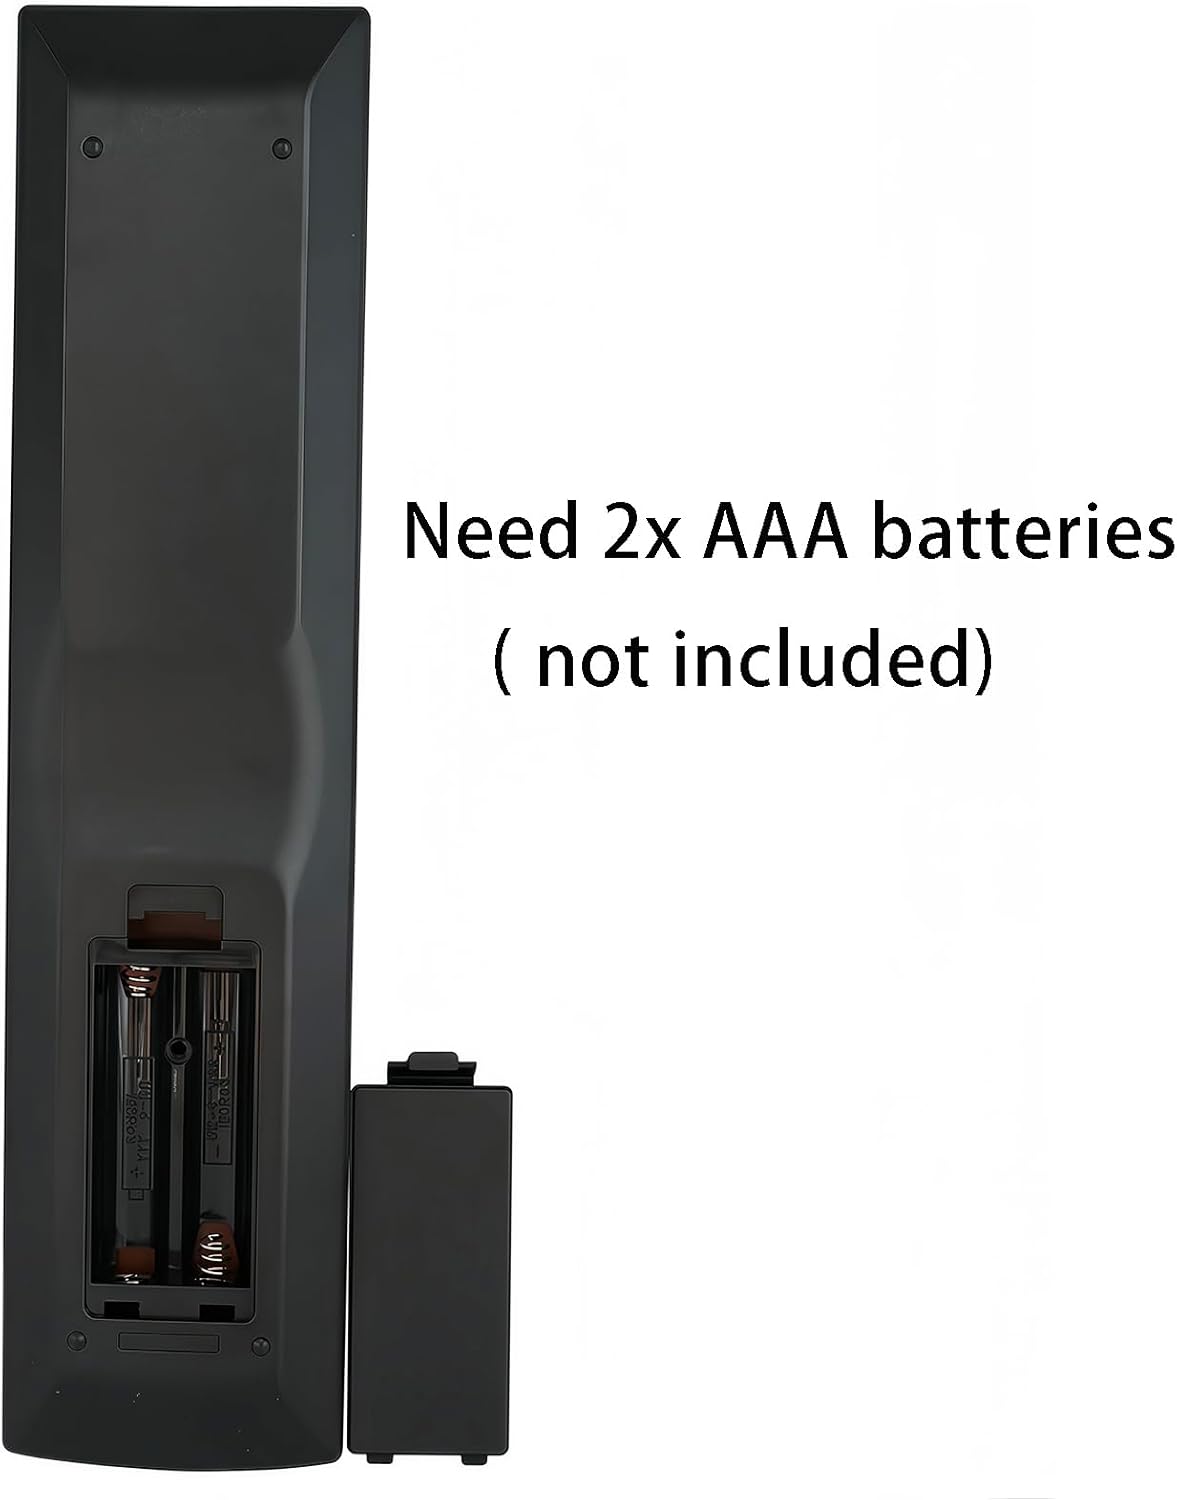
Image 2: Open battery compartment for AAA battery installation.
Note: Batteries are not included with the remote control. Always use new AAA alkaline batteries for optimal performance.
3. Operating Instructions
The remote control features clearly labeled buttons for various functions of your Yamaha Home Theater System. Point the remote directly at your Yamaha receiver or compatible device for best results.
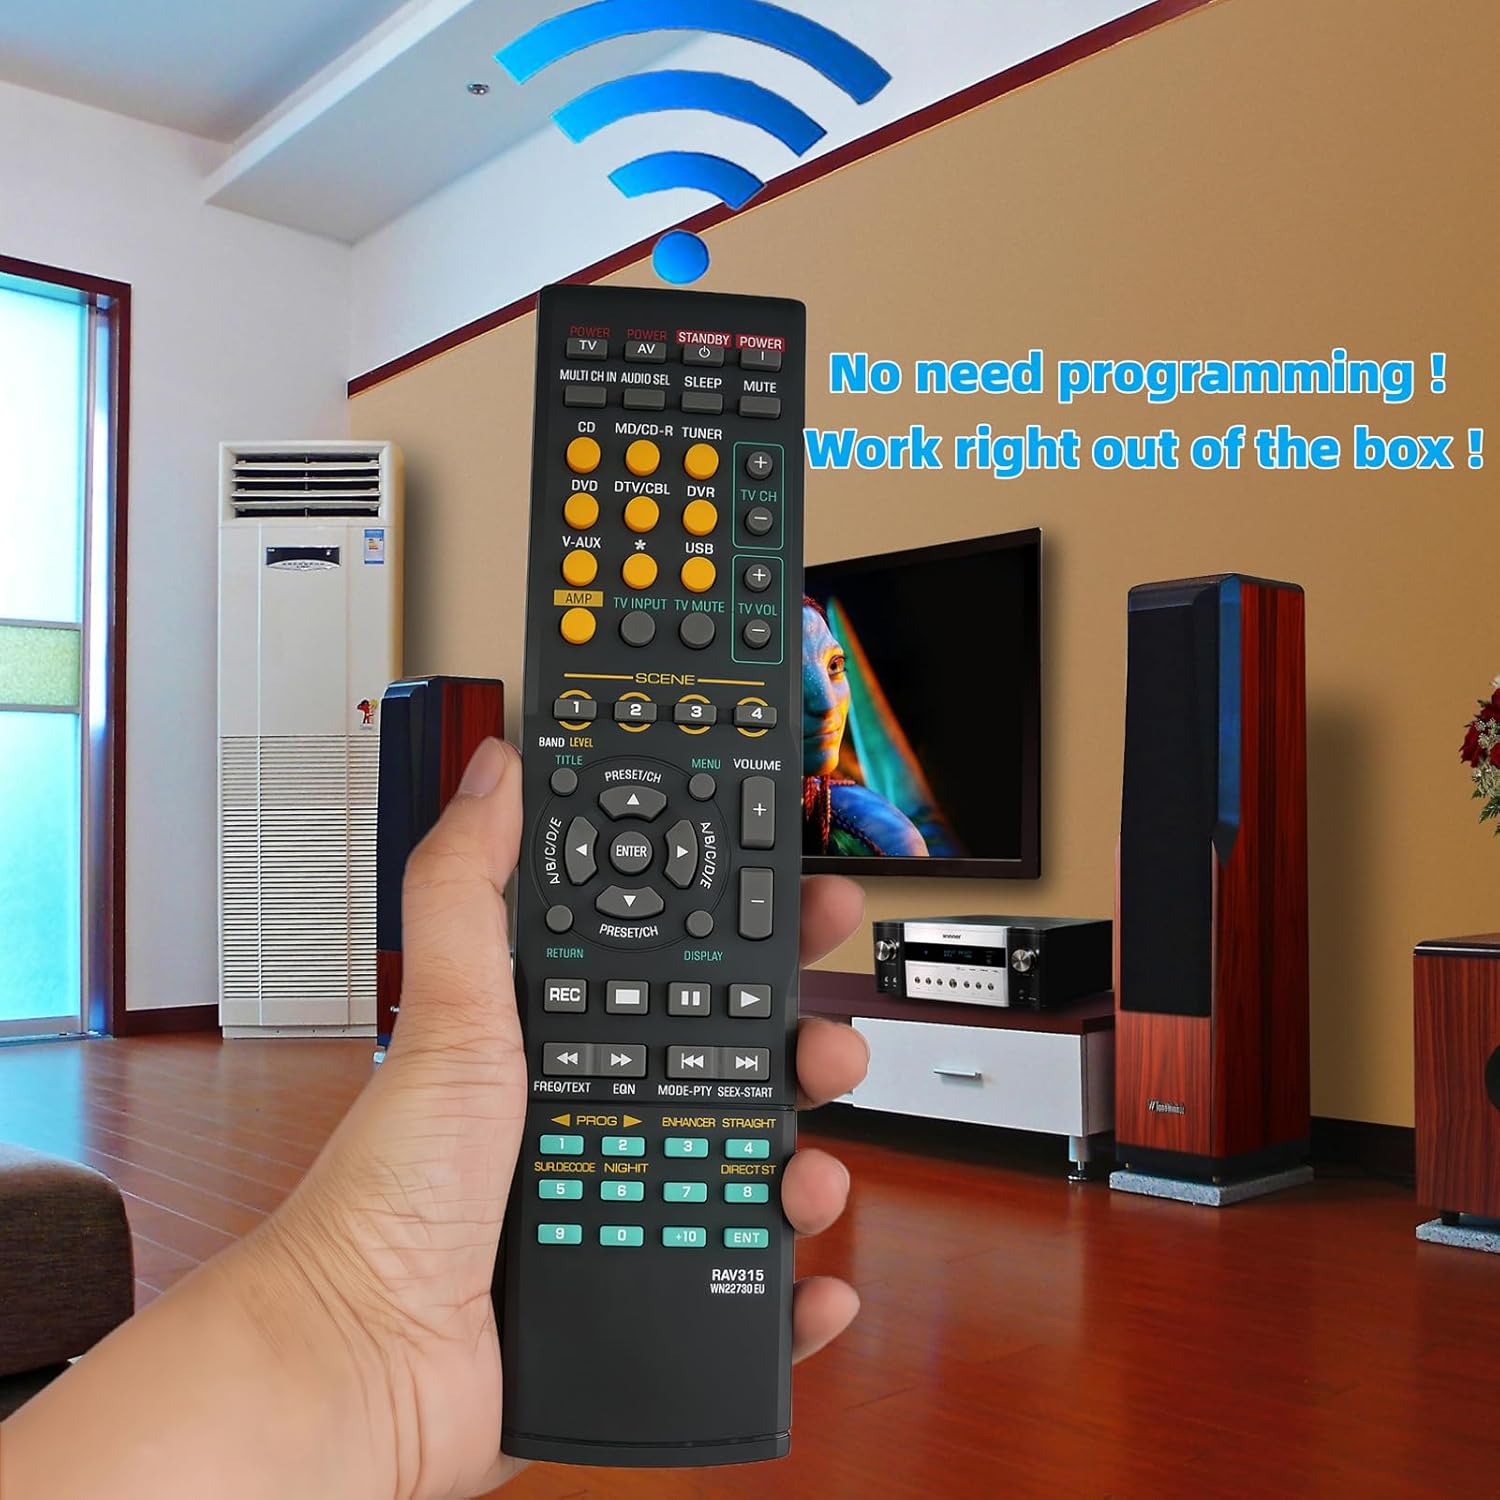
Image 3: Front view of the remote control with all buttons.
3.1 Basic Functions
- POWER (Red Button): Turns the Yamaha Home Theater System on or off.
- STANDBY/POWER (Red Button): Puts the system into standby mode or powers it on.
- INPUT SELECTORS (Yellow Buttons): Selects various input sources such as CD, MD/CD-R, TUNER, DVD, DTV/CBL, DVR, V-AUX, USB.
- VOLUME (+/-): Adjusts the master volume level.
- MUTE: Mutes or unmutes the audio output.
- NAVIGATION (Arrow Buttons & ENTER): Used to navigate menus and confirm selections on your system's display.
- SCENE (Buttons 1-4): Activates pre-programmed scene settings for quick access to preferred audio/video modes.
- TV CH (+/-) & TV VOL (+/-): Controls basic functions of a connected television.
- PLAYBACK CONTROLS (REC, Play, Pause, Stop, Skip, Fast Forward/Rewind): Controls playback for connected media devices.
3.2 Advanced Functions
- BAND/LEVEL: Adjusts radio bands or audio levels.
- TITLE/MENU: Accesses disc titles or system menus.
- PRESET/CH (+/-): Navigates through radio presets or TV channels.
- DISPLAY: Changes the information displayed on your system's screen.
- FREQ/TEXT: For tuner functions or text display.
- EQN: Equalizer settings.
- MODE-PTY SEEK-START: For tuner mode and program type search.
- ENHANCER STRAIGHT: Audio enhancement modes.
- SUR.DECODE NIGHT: Surround sound decoding and night listening modes.
- DIRECT ST: Direct stereo mode.
- Numeric Keypad (0-9, +10, ENT): For direct input of channels, tracks, or other numerical values.
4. Maintenance
Proper maintenance ensures the longevity and reliable performance of your remote control.
- Cleaning: Wipe the remote control with a soft, dry cloth. For stubborn dirt, slightly dampen the cloth with water or a mild, non-abrasive cleaner. Do not use harsh chemicals or immerse the remote in liquid.
- Battery Replacement: Replace batteries when the remote's response becomes sluggish or stops working. Always replace both batteries at the same time with new ones. Do not mix old and new batteries, or different types of batteries.
- Storage: If the remote control will not be used for an extended period, remove the batteries to prevent leakage and potential damage. Store in a cool, dry place away from direct sunlight.
- Avoid Drops: Protect the remote from physical impact, as drops can damage internal components.
5. Troubleshooting
If you encounter issues with your remote control, try the following troubleshooting steps:
- Remote not responding:
- Ensure the remote is pointed directly at the Yamaha Home Theater System.
- Check if the batteries are inserted correctly with the correct polarity.
- Replace the batteries with new 1.5V AAA Alkaline Batteries.
- Ensure there are no obstructions between the remote and the receiver's infrared sensor.
- Only some buttons work:
- This remote is specifically designed for Yamaha Home Theater Systems. Some buttons, particularly those for TV control (TV CH, TV VOL), may only function if your TV is compatible or if the remote has universal TV control capabilities (which this model does not explicitly state for all TVs).
- Ensure the correct input source is selected on your Yamaha system.
- System not turning on/off:
- Verify that the Yamaha Home Theater System is plugged into a power outlet and is receiving power.
- Try using the power button directly on the Yamaha system to confirm it is operational.
If problems persist after trying these steps, please contact customer support.
6. Specifications
| Brand | uehba |
| Model Number | RAV280 |
| Compatible Devices | Yamaha Home Theater Systems (RX-V800, WN057800, HTR-6140BL, YHT740, RAV280, HTR-6150, RX-V1300) |
| Power Source | 2 x 1.5V AAA Alkaline Batteries (not included) |
| Material | ABS |
| Color | Black |
| Product Dimensions | 8.27 x 1.97 x 0.59 inches (21 x 5 x 1.5 cm) |
| Item Weight | 2.61 ounces (74 grams) |
| Special Feature | Pre-setting, no programming required |
7. Warranty and Support
For any questions or assistance with your uehba RAV280 remote control, please contact the seller or uehba customer support. While specific warranty details are not provided, standard consumer rights apply. Please retain your purchase receipt for any warranty claims.
If you have any questions, please just contact us. Thank you!