
1. Introduction
Thank you for purchasing the Bellemave 1-Drawer Nightstand. This manual provides detailed instructions for assembly, operation, and maintenance to ensure safe and proper use of your new furniture. Please read all instructions carefully before beginning assembly and retain this manual for future reference.

Image 1: Fully assembled Bellemave 1-Drawer Nightstand in gray, featuring a top surface, a single drawer, and an open storage shelf below.
2. Safety Information
- Read all instructions before assembly and use.
- Keep all hardware and packaging materials out of reach of children.
- Assemble the unit on a soft, clean surface to prevent scratches.
- Ensure all connections are securely tightened before use. Periodically check and re-tighten as necessary.
- Do not stand or sit on the nightstand.
- Do not exceed the maximum weight recommendation for the top surface or drawer.
- If any parts are missing or damaged, do not attempt to assemble the product. Contact customer support for assistance.
3. Package Contents
Please verify that all components are present before beginning assembly. If any parts are missing or damaged, please contact Bellemave customer service.
Parts List:
- (A) Top Panel - 1 pc
- (B) Side Panels (Left & Right) - 2 pcs
- (C) Bottom Panel - 1 pc
- (D) Back Panel - 1 pc
- (E) Drawer Front - 1 pc
- (F) Drawer Sides - 2 pcs
- (G) Drawer Back - 1 pc
- (H) Drawer Bottom - 1 pc
- (I) Shelf Panel - 1 pc
- (J) Drawer Slides (Left & Right) - 1 set
Hardware List:
- Cam Locks
- Cam Bolts
- Wood Dowels
- Screws (various sizes)
- Drawer Handle & Screws
- Anti-tip Kit (recommended for safety)
4. Assembly Instructions
Estimated assembly time: 45-60 minutes. Two people recommended for assembly.
Tools Required:
- Phillips Head Screwdriver
- Hammer (optional, for dowels)
Step-by-Step Assembly:
Step 1: Prepare Side Panels and Shelf
Attach cam bolts and wood dowels into the pre-drilled holes on the side panels (B) and shelf panel (I). Ensure they are fully seated.

Image 2: Side view of the nightstand, showing the X-pattern detailing on the side panel. This panel will be assembled with the shelf and other components.
Step 2: Assemble the Main Frame
Connect the side panels (B) to the bottom panel (C) and the shelf panel (I) using cam locks. Insert cam bolts into cam locks and turn clockwise to tighten. Ensure the shelf is positioned correctly for the drawer and open storage.

Image 3: Close-up view of the open storage shelf area, indicating where the shelf panel (I) would be secured within the frame.
Step 3: Attach Top Panel
Place the top panel (A) onto the assembled frame, aligning the cam bolts and dowels. Secure with cam locks by turning clockwise until tight.
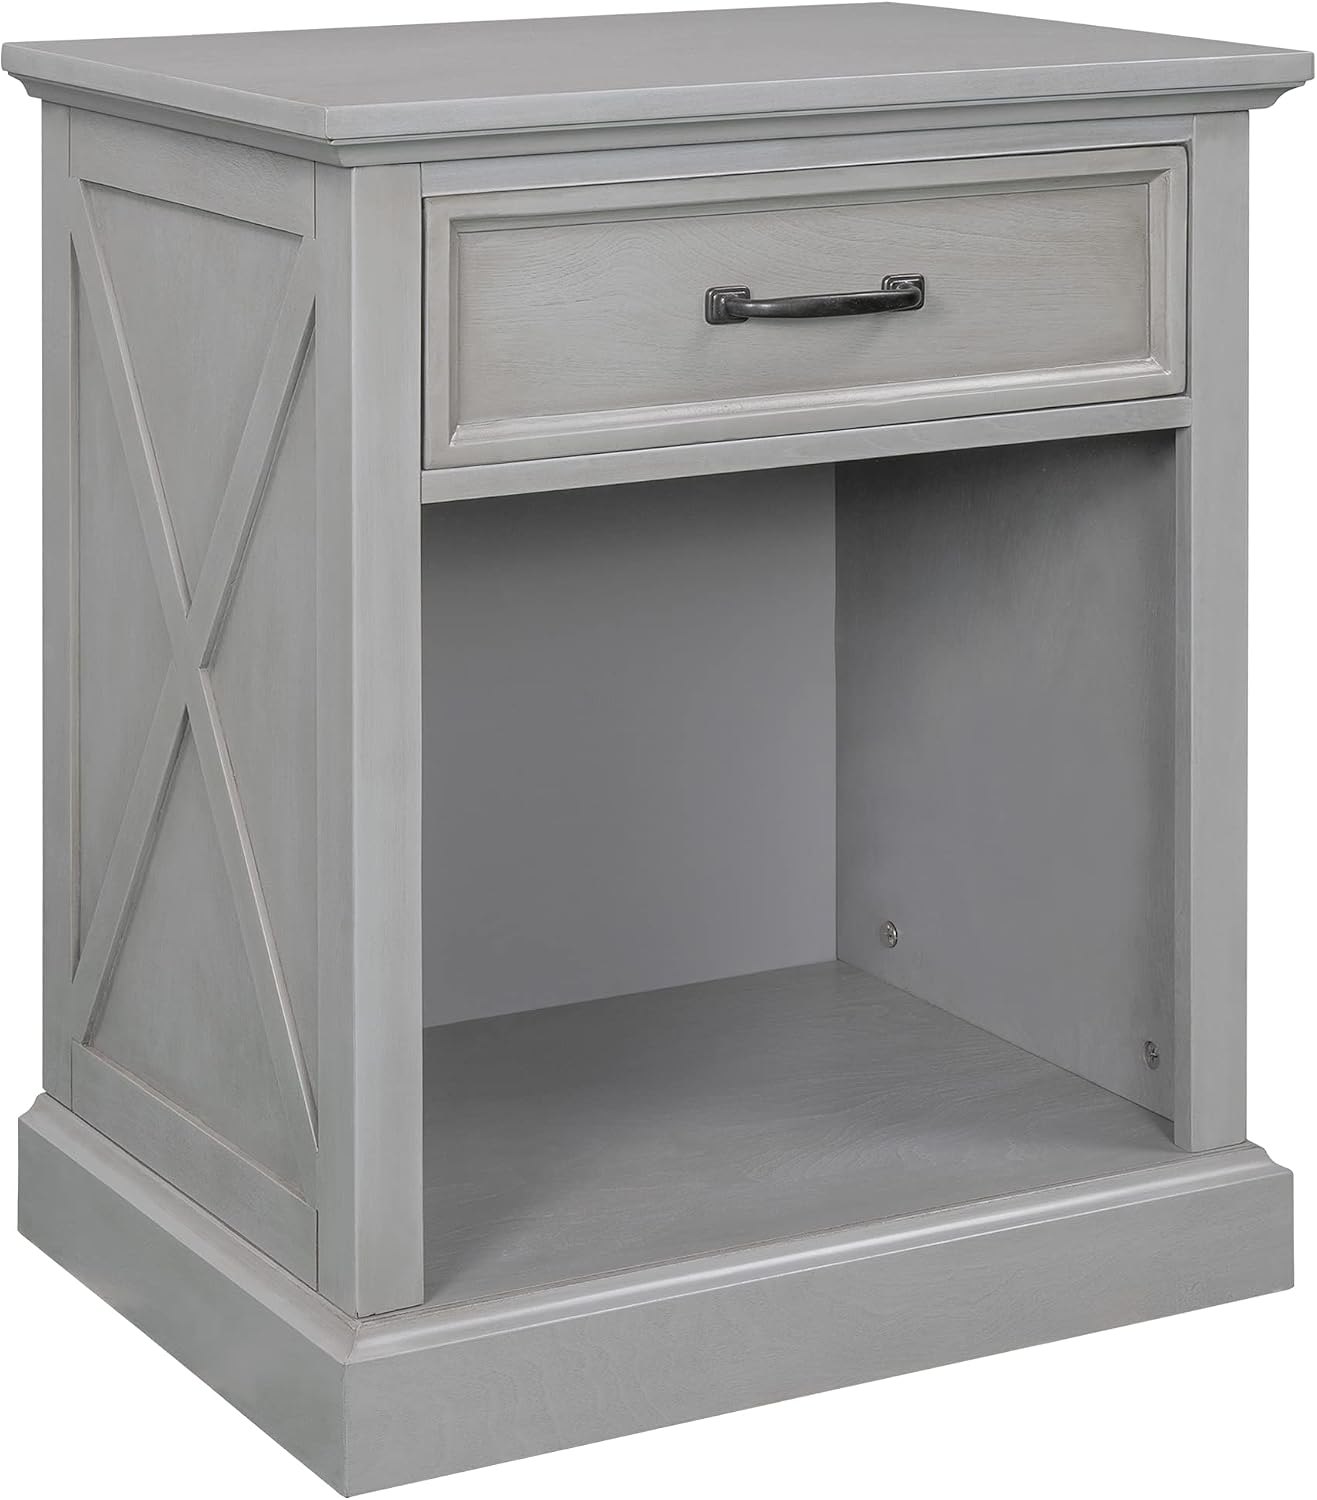
Image 4: Angled view of the nightstand, showing the top panel (A) securely attached to the main body.
Step 4: Assemble the Drawer
Attach drawer sides (F) and drawer back (G) to the drawer front (E) using cam locks and dowels. Slide the drawer bottom (H) into the grooves. Secure the drawer handle to the drawer front (E) with screws.

Image 5: Close-up view of the inside of the drawer, illustrating the construction and depth of the drawer box.
Step 5: Install Drawer Slides
Attach the drawer slides (J) to the inside of the nightstand frame and to the assembled drawer using the provided screws. Ensure the slides are level and aligned for smooth operation.

Image 6: Close-up view of the drawer slide mechanism, showing how the drawer connects to the main frame for smooth opening and closing.
Step 6: Insert Drawer and Attach Back Panel
Carefully slide the assembled drawer onto the installed drawer slides. Attach the back panel (D) to the rear of the nightstand using small screws or nails, ensuring it is flush with the edges.

Image 7: Front view of the nightstand with the drawer partially open, demonstrating the fully assembled unit before the back panel is secured.
Step 7: Final Check and Anti-Tip Kit Installation
Ensure all connections are tight. If an anti-tip kit is included, follow its specific instructions to secure the nightstand to a wall. This is highly recommended for safety, especially in homes with children or pets.

Image 8: Diagram showing the overall dimensions of the nightstand, including height, width, and depth, as well as internal drawer and shelf measurements.
5. Operating Instructions
Drawer Use:
To open the drawer, gently pull the handle. To close, push the drawer firmly until it is fully seated. Avoid forcing the drawer if it feels stuck; check for obstructions or misalignment of the slides.
Shelf Use:
The open shelf provides additional storage for books, decorative items, or a storage basket. Ensure items placed on the shelf do not exceed its weight capacity or obstruct the drawer's movement.
6. Maintenance and Care
- Cleaning: Wipe the nightstand with a damp cloth. Avoid using harsh chemicals or abrasive cleaners, as these can damage the finish.
- Spills: Clean spills immediately with a soft, dry cloth to prevent staining or water damage.
- Hardware: Periodically check all screws and connections to ensure they remain tight. Re-tighten as needed to maintain stability.
- Sunlight: Avoid prolonged exposure to direct sunlight, which can cause fading or discoloration of the wood finish.
- Heat: Do not place hot items directly on the surface. Use coasters or protective pads.
7. Troubleshooting
| Problem | Possible Cause | Solution |
|---|---|---|
| Drawer does not slide smoothly. | Drawer slides are misaligned or obstructed. | Remove the drawer and check if the slides are properly installed and free of debris. Ensure all screws on the slides are tight. |
| Nightstand feels wobbly. | Loose hardware connections. | Check and re-tighten all cam locks, cam bolts, and screws throughout the unit. Ensure the nightstand is on a level surface. |
| Parts are missing or damaged. | Manufacturing error or shipping damage. | Do not proceed with assembly. Contact Bellemave customer support immediately for replacement parts. |
8. Specifications
| Brand: | Bellemave |
| Model: | 1-Drawer Nightstand |
| Product Dimensions (D x W x H): | 15.9" x 22" x 26" |
| Maximum Weight Recommendation: | 250 Pounds (Top Surface) |
| Frame Material: | Wood (Pine) |
| Color: | Gray |
| Number of Drawers: | 1 |
| Number of Shelves: | 1 |
| Care Instructions: | Wipe with Damp Cloth |
| UPC: | 733805718374 |
| ASIN: | B0994HH8WY |
9. Warranty and Support
For warranty information or customer support, please refer to the purchase documentation or contact Bellemave directly through their official website or the retailer where the product was purchased. Please have your model number (1-Drawer Nightstand) and ASIN (B0994HH8WY) ready when contacting support.
For further assistance, visit the Bellemave Store on Amazon.
