
1. Introduction
The Brennenstuhl Comfort-Line set includes three mini remote-controlled plugs designed for indoor use. These plugs can be operated wirelessly via the included remote control from a distance of up to 25 meters. They allow for easy switching on and off of various electrical appliances, such as lamps or fans, with a maximum load of 2300W. The system features automatic coding with over 65,000 possible codes for intuitive use. The remote control has three channels, enabling individual or simultaneous control of the plugs. A status indicator on each plug allows for manual operation. The code is saved even after prolonged power outages. A 3V CR2032 battery is included for the remote control.
2. What's Included
- 3 x Brennenstuhl Mini Remote Control Plugs
- 1 x Remote Control
- 1 x CR2032 Button Cell Battery (pre-installed in remote)
The plugs and remote control are white.

Image: The complete Brennenstuhl Comfort-Line set, showing three mini remote control plugs and the accompanying remote control.
3. Safety Information
- For indoor use only.
- Do not exceed the maximum load of 2300W (10A) per plug.
- Ensure the plugs are fully inserted into the wall socket.
- Keep away from water and high humidity.
- Do not disassemble or modify the product.
- Keep batteries out of reach of children.
4. Setup
4.1. Installing the Remote Control Battery
The remote control comes with a pre-installed CR2032 button cell battery. If replacement is needed, open the battery compartment on the back of the remote control and insert a new CR2032 battery, ensuring correct polarity.

Image: Back of the remote control, indicating the battery compartment for the CR2032 battery.
4.2. Pairing the Plugs with the Remote Control
The plugs are pre-paired from the factory. If re-pairing is necessary or if you wish to change the channel assignments, follow these steps:
- Plug the remote control plug into a standard wall socket.
- Press and hold the ON/OFF button on the side of the remote control plug until the indicator light starts to blink slowly.
- On the remote control, press the 'ON' button for the desired channel (A, B, or C) you wish to assign to this plug.
- The indicator light on the plug will stop blinking and remain steadily lit, indicating successful pairing.
- Repeat for other plugs, assigning them to different channels or the same channel if you want them to operate simultaneously.
Video: This video demonstrates the pairing process for the remote control plugs. It shows how to put the plug into pairing mode and then assign a channel using the remote control.
4.3. Unpairing a Plug
To unpair a plug from the remote control:
- Plug the remote control plug into a standard wall socket.
- Press and hold the ON/OFF button on the side of the remote control plug for approximately 20 seconds until the indicator light turns off.
- The plug is now unpaired.
Video: This video also demonstrates the unpairing process for the remote control plugs. It shows how to reset the plug by holding down the ON/OFF button until the indicator light turns off.
5. Operating Instructions
Once the plugs are paired, you can control your appliances using the remote control.
5.1. Remote Control Functions
- ON/OFF Buttons (A, B, C): Press 'ON' to turn on the appliance connected to the corresponding channel. Press 'OFF' to turn it off.
- ALL ON/ALL OFF Buttons: Press 'ALL ON' to activate all paired plugs simultaneously. Press 'ALL OFF' to deactivate all paired plugs simultaneously.
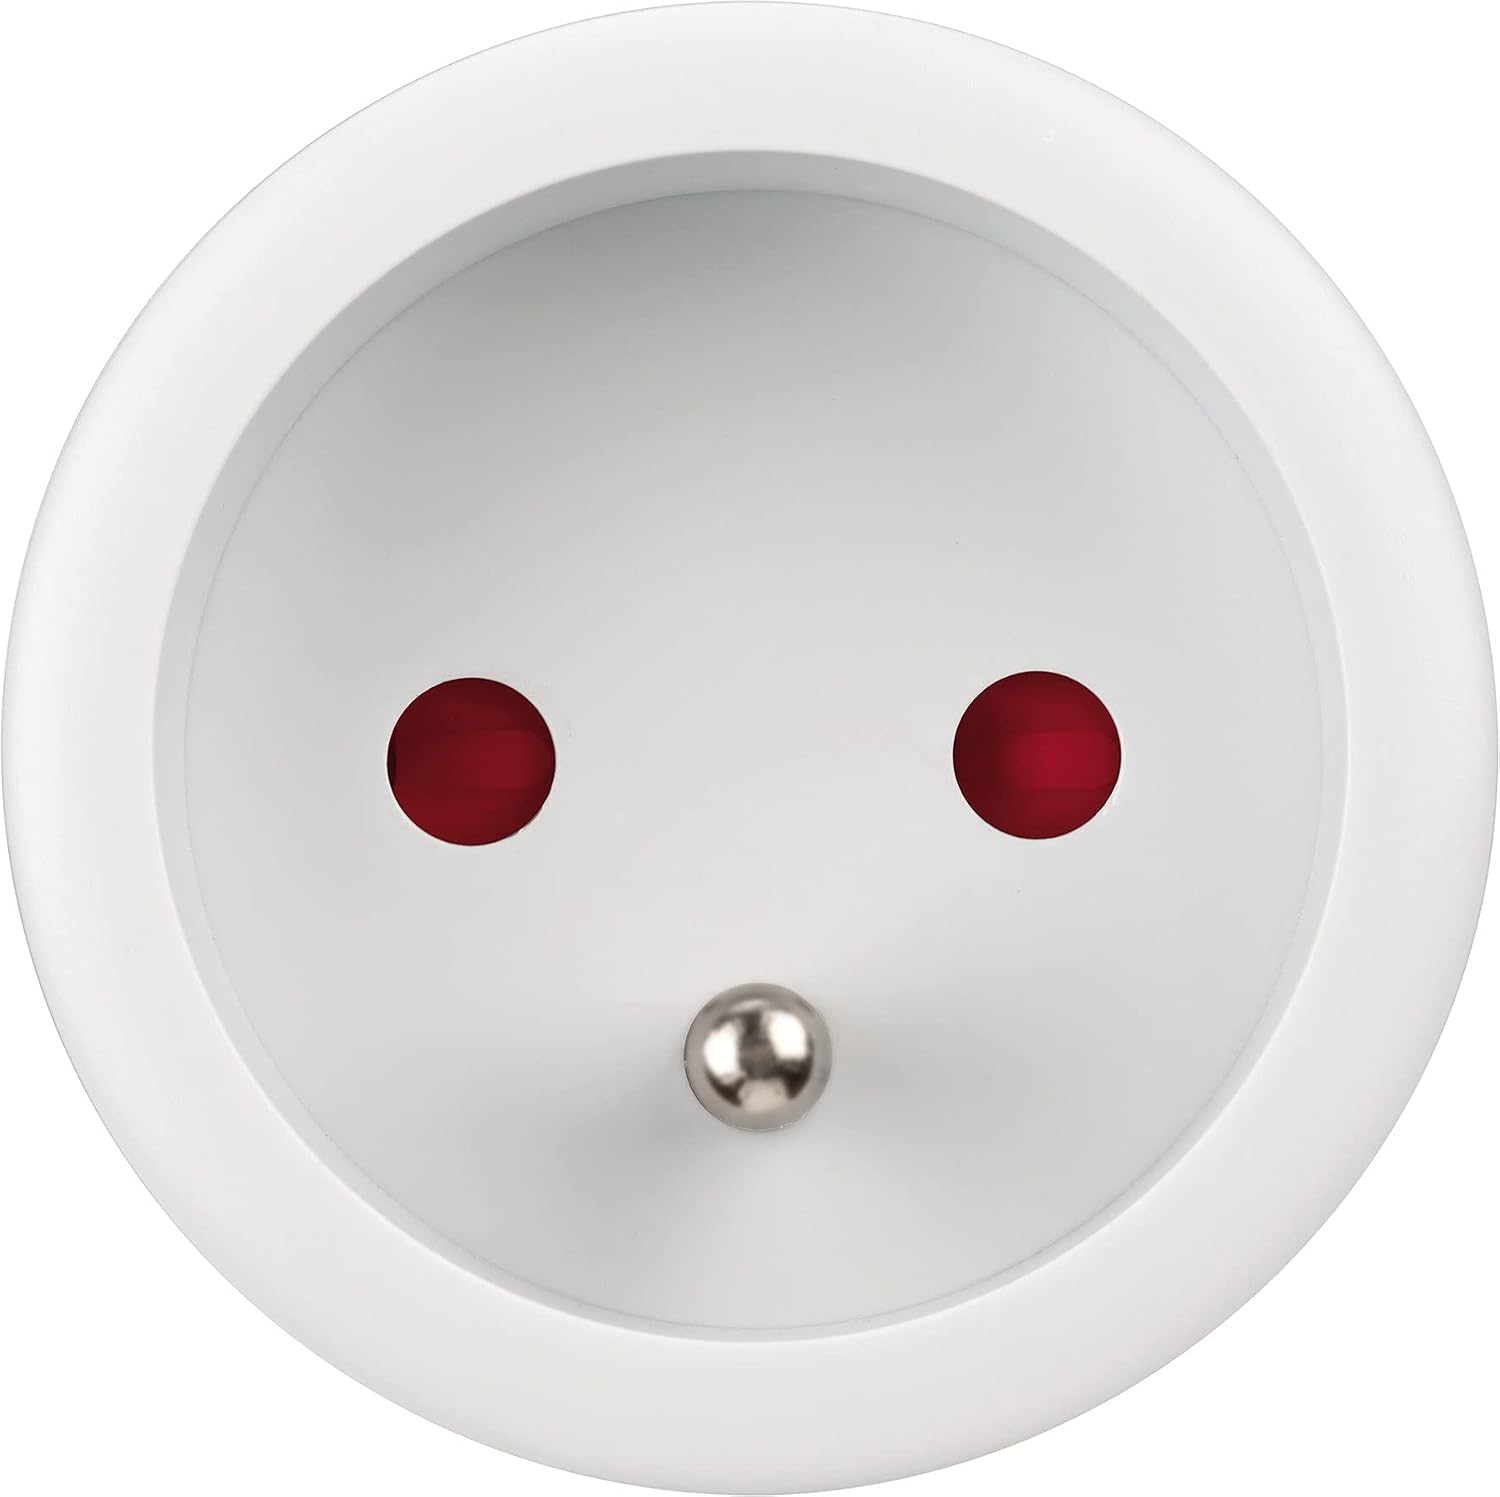
Image: The remote control, highlighting the channel buttons (A, B, C) and the 'ALL ON' / 'ALL OFF' buttons, along with its 25m range and 433.92 MHz frequency.
5.2. Manual Control
Each remote control plug has a manual ON/OFF button and a status indicator. You can manually switch the connected appliance on or off by pressing this button directly on the plug. The indicator light will show the current status (on/off).

Image: A remote control plug connected to a lamp, demonstrating its use in an indoor setting.
Video: This video illustrates the ease of use of the TESSAN remote control plug, showing how to plug it in and control an appliance with the remote.
6. Maintenance
- Clean the plugs and remote control with a dry, soft cloth. Do not use abrasive cleaners or solvents.
- Ensure the plugs are disconnected from the power supply before cleaning.
- Replace the remote control battery (CR2032) when the remote's indicator light dims or fails to light up during operation.
7. Troubleshooting
7.1. Plug does not respond to remote control
- Check battery: Ensure the remote control battery is not depleted. Replace if necessary.
- Re-pair: The plug might have lost its pairing. Follow the pairing instructions in Section 4.2.
- Range: Ensure you are within the 25-meter operating range and there are no significant obstructions.
- Interference: Other wireless devices operating on similar frequencies might cause interference. Try moving the plug or remote.
7.2. Appliance does not turn on/off
- Plug connection: Ensure the appliance is correctly plugged into the remote control plug, and the remote control plug is fully inserted into the wall socket.
- Appliance power: Check if the appliance itself is switched on and functioning correctly.
- Overload: Ensure the connected appliance does not exceed the maximum load of 2300W.
8. Specifications
| Feature | Specification |
|---|---|
| Brand | Brennenstuhl |
| Model Number | 1507071 |
| Color | White |
| Total Number of Outlets | 3 |
| Voltage | 230 Volts |
| Max Load | 2300W (10A) |
| Special Feature | Remote Control |
| Product Dimensions (L x W) | 5.1L x 14.8W centimeters |
| Recommended Use | Indoor |
| Material | Acrylonitrile Butadiene Styrene (ABS) |
| Power Plug Type | Type E – 2 pins (France) |
| Remote Control Frequency | 433.92 MHz |
| Remote Control Range | Up to 25 meters |
| Remote Control Battery | 1 x CR2032 (included) |
9. Warranty and Support
This Brennenstuhl product comes with a 2-year manufacturer warranty. For technical support or warranty claims, please contact your retailer or Brennenstuhl customer service. Keep your proof of purchase for warranty validation.


