
1. Introduction
Thank you for choosing the Crown Ct2344A 600W Impact Drill. This manual provides essential information for the safe and effective operation, maintenance, and troubleshooting of your new power tool. Please read this manual thoroughly before using the drill and keep it for future reference.
General Safety Instructions
- Always wear appropriate personal protective equipment (PPE), including safety glasses, hearing protection, and gloves.
- Ensure your work area is clean, well-lit, and free from obstructions.
- Keep children and bystanders away while operating the power tool.
- Do not operate power tools in explosive atmospheres, such as in the presence of flammable liquids, gases, or dust.
- Always disconnect the drill from the power source before making any adjustments, changing accessories, or storing the tool.
- Use the correct drill bit for the material you are working on.
2. Product Overview
The Crown Ct2344A is a versatile 600W impact drill designed for various drilling tasks in wood, steel, and concrete. It features variable speed control, a reversible function, and a 13mm keyless chuck for quick bit changes.

Figure 1: Crown Ct2344A 600W Impact Drill. This image shows the beige-colored drill with its auxiliary handle attached, highlighting the keyless chuck, trigger, and power cord.
Key Features:
- Variable Speed: Allows for precise control over drilling speed for different materials.
- Reversible Function: Enables easy removal of drill bits and screws.
- Lock-on Switch: For continuous operation without holding the trigger.
- 13mm Keyless Chuck: Facilitates quick and tool-free bit changes.
- 600 Watt Input Power: Provides sufficient power for demanding tasks.
- Compact Design: Net weight of 2.0 kg for comfortable handling.
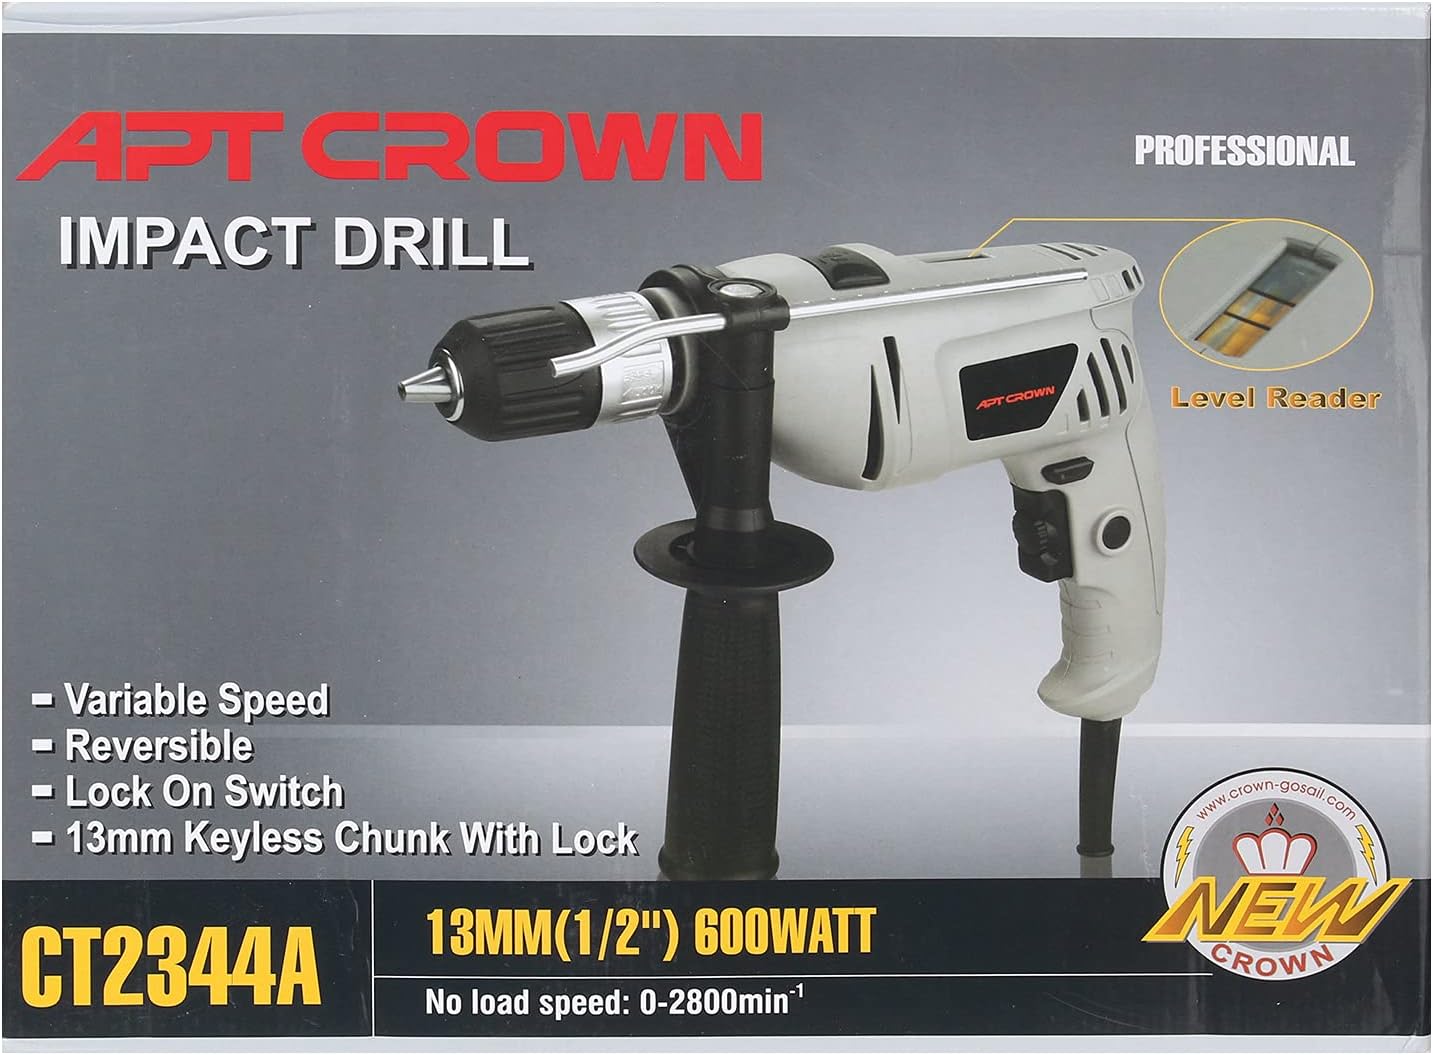
Figure 2: Product packaging for the Crown Ct2344A Impact Drill, illustrating key features such as variable speed, reversible function, lock-on switch, and 13mm keyless chuck.
3. Setup
3.1 Unpacking
- Carefully remove the drill and all accessories from the packaging.
- Inspect the tool for any damage that may have occurred during transit. Do not operate a damaged tool.
- Ensure all components listed in the packaging are present.
3.2 Attaching the Auxiliary Handle
The auxiliary handle provides additional control and stability during operation. Loosen the handle by twisting it counter-clockwise, slide it onto the drill's neck, and then tighten it by twisting clockwise at the desired position.
3.3 Inserting Drill Bits (Keyless Chuck)
- Ensure the drill is disconnected from the power supply.
- Rotate the front part of the chuck counter-clockwise until the jaws are open wide enough to insert the drill bit.
- Insert the drill bit fully into the chuck.
- Rotate the front part of the chuck clockwise to tighten the jaws securely around the drill bit. Ensure the bit is centered and firmly gripped.
3.4 Power Connection
Connect the drill's power cord to a suitable 220-230V AC power outlet. Ensure the power outlet is properly grounded and protected by a residual current device (RCD) if working in damp conditions.
4. Operating Instructions
4.1 Powering On/Off and Variable Speed Control
- To start the drill, press the trigger switch. The drilling speed is variable and controlled by the pressure applied to the trigger.
- To stop the drill, release the trigger switch.
4.2 Lock-on Switch
For continuous operation, press the trigger switch and then press the lock-on button. The drill will continue to run without holding the trigger. To release the lock-on, press the trigger switch again.
4.3 Reversible Function
The direction of rotation can be changed using the forward/reverse selector switch, usually located above the trigger. Push the switch to the left for forward rotation (drilling) and to the right for reverse rotation (removing bits or screws). Always ensure the drill has come to a complete stop before changing the direction of rotation.
4.4 Drilling Techniques
- General Drilling: Apply steady, even pressure. Do not force the drill. Let the tool do the work.
- Wood Drilling: Use wood-specific drill bits. Start with a slower speed and increase as needed. Maximum capacity: 20 mm.
- Steel Drilling: Use HSS (High-Speed Steel) drill bits. Use a slower speed and apply cutting fluid to prevent overheating. Maximum capacity: 13 mm.
- Concrete Drilling (Impact Mode): Use masonry drill bits. Engage the impact function (if applicable, this model is an impact drill). Apply firm, steady pressure. Maximum capacity: 13 mm.
- Starting a Hole: Use a center punch for metal or a pilot hole for wood to prevent the drill bit from wandering.
5. Maintenance
5.1 Cleaning
- Always disconnect the drill from the power supply before cleaning.
- Clean the ventilation openings regularly to prevent overheating. Use a soft brush or compressed air.
- Wipe the tool housing with a damp cloth. Do not use harsh chemicals or abrasive cleaners.
5.2 Power Cord Inspection
Regularly inspect the power cord for any signs of damage, cuts, or fraying. If the cord is damaged, have it replaced by a qualified service technician to avoid electrical hazards.
5.3 Storage
Store the drill in a dry, secure place, out of reach of children. Protect it from dust and moisture. If possible, store it in its original case or a suitable storage box.
6. Troubleshooting
| Problem | Possible Cause | Solution |
|---|---|---|
| Drill does not start | No power supply; Damaged power cord; Faulty switch | Check power connection; Inspect power cord; Contact service center |
| Loss of power during operation | Overload; Insufficient power supply | Reduce pressure; Check power source; Allow tool to cool down |
| Excessive vibration or noise | Loose drill bit; Worn components; Damaged chuck | Tighten drill bit; Inspect chuck; Contact service center |
| Drill bit not turning | Chuck not tightened; Reversible switch in neutral position | Tighten chuck; Ensure reversible switch is in forward or reverse position |
7. Specifications
| Specification | Value |
|---|---|
| Model Number | Ct2344A |
| Input Power | 600 Watts |
| Voltage | 220-230 V |
| No Load Speed | 0-2800 min⁻¹ (RPM) |
| Chuck Size | 13 mm (Keyless) |
| Drilling Capacity (Wood) | 20 mm |
| Drilling Capacity (Steel) | 13 mm |
| Drilling Capacity (Concrete) | 13 mm |
| Net Weight | 2.0 kg |
| Material | Metal |
| Special Features | Variable Speed, Reversible Rotation, Lock-on Switch |
| Included Components | Chuck Key (Note: Product description states keyless chuck, but specifications list chuck key. Please verify upon receipt.) |
8. Warranty and Support
For warranty information, technical support, or service inquiries, please refer to the warranty card included with your product or contact the manufacturer directly. Keep your purchase receipt as proof of purchase.


