
1. Introduction
This manual provides essential information for the safe and effective operation and maintenance of your Tyrell Chenergy 1800 Amp Car Jump Starter with Air Compressor and Portable Power Station. This versatile device combines multiple functionalities to assist with vehicle emergencies and portable power needs.

Figure 1: Tyrell Chenergy 6-in-1 Power Station (Model HH715a)
The unit features an upgraded 1800 peak current jump starter for 12V vehicles (up to 8.0L Gas or 8.0L Diesel Engine), a 260-PSI air compressor with tire pressure monitor, a 400W power inverter with dual AC/DC ports, and a 2.1A USB port. It is equipped with industrial-grade hot jaw clamps and built-in safety features.
2. Safety Information
Always read and understand all safety warnings and instructions before using this product. Failure to follow these instructions may result in electric shock, fire, and/or serious injury.
- Eye Protection: Always wear ANSI-approved safety goggles when working with batteries.
- Ventilation: Ensure adequate ventilation when charging or jump starting to prevent accumulation of explosive gases.
- Reverse Polarity: The unit features reverse polarity indication and alarm. Always ensure correct connection to battery terminals.
- Charging: Only use the provided AC charger. Do not overcharge the unit.
- Inverter Use: Do not exceed the 400W continuous power rating of the inverter.
- Children: Keep out of reach of children.
- Water Exposure: This product is not waterproof. Avoid exposure to water or moisture.
3. Components Overview
Familiarize yourself with the various parts and controls of your power station.

Figure 2: Front Panel Controls and Indicators
- Air Compressor Gauge: Displays air pressure during inflation.
- Air Compressor Switch: Activates the air compressor.
- Reverse Polarity Indicator: Illuminates and alarms if clamps are connected incorrectly.
- Light Switch: Turns the LED work light on/off.
- Battery Status Button: Press to check the current battery charge level on the DC Volts meter.
- DC Volts Meter: Indicates the unit's battery voltage and charge status.
- Charging Indicator Light: Shows charging status (red for charging, green for charged).
- DC 12V Sockets (x2): For powering 12V DC appliances.
- LED Work Light: Provides illumination for dark environments.

Figure 3: Rear Panel with AC Outlets and USB Port
- 40 Amp Fuse: Overload protection for the inverter.
- USB 5V 2.1A Port: For charging USB-powered devices.
- Inverter Switch: Activates the 400W power inverter.
- AC Outlets (x2): For powering standard 110V AC devices (400W total).
- Jumper Safety Switch: Engages/disengages power to the jumper cables.
- Jumper Cables: Stored securely on the sides of the unit.
- Air Compressor Hose: Stored in a compartment on the rear.
Video 1: Overview of the Tyrell Chenergy Portable Power Station Jump Starter. This video demonstrates the various features and ports of the device, including the charging port, battery indicator, LED light, compressor, DC sockets, USB port, and AC outlets.
4. Setup
4.1 Initial Charging
Before first use, fully charge the power station for at least 30-40 hours. The unit uses a 12V 20AH (20000mAh) Safety Lead-acid rechargeable battery.
- Ensure the Jumper Safety Switch is in the "OFF" position.
- Plug the provided AC adapter into the charging port on the front panel.
- Plug the AC adapter into a standard wall outlet.
- The Charging Indicator Light will illuminate red, indicating charging. It will turn green when fully charged.
- Press the Battery Status Button to check the DC Volts meter. A full charge typically shows above 13.5V while charging.
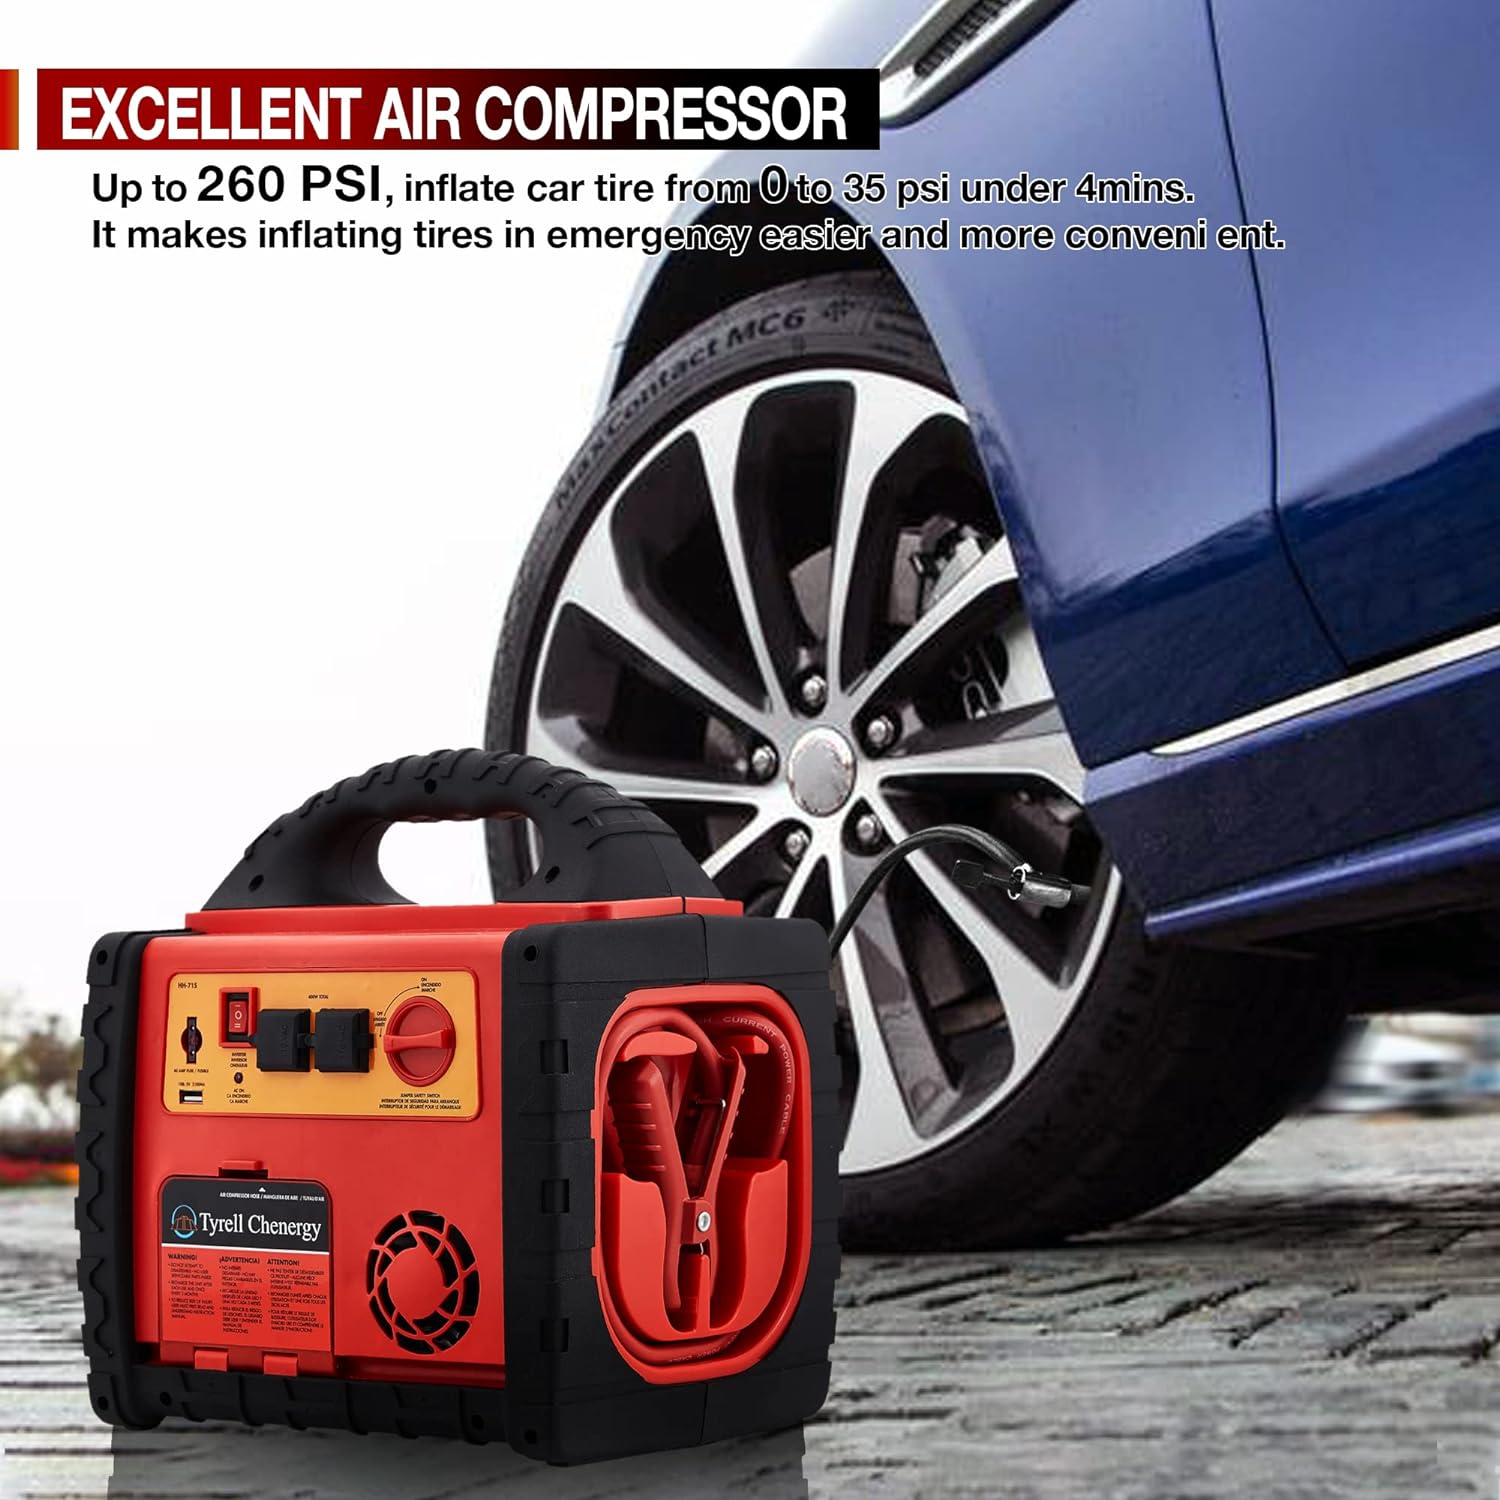
Figure 4: Charging Port and Battery Status Indicator
4.2 Connecting Accessories
Ensure the unit is fully charged before connecting any accessories for optimal performance.
5. Operating Instructions
5.1 Jump Starting a Vehicle
This unit is designed for 12V vehicles (up to 8.0L Gas or 8.0L Diesel Engine).
- Ensure the Jumper Safety Switch is in the "OFF" position.
- Connect the red (positive) clamp to the positive (+) terminal of the vehicle's battery.
- Connect the black (negative) clamp to a non-painted metal part of the vehicle's chassis, away from the battery and fuel lines.
- Check the Reverse Polarity Indicator. If it illuminates and alarms, immediately disconnect the clamps and re-connect them correctly.
- Once connected correctly, turn the Jumper Safety Switch to the "ON" position.
- Attempt to start the vehicle. Do not crank the engine for more than 5 seconds. If the vehicle does not start, wait at least 1 minute before trying again.
- Once the vehicle starts, immediately turn the Jumper Safety Switch to the "OFF" position.
- Disconnect the black (negative) clamp first, then the red (positive) clamp.

Figure 5: Proper Jump Starting Connection
Video 2: Demonstration of Jump Starting a Vehicle. This video illustrates the process of connecting the jump starter to a car battery and initiating a jump start.
5.2 Using the Air Compressor
The 260-PSI high-flow air compressor can inflate car tires, bicycle tires, sports balls, and air mattresses.
- Locate the air compressor hose in its rear compartment.
- Select the appropriate nozzle adapter for your item and securely attach it to the hose.
- Connect the hose to the item to be inflated.
- Turn the Air Compressor Switch to the "ON" position. Monitor the air compressor gauge for desired pressure.
- Once desired pressure is reached, turn the Air Compressor Switch to the "OFF" position.
- Disconnect the hose from the item and store the hose and adapters.
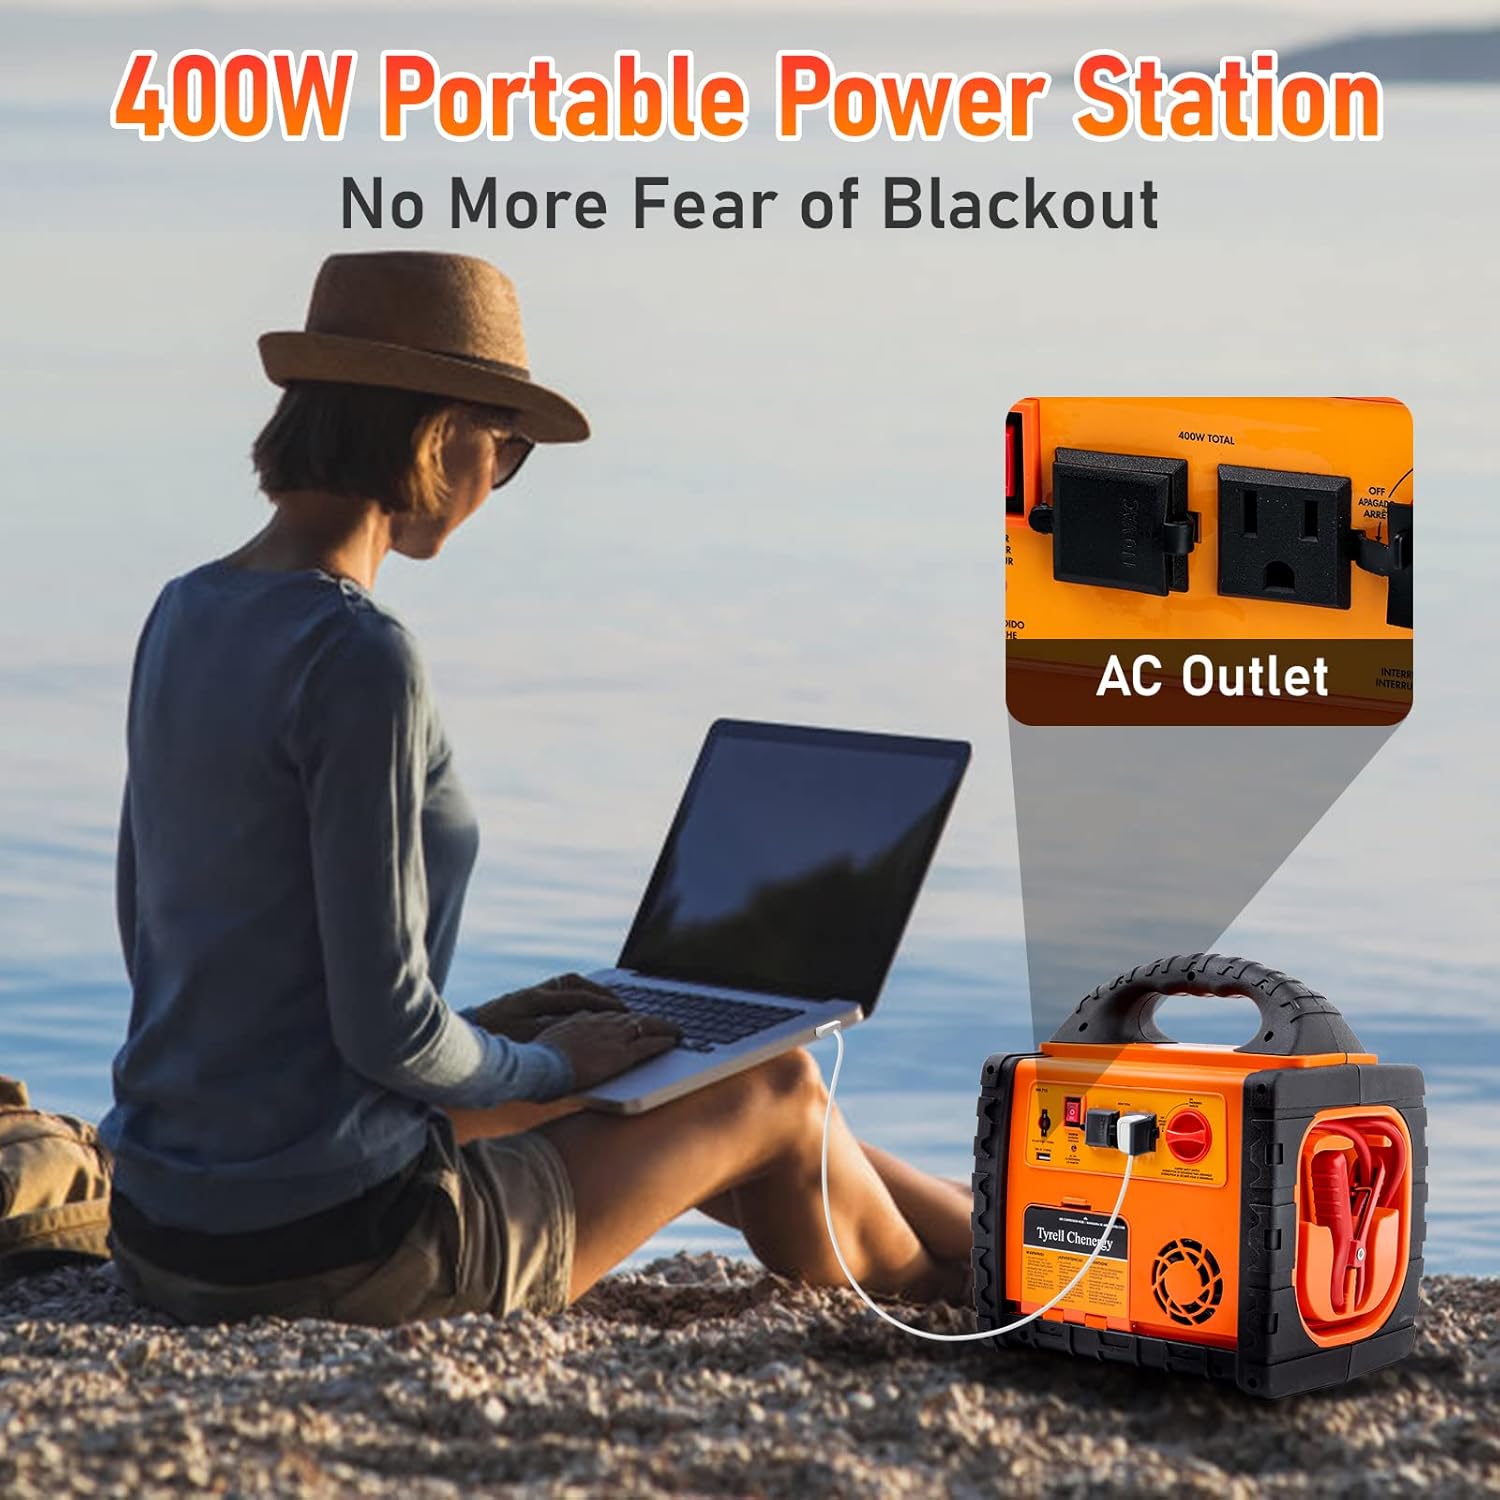
Figure 6: Air Compressor in Operation

Figure 7: Air Compressor Nozzle Adapters and Applications
Video 3: Air Compressor Functionality. This video demonstrates how to use the air compressor feature, including connecting the hose and inflating various items.
5.3 Power Inverter and USB Ports
The 400W power inverter provides dual AC/DC ports and a 2.1A USB port for charging and powering various electronic devices.
- To use the AC outlets, turn the Inverter Switch to the "ON" position. The AC ON indicator light will illuminate green.
- Plug your device into one of the AC outlets. Ensure the total wattage of connected devices does not exceed 400W.
- To use the USB port, simply plug your USB charging cable into the USB 5V 2.1A Port.
- To use the DC 12V sockets, plug your 12V DC appliance into either socket.
- When finished, turn off the Inverter Switch (if using AC outlets) and disconnect all devices.

Figure 8: Powering Devices with the AC Inverter
Video 4: Power Inverter and USB Port Usage. This video demonstrates how to utilize the AC outlets and USB port for charging and powering various electronics.
6. Maintenance
Proper maintenance ensures the longevity and optimal performance of your power station.
- Recharging: Recharge the unit after every use. If not used, recharge every 60 days to maintain battery health.
- Storage: Store the unit in a cool, dry place away from direct sunlight and extreme temperatures.
- Cleaning: Clean the exterior with a soft, damp cloth. Do not use harsh chemicals or abrasives.
- Fuse Replacement: The unit has a 40 Amp fuse for the inverter. If the inverter stops working, check and replace the fuse if necessary (refer to the fuse compartment on the rear panel).
7. Troubleshooting
Refer to this section for common issues and their solutions.
| Problem | Possible Cause | Solution |
|---|---|---|
| Unit not charging / Charging indicator not lit. | AC adapter not connected properly or faulty; internal battery deeply discharged. | Ensure AC adapter is securely plugged in. Try a different outlet. If deeply discharged, it may take longer to show charging. |
| Vehicle does not jump start. | Incorrect clamp connection; Jumper Safety Switch OFF; vehicle battery completely dead; unit's battery low. | Check clamp connections (red to positive, black to chassis). Ensure Jumper Safety Switch is ON. Recharge the power station. |
| Air compressor not working. | Air Compressor Switch OFF; hose not connected; unit's battery low. | Turn Air Compressor Switch ON. Ensure hose is securely attached. Recharge the power station. |
| AC outlets not providing power. | Inverter Switch OFF; connected device exceeds 400W; 40 Amp fuse blown; unit's battery low. | Turn Inverter Switch ON. Reduce load. Check and replace 40 Amp fuse if necessary. Recharge the power station. |
If issues persist after attempting these solutions, please contact customer support.
8. Specifications
| Feature | Specification |
|---|---|
| Brand | Tyrell Chenergy |
| Model | HH715a |
| Peak Output Current | 1800 Amps |
| Battery Type | 12V 20AH (20000mAh) Safety Lead-acid rechargeable battery |
| Air Compressor Pressure | 260 PSI |
| Power Inverter Output | 400W (Continuous) |
| USB Port Output | 5V 2.1A |
| Product Dimensions | 8.6"D x 10.6"W x 11.8"H |
| Item Weight | 17 Pounds |
9. Warranty and Support
Tyrell Chenergy provides 12-month after-sales customer service for this product. This includes assistance with product use instructions, product protection, repair, and replacement.
For further assistance or to inquire about warranty claims, please refer to the contact information provided with your purchase or visit the official Tyrell Chenergy store on Amazon.
