
Einhell TC-BD 500 (Model 4520593)
Einhell TC-BD 500 Pillar Drill Machine User Manual
Model: TC-BD 500 (4520593)
Brand: Einhell
Introduction
This user manual provides essential information for the safe and efficient operation, setup, and maintenance of your Einhell TC-BD 500 Pillar Drill Machine. Please read this manual thoroughly before using the machine to ensure proper handling and to prevent injury or damage.
The Einhell TC-BD 500 is a robust and versatile pillar drill designed for precise drilling in various materials such as wood, metal, and plastic. Its key features include a 9-stage speed setting, adjustable drilling depth, and a flexible, height-adjustable drill table that can be rotated and tilted.

Figure 1: Einhell TC-BD 500 Pillar Drill Machine Overview
The image displays the complete Einhell TC-BD 500 Pillar Drill Machine, showcasing its red base and drill table, silver column, and black motor housing with control switches. A clear safety guard is visible around the chuck area.
Safety Instructions
Always observe the following safety precautions to reduce the risk of electric shock, fire, and serious injury.
- Work Area Safety: Keep the work area clean and well-lit. Cluttered or dark areas invite accidents. Do not operate power tools in explosive atmospheres, such as in the presence of flammable liquids, gases, or dust.
- Electrical Safety: Power tool plugs must match the outlet. Never modify the plug in any way. Do not abuse the cord. Never use the cord for carrying, pulling, or unplugging the power tool. Keep cord away from heat, oil, sharp edges, or moving parts.
- Personal Safety: Always wear eye protection. Use hearing protection when operating noisy tools. Wear appropriate clothing; avoid loose clothing or jewelry that can get caught in moving parts. Secure long hair.
- Tool Use and Care: Do not force the power tool. Use the correct power tool for your application. Disconnect the plug from the power source before making any adjustments, changing accessories, or storing power tools.
- Material Securing: Always secure the workpiece firmly to the drill table using clamps or a vise. Never hold the workpiece by hand during drilling.
- Maintenance: Maintain power tools and accessories. Check for misalignment or binding of moving parts, breakage of parts, and any other condition that may affect the power tool’s operation.
Setup and Assembly
The Einhell TC-BD 500 Pillar Drill Machine requires some assembly before first use. Follow these steps carefully.
- Unpacking: Carefully remove all components from the packaging. Check for any damage during transit and ensure all parts are present according to the packing list.
- Base and Column Assembly: Securely attach the column to the base using the provided fasteners. Ensure the column is vertical and stable.
- Drill Head Assembly: Mount the drill head assembly onto the top of the column. Tighten all securing bolts to ensure the head is firmly in place and does not wobble.
- Drill Table Installation: Slide the drill table onto the column and secure it at a convenient working height. The table can be adjusted later.
- Chuck Installation: Install the drill chuck onto the spindle. Ensure it is seated firmly.
- Power Connection: Connect the machine to a suitable 220V AC power supply. Ensure the power switch is in the "OFF" position before plugging in.

Figure 2: Drill Chuck Detail
This image shows a close-up of the drill chuck, highlighting its robust construction and the mechanism for inserting and securing drill bits. The chuck is designed to hold bits from 1.5 mm to 13 mm in diameter.
Operating Instructions
Follow these steps for safe and effective operation of your pillar drill.
- Selecting and Installing Drill Bit: Choose the appropriate drill bit for your material and desired hole size. Insert the drill bit into the chuck and tighten it securely using the chuck key. The chuck accommodates drill bits from 1.5 mm to 13 mm.
- Adjusting Drill Table:
- Height Adjustment: Loosen the locking lever and adjust the drill table to the desired height. Retighten the lever firmly.
- Rotation: The drill table can be rotated up to 90° around the column. Loosen the table lock, rotate, and retighten.
- Tilt Adjustment: The table can be tilted up to 45° to either side for angled drilling. Loosen the tilt lock, set the angle, and retighten.

Figure 3: Drill Table Adjustments
This image illustrates the flexibility of the drill table, showing arrows indicating vertical height adjustment and rotational movement. The table can also be tilted for angled drilling operations.
- Setting Drilling Depth: Use the adjustable depth stop to set the desired drilling depth. This ensures consistent and precise hole depths. The maximum drilling depth is 50 mm.

Figure 4: Depth Stop Mechanism
A detailed view of the depth stop mechanism, showing the dial with measurement markings. This feature allows for precise control over the drilling depth, ensuring repeatable results.
- Adjusting Speed: The machine features a 9-stage speed setting, allowing adjustment from 300 to 2410 RPM. Select the appropriate speed based on the material being drilled and the drill bit size. Lower speeds are generally for harder materials and larger bits, while higher speeds are for softer materials and smaller bits.


Figure 5: Speed Setting Indicators
These icons visually represent the drill's 9-speed capability and its wide rotational speed range from 300 to 2410 revolutions per minute, allowing for material-adapted work.
- Securing Workpiece: Always secure the workpiece firmly to the drill table using appropriate clamps or a drill press vise. Never hold the workpiece by hand.
- Drilling:
- Turn on the machine using the power switch.
- Slowly lower the drill bit into the workpiece using the feed handle. Apply steady, even pressure.
- Allow the drill bit to cut through the material. Do not force the drill.
- Once the hole is complete, retract the drill bit from the workpiece.
- Turn off the machine.

Figure 6: Operating the Drill Machine
This image shows a user operating the Einhell pillar drill, demonstrating the proper posture and method for lowering the drill bit into a wooden workpiece secured on the drill table.
Maintenance
Regular maintenance ensures the longevity and optimal performance of your Einhell TC-BD 500 Pillar Drill Machine.
- Cleaning: After each use, disconnect the machine from the power supply and clean off any dust, chips, and debris from the drill table, column, and motor housing. Use a brush or compressed air. Do not use harsh chemicals.
- Lubrication: Periodically apply a light coat of machine oil to the column and other moving parts to ensure smooth operation and prevent rust.
- Chuck Care: Keep the chuck jaws clean and free of debris. If the chuck becomes stiff, apply a small amount of lubricant.
- Inspection: Regularly inspect the power cord for damage. Check all fasteners and bolts for tightness and retighten if necessary. Ensure the safety guard is intact and functioning correctly.
- Storage: Store the drill machine in a clean, dry place, away from moisture and extreme temperatures.
Troubleshooting
This section addresses common issues you might encounter with your pillar drill.
| Problem | Possible Cause | Solution |
|---|---|---|
| Machine does not start. | No power supply; power switch off; damaged cord. | Check power connection and outlet. Ensure switch is ON. Inspect cord for damage. |
| Drill bit not cutting or slow cutting. | Dull drill bit; incorrect speed setting; insufficient pressure; material too hard. | Replace or sharpen drill bit. Adjust speed according to material. Apply steady pressure. Ensure machine is suitable for material. |
| Excessive vibration or noise. | Loose components; worn bearings; unbalanced drill bit. | Check and tighten all bolts and fasteners. Replace worn parts if necessary. Ensure drill bit is properly seated and not bent. |
| Drill stops during operation (lack of power). | Overload; motor overheating; power supply issue. | Reduce drilling pressure. Allow motor to cool down. Check power supply for stability. Do not force the machine. |
Technical Specifications
Below are the key technical specifications for the Einhell TC-BD 500 Pillar Drill Machine.
| Feature | Specification |
|---|---|
| Model Number | 4520593 |
| Power Source | AC |
| Voltage | 220V |
| Maximum Power | 650 Watts |
| Rated Power | 500 Watts |
| Number of Speeds | 9 |
| Rotational Speed Range | 300 - 2410 RPM |
| Maximum Chuck Size | 13 mm (0.51 inches) |
| Drilling Capacity (Metal) | 13 mm |
| Maximum Drilling Depth | 50 mm |
| Drill Table Adjustment | Height adjustable, 90° rotation, 45° tilt |
| Item Weight | 13.96 kg (30.7 lbs) |
| Product Dimensions (L x W x H) | 17.52 x 11.02 x 24.41 inches |
| Material | Metal |
| Color | Multi-colored (Red/Black) |


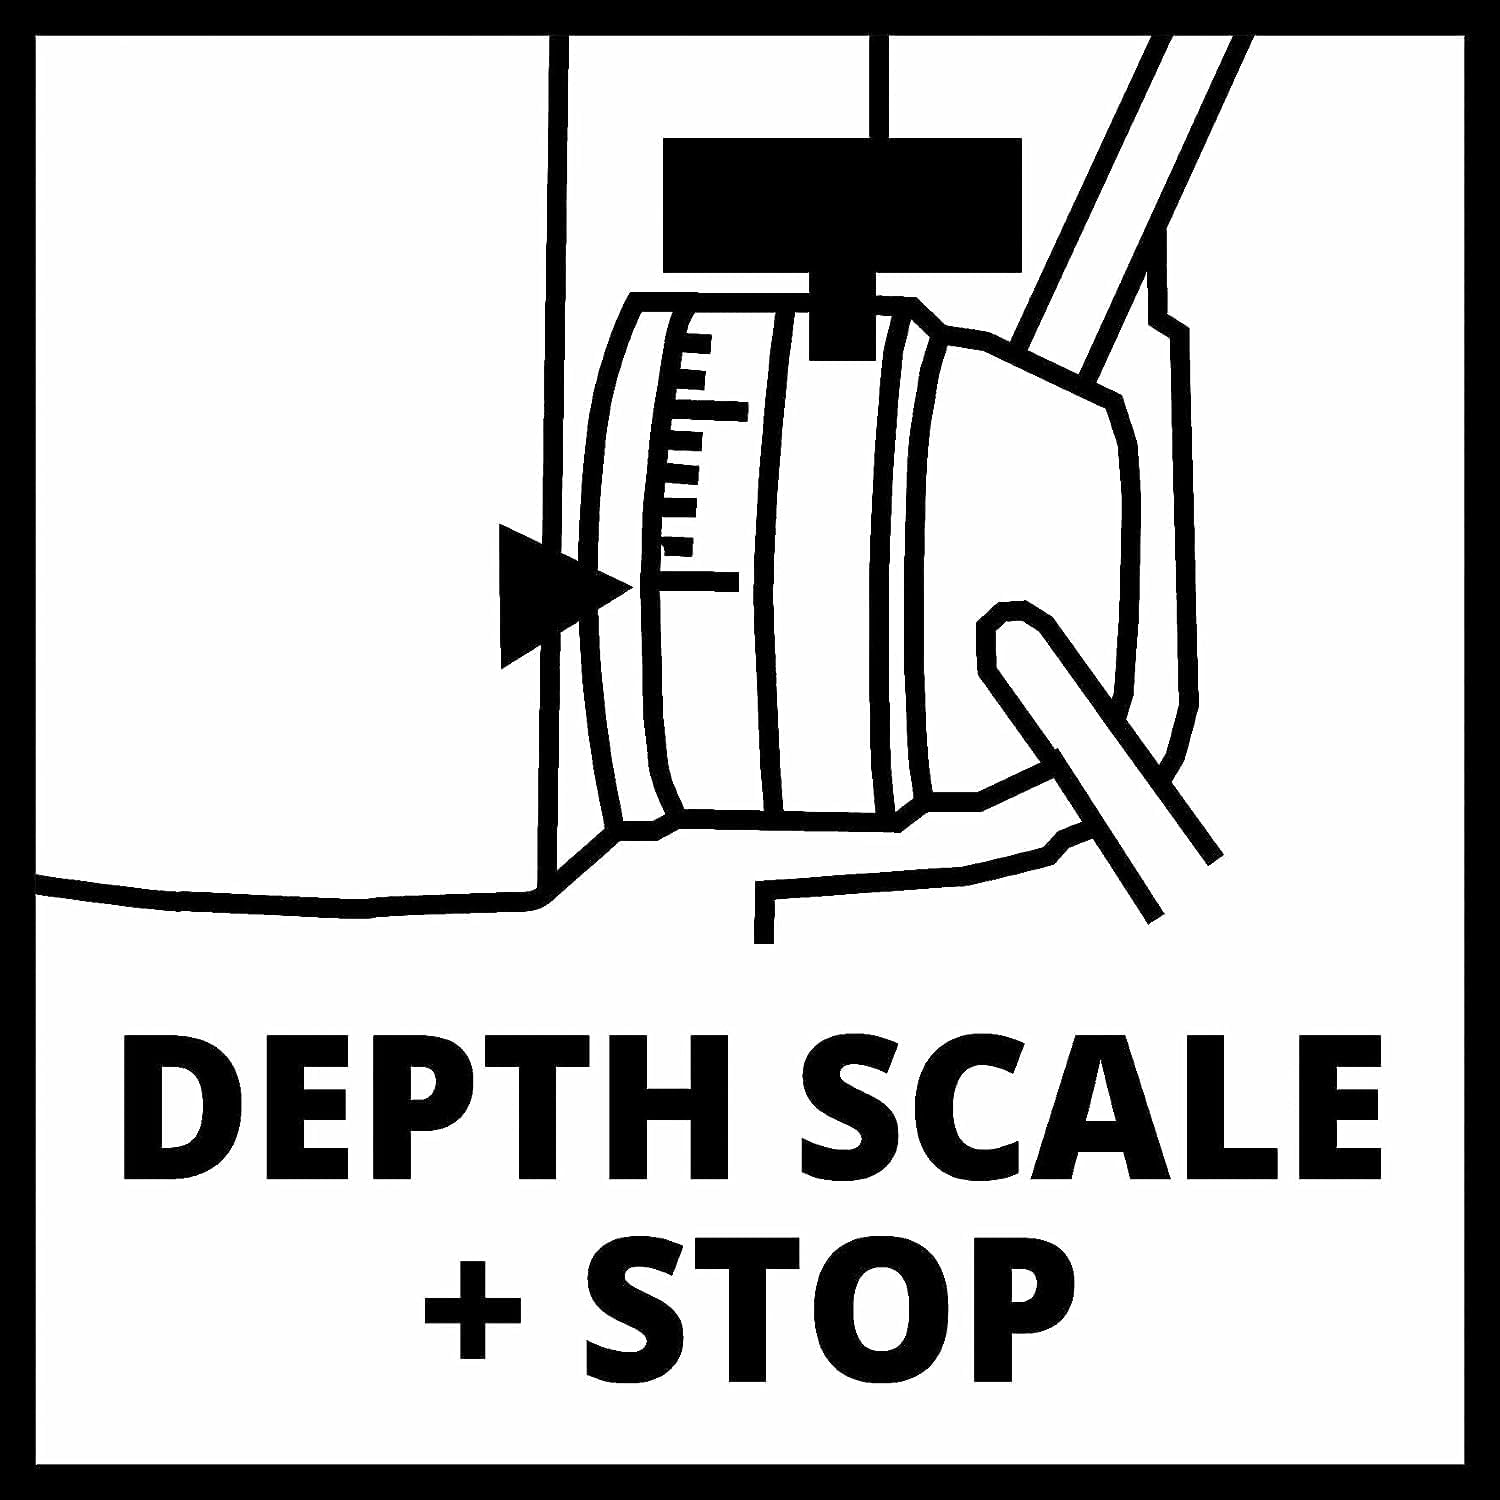

Figure 7: Key Specification Icons
These icons highlight important specifications: the 500W power rating, the chuck capacity for drill bits from 1.5 mm to 13 mm, the presence of a depth scale with stop for precise drilling, and the adjustable table with tilt capability.
Warranty and Support
For information regarding the product warranty, please refer to the warranty card included with your purchase or visit the official Einhell website. Warranty terms and conditions may vary by region.
If you require technical support, spare parts, or service, please contact your retailer or the authorized Einhell service center in your country. Have your model number (TC-BD 500) and serial number (if applicable) ready when contacting support.
You can find more information and contact details on the official Einhell website: www.einhell.com
Related documentsTC-BD 500 (Model 4520593)


Ask a question about this manual
Ask about setup, troubleshooting, compatibility, parts, safety, or missing instructions. Manuals+ will review the question and use this page’s manual context to help answer it.