1. Introduction
Thank you for choosing the MAXXMEE Cordless Screwdriver Model 2112. This manual provides essential information for the safe and efficient operation, maintenance, and troubleshooting of your new tool. Please read these instructions carefully before first use and keep them for future reference.
2. Safety Instructions
Always observe basic safety precautions when using electrical tools to reduce the risk of fire, electric shock, and personal injury.
- Work Area Safety: Keep your work area clean and well-lit. Cluttered or dark areas invite accidents. Do not operate power tools in explosive atmospheres, such as in the presence of flammable liquids, gases, or dust.
- Electrical Safety: Avoid body contact with earthed or grounded surfaces such as pipes, radiators, ranges, and refrigerators. Do not expose power tools to rain or wet conditions.
- Personal Safety: Always wear eye protection. Use appropriate safety equipment such as dust masks, non-skid safety shoes, hard hats, or hearing protection when necessary. Dress properly; avoid loose clothing or jewelry.
- Tool Use and Care: Do not force the power tool. Use the correct power tool for your application. Disconnect the plug from the power source and/or the battery pack from the power tool before making any adjustments, changing accessories, or storing power tools.
- Battery Safety: This tool contains an integrated rechargeable battery. Do not incinerate the battery even if it is severely damaged or completely worn out. Batteries can explode in a fire. Do not short-circuit the battery.
3. Package Contents
Please check that all items are present and in good condition:
- 1 x MAXXMEE Cordless Screwdriver Model 2112
- 1 x 30-piece Bit Set (various screwdriver bits and drill bits)
- 1 x Charging Cable (USB)
- 1 x User Manual

Figure 3.1: The included 30-piece bit set, featuring various screwdriver and drill bits for diverse applications.
4. Product Overview
Familiarize yourself with the components of your MAXXMEE Cordless Screwdriver.
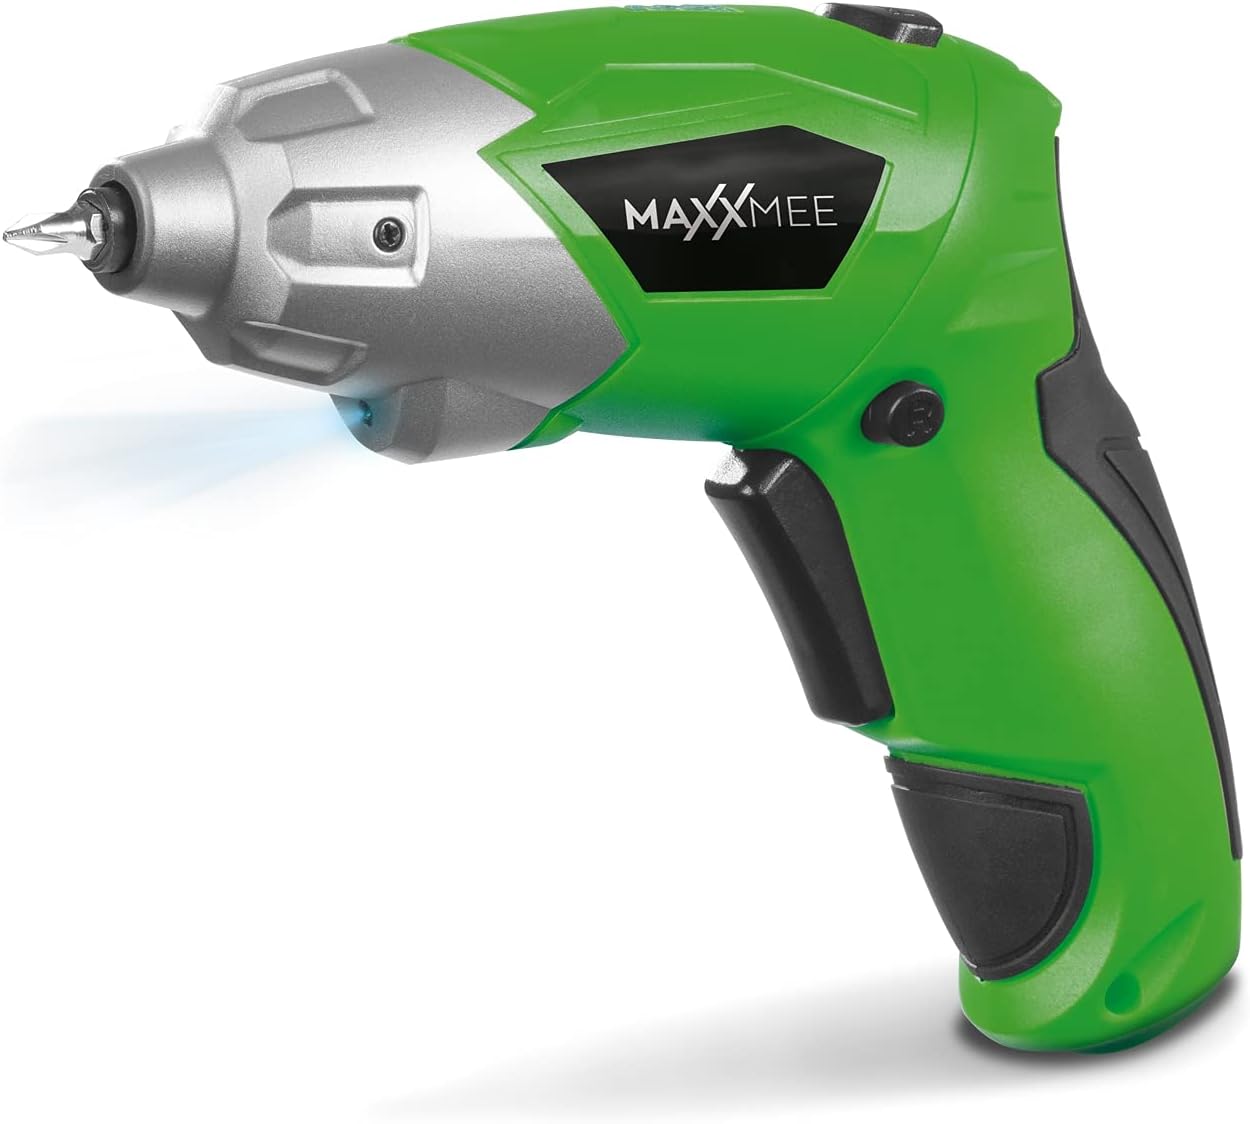
Figure 4.1: Front view of the MAXXMEE Cordless Screwdriver, highlighting its compact design.

Figure 4.2: The cordless screwdriver demonstrating its flexible handle position, integrated LED light, and forward/reverse rotation switch.
- Bit Holder (Magnetic)
- LED Work Light
- Forward/Reverse Rotation Switch
- Flexible Handle Release Button
- Trigger Switch
- Charging Port
- Battery Level Indicator
5. Setup
5.1. Charging the Screwdriver
Before first use, fully charge the screwdriver's integrated battery. The battery is not fully charged at the time of purchase.
- Connect the provided charging cable to the charging port on the screwdriver.
- Connect the other end of the USB charging cable to a suitable USB power adapter (not included) or a powered USB port.
- The battery indicator lights will show the charging status. Allow several hours for a full charge.
- Once fully charged, disconnect the charging cable.
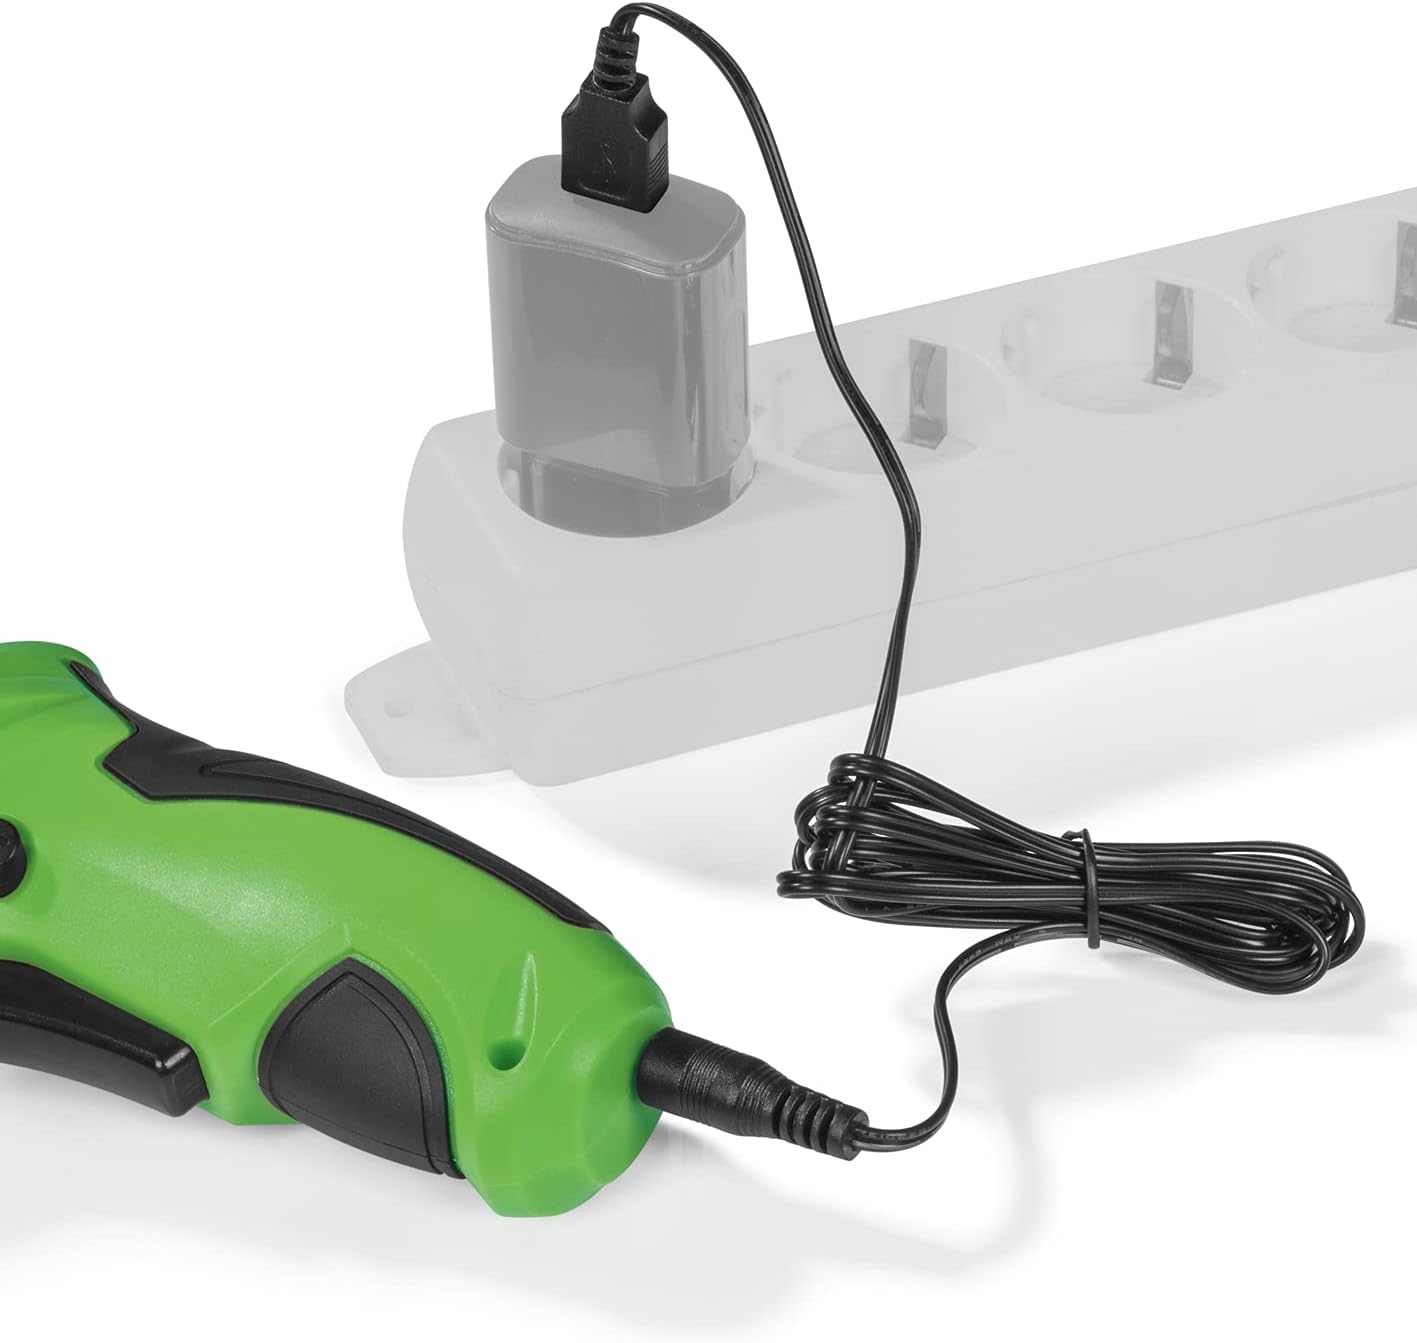
Figure 5.1: Connecting the charging cable to the screwdriver and a power source.
5.2. Inserting Screwdriver Bits
The screwdriver features a magnetic bit holder for quick and easy bit changes.
- Ensure the screwdriver is turned off and the forward/reverse switch is in the neutral (locked) position.
- Select the appropriate bit from the 30-piece set.
- Insert the bit firmly into the magnetic bit holder until it is securely seated.
- To remove, simply pull the bit out.
6. Operating Instructions
6.1. Powering On/Off and Rotation Direction
The trigger switch activates the screwdriver, and the forward/reverse switch controls the rotation direction.
- To drive screws (forward rotation), push the forward/reverse switch to the left.
- To remove screws (reverse rotation), push the forward/reverse switch to the right.
- To lock the trigger and prevent accidental activation, place the switch in the center position.
- Press the trigger switch to operate the screwdriver. Release to stop.
6.2. Adjusting the Flexible Handle
The screwdriver features a variable curved handle for optimal comfort and access in different working conditions.
- Ensure the screwdriver is off.
- Press the flexible handle release button (refer to Figure 4.2 for location).
- Adjust the handle to the desired position (straight or pistol grip).
- Release the button to lock the handle in place. Ensure it is securely locked before use.
6.3. Using the LED Work Light
The integrated LED work light illuminates the work area for improved visibility, especially in dark or confined spaces.
- The LED light automatically activates when the trigger switch is pressed.
- It turns off when the trigger is released.
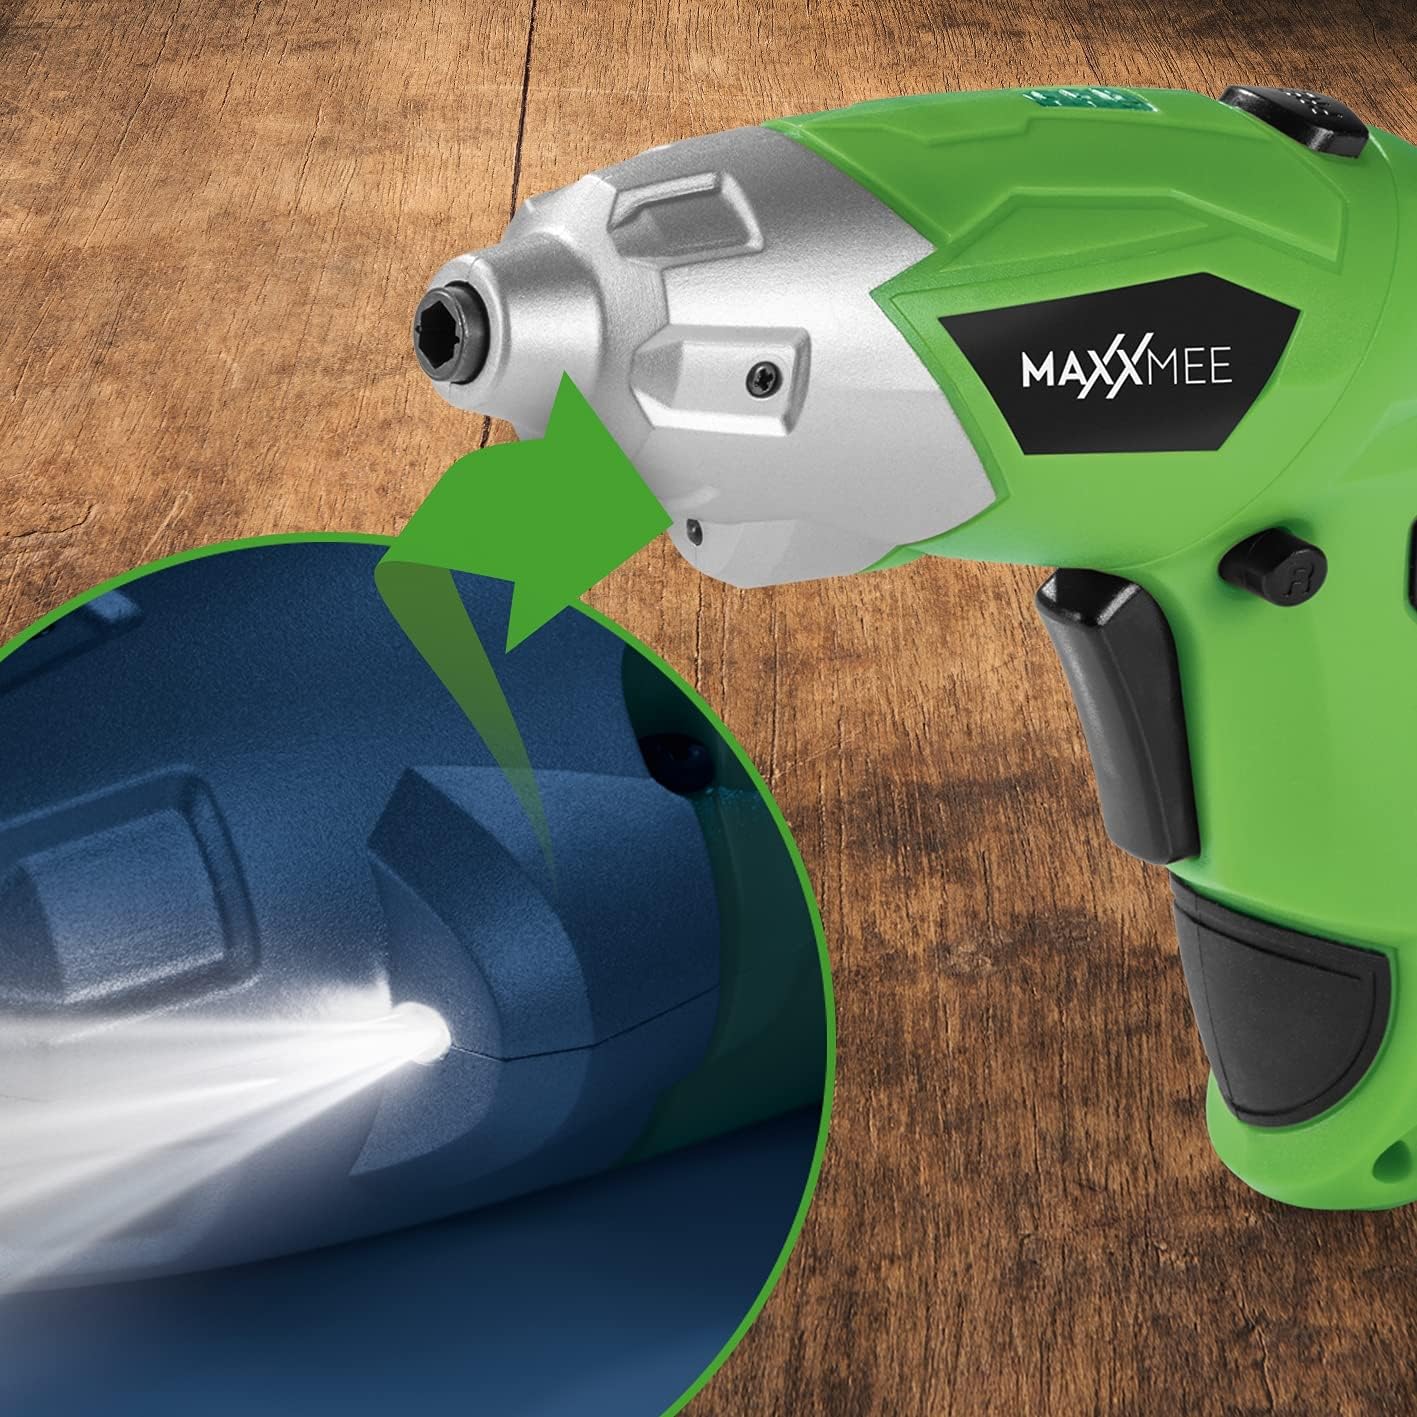
Figure 6.1: Close-up view of the LED work light illuminating the work surface.
6.4. Battery Level Indicator
The battery level indicator provides a visual representation of the remaining battery charge.
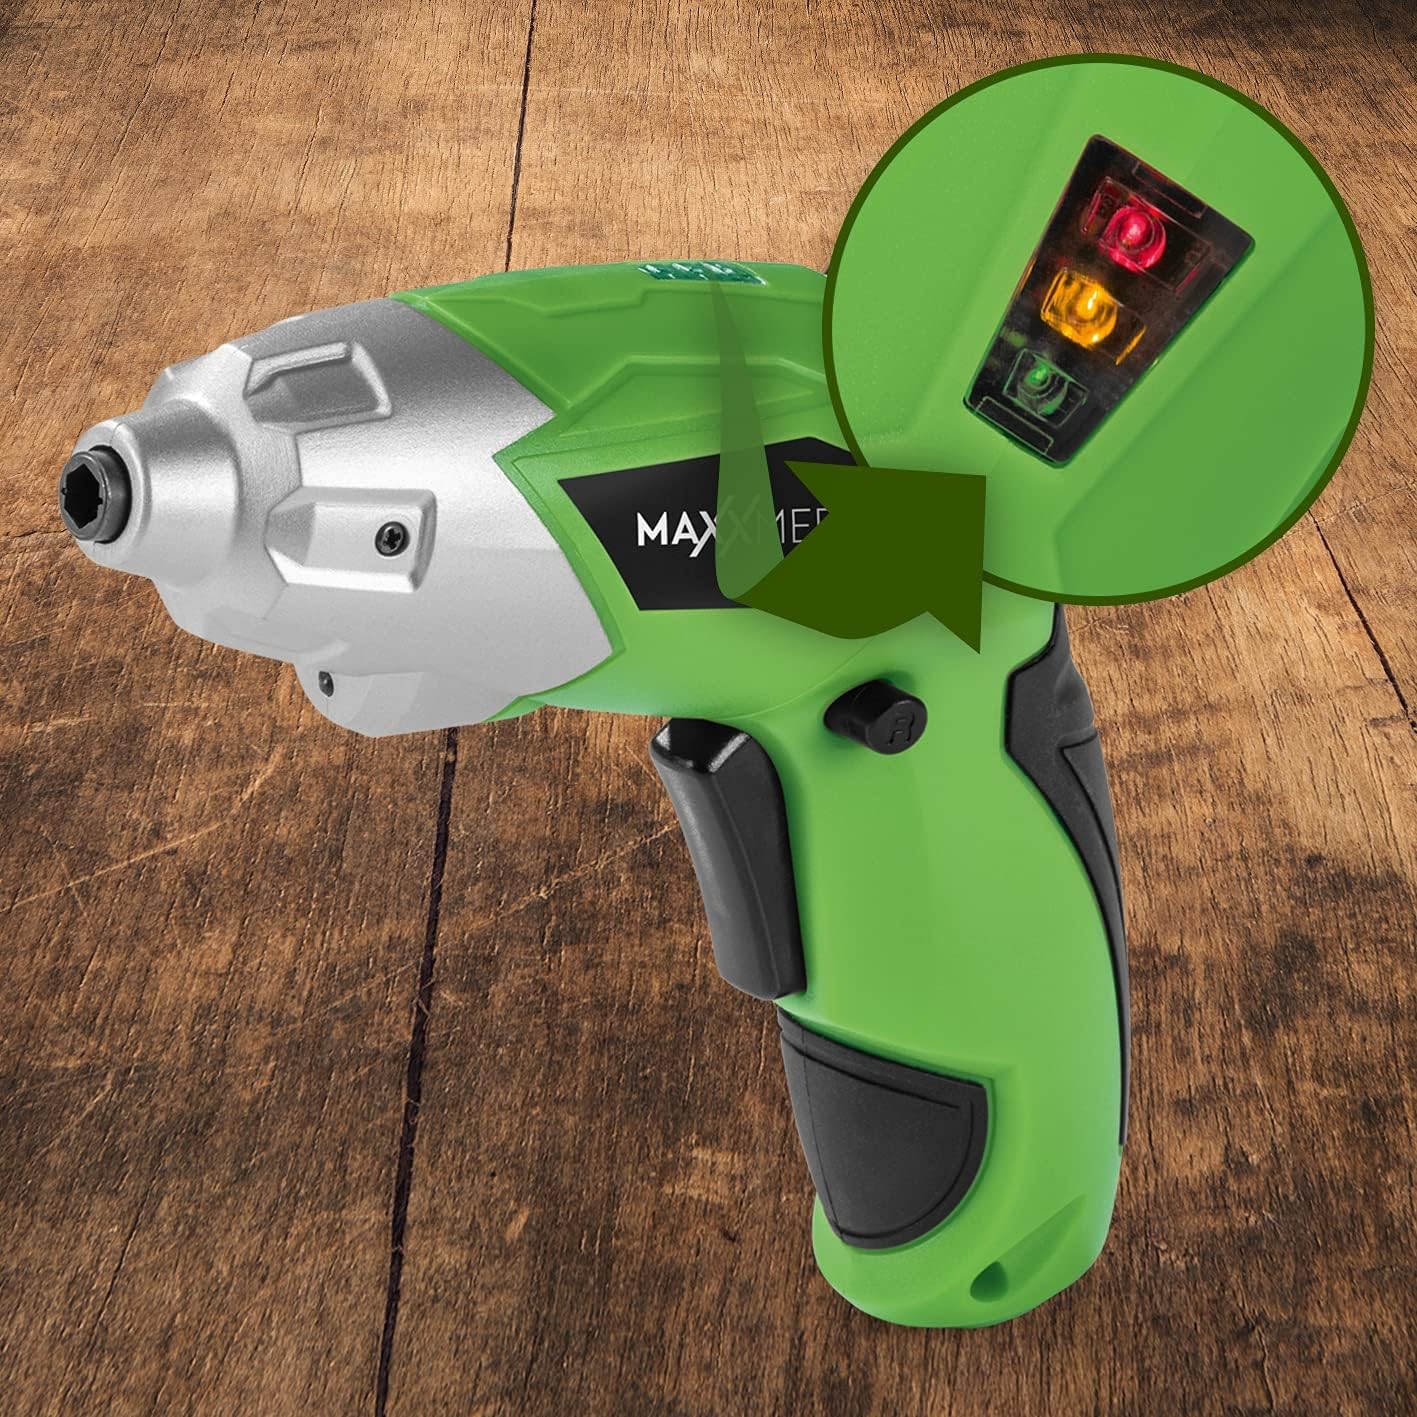
Figure 6.2: The battery level indicator showing the charge status with colored lights.
- Green light: High charge.
- Yellow light: Medium charge.
- Red light: Low charge, recharge soon.
For optimal performance, recharge the screwdriver when the indicator shows a low charge.
7. Maintenance
Proper maintenance ensures the longevity and optimal performance of your screwdriver.
- Cleaning: Always disconnect the screwdriver from any power source before cleaning. Use a soft, damp cloth to wipe down the exterior. Do not use harsh chemicals or abrasive cleaners. Keep ventilation openings free from dust and debris.
- Storage: Store the screwdriver and its accessories in a dry, cool place, away from direct sunlight and moisture. Keep it out of reach of children.
- Battery Care: For long-term storage, it is recommended to charge the battery to approximately 50% every few months to maintain battery health.
8. Troubleshooting
If you encounter issues with your screwdriver, refer to the following common problems and solutions:
| Problem | Possible Cause | Solution |
|---|---|---|
| Screwdriver does not turn on. | Battery is discharged. | Charge the battery fully. |
| Screwdriver lacks power. | Low battery charge. | Recharge the battery. |
| Bit is loose or falls out. | Bit not fully inserted or incorrect bit size. | Ensure the bit is fully inserted into the magnetic holder. Use appropriate bit size. |
| Handle does not lock in place. | Release button not fully engaged or debris preventing lock. | Ensure the release button is fully pressed and released. Check for obstructions. |
If the problem persists after trying these solutions, please contact customer support.
9. Specifications
| Feature | Specification |
|---|---|
| Model Number | 2112 |
| Brand | MAXXMEE |
| Voltage | 3.6 Volts |
| Max Torque | 4 Nm |
| Power Source | Battery-powered (Rechargeable) |
| Material | Metal |
| Special Features | Cordless, Flexible Handle, LED Work Light |
| Included Components | 1 Cordless Screwdriver, 30-piece Bit Set, Charging Cable |
| Package Dimensions | 15 x 15 x 7.2 cm |
| Weight | 800 grams |
10. Warranty and Support
MAXXMEE products are manufactured to high-quality standards. In the unlikely event of a defect or malfunction, please refer to your purchase documentation for warranty details. For technical support, spare parts, or service inquiries, please contact your retailer or the MAXXMEE customer service department. Please have your model number (2112) and purchase date available when contacting support.


